London:
Nationwide:
25,000+
Floors Restored
27 Years Experience
Wood Flooring Association Certified
Unveiling the Secrets of Successful Floor Sanding
Posted on June 14, 2023
Floor Sanding and Finishing News
What No-one Will Tell You About Sanding Your Floors (& How We Did It?)
In this guide, we will be taking a deep dive into the world of floor sanding. From the secret tips that no one tells you to how we managed to get our floors looking brand new, we’ve got all the insights you need.Introduction to Floor Sanding
Floor sanding is a powerful method for revitalising old and tired wooden floors. Whether it’s deep-set stains, surface scratches, or just years of foot traffic wearing down the finish, sanding is a surefire way to get your floors looking their best again.
The untold secrets of floor sanding
There are plenty of guides on how to sand your floors, but there are some lesser-known tips and tricks that often go unmentioned. Here, we’ll unveil the secrets that no one will tell you about floor sanding.Secret 1: The Importance of Preparation
Most guides will tell you to prepare the room, but few mention the importance of mentally preparing for the task at hand. Floor sanding is not a quick job; it requires patience, time, and attention to detail.Secret 2: Choosing the Right Sander
Many people don’t realise that there are different types of floor sanders: drum sanders, orbital sanders, and edge sanders. Understanding their differences and picking the right one for your needs can significantly affect the quality of your job.Secret 3: More than one pass is required.
Floor sanding isn’t a one-and-done job. You’ll need to sand your floors multiple times with different grits to achieve the best results.How We Sanded Our Floors
Now that we’ve shared the secrets of floor sanding, let’s walk you through how we went about our sanding project.Step 1: Preparation
We started by removing all the furniture and cleaning the room. We also made sure to seal any doors, windows, and vents with plastic and tape to keep the dust from spreading.
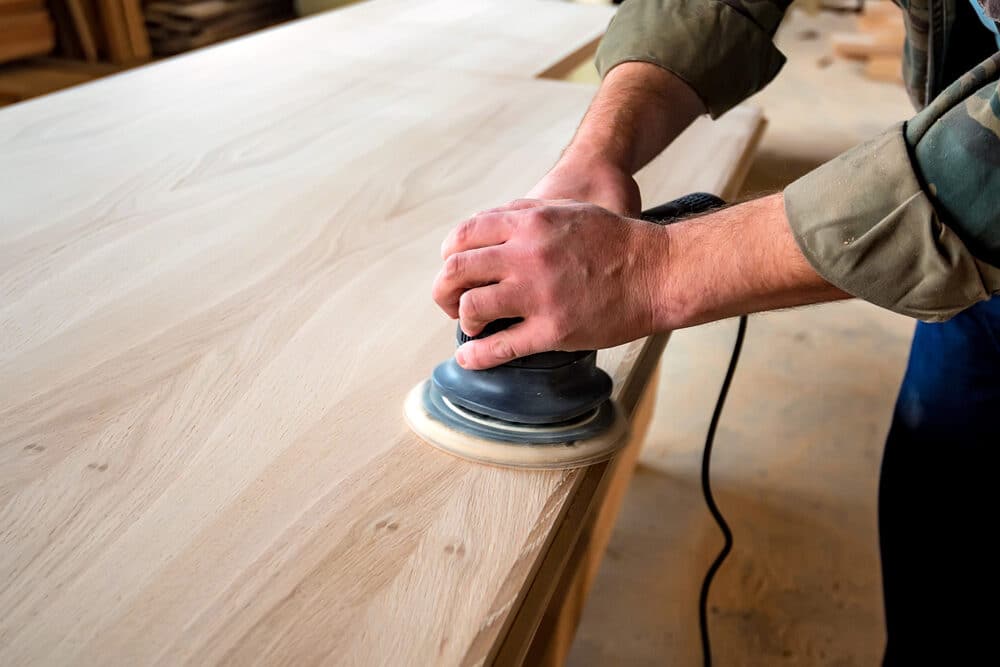
Step 2: Choosing the Sander
We opted for a drum sander for our project. Our floors had deep scratches and wear that required the heavy-duty sanding power of a drum sander.
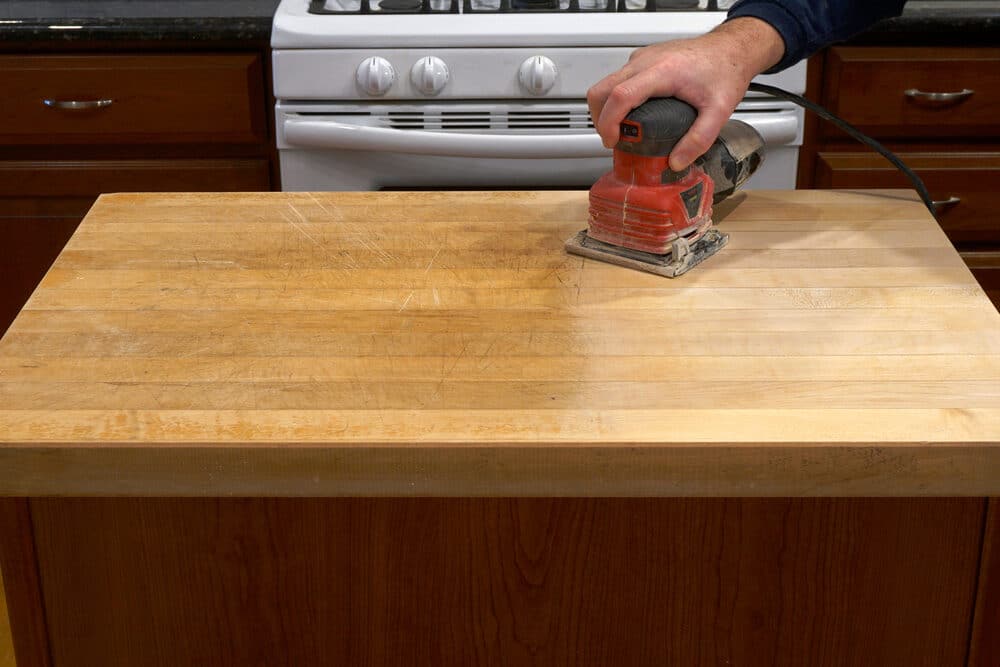
Step 3: Starting with a Coarse Grit
We started with a coarse 36-grit sandpaper to remove the old finish and any deep scratches or stains. It was tempting to rush this stage, but we remembered our secret tips and took our time.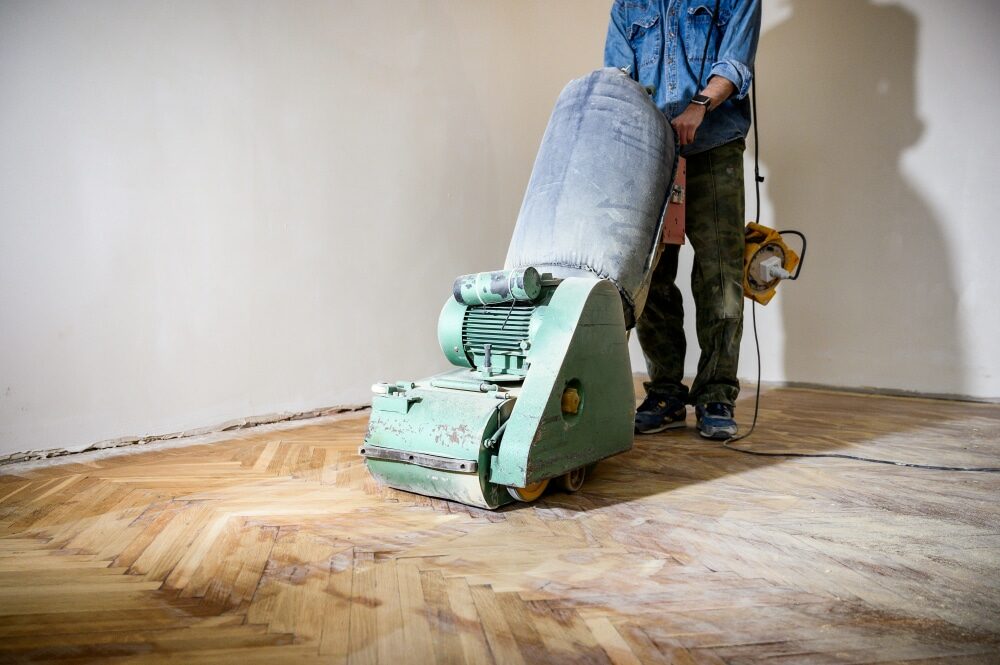
Step 4: Multiple Sanding Passes
We sanded the floors two more times, each time with a finer grit—60 grit and then 80 grit. This ensured that we didn’t just remove the old finish but also left the floors smooth and ready for the new finish.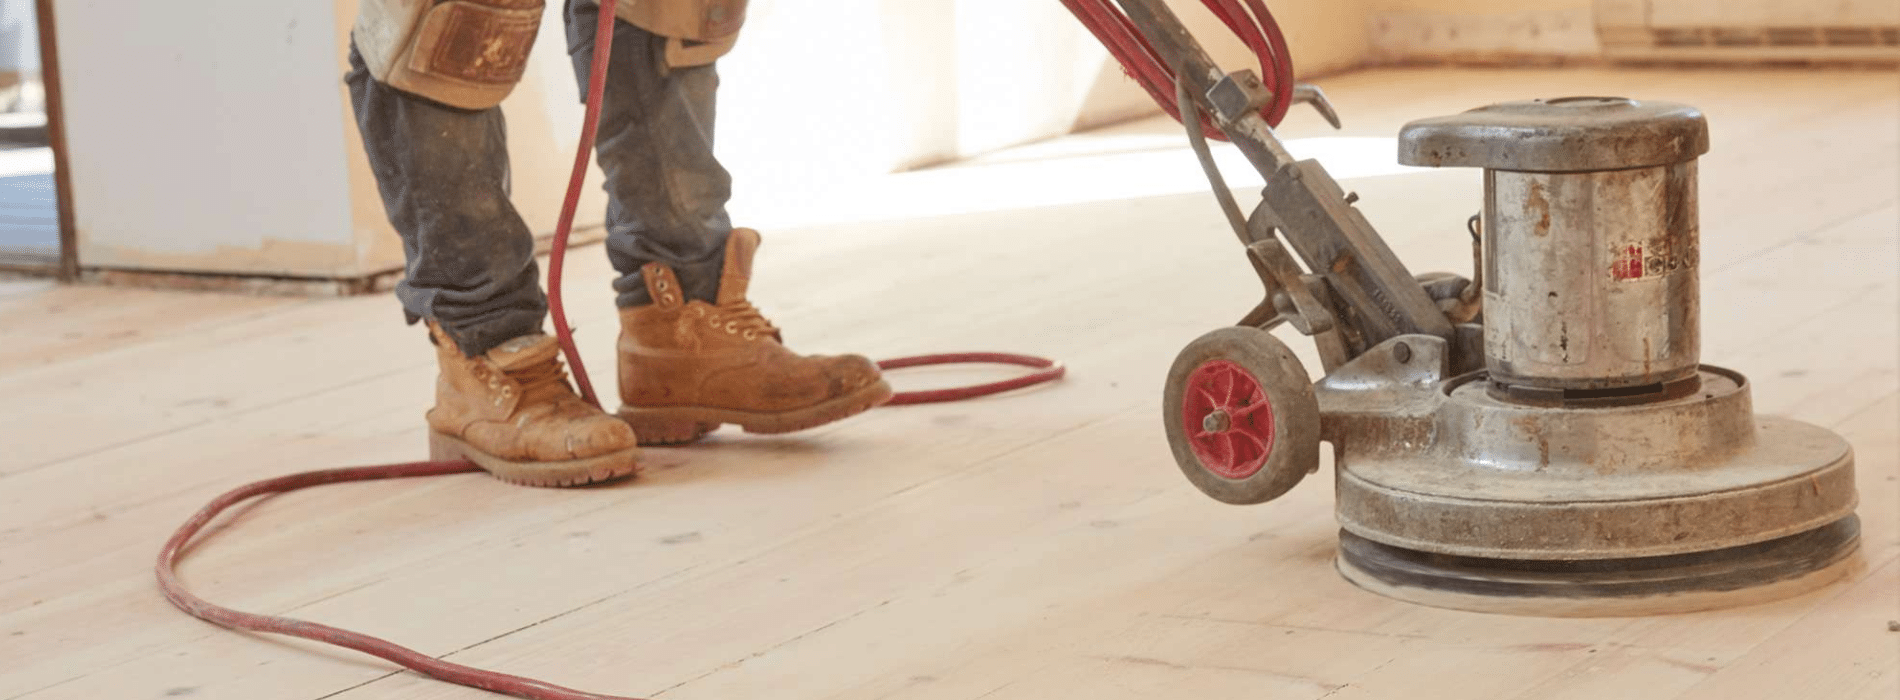
Step 5: Finishing Touches
Finally, we cleaned up all the dust and applied a new finish. The result? A floor that looked as good as new.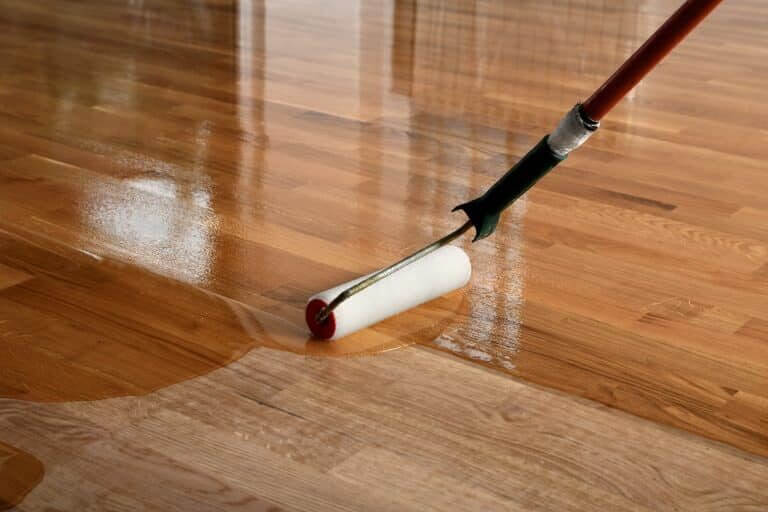
Conclusion
Floor sanding can be a demanding job, but with the right approach and a few secret tips, it can result in beautifully rejuvenated floors. By understanding the ins and outs of the process and learning from our experience, you can tackle your sanding project with confidence. Good luck with your floor sanding journey!Some Useful Links:
- Floor Sanding Services
- School Floor Sanding
- Wood Floor Restorations
- Wood Floor Repairs
- Wood Floor Polishing
More from our Blog:
Avoid Common Mistakes When Sanding Hardwood Floors Using a Drum Floor Sander – Why and How? | Mr Sander® Re-finishing & Screening Your Wooden Floor: A Complete DIY Guide How to Sand Hardwood Floors in 10 Easy Steps Reviving Victorian Elegance: Floorboard Sanding in West London Homes The Rise of Carpet Tiles: A Popular Choice for Modern Flooring
Sanding
We provide virtually dust-free sanding with our continuous belt machinery with mobile extraction units, giving you a safer environment for your family.
Oiling
This organic finish not only adds beauty to your home but also has exceptional water-repellent characteristics, making it easier to clean and maintain.
Waxing
This natural floor finish offers the softest and most mellow appearance – and leaves your floor able to breath.
Buffing
Using soft buffing machines (and hand-polishing where required) will bring a wonderful sheen to your newly-finished floor.
Repairs
We offer a full assessment of your wooden floors to determine what repairs are needed to provide the perfect working surface for the later stages of sanding, staining and sealing.
Restoration
We offer a comprehensive restoration process designed to address floors that are improperly fitted or damaged over time through wear and tear.
Request a fixed price quote for your wood floor restoration now
Simply enter your postcode below to get started.
Services
Wood Floor Sanding Wood Floor Restoration Wood Floor Scratch Repair Squeaky Wood Floor Repair Parquet Floor Sanding Parquet Floor Restoration Commercial Floor Sanding Church Floor Sanding Community Centre Floor Sanding School Floor Sanding Gap Filling Gap Filling with ResinCopyright © Mr Sander®
Privacy & Cookies Terms & Conditions Complaints Procedure Cancellation Rights Sitemap

Get An Instant Price Estimate Before You Go…
Simply enter the rooms you need sanded and we’ll provide you with a price estimate instantly! Try our price calculator now.
Get a Price Estimate NowLocal Floor Sanding Experts
Over 500 5-Star Reviews
Safe, Dust Free Sanding
Operating Since 1994