London:
Nationwide:
25,000+
Floors Restored
27 Years Experience
Wood Flooring Association Certified
Breaking Down the Cost of Sanding a Deck
Posted on December 23, 2023
Deck Sanding
Demystifying Deck Sanding Costs: How Much Does It Really Take?
A well-maintained deck can be a beautiful and functional addition to any home, providing a space for relaxation, entertaining guests, and enjoying the outdoors. However, over time, exposure to the elements can take a toll on your deck’s appearance and structural integrity. One of the essential maintenance tasks for preserving your deck’s longevity and aesthetics is sanding.
In this comprehensive guide, we’ll break down the cost of sanding a deck, helping you understand the factors that influence the expenses involved. Whether you’re planning a DIY project or considering hiring a professional, knowing the costs and the value of deck sanding is crucial.
We’ll explore the various factors that affect deck sanding costs, take you through the step-by-step deck sanding process, provide insights into DIY vs. professional sanding, and offer tips for saving on deck maintenance expenses. By the end of this article, you’ll have a clear understanding of what it takes to keep your deck looking its best and how to budget for this essential task. Let’s get started!
Factors Affecting Deck Sanding Costs
The cost of sanding a deck can vary significantly based on several factors. Understanding these factors is essential to budgeting effectively for your deck maintenance project. Here are the key elements that influence deck sanding costs:
1. Deck Size and Square Footage:
- The size of your deck is a primary determinant of sanding costs. Larger decks require more time, labor, and materials to complete the sanding process, resulting in higher expenses.
2. Deck Material and Condition:
- The type of decking material you have can impact the cost. Hardwood decks may require more effort and time to sand than softwood decks. Additionally, the condition of your deck, including the extent of damage or wear, will affect the overall cost.
3. Level of Sanding Needed:
- Decks with deep stains, peeling finishes, or heavy weathering may require more extensive sanding to achieve a smooth and uniform surface. The level of sanding needed can significantly influence costs.
4. Labor Costs:
- Labor costs can vary based on your location, the expertise of the contractor, and the complexity of the job. Skilled professionals may charge higher hourly rates, but their work quality can justify the expense.
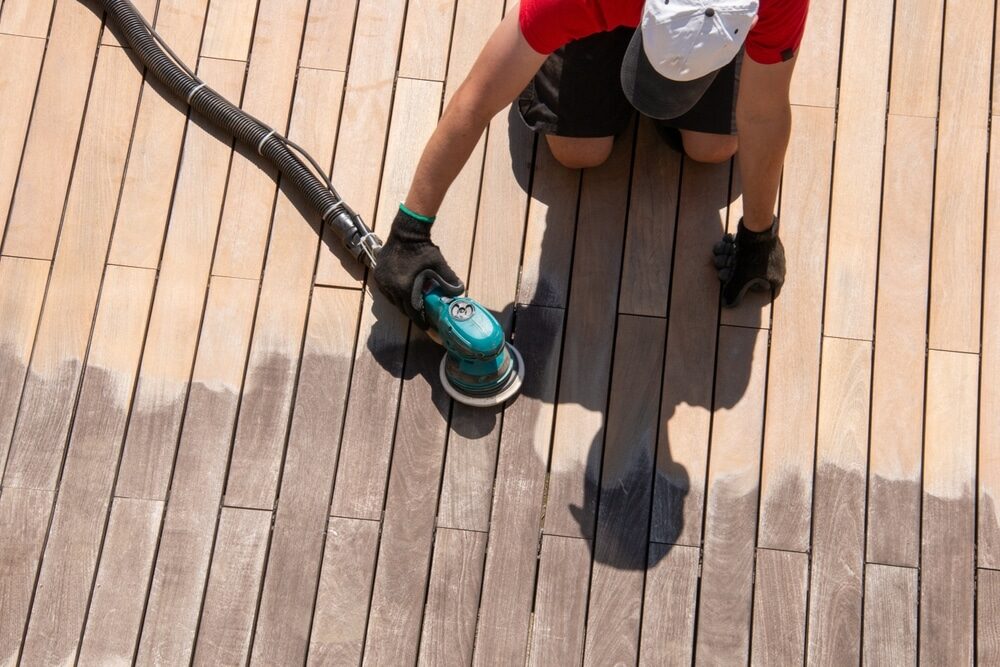
5. Equipment and Material Costs:
- The type of deck sanding equipment used, such as belt sanders, orbital sanders, or floor sanders, can affect costs. Additionally, the quality and quantity of sandpaper and finishing materials required will impact expenses.
6. Additional prep work:
- If your deck requires extra prep work, such as nail or screw removal, deck board replacement, or repairs, these tasks will add to the overall cost. Neglecting necessary prep work can result in subpar results and potentially higher long-term expenses.
Understanding these factors and their interplay is essential for assessing the cost of sanding your deck accurately. In the next sections, we’ll delve deeper into the deck sanding process and explore how these factors come into play during the project.

Deck Sanding Process
Sanding a deck is a multi-step process that involves careful preparation and execution to achieve a smooth, attractive, and long-lasting finish. Here’s a step-by-step guide to the deck-sanding process:
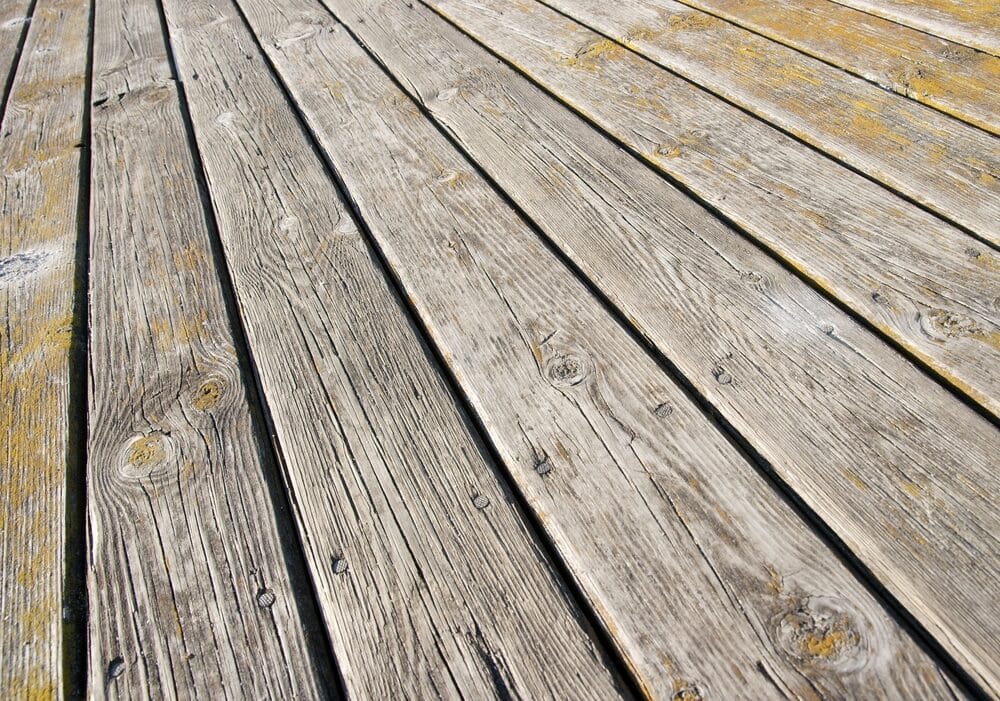
Step 1: Inspection and Assessment
Before you begin deck sanding, thoroughly inspect your deck to identify any issues that may require special attention. Look for:
- Loose or protruding nails or screws that need to be secured or replaced.
- Damaged or rotten deck boards that should be repaired or replaced.
- Mold, mildew, or other contaminants that may require cleaning before sanding.
- Stains or discolorations that need extra sanding.
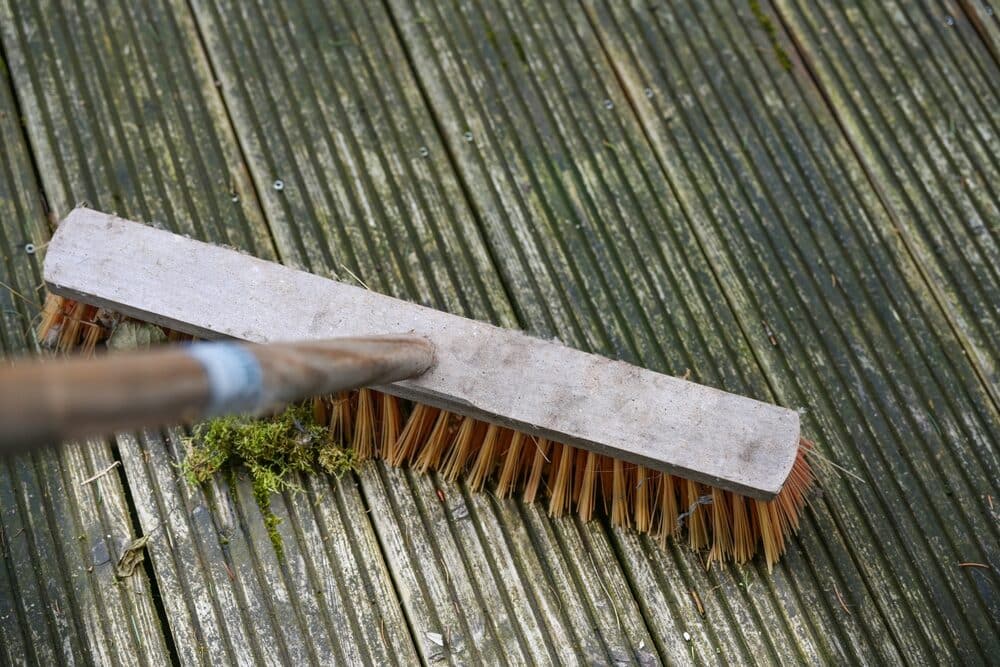
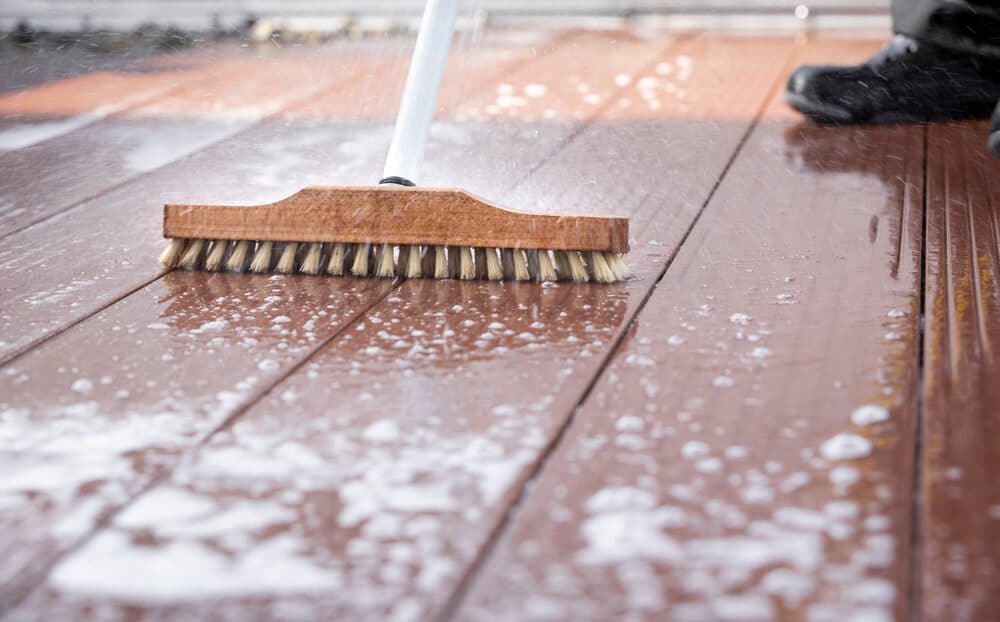
Step 2: Cleaning and Prepping the Deck
Cleaning the deck is a critical preparatory step to ensure a clean and even surface for sanding.
- Start by sweeping the deck to remove loose dirt, leaves, and debris.
- Use a deck cleaner or a mixture of water and mild detergent to wash the surface. You may need a stiff brush or pressure washer for stubborn stains.
- Rinse the deck thoroughly and allow it to dry completely before sanding.
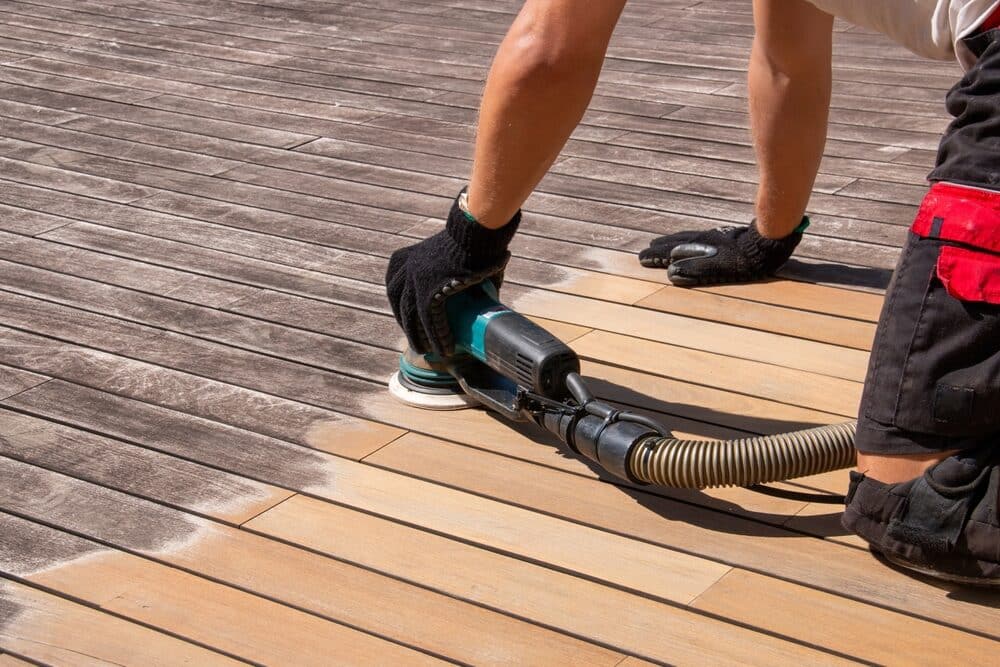
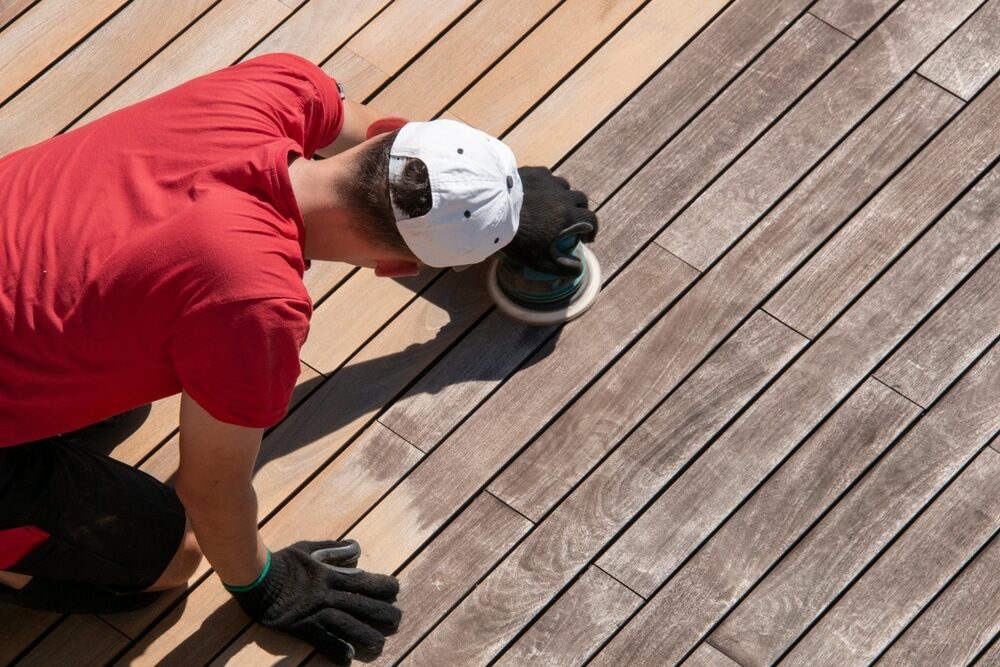
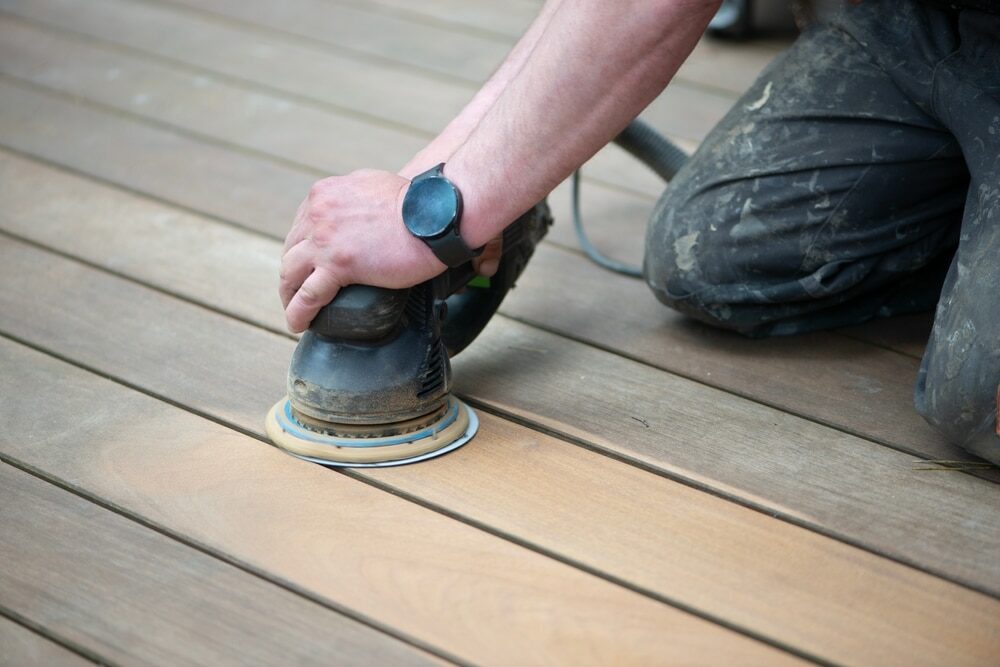
Step 3: Sanding Techniques and Grits
The sanding process itself involves using progressively finer grits of sandpaper to achieve a smooth finish.
- Begin with a coarse-grit sandpaper (around 40–60 grit) to remove any old paint, stubborn stains, or rough surfaces.
- Sand with the grain of the wood to avoid creating visible scratches or swirl marks.
- Gradually switch to finer grits (80–100 grit and then 120–150 grit) to refine the surface and remove any marks left by coarser sandpaper.
- Pay extra attention to edges and corners, which may require hand sanding or a detail sander.
Step 4: Dust Removal and Cleanup
After sanding, it’s crucial to remove all dust and debris to prepare for finishing.
- Vacuum or sweep the deck thoroughly to remove sanding dust.
- Wipe down surfaces with a damp cloth to pick up any remaining dust particles.
- Allow the deck to dry completely before proceeding with any finishing or sealing treatments.
Proper dust removal is vital for a clean, smooth finish and to prevent dust particles from interfering with your chosen finishing product.
By following these steps and using appropriate sanding equipment and techniques, you can transform your weathered deck into a beautiful, like-new surface ready for staining, painting, or sealing. The level of detail and effort you put into each step will directly impact the quality of the final result.
Cost Breakdown
Understanding the breakdown of costs when sanding your deck is essential for effective budgeting and decision-making. Here’s a breakdown of the various expenses you can expect when undertaking a deck sanding project:
1. Labor Costs:
- Labor costs are a significant portion of the overall expenses. These costs can vary depending on your location, the experience of the contractor, and the size and complexity of your deck. Labor costs may be calculated based on an hourly rate or a fixed project fee.
2. Equipment and Materials:
- The equipment and materials required for deck sanding include sandpaper, sanding machines (orbital sander, belt sander, or floor sander), cleaning supplies, safety gear, and finishing products (stain, paint, and sealer). The type and quality of these materials can impact costs.
3. Deck Size and Square Footage:
- Larger decks with more square footage will naturally require more sandpaper, more time to complete, and potentially more labor, all of which contribute to higher costs.
4. Deck Material and Condition:
- The type of decking material and its condition can influence costs. Sanding hardwoods may be more labor-intensive and costly than sanding softwoods. Decks in poor condition may require extra preparation work, adding to expenses.
5. Level of Sanding Needed:
- Decks with severe damage, deep stains, or heavy weathering may require extensive sanding, which can increase both labor and material costs.
6. Additional prep work:
- If your deck needs repairs, such as replacing damaged boards or securing loose nails, these tasks will add to the overall expenses. Neglecting necessary prep work can lead to higher long-term costs.
7. Finishing and sealing:
- After sanding, you may choose to apply a finish or sealer to protect and enhance the appearance of your deck. The cost of these products can vary based on the brand, quality, and coverage area.
8. Permits and Fees:
- Depending on your local regulations, you may need to obtain permits for deck maintenance work. Check with your local authorities to factor in any permit fees.
9. DIY vs. Professional Costs:
- If you choose to hire a professional, labor costs will be higher but may yield a more efficient and polished result. DIY projects may save on labor but may still require the purchase or rental of equipment and materials.
10. Hidden Costs:
- Don’t forget to consider hidden costs, such as transportation of materials, waste disposal, and unforeseen issues that may arise during the project.
By considering these cost factors and obtaining estimates from contractors or suppliers, you can create a more accurate budget for your deck sanding project. Keep in mind that investing in quality materials and skilled labor can lead to a longer-lasting and more visually appealing deck, ultimately providing better value over time.

DIY vs. Professional Deck Sanding
When it comes to deck sanding, you have the option to either tackle the project yourself (DIY) or hire a professional. Each approach has its advantages and disadvantages, and the choice depends on your skills, available time, budget, and the level of quality you want to achieve. Let’s compare DIY and professional deck sanding to help you make an informed decision:
A. DIY Deck Sanding:
Advantages:
1. Cost Savings: Doing it yourself can be more budget-friendly, as you won’t have to pay for labor. You can rent equipment and purchase materials, potentially reducing overall expenses.
2. Flexibility: You can work on your own schedule and take breaks as needed, which is ideal if you have other commitments.
3. Learning Experience: DIY sanding can be a valuable learning experience. You’ll gain hands-on knowledge of your deck and its maintenance needs.
4. Personal Satisfaction: Completing a DIY project can be personally rewarding and give you a sense of accomplishment.
Disadvantages:
1. Skill Requirement: Deck sanding requires skill and experience to achieve a smooth, professional finish. Inexperienced DIYers may end up with uneven surfaces, visible scratches, or other imperfections.
2. Time-Consuming: Sanding a deck is a time-intensive process, especially for larger decks. DIYers may find the project takes longer than anticipated.
3. Equipment Costs: Renting or purchasing sanding equipment can still be costly, and if not used correctly, it can damage your deck.
4. Quality Variability: The quality of the finished product may not match that of a professional job, potentially affecting the overall appearance and longevity of your deck.
B. Professional Deck Sanding:
Advantages:
1. Expertise: Experienced professionals have the skills and knowledge to sand your deck efficiently and achieve a high-quality finish.
2. Time-efficient: Professionals can complete the project more quickly than DIYers, minimizing disruption to your routine.
3. Quality Assurance: Hiring a professional ensures a smooth, even, and well-prepared surface, which can prolong the life of your deck.
4. Access to Better Equipment: Professionals often have access to higher-quality sanding equipment and materials.
Disadvantages:
1. Cost: Professional deck sanding involves labor costs, which can be a significant portion of the overall expenses.
2. Scheduling: You may need to coordinate with the professional’s schedule, which may not always align with your preferred timing.
3. Less hands-on experience: You won’t gain the hands-on experience and satisfaction of completing the project yourself.
In summary, the choice between DIY deck sanding and professional deck sanding depends on your specific circumstances and priorities. If you have the skills, time, and willingness to learn, DIY can be cost-effective and rewarding. However, for those seeking a high-quality finish and a time-saving solution, hiring a professional may be the better option. Ultimately, the decision should align with your budget and your desire for a well-maintained and visually appealing deck.
Tips for Saving on Deck Sanding Costs
Deck sanding is an essential maintenance task, but it doesn’t have to break the bank. With some strategic planning and cost-saving measures, you can keep your deck sanding project within budget. Here are some tips to help you save on deck sanding costs:
1. Regular Maintenance:
- The best way to minimize sanding costs is to maintain your deck regularly. Keep it clean, remove debris, and address any issues promptly. Regular maintenance can prevent the need for extensive sanding.
2. DIY Prep Work:
- Save on labor costs by doing some of the preparatory work yourself. Sweep, clean, and remove loose nails or screws before the professionals arrive. However, leave the sanding itself to the experts if you’re not experienced.
3. Rent Equipment:
- If you’re tackling a DIY deck sanding project, consider renting sanding equipment instead of buying it. Renting can be more cost-effective, especially for occasional use.
4. Buy Sandpaper in Bulk:
- Sandpaper is a consumable item in deck sanding. Purchase sandpaper in bulk to save on per-sheet costs. Ensure you have the appropriate grit for the job.
5. Shop smart for materials:
- When purchasing finishing products like stain, paint, or sealer, compare prices at different stores or online retailers. Look for sales or discounts to get the best deals.
6. Combine Projects:
- If you have other home improvement or maintenance projects planned, consider combining them with deck sanding to save on overall labor costs. Contractors may offer discounts for bundled projects.
7. Get multiple quotes:
- If you’re hiring professionals, obtain quotes from multiple contractors to compare prices and services. Choose a reputable contractor who offers competitive rates.
8. Consider partial sanding:
- If your deck doesn’t require full sanding, consider spot-sanding only the areas that need it. This can save time and materials.
9. Reuse Existing Materials:
- If your deck has a finish that can be revitalized with a light sanding and reapplication of a protective coating, consider this option instead of a full sanding.
10. Negotiate labor costs:
- Discuss labor costs with the professionals you hire. While you want quality work, negotiating fair rates can help you stay within your budget.
11. Opt for simple finishes:
- Choose finishing products that are cost-effective and require less maintenance. Simpler finishes may be more budget-friendly in the long run.
12. Plan for Off-Peak Seasons:
- Consider scheduling your deck sanding during the off-peak season for contractors. You might get more competitive rates when demand is lower.
By implementing these cost-saving strategies, you can effectively manage your deck sanding expenses while still ensuring that your deck receives the care it needs to remain beautiful and functional for years to come.
Conclusion
Sanding your deck is an essential aspect of deck maintenance that can greatly impact its longevity, appearance, and overall value. Understanding the costs involved and making informed decisions about whether to take on the project yourself or hire a professional can ensure that you get the best results within your budget.
In this comprehensive guide, we’ve broken down the cost of deck sanding, discussed the factors that influence those costs, and provided valuable insights into the deck sanding process. We’ve also compared the pros and cons of DIY deck sanding versus hiring a professional, as well as offered tips for saving on deck sanding costs.
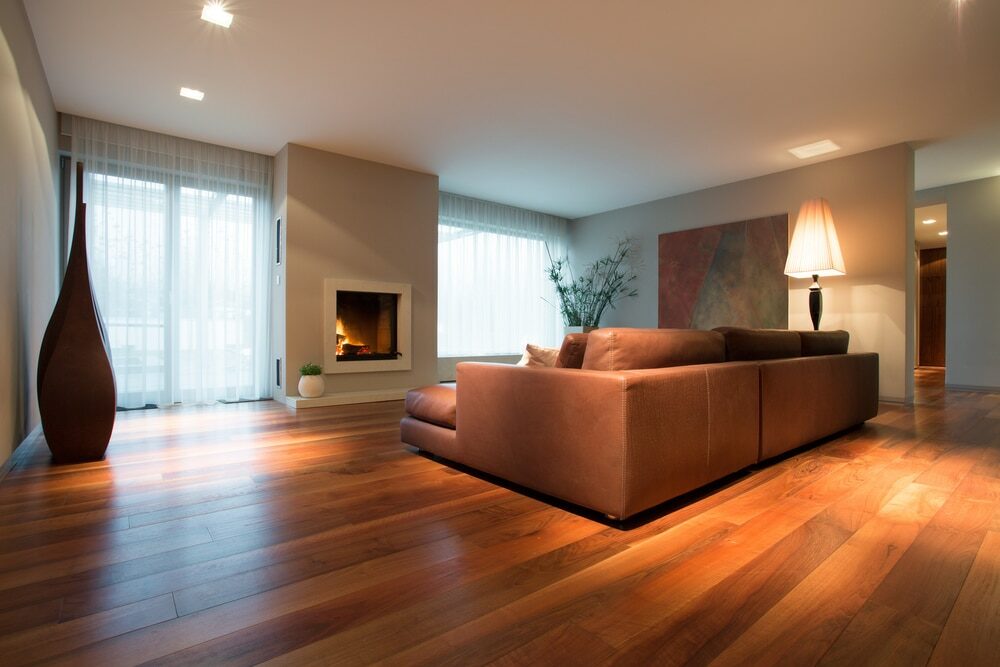
As you embark on your deck maintenance journey, remember that a well-maintained deck not only enhances the beauty of your outdoor space but also adds value to your home. By investing in regular maintenance and making wise choices about deck sanding, you can enjoy your deck for years to come while minimizing long-term expenses.
Whether you choose to roll up your sleeves and tackle the project yourself or enlist the help of a skilled professional, the key is to prioritize the health and appearance of your deck. A well-sanded and well-maintained deck will continue to be a source of enjoyment and relaxation for you and your family.
Thank you for reading our guide on breaking down the cost of sanding a deck. We hope this information empowers you to make informed decisions about your deck maintenance and helps you create a beautiful and inviting outdoor space.

Get more floor restoration advice…


Sanding
We provide virtually dust-free sanding with our continuous belt machinery with mobile extraction units, giving you a safer environment for your family.
Oiling
This organic finish not only adds beauty to your home but also has exceptional water-repellent characteristics, making it easier to clean and maintain.
Waxing
This natural floor finish offers the softest and most mellow appearance – and leaves your floor able to breath.
Buffing
Using soft buffing machines (and hand-polishing where required) will bring a wonderful sheen to your newly-finished floor.
Repairs
We offer a full assessment of your wooden floors to determine what repairs are needed to provide the perfect working surface for the later stages of sanding, staining and sealing.
Restoration
We offer a comprehensive restoration process designed to address floors that are improperly fitted or damaged over time through wear and tear.
Request a fixed price quote for your wood floor restoration now
Simply enter your postcode below to get started.
Services
Wood Floor Sanding Wood Floor Restoration Wood Floor Scratch Repair Squeaky Wood Floor Repair Parquet Floor Sanding Parquet Floor Restoration Commercial Floor Sanding Church Floor Sanding Community Centre Floor Sanding School Floor Sanding Gap Filling Gap Filling with ResinCopyright © Mr Sander®
Privacy & Cookies Terms & Conditions Complaints Procedure Cancellation Rights Sitemap

Get An Instant Price Estimate Before You Go…
Simply enter the rooms you need sanded and we’ll provide you with a price estimate instantly! Try our price calculator now.
Get a Price Estimate NowLocal Floor Sanding Experts
Over 500 5-Star Reviews
Safe, Dust Free Sanding
Operating Since 1994