London:
Nationwide:
25,000+
Floors Restored
27 Years Experience
Wood Flooring Association Certified
Choosing the Right Sander for Your Kitchen Worktop Restoration Project
Posted on January 8, 2024
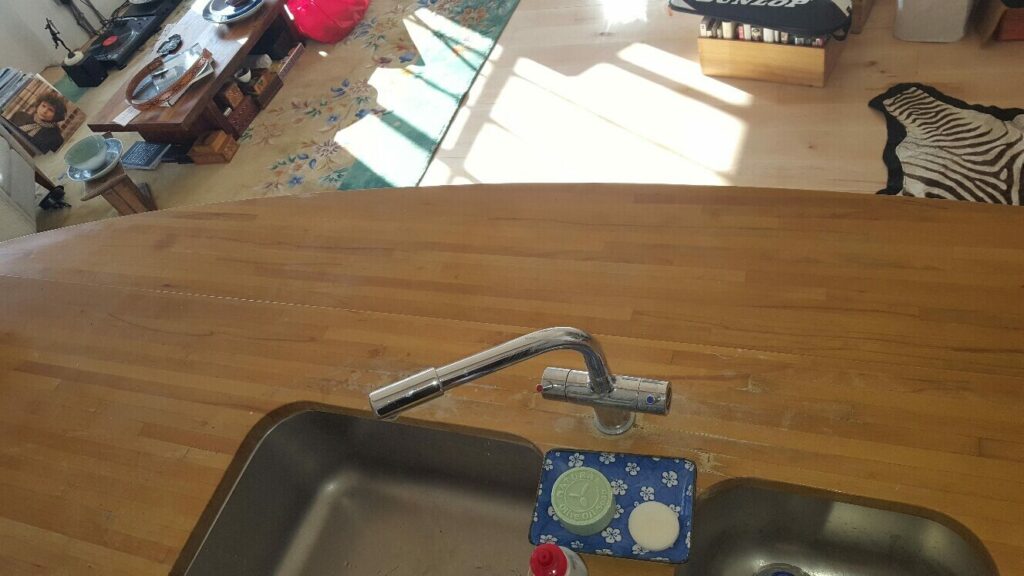
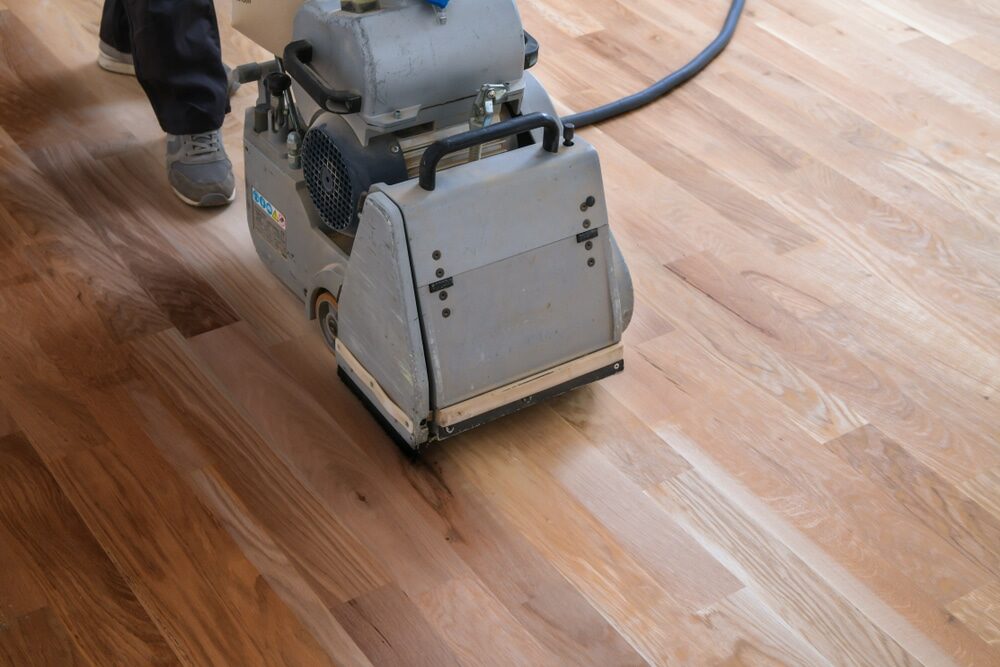
Kitchen Worktop sanding
Mastering the Selection of the Ideal Sander for Kitchen Worktop Restoration: Your Ultimate Guide
Welcome to our comprehensive guide on choosing the right sander for your kitchen worktop restoration project. The kitchen is often referred to as the heart of the home, and its worktops play a crucial role in both its functionality and aesthetic appeal. Over time, worktops can become worn, scratched, or outdated, necessitating a restoration to bring back their former glory.
Restoring a kitchen worktop is not only a cost-effective way to rejuvenate your kitchen but also an immensely satisfying DIY project. However, the success of your restoration largely hinges on one critical choice: selecting the right sander. With the plethora of options available on the market, this can be a daunting task.
In this post, we will demystify the process of choosing the ideal sander for your kitchen worktop. Whether you’re dealing with hardwood, laminate, or any other material, we’ve got you covered. We’ll explore the different types of sanders available, discuss their pros and cons, and provide practical tips to help you achieve the best results. Our goal is to equip you with the knowledge and confidence to select a sander that not only fits your project’s needs but also your skill level and budget.
So, whether you’re a seasoned DIY enthusiast or a beginner embarking on your first restoration project, this guide will help you navigate the world of sanders and make an informed decision. Let’s dive in and get one step closer to transforming your kitchen worktop into a piece of art!

Understanding Different Types of Sanders
When embarking on a kitchen worktop restoration project, understanding the different types of sanders available is crucial. Each type has its own unique features and is suited for specific tasks. In this section, we’ll explore the most common types of sanders you might consider for your project: orbital sanders, belt sanders, detail sanders, and random orbital sanders.
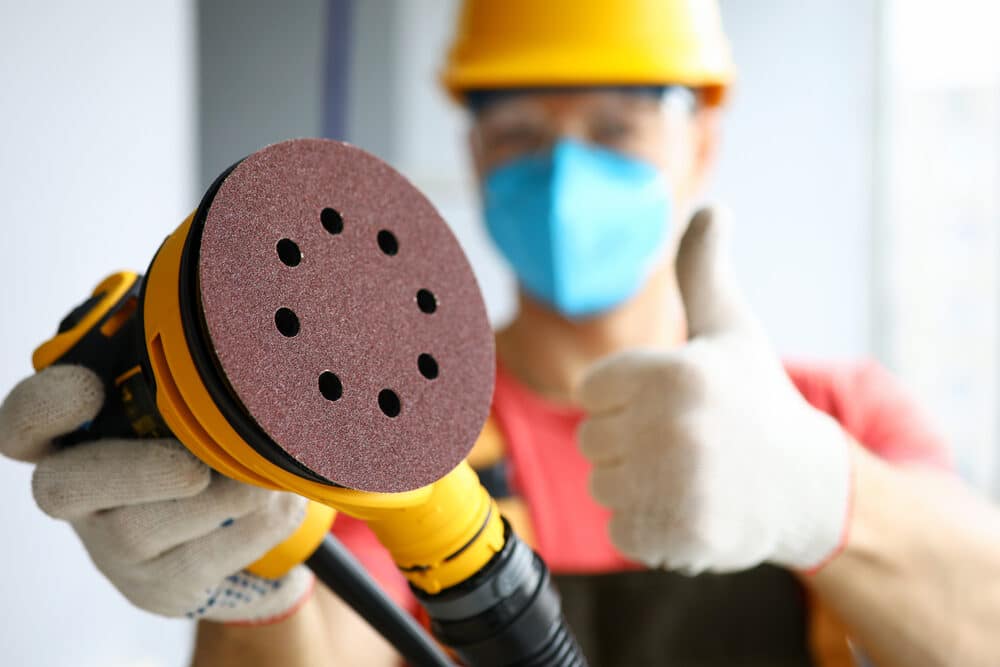
1. Orbital Sanders
Orbital sanders, also known as sheet sanders, use a square or rectangular sanding pad that moves in a regular orbital pattern. These sanders are excellent for finishing work and precision sanding.
- Pros:
- Great for fine, smooth finishes.
- Ideal for getting into corners and up against edges.
- They are easy to control, making them suitable for beginners.
- Cons:
- Not ideal for removing large amounts of material quickly.
- Can leave swirl marks if not used properly.

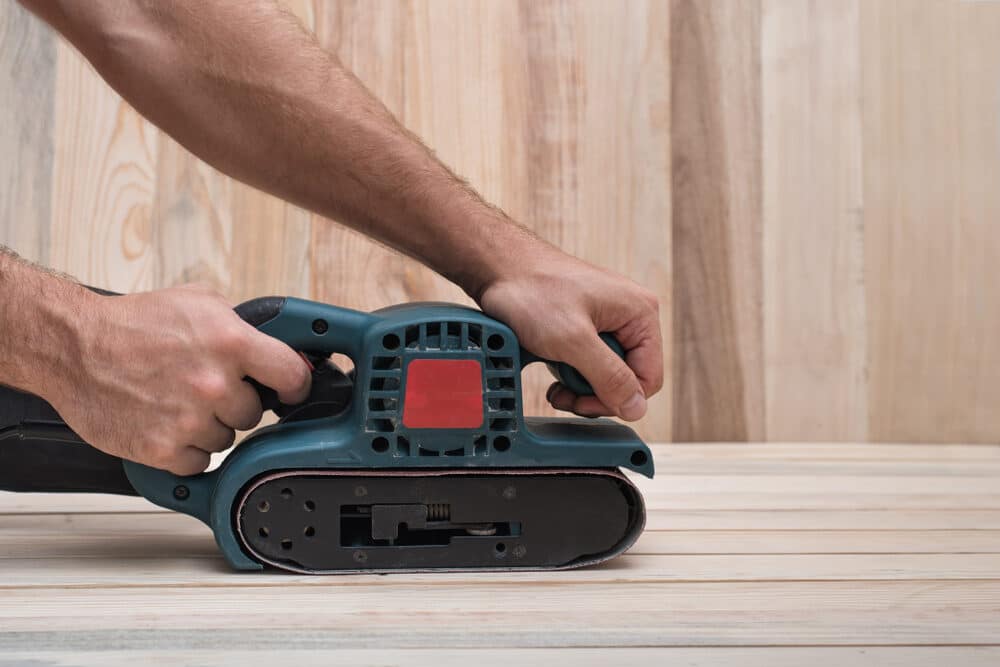
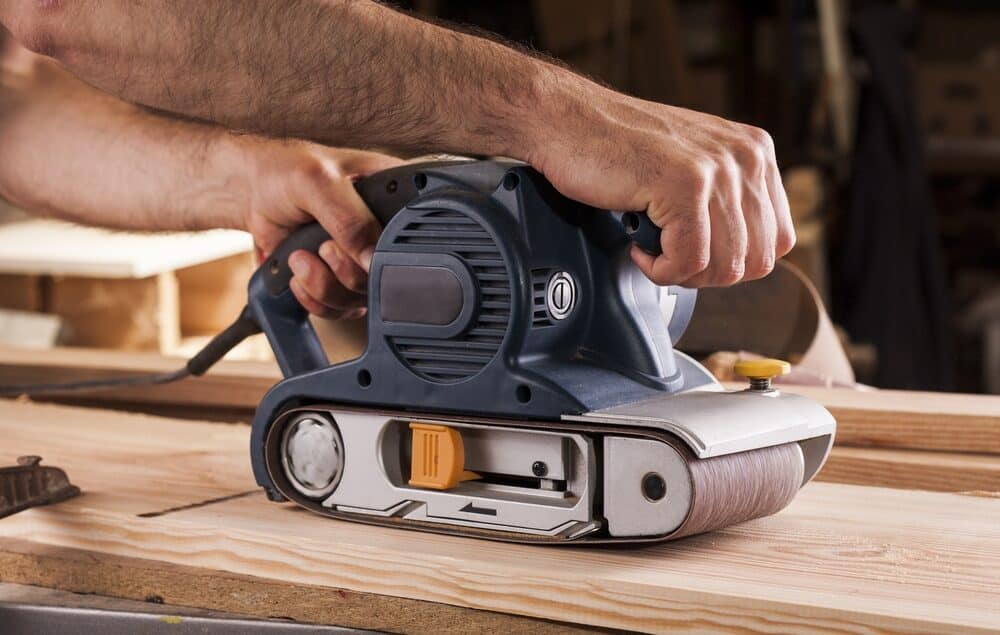
2. Belt Sanders
Belt sanders utilise a continuous loop of sandpaper (the belt) that wraps around two drums. They are powerful tools best suited for heavy-duty sanding and stripping large, flat surfaces.
- Pros:
- Excellent for rapid removal of material.
- Effective in levelling surfaces and removing old finishes.
- Cons:
- Can be aggressive and remove too much material if not handled carefully.
- Less suitable for fine, detailed work.
3. Detail Sanders
Detail sanders, often triangular in shape, are designed for precision work and getting into tight spaces where other sanders can’t reach.
- Pros:
- Perfect for sanding corners, edges, and intricate areas.
- Gentle enough for delicate surfaces and fine details.
- Cons:
- Not suitable for sanding large areas.
- Can be slower due to their size and precision focus.

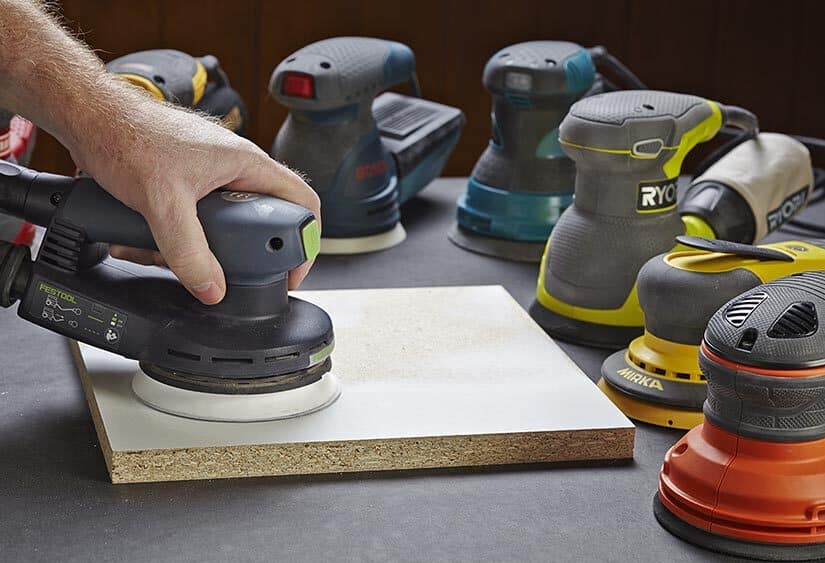
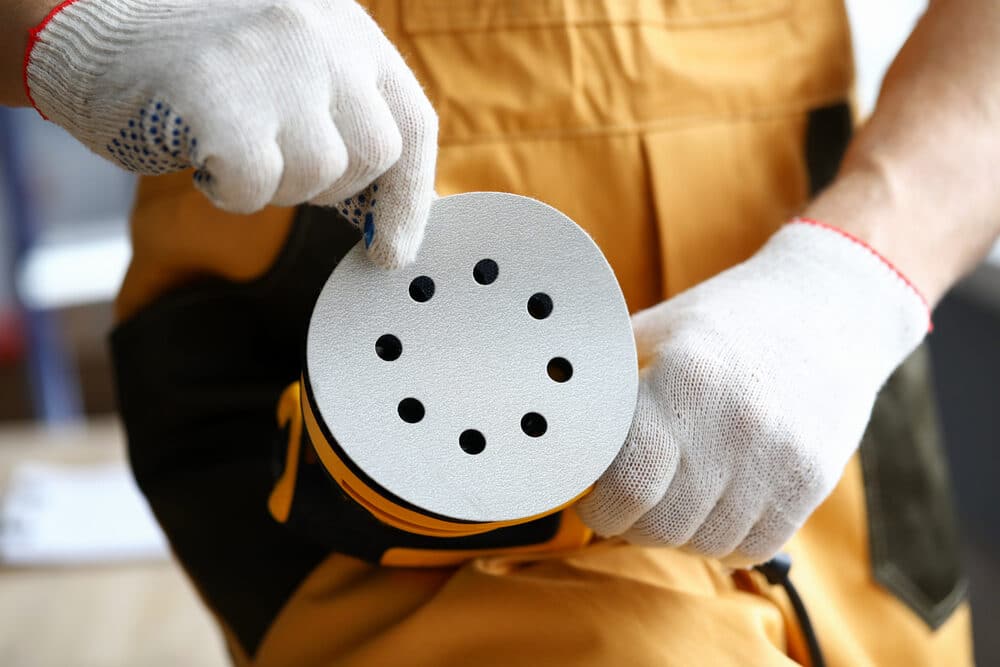
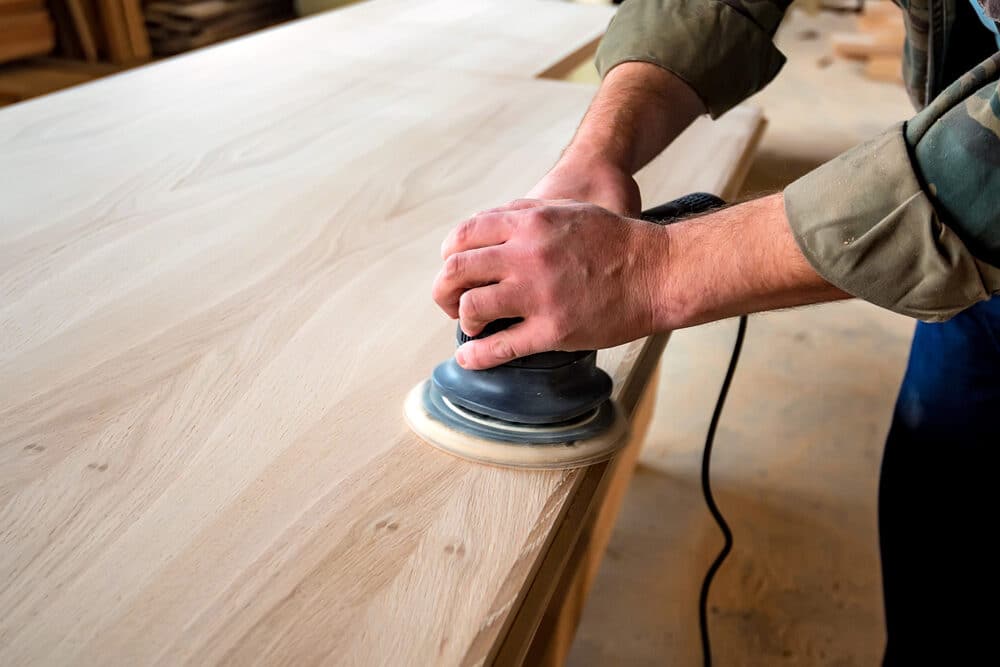
4. Random Orbital Sanders
Random orbital sanders combine the motions of both belt and orbital sanders, providing a swirling action that reduces the risk of leaving patterned marks. They are versatile and can be used for both rough and finished work.
- Pros:
- Versatile: suitable for a variety of tasks.
- Leaves a smoother finish with less risk of swirl marks.
- Cons:
- May be less effective for heavy-duty material removal.
- Can be more expensive than basic orbital sanders.
Each of these sanders has its place in a kitchen worktop restoration project. Your choice will depend on the specific requirements of your worktop material, the condition of the surface, and the desired finish. In the following sections, we will delve deeper into how to choose the right sander based on these factors and more.
Factors to Consider When Choosing a Sander
Selecting the right sander for your kitchen worktop restoration project is a decision that can significantly impact the outcome and efficiency of your work. Here are some key factors to consider to ensure you choose the best sander for your needs:
1. Type of Worktop Material
- Different materials require different sanding approaches. For instance, hardwoods can withstand more aggressive sanding, while softer woods or materials like laminate may need a gentler touch.
- Consider the grain of the wood and its hardness. Coarser sanders are better for rough, tough surfaces, while finer sanders are needed for delicate, detailed work.
2. Size and Shape of the Worktop
- The size of your worktop will determine the size of the sander you need. Larger sanders can cover more area quickly, making them ideal for big, flat surfaces.
- For worktops with lots of corners, edges, or intricate designs, a smaller, more manoeuvrable sander like a detail sander might be more appropriate.
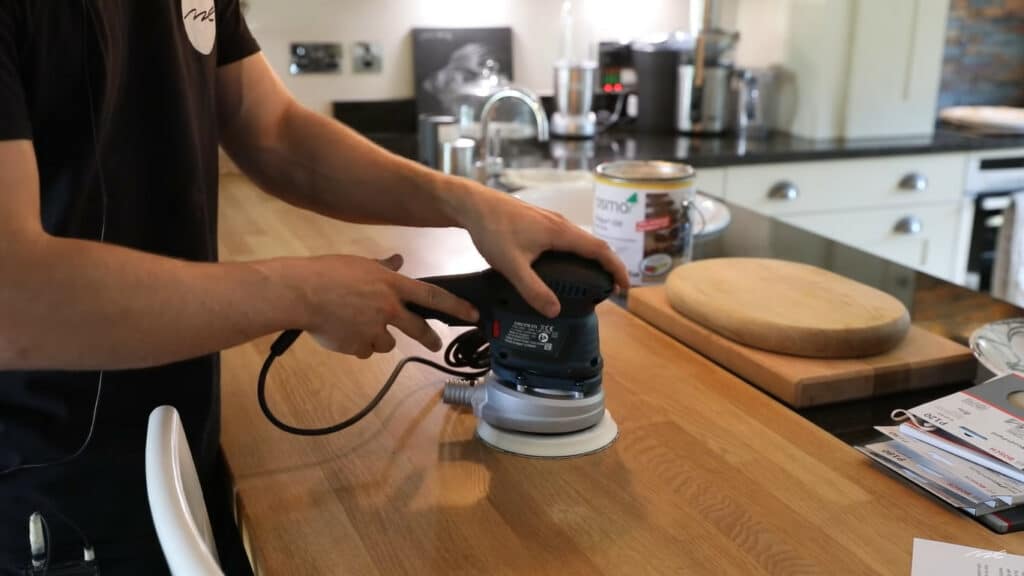
3. Desired finish quality
- If you are looking for a highly smooth and refined finish, you’ll likely need a finer sander, such as an orbital or random orbital sander.
- For basic shaping or removing old finishes, a more powerful sander, like a belt sander, might be suitable.
4. Budget Considerations
- Sanders come in a wide range of prices. Decide how much you’re willing to invest in a sander based on how frequently you plan to use it.
- Higher-priced sanders often offer more features and durability, but for a one-time project, a more affordable model might suffice.
5. User experience and skill level
- If you are new to DIY projects, you might prefer a sander that is easier to handle and control, such as an orbital sander.
- More experienced users might opt for a more powerful and versatile sander, like a random orbital sander.
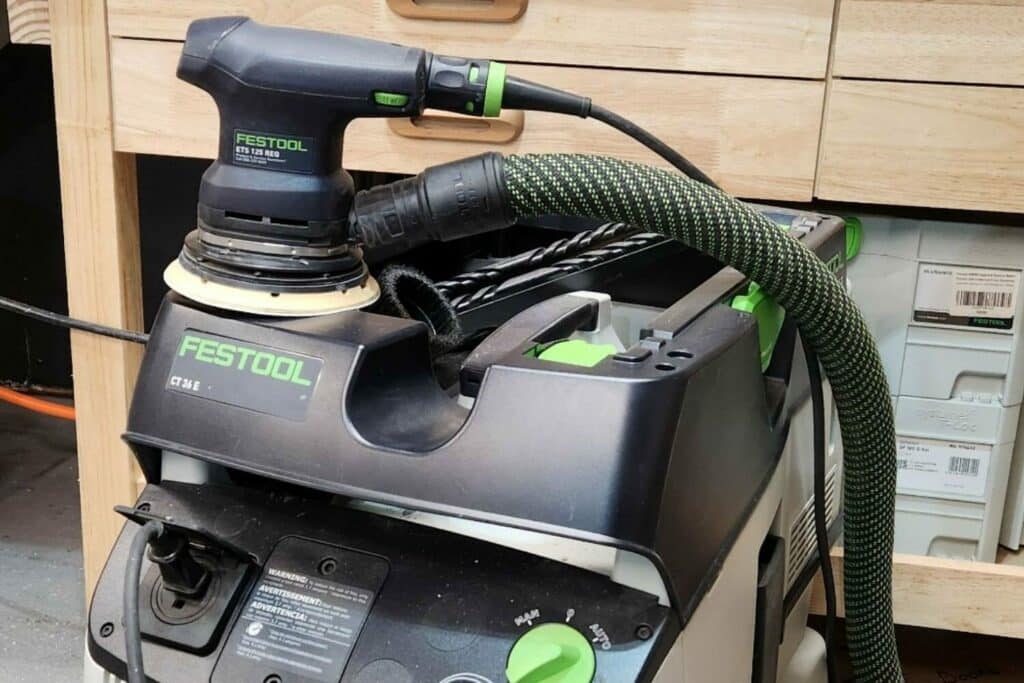
6. Dust Collection Features
- Sanding can create a lot of dust, which can be harmful to breathe and messy to clean. Consider sanders with built-in dust collection systems to keep your workspace clean and safe.
7. Ergonomics and Comfort
- The design of the sander should allow for comfortable use over extended periods. Look for features like vibration control, comfortable grips, and lightweight designs.
8. Power Source
- Sanders are either electrically powered or pneumatic (air-powered). Electric sanders are more common for home use, while pneumatic sanders are typically used in professional settings.

9. Availability of Accessories
- Ensure that sandpaper and other accessories for the sander are readily available and come in the grits and types you need for your project.
Sanding Techniques for Optimal Results
Achieving the best results in your kitchen worktop restoration project is not just about choosing the right sander; it’s also about employing the right sanding techniques. Here are some essential tips and techniques to help you get the optimal finish on your worktop:
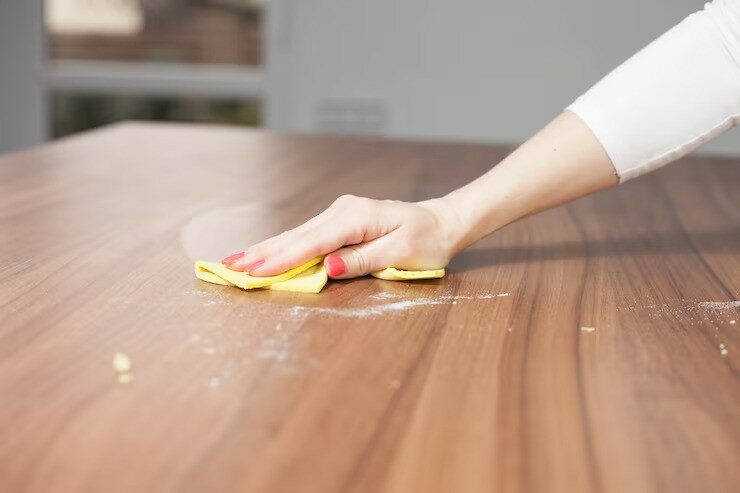
Preparing the Worktop Surface
- Begin by cleaning the worktop thoroughly to remove any grease, dirt, or old finish. This step ensures the sandpaper does not become clogged, leading to more efficient sanding.
- If there are any nails or screws on the surface, either remove them or ensure they are well below the surface level to avoid damaging the sander.
Choosing the Right Grit
- Start with a coarser grit to remove the old finish and major imperfections, then gradually move to finer grits for a smooth finish.
- Typically, you might start with a grit of around 60–80 for initial sanding, then progress to 120–150, and finish with 220-320 for a fine, smooth surface.
Sanding Patterns and Pressure Application
- Always sand in the direction of the wood grain to avoid scratches that are difficult to remove.
- Apply even pressure throughout, but avoid pressing too hard, as it can cause gouges in the wood and uneven surfaces.
- For orbital and random orbital sanders, let the tool do the work. Excessive pressure can hinder the sander’s operation and result in a less smooth finish.
Using Different Sanders for Different Tasks
- Use a belt sander or a heavy-duty orbital sander for initial, rough sanding.
- Switch to a finer orbital or random orbital sander for finishing touches.
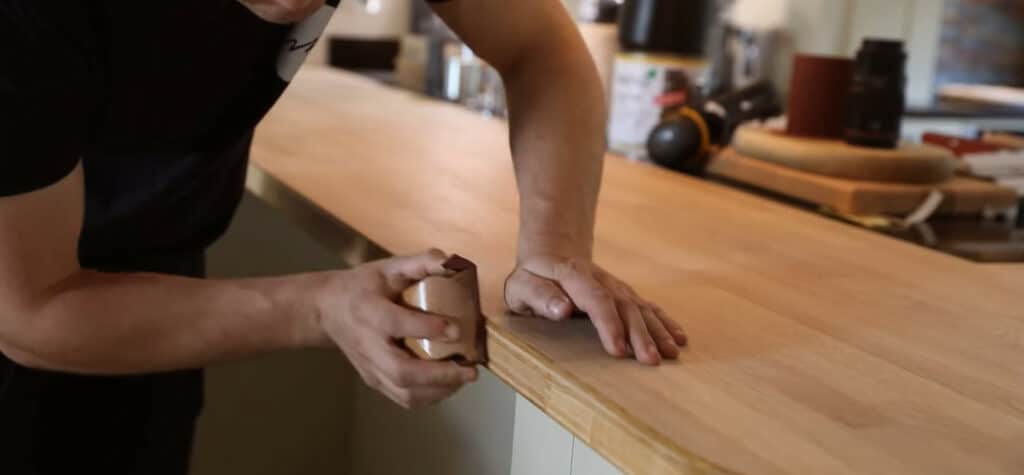
Dealing with Edges and Corners
- For tight corners and edges, a detail sander or hand sanding might be necessary. These areas require more precise control than larger, flat surfaces.
Monitoring Progress
- Frequently check your progress and inspect the surface to ensure even sanding.
- Wipe down the surface between sandings with different grits to remove dust and get a clear view of the worktop’s condition.
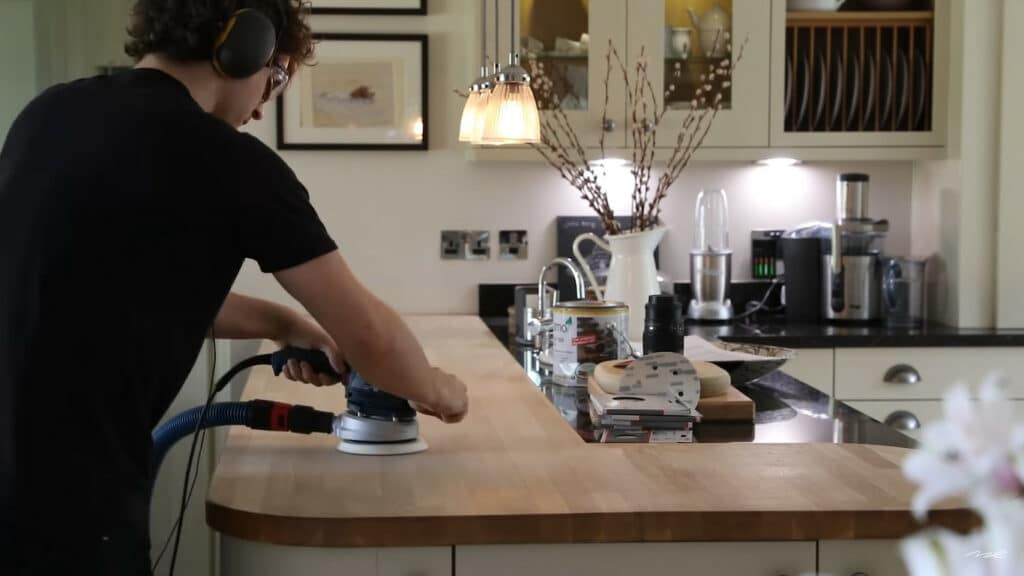
Dust Management
- Use sanders with dust collection systems or attach a vacuum to minimise dust.
- Wear a dust mask and ensure good ventilation in your working area.
Final Touches
- After reaching the desired smoothness, use a tack cloth or a slightly damp rag to remove all the sanding dust from the surface.
- Inspect the worktop for any missed spots or uneven areas, and sand them as needed.

Safety Precautions
- Always wear safety goggles and a dust mask to protect yourself from wood dust and debris.
- Follow the manufacturer’s safety instructions for your specific sander model.
Safety Tips and Best Practices
Sanding, especially during a kitchen worktop restoration project, involves several risks. It’s crucial to adhere to safety guidelines and best practices to ensure a safe and successful project. Here are some essential safety tips and best practices to consider:

Personal Protective Equipment (PPE)
- Eye Protection: Always wear safety goggles to protect your eyes from dust and debris.
- Respiratory Protection: Use a dust mask or a respirator, especially when working with materials that can generate harmful dust.
- Hearing Protection: Consider using earplugs or earmuffs, as some sanders can be quite loud, especially during extended use.
Proper handling and maintenance of Sanders
- Read the manual: Familiarise yourself with your sander’s instructions and safety warnings.
- Check Before Use: Inspect the sander for any damage, loose parts, or defects before use.
- Proper Handling: Hold the sander firmly with both hands (if applicable) and maintain control at all times to prevent slipping.
- Regular Maintenance: Keep the sander clean and replace worn-out parts, such as sandpaper or belts, as needed.
Workspace preparation and clean-up
- Well-Ventilated Area: Ensure your workspace is well-ventilated to reduce the accumulation of dust.
- Tidy Workspace: Keep your workspace free of clutter to avoid tripping hazards and to have a clear working area.
- Dust Collection: Use sanders with built-in dust collection features or attach a vacuum to minimise airborne dust.
- Post-Work Clean-Up: Thoroughly clean the workspace after sanding to remove all dust and debris.
Electrical Safety
- Check Cords: Regularly inspect power cords for damage and ensure they are not a tripping hazard.
- Avoid water: Never use electric sanders in wet conditions to prevent electric shock.
- Proper Storage: Unplug the sander when not in use and store it in a dry, safe place.
Avoiding Fatigue
- Take Breaks: Regular breaks can help prevent fatigue and maintain focus, reducing the risk of accidents.
- Correct Posture: Use a comfortable working height and avoid awkward positions to reduce strain on your body.
Safe sanding techniques
- Gentle pressure: Let the weight of the sander do the work. Applying too much pressure can lead to a loss of control.
- Stay Focused: Always stay attentive to the task at hand and avoid distractions.
Handling chemicals and finishes
- If your project involves stripping finishes or using chemicals, wear appropriate gloves and follow the product’s safety instructions.
Child and pet safety
- Keep children and pets away from the workspace to avoid accidents.
First Aid
- Keep a first-aid kit nearby in case of minor injuries.
DIY vs. Professional Restoration
When it comes to kitchen worktop restoration, homeowners often face the decision of whether to undertake the project themselves (DIY) or hire a professional. Both options have their merits and challenges. Understanding the differences can help you make an informed choice that suits your situation, skills, and budget.
DIY Restoration
Pros:
- Cost Savings: Generally, DIY is more cost-effective than hiring a professional. You save on labour costs and can control material expenses.
- Personal Satisfaction: Completing a restoration project on your own can be immensely satisfying. It offers a sense of accomplishment and the opportunity to tailor the project to your exact preferences.
- Skill Development: DIY projects are excellent opportunities to learn new skills and gain hands-on experience in home improvement.
Cons:
- Time-consuming: DIY projects can be time-intensive, especially if you are learning as you go.
- Risk of Mistakes: Without professional experience, there’s a higher risk of errors, which can sometimes lead to additional costs or the need to redo work.
- Tool and Equipment Availability: You might need to purchase or rent specific tools, which can add to the overall cost if you don’t already own them.

Professional Restoration
Pros:
- Expertise and Experience: Professionals bring a wealth of experience and skills, ensuring the job is done right the first time.
- Efficiency: Professionals can often complete the project faster due to their skills and experience.
- Quality and Durability: With professional work, there’s usually a guarantee of quality, which can extend the lifespan of your worktop.
Cons:
- Higher Cost: The main downside of hiring professionals is the cost. You pay for labour, expertise, and sometimes materials.
- Less Control: While professionals will consult with you, you might have less control over every detail of the project compared to doing it yourself.
- Scheduling: You’ll need to work around the professional’s schedule, which might not always align with yours.
Making the decision
- Assess Your Skills and Tools: Consider if you have the necessary skills and tools to complete the project. If not, are you willing and able to learn and acquire them?
- Consider the scope of the project. Larger or more complex projects might be better suited for professionals.
- Budget: Determine your budget and compare the estimated cost of DIY vs. hiring a professional.
- Time Availability: Consider how much time you can realistically dedicate to the project.
- Quality and Longevity: Weigh the importance of the finish quality and how long you need the restoration to last.
Conclusion
As we reach the end of our comprehensive guide on “Choosing the Right Sander for Your Kitchen Worktop Restoration Project,” it’s essential to reflect on the key insights and takeaways that can guide you in this rewarding yet challenging endeavour.
Firstly, the importance of selecting the right sander cannot be overstated. This choice is pivotal to the success of your restoration project. We’ve explored various types of sanders, from orbital to belt, detail to random orbital, and each has its own unique strengths suited for different aspects of the restoration process. Your decision should hinge on the specific needs of your worktop material, the size and shape of the worktop, and the desired finish quality.
Understanding the factors that influence your choice of sander, such as the type of worktop material, your budget, and your experience level, is crucial. These considerations ensure that you not only pick a sander that aligns with your project’s requirements but also one that fits within your skillset and financial constraints.
The techniques and approaches to sanding we’ve discussed are key to achieving the best possible finish. Remember, it’s not just about having the right tools; it’s also about using them correctly. The preparation of the worktop surface, choosing the right grit, applying the correct sanding patterns, and managing dust are all integral to achieving a professional-looking finish.
Safety, too, is paramount. The guidelines provided for personal protective equipment, handling and maintenance of sanders, and workspace preparations are designed to keep you safe and ensure a smooth, accident-free project.
Finally, the choice between DIY and professional restoration is a significant one. While DIY offers cost savings and personal satisfaction, professional restoration brings expertise, efficiency, and potentially higher-quality results. Your decision should be informed by a realistic assessment of your skills, the scope of the project, your budget, and the time you can dedicate to the project.
In conclusion, restoring your kitchen worktop can be an immensely satisfying project that not only enhances the aesthetic appeal of your kitchen but also adds value to your home. With the right sander, techniques, safety measures, and an informed choice between DIY and professional approaches, you’re well-equipped to tackle this project. We encourage you to embrace the process, learn from it, and take pride in the transformation you will achieve. Remember, every stroke of the sander brings you one step closer to reviving the heart of your home—your kitchen.


Sanding
We provide virtually dust-free sanding with our continuous belt machinery with mobile extraction units, giving you a safer environment for your family.
Oiling
This organic finish not only adds beauty to your home but also has exceptional water-repellent characteristics, making it easier to clean and maintain.
Waxing
This natural floor finish offers the softest and most mellow appearance – and leaves your floor able to breath.
Buffing
Using soft buffing machines (and hand-polishing where required) will bring a wonderful sheen to your newly-finished floor.
Repairs
We offer a full assessment of your wooden floors to determine what repairs are needed to provide the perfect working surface for the later stages of sanding, staining and sealing.
Restoration
We offer a comprehensive restoration process designed to address floors that are improperly fitted or damaged over time through wear and tear.
Request a fixed price quote for your wood floor restoration now
Simply enter your postcode below to get started.
Services
Wood Floor Sanding Wood Floor Restoration Wood Floor Scratch Repair Squeaky Wood Floor Repair Parquet Floor Sanding Parquet Floor Restoration Commercial Floor Sanding Church Floor Sanding Community Centre Floor Sanding School Floor Sanding Gap Filling Gap Filling with ResinCopyright © Mr Sander®
Privacy & Cookies Terms & Conditions Complaints Procedure Cancellation Rights Sitemap

Get An Instant Price Estimate Before You Go…
Simply enter the rooms you need sanded and we’ll provide you with a price estimate instantly! Try our price calculator now.
Get a Price Estimate NowLocal Floor Sanding Experts
Over 500 5-Star Reviews
Safe, Dust Free Sanding
Operating Since 1994