London:
Nationwide:
Re-finishing & Screening Your Wooden Floor: A Complete DIY Guide
Posted on June 14, 2023
Floor Renovations Blog
Screening Your Wooden Floor: A Complete DIY Guide
Refinishing your wooden floor can give your home a facelift, and while it might seem intimidating, it can be broken down into manageable steps. In this comprehensive guide, we will walk you through one popular method of refinishing—screening—and how to do it effectively.Introduction to screening
Screening, or buffing, is scuffing up the finish on the floor to prepare it for a fresh coat. It’s less aggressive than full refinishing, making it a perfect solution for floors that are lightly scratched or look dull but are otherwise in good condition.
Advantages of Screening
Screening your hardwood floors can help remove minor surface scratches and restore the shine of the finish. It’s quicker, less messy, and less expensive than full refinishing, and you can typically complete the process in a single day.Tools and materials required for screening
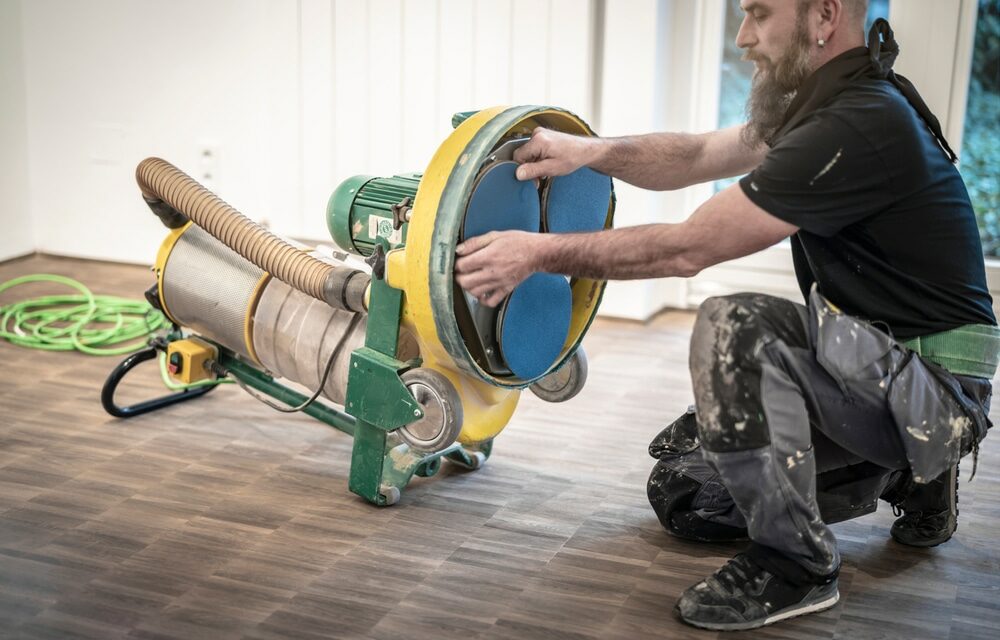
You will need several tools and materials to screen your wooden floor successfully:- Buffer/Screening Machine: You can rent these machines at your local hardware store.
- Screens: 100-grit or 120-grit screens are typically used for this process.
- Vacuum cleaner or dust collection system
- Tack Cloth
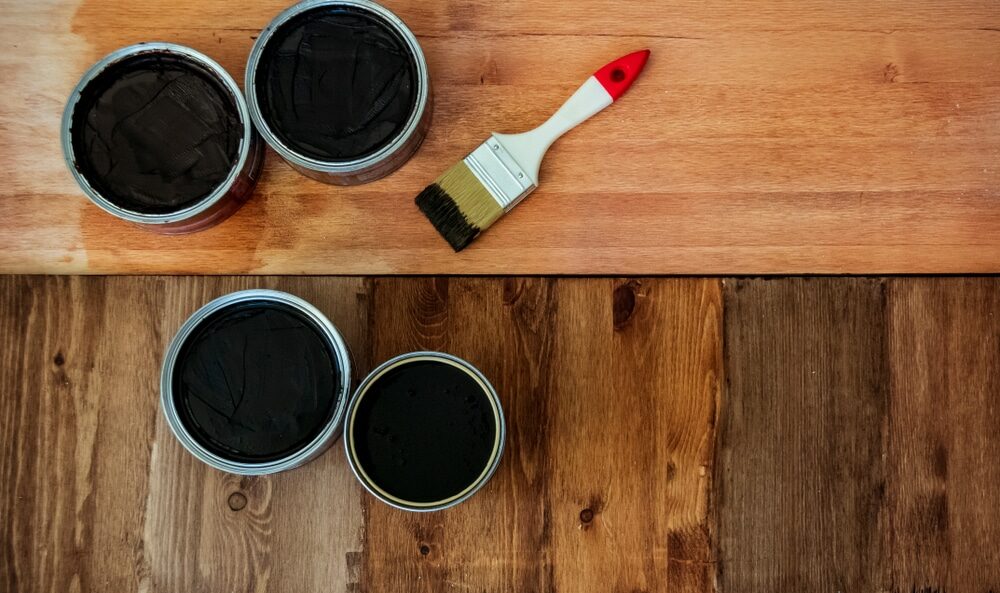
- Polyurethane finish or other floor finish
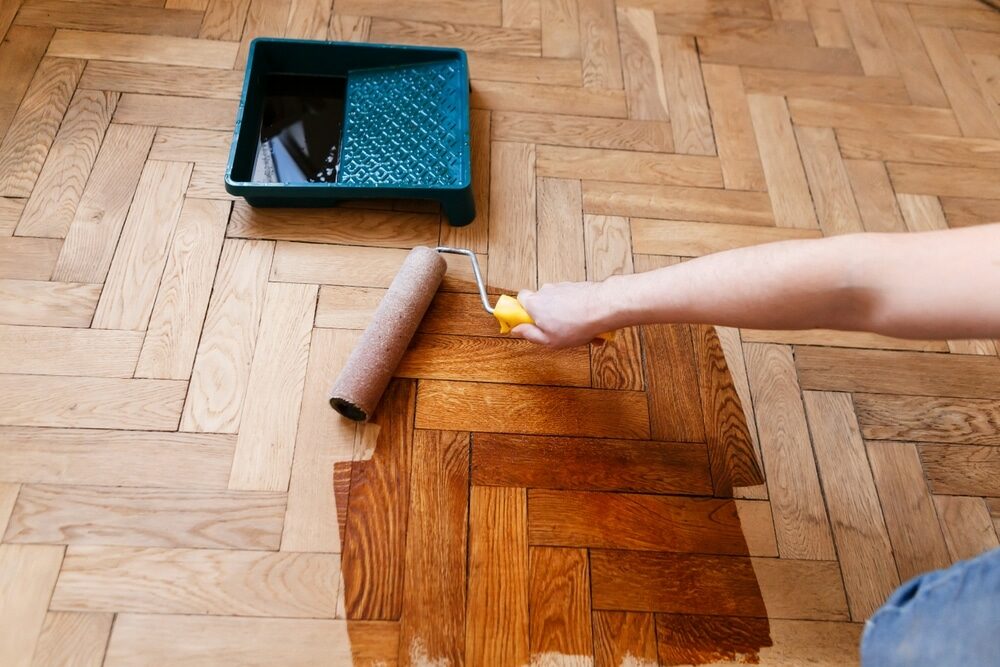
- Paint Roller and Tray
- Protective gear: dust masks, goggles, and ear protection

Step 1: Preparing the Room
Remove all furniture, rugs, and items from the room. Cover any vents and electrical outlets with plastic sheeting and painter’s tape to prevent dust from entering. Also, ensure all nails are set below the floor’s surface to avoid damaging the screen.Step 2: Getting Acquainted With the Buffer
Before starting, take some time to understand how to operate the buffer. Practice moving it back and forth without letting it sit in one spot to avoid damaging the floor. Remember, the buffer should be kept in motion while the motor is running.Step 3: Installing the Screen
Attach the screen to the base of the buffer following the machine’s instructions. Ensure it’s securely fastened before you start.Step 4: Screening the Floor
Start the buffer and move it back and forth along the grain of the wood, never against it. Overlap your paths to ensure an even scuffing. Remember to keep the buffer in motion.Step 5: Paying Attention to Corners
Use a sanding screen by hand or a small detail sander to scuff up the corners and edges where the buffer can’t reach.Step 6: Vacuum and Tack
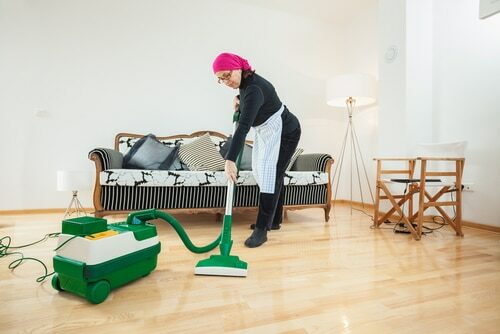
Once you’ve screened the entire floor, vacuum up all the dust. Follow this with a damp (not wet) tack cloth to pick up any remaining dust particles.Step 7: Applying the Finish
Once the floor is clean, you’re ready to apply the finish. Use a high-quality, long-lasting polyurethane finish for the best results. Apply the finish along the wood grain using a paint roller, starting at the farthest point from the door, to avoid painting yourself into a corner.Step 8: Letting the Finish Cure
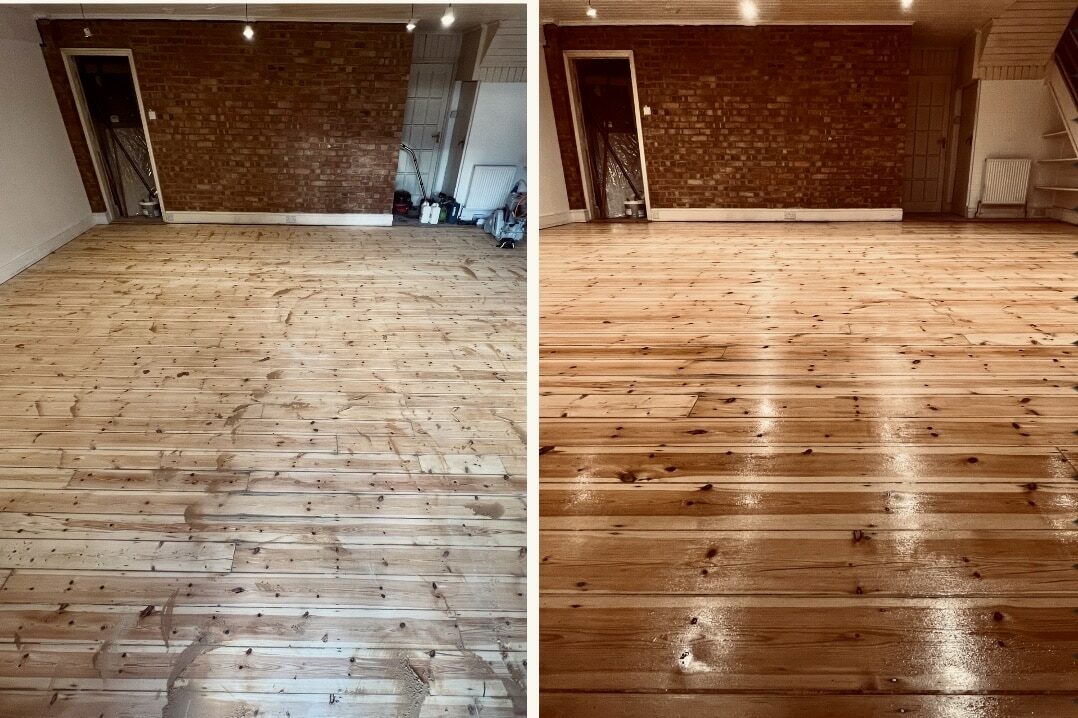
After applying the finish, give it enough time to dry and cure. It’s usually best to let it cure overnight but follow the manufacturer’s instructions. After the recommended curing time, your floor will look like new again!Conclusion
Screening is an excellent way to give your wooden floor a fresh look without the time, effort, and expense of a full refinish. With the right tools, materials, and steps, you can rejuvenate your floors and enhance the look of your home. Give your floors the love they deserve, and watch them shine!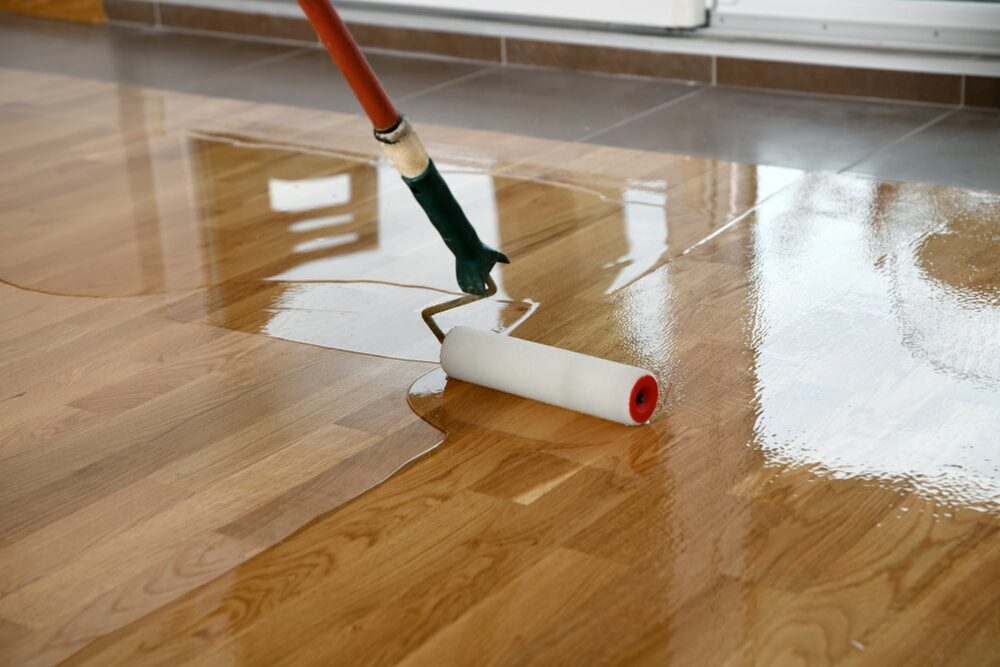
Some Useful Links:
- Floor Sanding Services
- School Floor Sanding
- Wood Floor Restorations
- Wood Floor Repairs
- Wood Floor Polishing
More from our Blog:
How to Sand Hardwood Floors in 10 Easy Steps Reviving Victorian Elegance: Floorboard Sanding in West London Homes The Rise of Carpet Tiles: A Popular Choice for Modern Flooring The Biggest Wood Flooring Trends Revealed: Creating Timeless Interiors Wood Flooring: The Sustainable Choice for Your Home
Sanding
We provide virtually dust-free sanding with our continuous belt machinery with mobile extraction units, giving you a safer environment for your family.
Oiling
This organic finish not only adds beauty to your home but also has exceptional water-repellent characteristics, making it easier to clean and maintain.
Waxing
This natural floor finish offers the softest and most mellow appearance – and leaves your floor able to breath.
Buffing
Using soft buffing machines (and hand-polishing where required) will bring a wonderful sheen to your newly-finished floor.
Repairs
We offer a full assessment of your wooden floors to determine what repairs are needed to provide the perfect working surface for the later stages of sanding, staining and sealing.
Restoration
We offer a comprehensive restoration process designed to address floors that are improperly fitted or damaged over time through wear and tear.
Request a fixed price quote for your wood floor restoration now
Simply enter your postcode below to get started.
Services
Wood Floor Sanding Wood Floor Restoration Wood Floor Scratch Repair Squeaky Wood Floor Repair Parquet Floor Sanding Parquet Floor Restoration Commercial Floor Sanding Church Floor Sanding Community Centre Floor Sanding School Floor Sanding Gap Filling Gap Filling with ResinCopyright © Mr Sander®
Privacy & Cookies Terms & Conditions Complaints Procedure Cancellation Rights Sitemap
