London:
Nationwide:
25,000+
Floors Restored
27 Years Experience
Wood Flooring Association Certified
Tips for Effective Edge Sanding on Stairs
Posted on September 1, 2023
Edge sanding
Mastering the Art of Edge Sanding on Stairs
Ah, stairs! Those wonderful yet perplexing architectural wonders that we use daily If you’ve ever tried to refinish or renovate them, you’ll know that the real bugbear isn’t the broad steps themselves, but those pesky edges. And if you’re nodding right now, this article is certainly for you. Stair edges are a bit like the details in a well-tailored suit. Get them right, and you’ve got an elegant set of stairs that’ll make your neighbours green with envy. Get them wrong? Well, let’s just say it’s the equivalent of wearing socks with sandals—a tad unsightly. Now, let’s get down to business. We’re about to embark on the wonderful journey of effective edge sanding on stairs. Ready? Of course you are.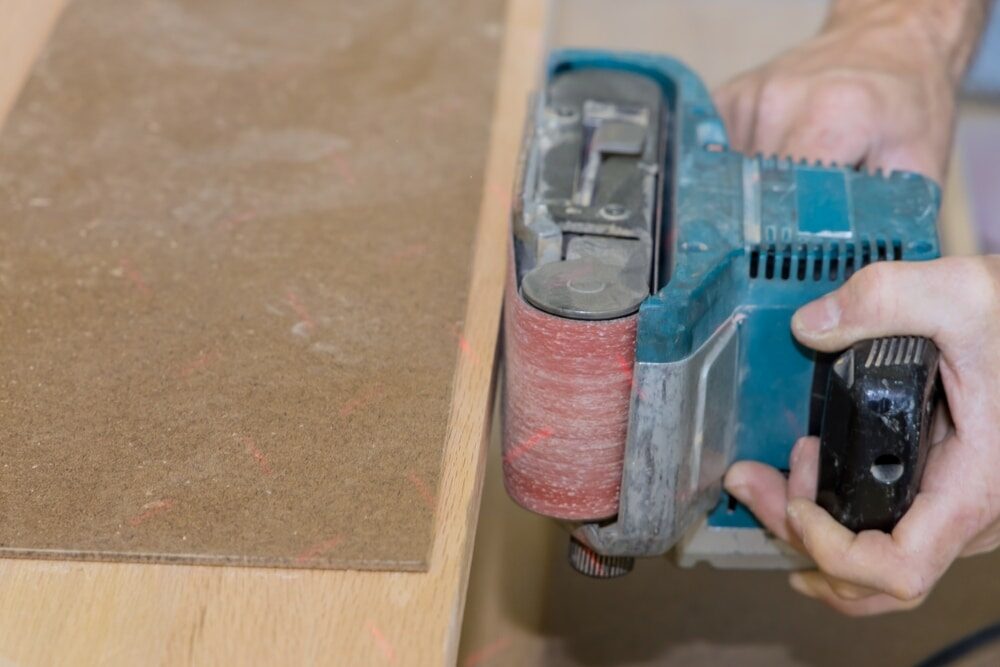
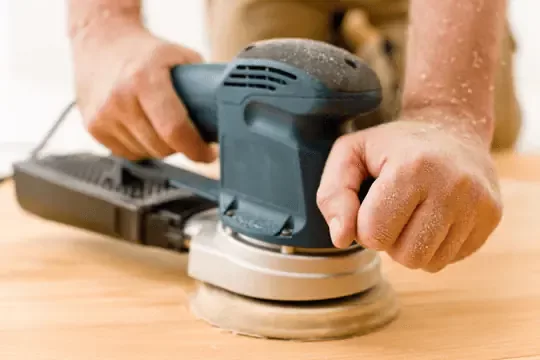
1. Choose your weapon wisely.
When I say ‘weapon’, I mean ‘sander’. But bear with me; I like to add a sprinkle of drama now and then. The first thing you’ll want to do is select a sander that can get into those tight corners and narrow spaces. Your typical belt or orbital sander may be brilliant for broad surfaces but is a tad unwieldy for stair edges. Instead, go for a detailer or mouse sander. Their compact design and pointed tip make them particularly adept at tackling nooks and crannies.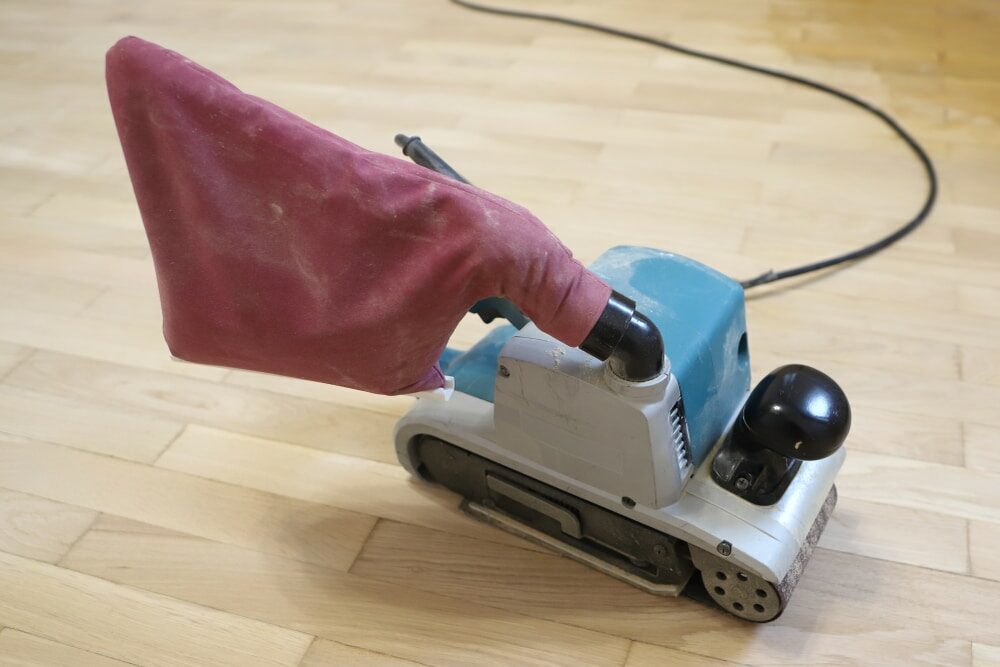
2. Get your grit right.
Much like how tea strength divides the British nation, the grit of your sandpaper can be a topic of contention. Start with a coarser grit (around 40–60) to deal with any old finishes or glaring imperfections. Once you’ve smoothed out the bigger issues, transition to a medium grit (80–120) to refine the surface. Finish up with a fine grit (180-240) to achieve a polished look. Remember, it’s a progression. Jumping straight to fine grit is like wanting your tea before the kettle’s boiled. Patience, my friend.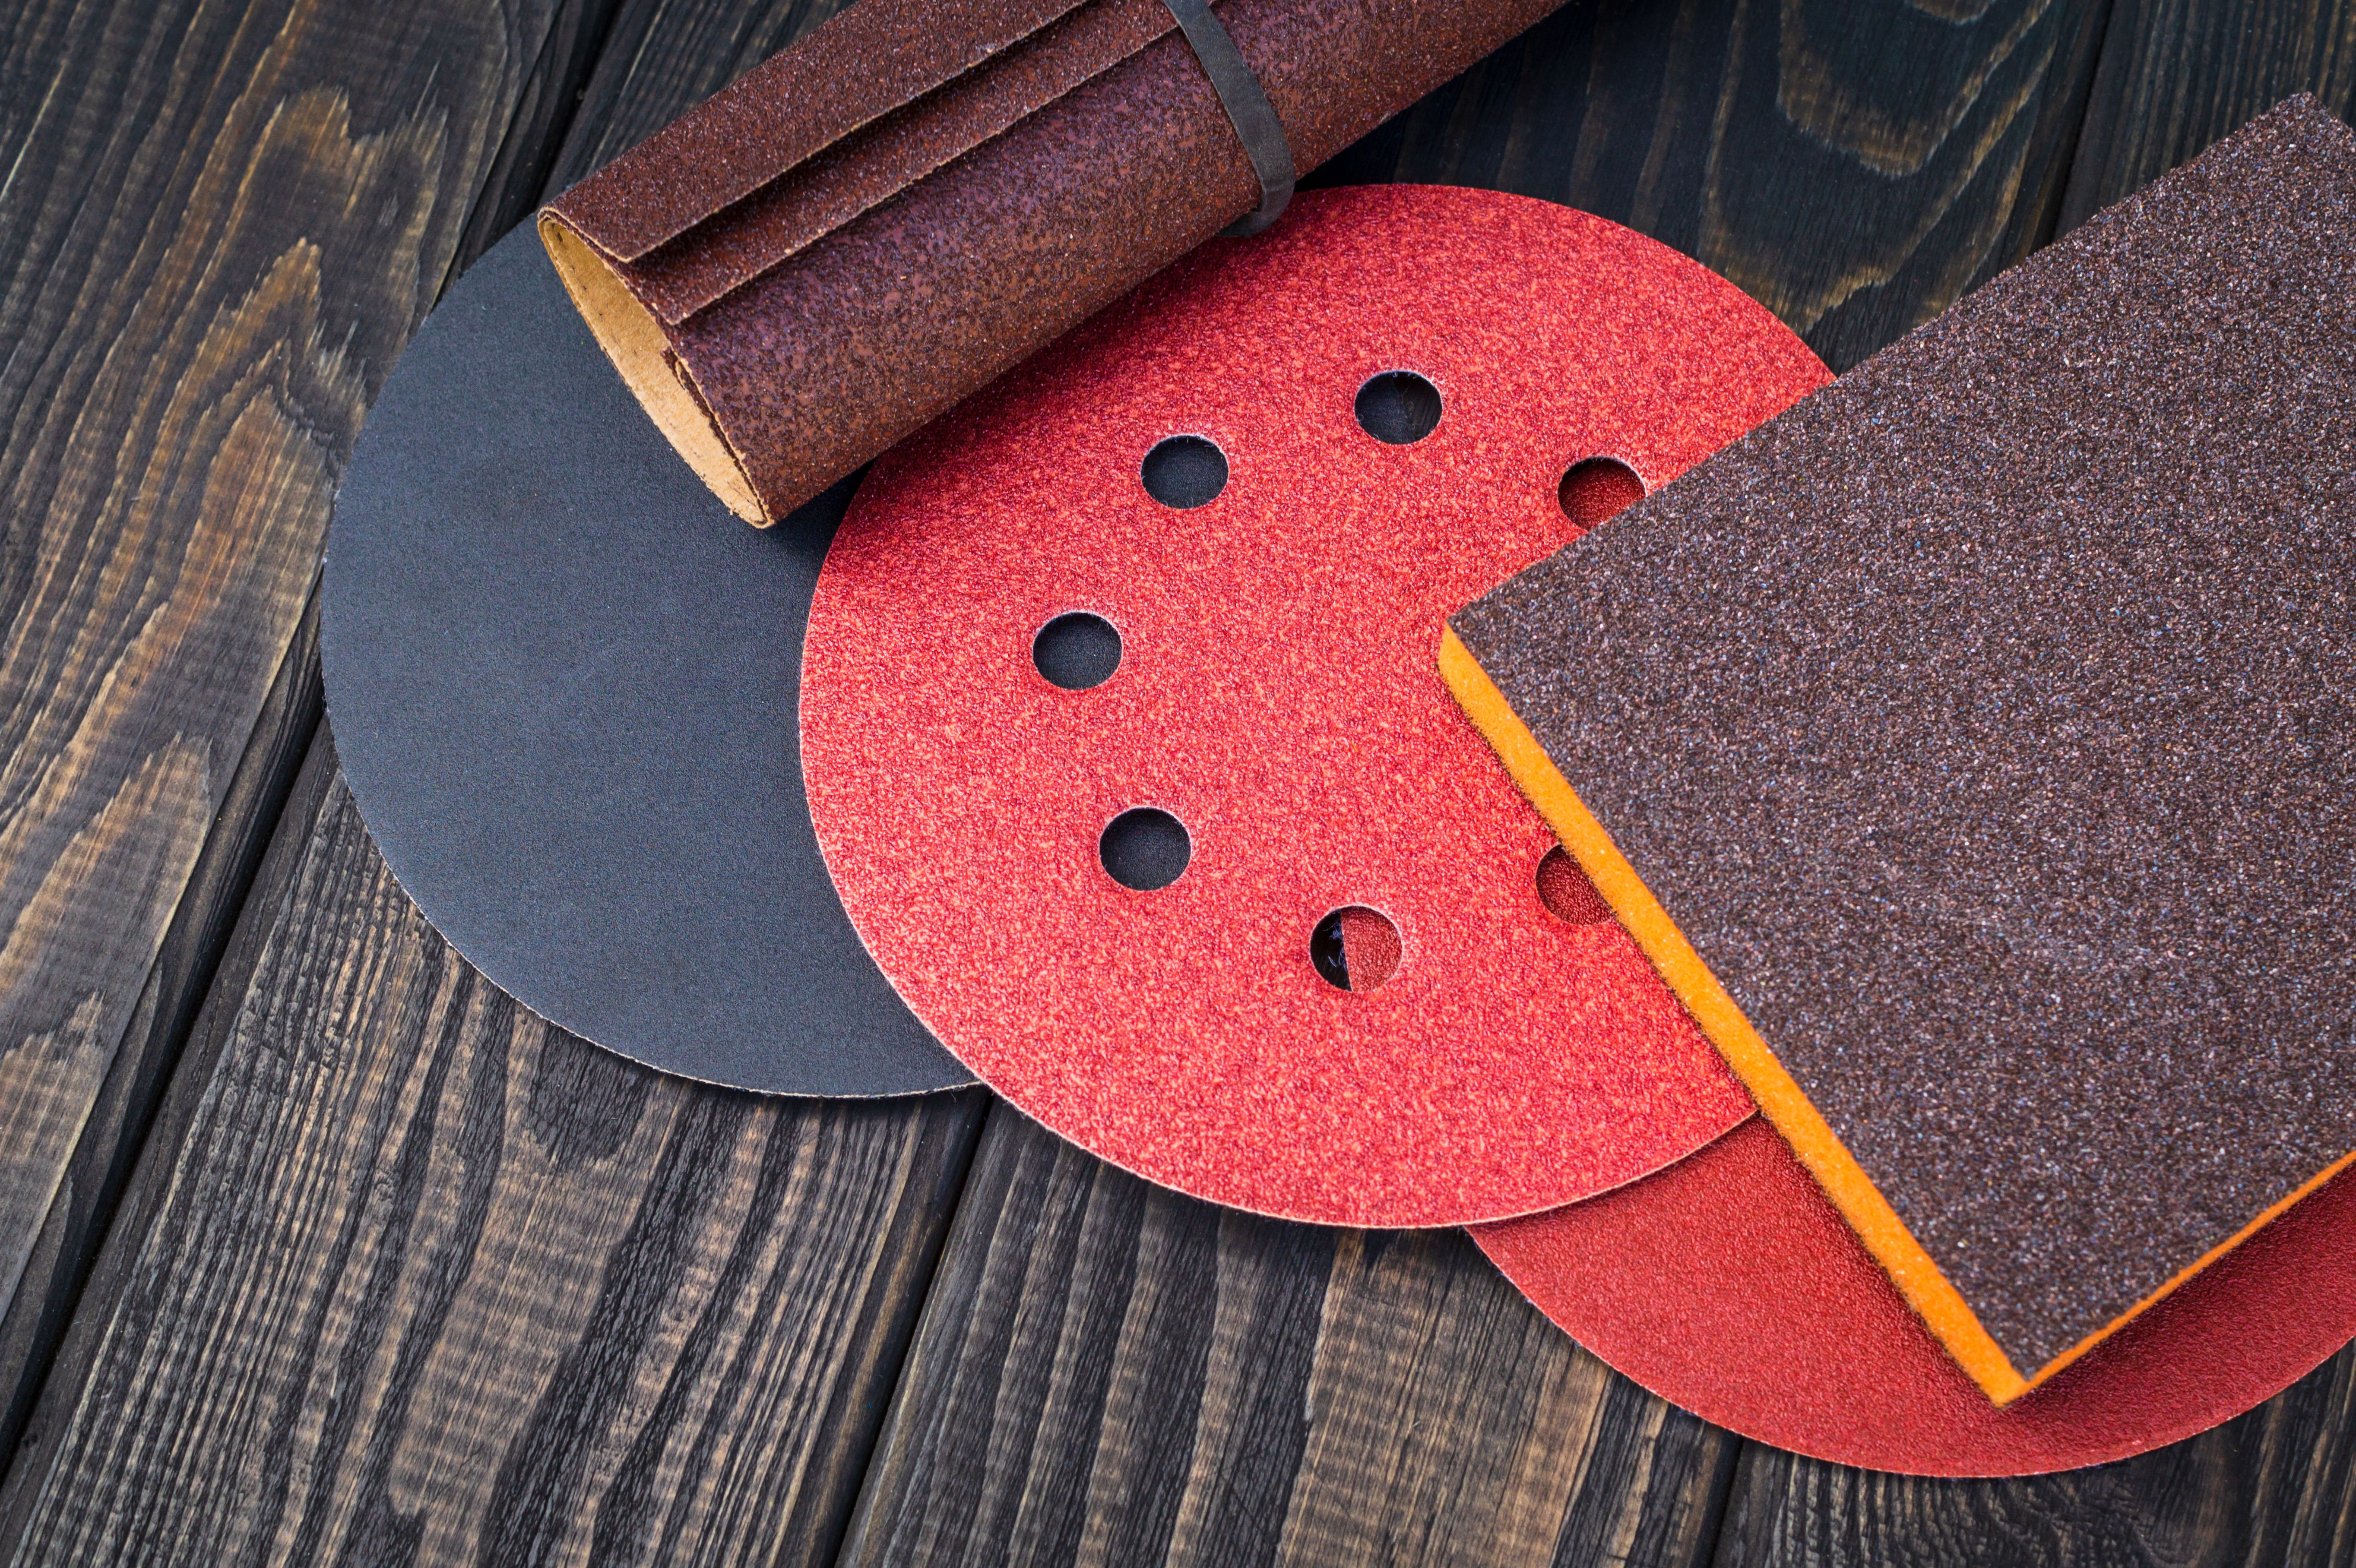
3. Keep your movements deliberate.
This isn’t a rave, and you’re not trying to set a world record. When sanding stair edges, maintain a steady, deliberate pace. Moving too quickly might not only result in a shoddy job but also in unsightly swirl marks. It’s akin to rushing a perfectly good cup of coffee; the results are just disappointing.4. Stay with the grain
Always sand in the direction of the wood grain. This minimises scratches and ensures a smooth finish. Think of it as stroking a cat. Go against the grain, and you might end up with a few nasty scratches.5. Dust is a no-no.
Remember, dust and debris can be your undoing. Not only does it hinder your visibility, but it can also get trapped under the sandpaper, causing unwanted scratches. Regularly vacuum the area and wipe down surfaces with a tack cloth. Also, a proper dust mask and goggles aren’t just a fashion statement; they’re necessary. Health first!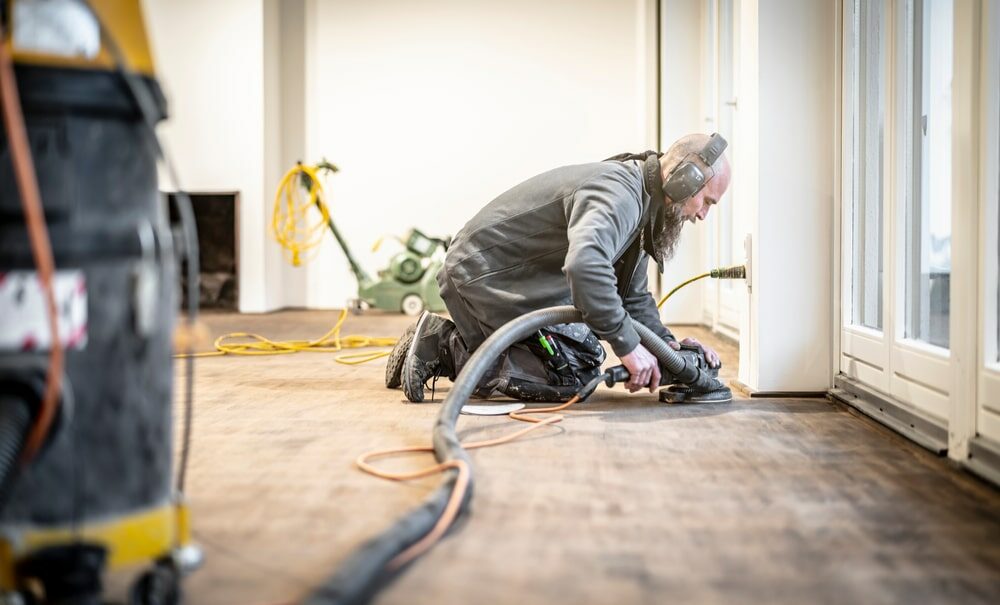
6. Finessing the Finish
Once you’ve sanded to satisfaction, give your stairs a good clean. This prepares them for any finishing touches like staining or sealing. Choosing the right finish can elevate your stairs from ‘meh’ to ‘magnificent’, much like the right biscuit can elevate a cup of tea. And don’t skimp on this step; a proper finish looks good and protects your hard work.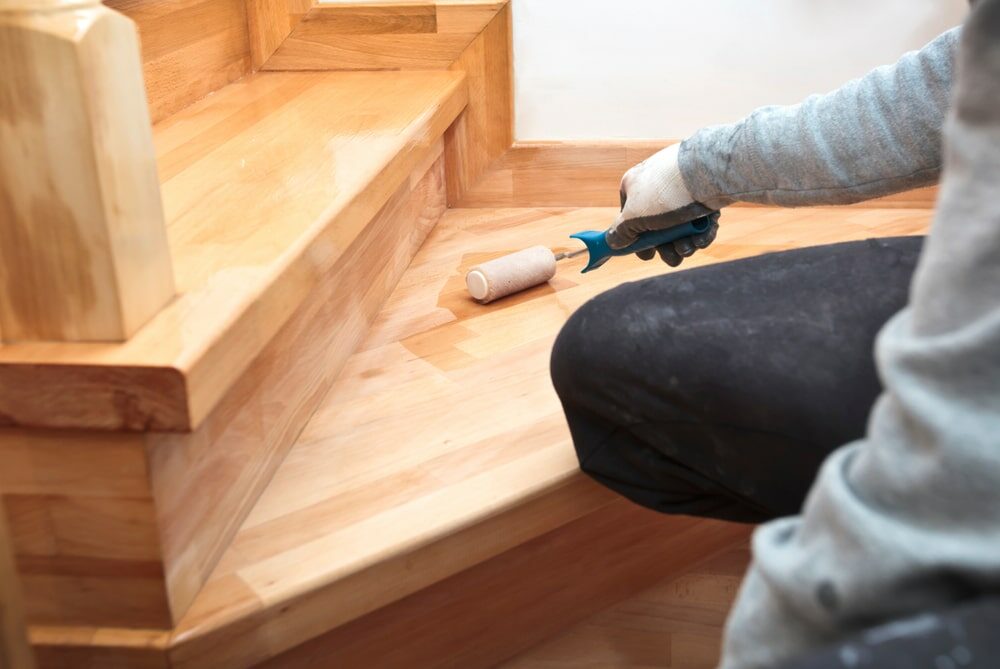
7. Practice makes perfect.
Like all skills, sanding stair edges effectively takes a bit of practice. If you’re unsure, it might be worth practising on some scrap wood or an inconspicuous area first. After all, the road to perfection is littered with a few mistakes. Learn, adapt, and continue.8. Mind Your Posture
Edge sanding requires precision. But that doesn’t mean compromising on your posture. Ensure you’re at a comfortable height and angle to prevent any aches or strains. Investing in some knee pads can also save you a world of hurt. Remember, comfort enhances efficiency.Know your wood
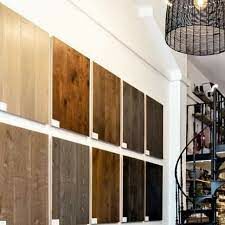
Just as every British region swears its pie or pudding is the best, woods vary in nature, too. Some woods are harder, like oak, while others are softer, like pine. Familiarise yourself with the type of wood you’re working on. Softer woods require a gentler touch as they can easily get gouged, whereas harder woods might need a tad more elbow grease.Edge sanding is not just for stairs.
Once you’ve mastered the art of edge sanding on stairs, consider where else this skill can be applied. Bookshelves, cabinets, and window sills often have edges that are overlooked. A keen eye and a detail sander can rejuvenate more than just your staircase.Re-Evaluate Between Stages
After you’ve finished with one grit, before transitioning to the next, take a step back. Examine the wood. Feel it. Look for any inconsistencies or areas that might need a bit more attention. It’s similar to reading a book and stopping occasionally to ponder a particularly profound sentence.Maintenance is key.
After your meticulous sanding job, consider how to maintain those edges in the long term. Regular dusting, occasional cleaning, and addressing any dents or scratches promptly will keep your staircase looking its best. It’s akin to caring for a beloved old sweater—with a bit of love and attention, it can serve you well for years. With these additional insights and tips, you’re not just looking at a one-off refurbishing job; you’re embracing a lifestyle of valuing the details and ensuring they last for years to come. Now, let’s wrap things up!Conclusion
Sanding stair edges, while fiddly, doesn’t have to be a daunting task. With the right tools, technique, and a dash of patience, you can achieve results that would make even a master carpenter nod in approval. So, next time you’re faced with a set of stairs that look a little worse for wear, don’t despair. Roll up your sleeves, brew a strong cup of tea, and tackle those edges with newfound knowledge and confidence. Cheers to splendid stairways!Some Useful Links:
- Stairs Sanding & Refinishing
- Floor Sanding Services
- School Floor Sanding
- Wood Floor Restorations
- Wood Floor Repairs
- Wood Floor Polishing
More from our Blog:
Differences Between Edge Sanding and Drum Sanding Techniques for Edge Sanding Hard-to-Reach AreasChoosing the Right Sandpaper for Edge Sanding How to Achieve Professional Results with Edge Sanding The Importance of Edge Sanding in Floor Refinishing Hand Scraping for Parquet Floors: Enhancing the Beauty of Geometric Designs The Versatility of Hand Scraping Floors: From Modern to Traditional Design Sanding and Hand Scraping Combination Techniques for Custom Wood Floors Hand Scraping Techniques for Different Types of Hardwood Floors How to Hand Scrape Floors Safely and Effectively
Sanding
We provide virtually dust-free sanding with our continuous belt machinery with mobile extraction units, giving you a safer environment for your family.
Oiling
This organic finish not only adds beauty to your home but also has exceptional water-repellent characteristics, making it easier to clean and maintain.
Waxing
This natural floor finish offers the softest and most mellow appearance – and leaves your floor able to breath.
Buffing
Using soft buffing machines (and hand-polishing where required) will bring a wonderful sheen to your newly-finished floor.
Repairs
We offer a full assessment of your wooden floors to determine what repairs are needed to provide the perfect working surface for the later stages of sanding, staining and sealing.
Restoration
We offer a comprehensive restoration process designed to address floors that are improperly fitted or damaged over time through wear and tear.
Request a fixed price quote for your wood floor restoration now
Simply enter your postcode below to get started.
Services
Wood Floor Sanding Wood Floor Restoration Wood Floor Scratch Repair Squeaky Wood Floor Repair Parquet Floor Sanding Parquet Floor Restoration Commercial Floor Sanding Church Floor Sanding Community Centre Floor Sanding School Floor Sanding Gap Filling Gap Filling with ResinCopyright © Mr Sander®
Privacy & Cookies Terms & Conditions Complaints Procedure Cancellation Rights Sitemap

Get An Instant Price Estimate Before You Go…
Simply enter the rooms you need sanded and we’ll provide you with a price estimate instantly! Try our price calculator now.
Get a Price Estimate NowLocal Floor Sanding Experts
Over 500 5-Star Reviews
Safe, Dust Free Sanding
Operating Since 1994