London:
Nationwide:
25,000+
Floors Restored
27 Years Experience
Wood Flooring Association Certified
How to Achieve Professional Results with Edge Sanding
Posted on September 1, 2023
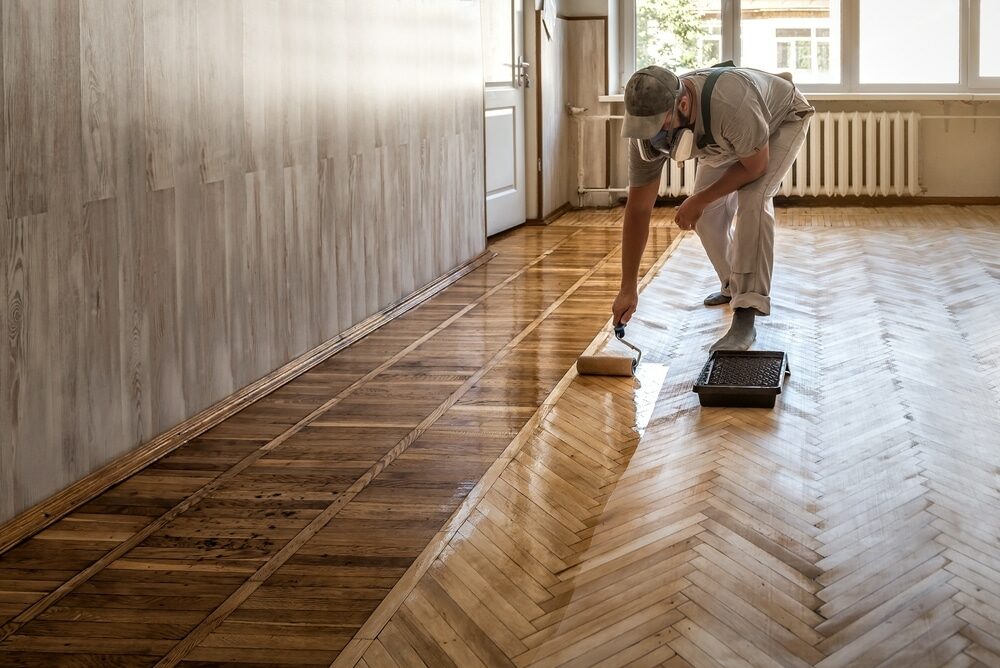
Edge sanding
Mastering Edge Sanding: A Guide to Achieving Professional Results
Picture this: the lustre of newly varnished wooden floors or the gleaming edges of a carefully crafted wooden table. The majesty of wood, when treated right, stands testament to the skills of the craftsman, and at the heart of this charm is the humble art of edge sanding. While this practice might be nuanced and a tad bit challenging for the uninitiated, mastering it is a sure-fire way to bring professional flair to your woodworking projects. Let’s embark on a journey through the hallowed alleys of edge sanding, uncovering tips and tricks to achieve results that are nothing short of professional.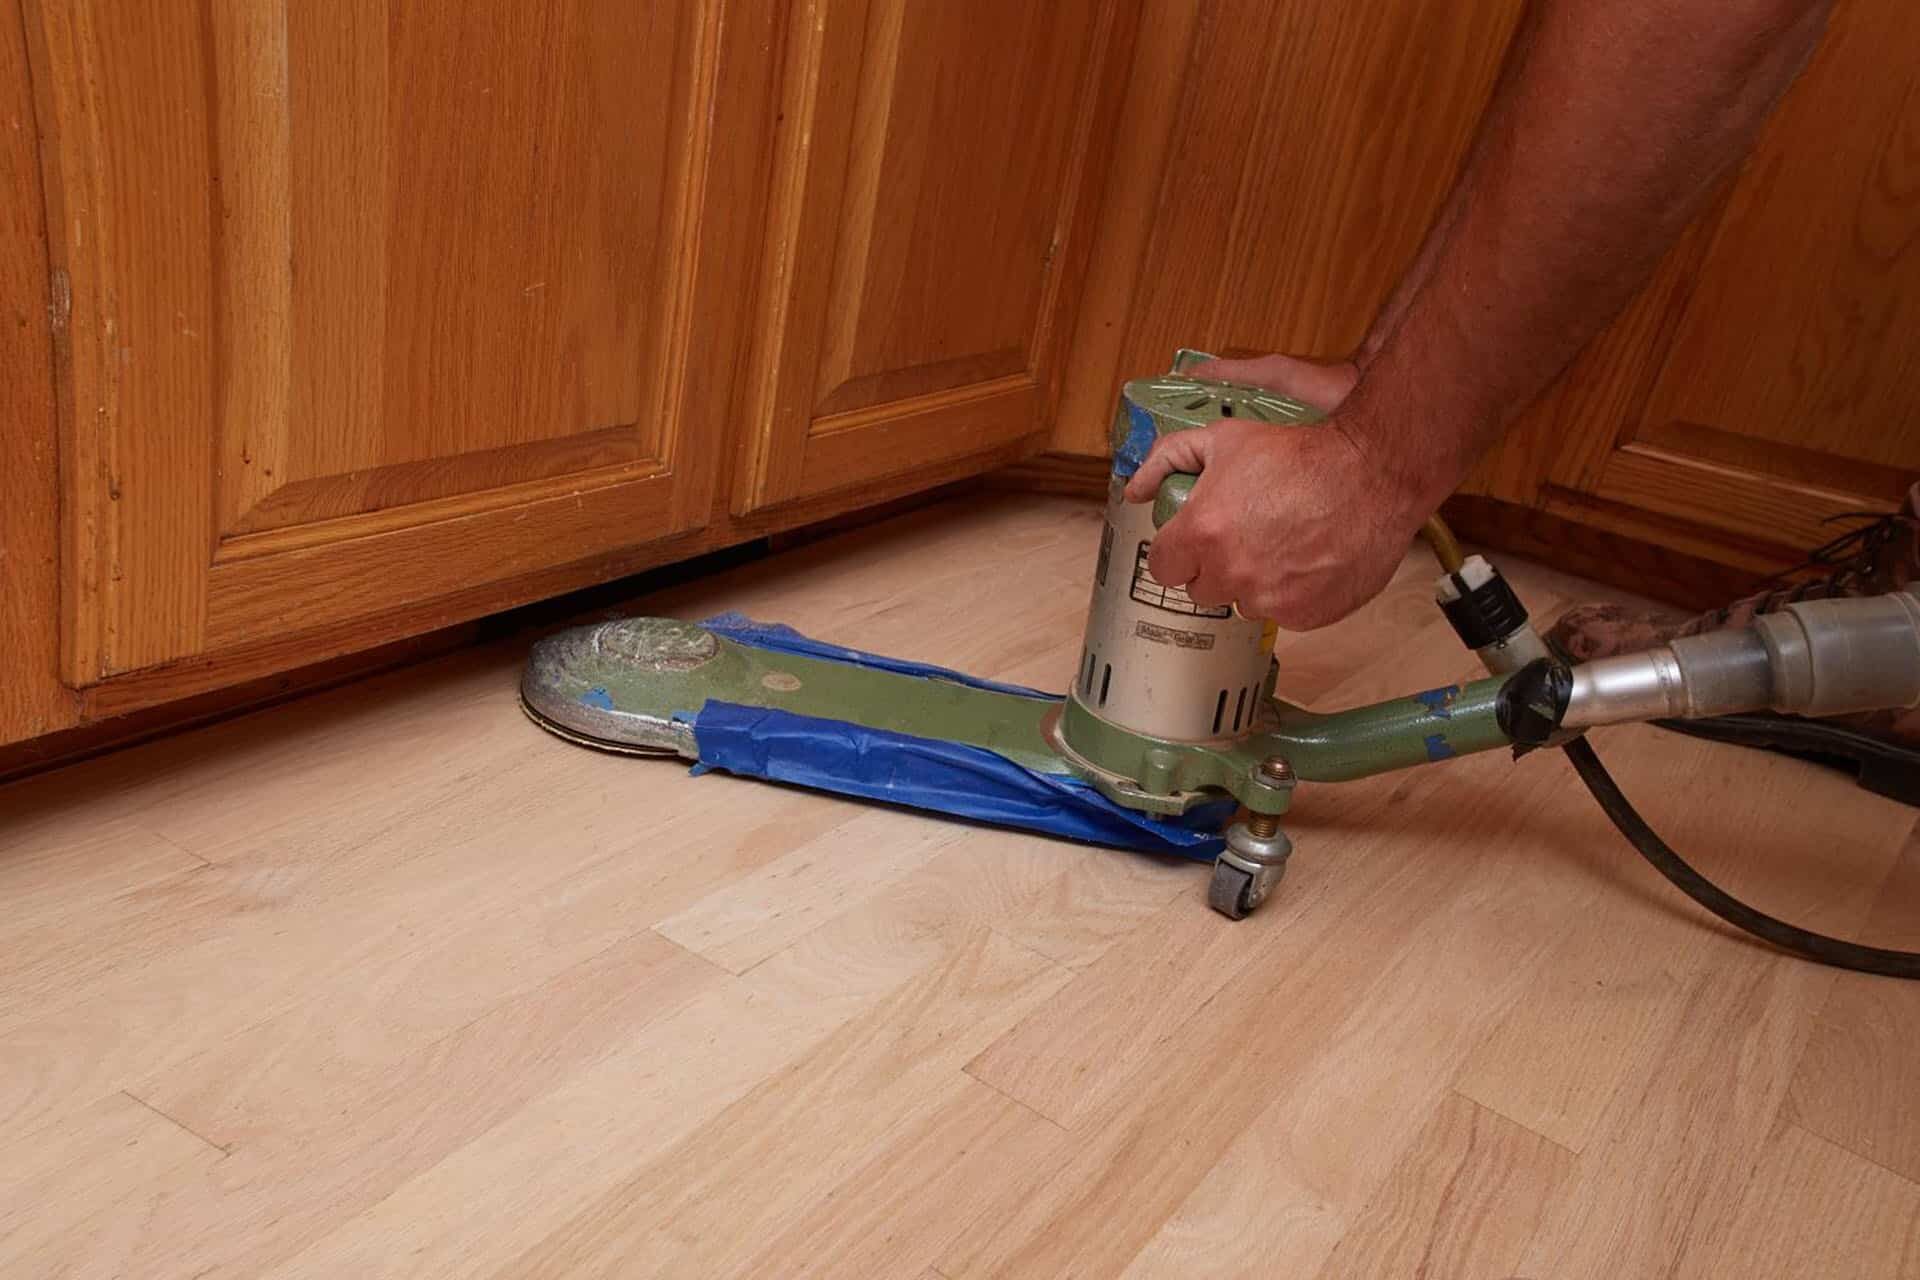
1. Understanding the essence of edge sanding
Before diving into the specifics, let’s appreciate the essence of edge sanding. Simply put, edge sanding is the art of smoothing the perpendicular edges of wooden pieces to ensure they’re free from splinters, rough patches, and inconsistencies. It not only enhances the aesthetic appeal but also preps the wood for finishing treatments.2. Selecting the Right Tools
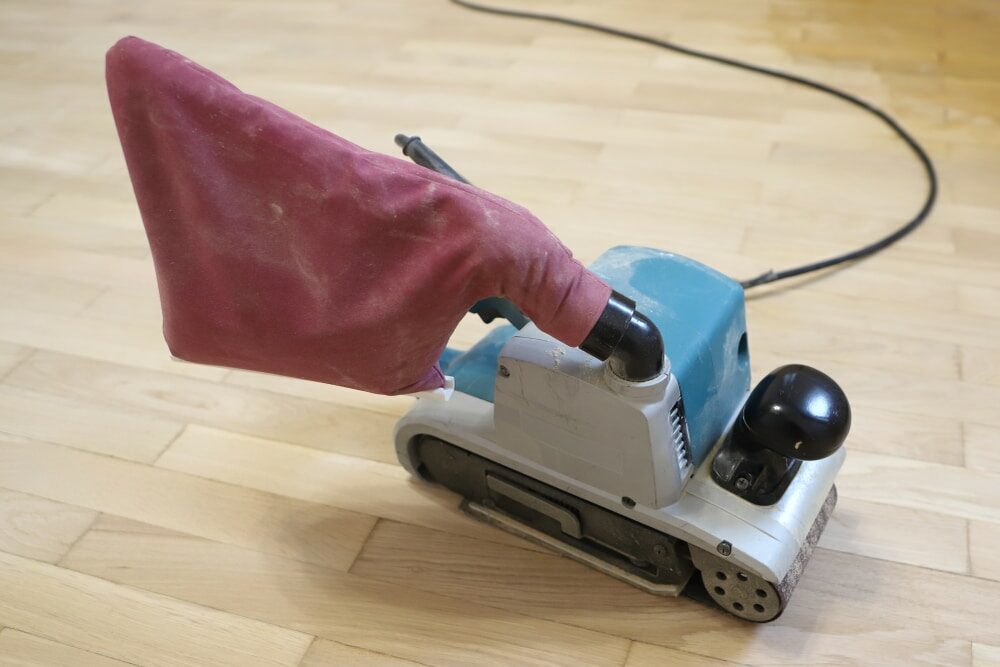
It’s an age-old saying in the craftsman’s world: “The right tool for the right job. When it comes to edge sanding, this couldn’t be truer. Two popular choices in the woodworking realm are:- Belt Sanders: Perfect for long, straight edges, they provide ample power and efficiency. However, they can be aggressive, so a gentle touch is paramount.
- Orbital Sanders: These are ideal for smaller projects and delicate materials. Their random motion reduces the chances of leaving sanding marks, granting a finer finish.

3. Perfecting the Technique
a. Sand with the grain: It’s Woodworking 101—always sand in the direction of the wood grain. This ensures that the abrasive particles of the sandpaper cut the wood fibres smoothly, reducing the risk of scratches and imperfections. b. Maintain Even Pressure: Whether you’re using manual sandpaper or powered sanders, maintaining consistent pressure is key. Uneven pressure can lead to dents and unsightly marks on your wood’s surface. c. Start with coarse, finish with fine: Begin with a coarser grit (60 or 80) to tackle the rough edges. Progressively move to finer grits (up to 220 or more) to achieve a super-smooth finish.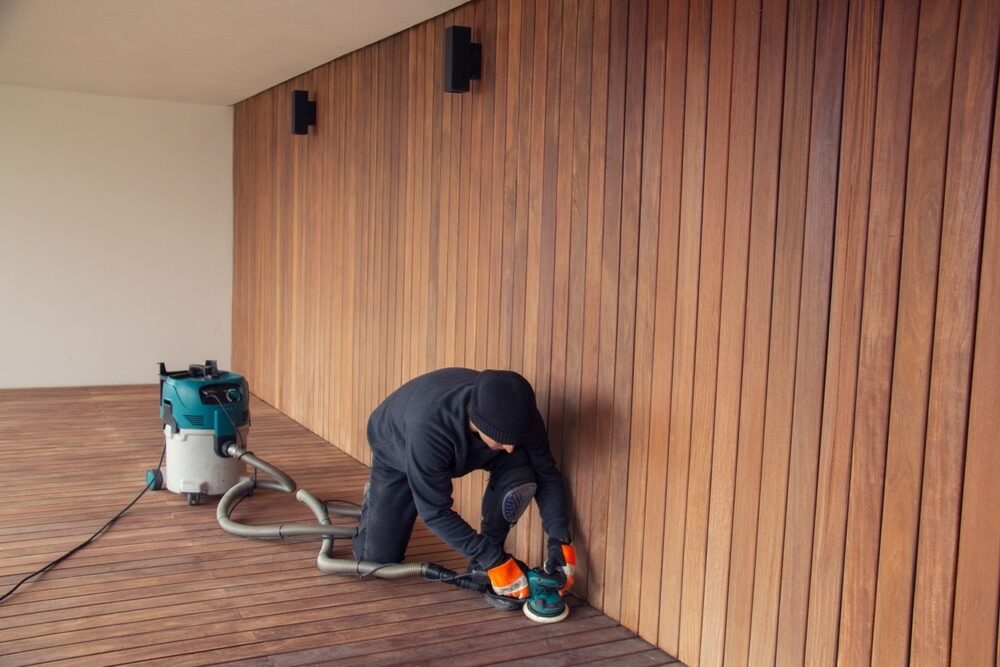
4. Safety first
Professionalism isn’t just about the end result. It’s also about the process. Always:- Wear safety goggles to protect your eyes from wood dust.
- Use ear protection, especially when working with loud power tools.
- Ensure your workspace is well-ventilated. Wood dust isn’t something you’d want to inhale.
- Keep a dust mask on, especially when working with certain types of wood that can produce toxic dust.

5. The Magic of Hand Sanding
Sometimes, for the finest of finishes, reverting to the basics can be incredibly rewarding. Hand sanding, especially for the final touch, can give you unparalleled control over the end result.
6. Cleaning as You Go
A hallmark of a true professional is cleanliness. As you progress:- Regularly clean the accumulated dust from your workspace.
- Use a tack cloth to remove any residual dust from the wood surface before moving to a finer grit or applying a finish.
- Ensure your sanding tools are well-maintained and clean. Buildup on sanding belts or discs can reduce efficiency and mar the finish.

7. Finishing Touches
After diligent sanding, reward your wood with a finish that accentuates its natural beauty. Whether you choose oil, wax, or varnish, ensure the surface is impeccably clean and dust-free. A well-sanded edge can absorb finishes better, ensuring longevity and enhanced aesthetic appeal.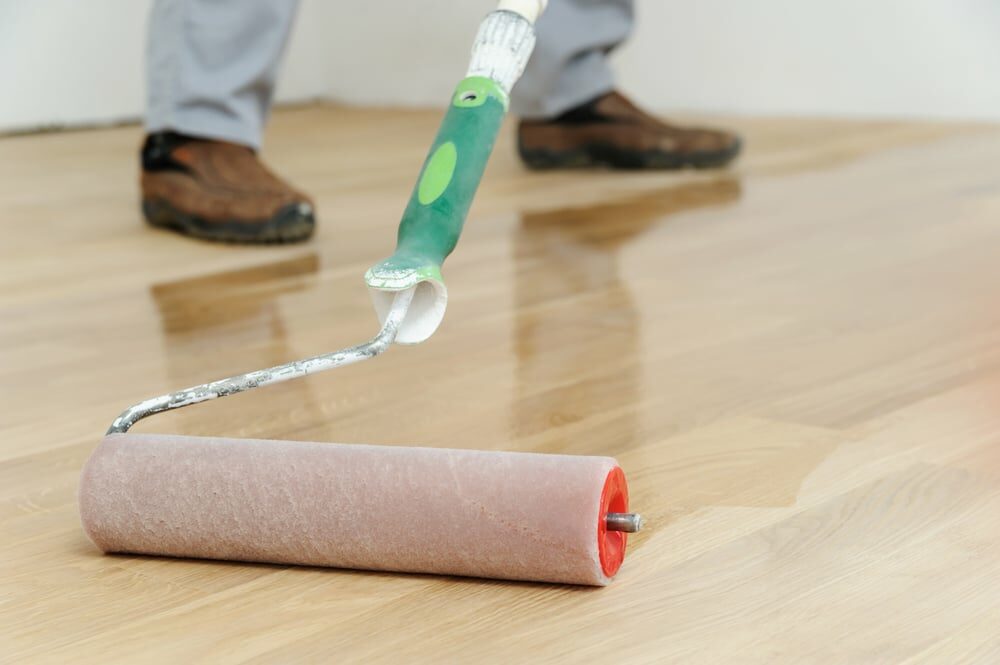
Understanding Wood Grain
Every piece of timber has its own unique grain pattern, which is essentially the alignment, texture, and appearance of the wood fibres. When it comes to edge sanding, understanding these patterns is paramount.- Directional grain: If the grain runs in a clear direction, always sand parallel to it. Sanding against the grain can tear the wood fibres, leading to an uneven finish.
- Interlocked Grain: In woods with grains that change direction in alternating layers, be extra cautious. Adopt a medium grit and gentle pressure to minimise the chances of splintering.
The Importance of Edge Profiles
Edge profiling is the art of creating a specific shape for the edge of a wooden piece. Before sanding, decide on the profile you desire.- Squared Edge: A sharp, contemporary look that needs careful sanding to ensure it remains crisp and clean.
- Bevelled Edge: A slanted edge Here, it’s crucial to maintain a consistent angle during sanding.
- Rounded Edge: A classic, curved finish Sand in smooth, circular motions to maintain uniformity.
The role of lighting
Good lighting isn’t just for photographers! Proper illumination in your workspace can:- Highlight any imperfections, dents, or uneven patches that might escape the naked eye in poor light.
- Ensure you’re not oversanding, which can thin the wood too much and compromise its structural integrity.
Patience is a virtue.
In the rush of modern life, we often forget that some things cannot be hurried, and woodworking is one of them. Edge sanding requires:- Time: Don’t try to rush the job. It’s better to take a little extra time and ensure the job is done right rather than rush and regret it later.
- Multiple Passes: Don’t expect perfection in the first go. Several passes, especially when transitioning from coarser to finer grits, ensure a better finish.
Feel as You Go
Your fingertips are incredibly sensitive tools.- Touch Check: Every so often, run your fingers along the sanded edge. This can help you detect any minor imperfections or bumps that your eyes might miss.
- Temperature Check: If the edge becomes too warm to touch, it might be a sign that you’re applying too much pressure or that your sanding tool needs a break.
Conclusion
Edge sanding, while seemingly simple, can make or break the final appearance of your woodworking masterpiece. By understanding its importance, selecting the right tools, perfecting your technique, and embracing the virtues of safety and cleanliness, you’re well on your way to achieving professional results. Remember, the beauty lies in the details. So, the next time you embark on a woodworking project, give edge sanding the attention it deserves. Your finished product will thank you for it. I wish you smooth edges and even smoother finishes!Some Useful Links:
- Stairs Sanding & Refinishing
- Floor Sanding Services
- School Floor Sanding
- Wood Floor Restorations
- Wood Floor Repairs
- Wood Floor Polishing
More from our Blog:
The Importance of Edge Sanding in Floor Refinishing Hand Scraping for Parquet Floors: Enhancing the Beauty of Geometric Designs The Versatility of Hand Scraping Floors: From Modern to Traditional Design Sanding and Hand Scraping Combination Techniques for Custom Wood Floors Hand Scraping Techniques for Different Types of Hardwood Floors How to Hand Scrape Floors Safely and Effectively Hand Scraping Floors: Reviving Antique Wood for a Vintage Look The History and Evolution of Hand-Scraping Floors Hand Scraping for New Construction: Adding Character to Modern Spaces

Sanding
We provide virtually dust-free sanding with our continuous belt machinery with mobile extraction units, giving you a safer environment for your family.
Oiling
This organic finish not only adds beauty to your home but also has exceptional water-repellent characteristics, making it easier to clean and maintain.
Waxing
This natural floor finish offers the softest and most mellow appearance – and leaves your floor able to breath.
Buffing
Using soft buffing machines (and hand-polishing where required) will bring a wonderful sheen to your newly-finished floor.
Repairs
We offer a full assessment of your wooden floors to determine what repairs are needed to provide the perfect working surface for the later stages of sanding, staining and sealing.
Restoration
We offer a comprehensive restoration process designed to address floors that are improperly fitted or damaged over time through wear and tear.
Request a fixed price quote for your wood floor restoration now
Simply enter your postcode below to get started.
Services
Wood Floor Sanding Wood Floor Restoration Wood Floor Scratch Repair Squeaky Wood Floor Repair Parquet Floor Sanding Parquet Floor Restoration Commercial Floor Sanding Church Floor Sanding Community Centre Floor Sanding School Floor Sanding Gap Filling Gap Filling with ResinCopyright © Mr Sander®
Privacy & Cookies Terms & Conditions Complaints Procedure Cancellation Rights Sitemap

Get An Instant Price Estimate Before You Go…
Simply enter the rooms you need sanded and we’ll provide you with a price estimate instantly! Try our price calculator now.
Get a Price Estimate NowLocal Floor Sanding Experts
Over 500 5-Star Reviews
Safe, Dust Free Sanding
Operating Since 1994