London:
Nationwide:
25,000+
Floors Restored
27 Years Experience
Wood Flooring Association Certified
Choosing the Right Grit: Navigating Sandpaper Grades in the UK
Posted on December 7, 2023
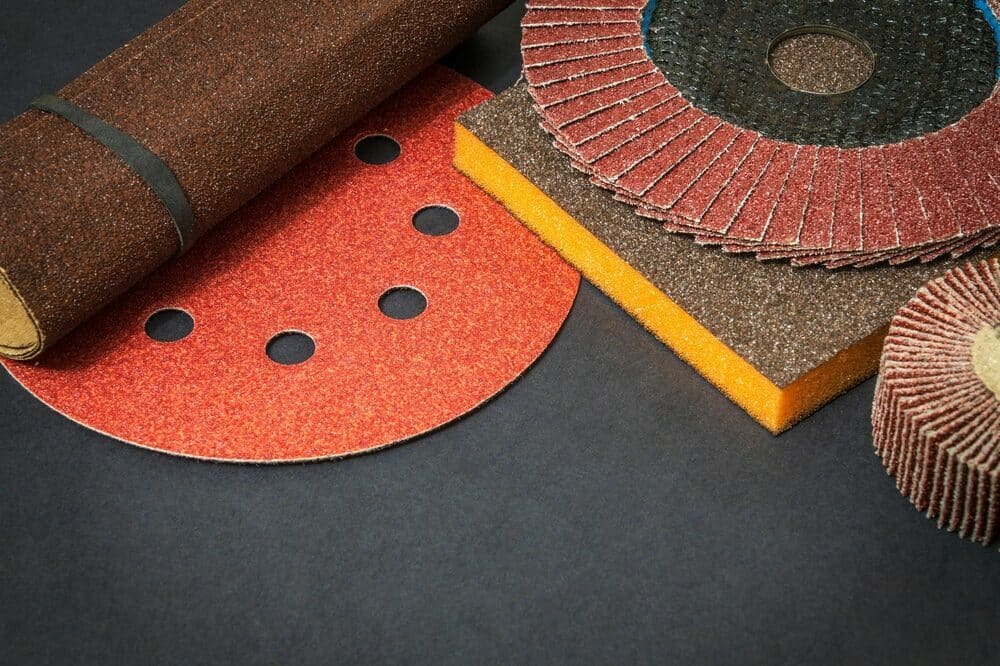
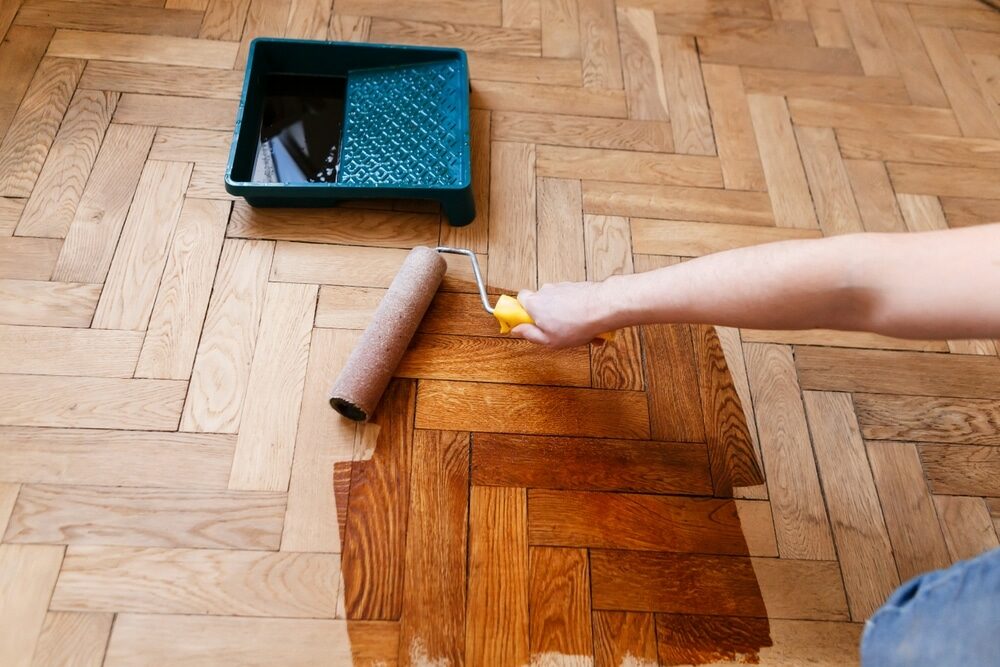
Wood Floor Sanding Tools
Selecting the Ideal Grit: A Guide to Sandpaper Grades in the UK
In the world of woodworking, metalworking, and various DIY projects, sandpaper plays an indispensable role. Its primary function is to smooth surfaces, remove old paint, or provide texture to adhesive surfaces. In the UK, the use of sandpaper is widespread, catering to both professional trades and personal hobbies. This introduction aims to shed light on the significance of choosing the right sandpaper grit and provides an overview of its various applications.
The Significance of Choosing the Right Grit
The effectiveness of sandpaper largely depends on selecting the appropriate grit for the task at hand. The term ‘grit’ refers to the size of the abrasive particles on the sandpaper. The right grit can mean the difference between a smooth finish and a surface that is either overly rough or not sanded enough. Whether you’re a seasoned craftsman or a weekend DIY enthusiast, understanding grit is crucial to achieving the desired results in your projects.
An Overview of Sandpaper Applications
Sandpaper is a versatile tool used in a myriad of applications. In woodworking, it’s essential for achieving smooth surfaces, shaping edges, and preparing Wood Floor Painting or Varnishing. In metalworking, sandpaper is used to remove rust, smooth welds, and prepare surfaces for painting. For DIY enthusiasts, it comes in handy for home renovation tasks like smoothing walls before painting or refinishing furniture.
In the UK, where both professional and amateur projects thrive, the range of sandpaper available caters to an extensive array of materials and finishes. From sanding down a vintage piece of furniture to preparing a metal surface for a fresh coat of paint, the correct use of sandpaper is key to achieving a professional and high-quality finish.
As we delve deeper into the world of sandpaper grades, we will explore how grit is measured in the UK, the different types of sandpaper available, and how to match the right grit to your specific project needs. This knowledge is not just about the mechanics of sanding but about the art of bringing materials to their best possible finish.
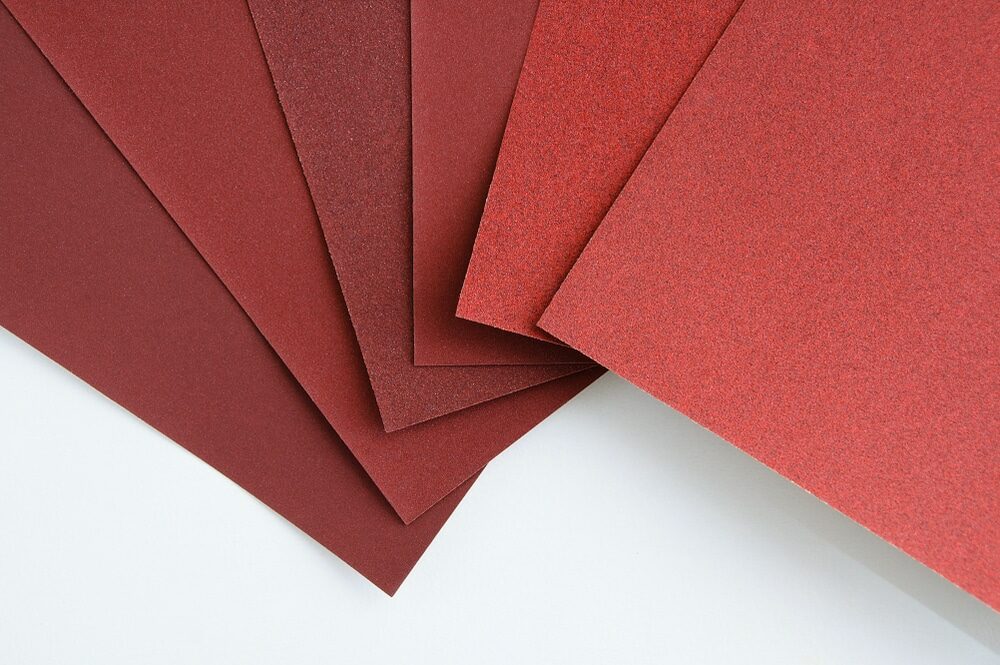
Understanding Sandpaper Grits
Sandpaper grit is a crucial factor in determining the outcome of your wood floor sanding project. This section delves into what grit is, its measurement, and its significance in achieving the desired finish on various materials. By understanding sandpaper grits, you can choose the right sandpaper for your specific needs, ensuring efficient and high-quality results.
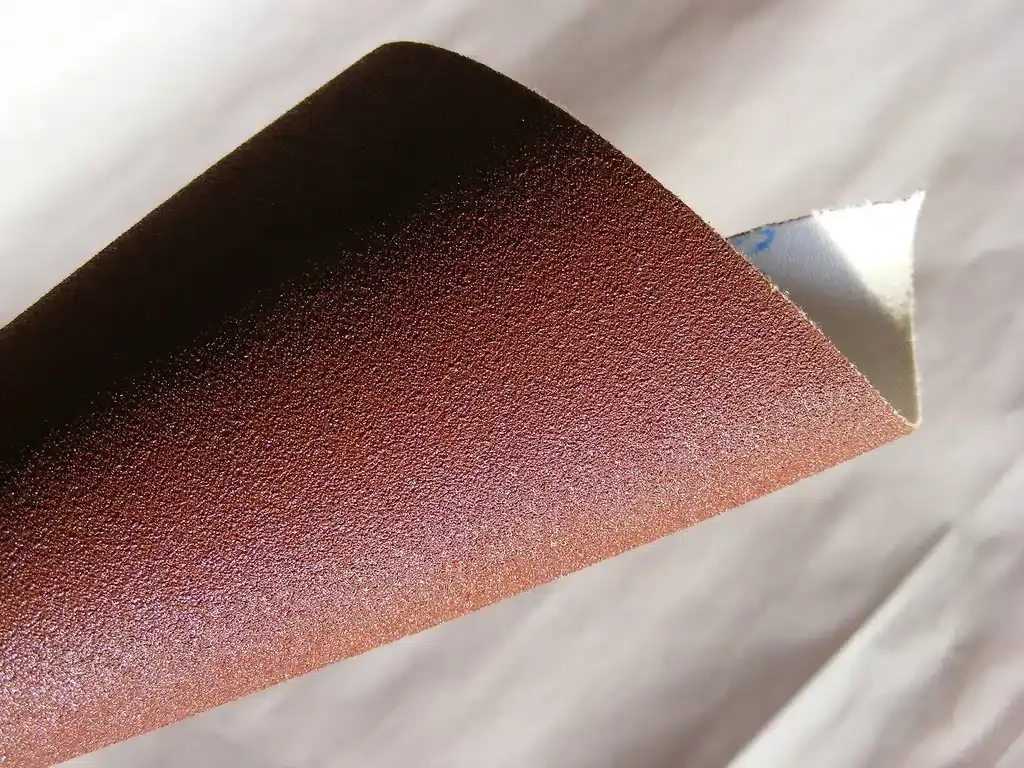
1. What is grit?
Grit refers to the abrasive particles that are bonded to the surface of sandpaper. These particles do the actual work of scraping away material from the surface being sanded. The size of these particles determines how coarse or fine the sandpaper is. Larger, coarser particles will remove more material with each pass, making them suitable for the initial stages of sanding or for removing material quickly. Finer grits, with smaller particles, are used for Wood Floor finishing touches, providing a smooth surface perfect for painting or varnishing.
2. How Grit is Measured in the UK
In the UK, like in most parts of the world, sandpaper grit is usually measured using a number that indicates the number of abrasive particles per square inch. The grit number, therefore, gives a good indication of how coarse or fine the sandpaper is. A lower number means fewer, larger particles, resulting in coarser sandpaper. Conversely, a higher number means more, smaller particles, resulting in a finer sandpaper.
For example, a low-grit number like 40 or 60 is very coarse and is used for heavy material removal. Medium grits, like 100 to 150, are used for smoother sanding and finer shaping. High grit numbers like 220 or higher are very fine and are ideal for final finishing touches before applying a finish.
Understanding the grit measurement is essential for choosing the right sandpaper for your project. Using the wrong grit can lead to inefficient sanding, damage to the material, or an unsatisfactory finish. Knowing how to interpret these numbers will guide you in selecting the appropriate sandpaper for each stage of your project, leading to better results and a more efficient workflow.
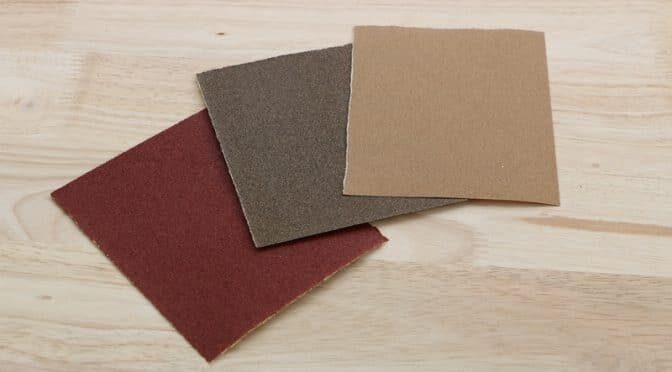
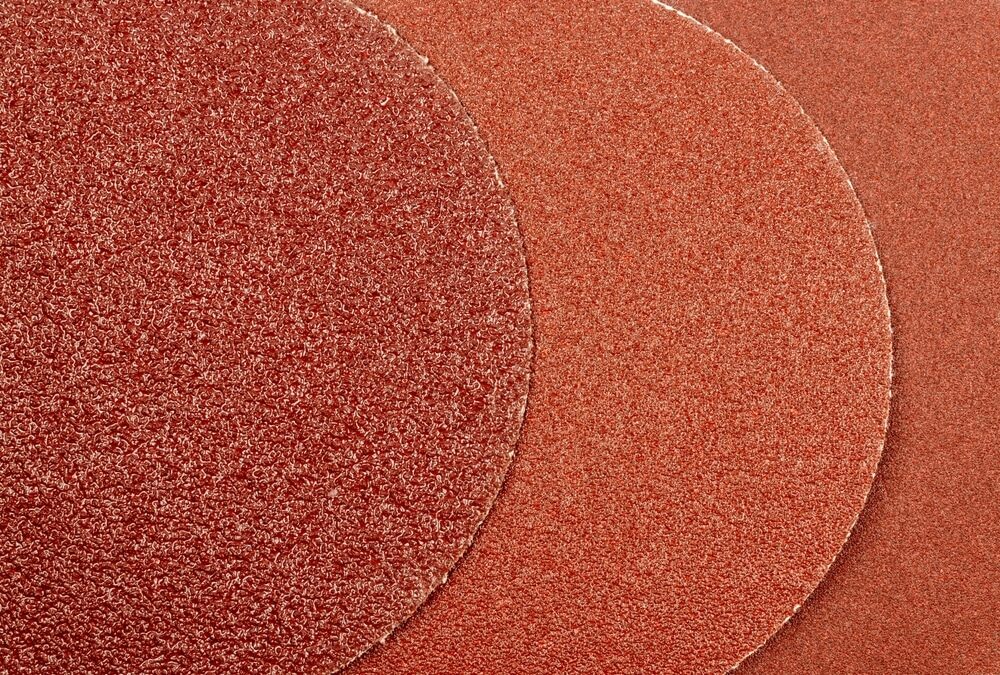
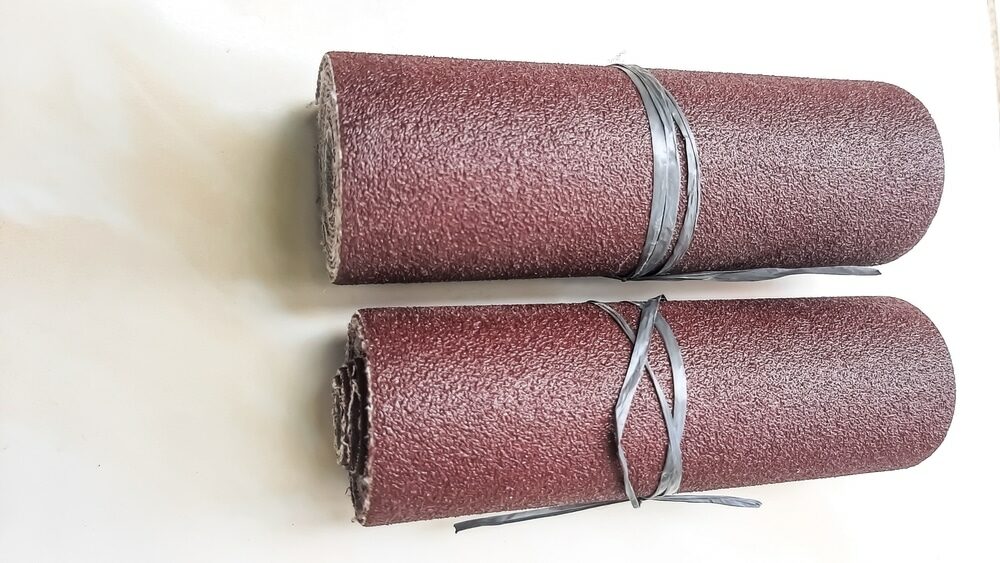
Types of sandpaper
Sandpaper comes in various types, each suited for specific materials and tasks. The key difference lies in the abrasive materials used on the sandpaper and their intended use. Here, we’ll explore the common types of sandpaper and their typical applications.
1. Aluminum Oxide Sandpaper
- Description: Aluminum oxide sandpaper is among the most popular types. It’s known for its durability and longevity. The abrasive particles fracture during use, creating new sharp edges, which makes it a great choice for power sanding.
- Applications: Ideal for wood, metal, and painted surfaces. It’s often used for general-purpose Wood Floor sanding, especially in woodworking and for smoothing metal surfaces.
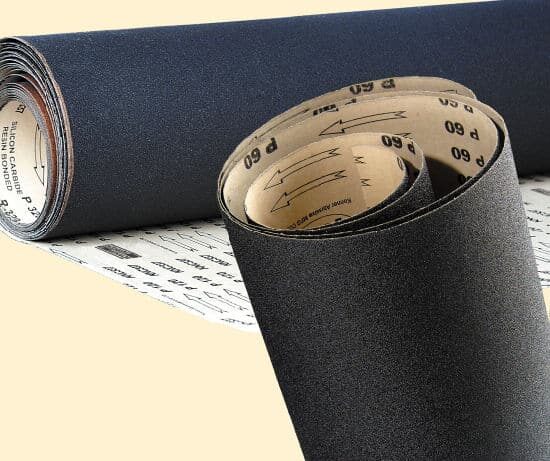
2. Silicon Carbide Sandpaper
- Description: Silicon carbide is a sharper and harder abrasive compared to aluminum oxide. It cuts faster but doesn’t last as long. This type of sandpaper is often waterproof.
- Applications: Suitable for sanding between coats of paint or varnish. It’s also used for sanding metal and plastic, as well as for automotive or wet sanding applications.
3. Ceramic Sandpapers
- Description: Ceramic sandpapers are extremely durable and are used for heavy-duty applications. They tend to stay cooler during sanding, reducing the risk of damaging the work material.
- Applications: Commonly used in industrial applications for sanding hard metals or woodworking where a lot of material needs to be removed quickly.
4. Garnet Sandpapers
- Description: Garnet sandpapers are less durable than aluminum oxide but are preferred for their softer abrasive quality. They provide a finer finish than other abrasives.
- Applications: Excellent for hand-sanding wood. They are ideal for fine woodworking projects where a gentle touch is needed.
5. Emery Cloth
- Description: Technically not sandpaper, emery cloth uses emery as the abrasive. It’s cloth-backed, making it more flexible than traditional sandpaper.
- Applications: Primarily used for metalworking tasks, such as cleaning and deburring metal surfaces.
Selecting the Right Grit for Your Project
Choosing the correct grit of sandpaper is essential for achieving the desired finish on your project. It’s a balance between removing material efficiently and achieving a smooth surface. Here’s a guide to help you select the right grit for various tasks.
1. Matching grit to material
- Wood: Start with a coarser grit (60–80) for rough shaping or removing old finishes. Progress to medium grit (100–150) for smoothing the surface, and finish with a fine grit (180–220) for the final finish before painting or varnishing.
- Metal: For removing rust or old paint, start with a coarse grit (80–120). For general smoothing and preparing for paint, use a medium grit (120–180). For fine finishing, especially on softer metals, use a fine grit (220–320).
- Plastics and Composites: These materials require fine grits to avoid damage. Start with a medium grit (120–180) and finish with a fine or ultra-fine grit (220–400).
2. Grit Recommendations for Common Projects
- Stripping/Removing Material: For stripping old paint or varnish or for rough shaping, start with a coarse grit (60–80). It quickly removes material but leaves a rougher finish.
- Smoothing Surfaces: After the initial stripping, use medium-grit (100–150) sandpaper to smooth out the roughness from the coarse grit. This step is crucial for preparing the surface for finishing.
- Finishing Surfaces: Before applying paint, varnish, or other finishes, use a fine grit (180–220) for a smooth surface. For ultra-smooth finishes, such as between coats of paint or varnish, use very fine grits (220 and above).
3. Tips for Effective Sanding
- Gradual Progression: Always progress through grits gradually. Skipping grits can leave scratches that are hard to remove.
- Consistent Pressure: Apply consistent pressure and sand in the direction of the grain (for wood) to avoid scratches.
- Checking Progress: Frequently check your progress and stop when you achieve the desired smoothness.
Grain Size and Its Impact on Sanding
Grain size in sandpaper, often referred to as grit, plays a pivotal role in the sanding process. Understanding how different grain sizes affect the sanding outcome is crucial for achieving the desired finish on a variety of materials. Here’s an overview of how grain size impacts sanding:
1. Fine, Medium, and Coarse Grits
- Coarse Grit (40–80): Coarse grit sandpaper is characterized by large abrasive particles. It’s used for heavy-duty sanding and material removal. This grit is ideal for quickly removing layers such as old paint or varnish and for shaping or leveling rough surfaces.
- Medium Grit (100–150): Medium-grit sandpaper strikes a balance between removing material and providing a smoother finish. It’s commonly used for smoothing surfaces after coarse sanding and preparing wood for finishing treatments.
- Fine Grit (180-320): Fine-grit sandpaper is used for finishing surfaces. The small abrasive particles gently smooth the surface, preparing it for painting, staining, or varnishing. It’s also used between coats to ensure a smooth, high-quality finish.
- Very Fine and Ultra-Fine Grit (400 and Above): These are used for final finishing touches, especially in applications where an ultra-smooth surface is desired. They are often used in finishing metal, plastic, or wet sanding applications.
2. When to Use Each Type
- Initial Material Removal: Start with coarse grits to quickly remove material and shape the surface. This is essential for projects involving significant surface correction or reshaping.
- Smoothing and Preparing Surfaces: After the initial shaping or material removal, switch to medium grits to smooth the surface, removing scratches and imperfections left by the coarser grit.
- Final Finishing: Fine and ultra-fine grits are used for the final smoothing. They are crucial for preparing surfaces for finishing treatments like painting or varnishing. They are also used for sanding between coats to achieve a professional-quality finish.
3. Impact of Grain Size
- Efficiency and Surface Quality: Coarser grits remove material quickly but leave a rougher surface, while finer grits are slower at material removal but result in a smoother finish.
- Scratch Patterns: Each grit size leaves behind a certain scratch pattern. When progressing through grits, each successive grit removes the scratches from the previous one, leading to a progressively smoother surface.
- Material Considerations: Harder materials like metal might require a different grit progression compared to softer materials like wood.
Specialty Sandpapers and Their Uses
Specialty sandpapers are designed for specific tasks or materials, offering unique properties that standard sandpapers do not. These specialized types can be crucial for achieving the best results in certain applications. Here’s an overview of some common specialty sandpapers and their uses:
1. Wet/Dry Sandpapers
- Description: Wet and dry sandpapers are made with waterproof adhesives and backing, allowing them to be used with water or other lubricants. This feature reduces dust and helps prevent clogging of the abrasive surface.
- Applications: Ideal for automotive sanding, metal finishing, and polishing plastics. The wet sanding process is often used for fine finishing and for achieving ultra-smooth surfaces.
2. Automotive Sandpapers
- Description: These are specifically designed for the automotive industry. They often have precise grit gradations and may include waterproof or other specialized characteristics.
- Applications: Used for auto body work, including paint stripping, smoothing out body filler, and preparing surfaces for new paint.
3. Metalworking Sandpapers
- Description: Metalworking sandpapers are typically made with tougher abrasives like aluminum oxide or silicon carbide. They may also have a sturdier backing to withstand the rigors of metal sanding.
- Applications: Used for removing rust, smoothing welds, and preparing metal surfaces for painting or other treatments.
4. Diamond Sandpaper
- Description: Diamond sandpaper contains industrial diamonds embedded in the grit. It is extremely hard and durable.
- Applications: Ideal for sanding extremely hard materials like glass, stone, and tough ceramics.
5. Micro-Mesh Sandpapers
- Description: Micro-mesh sandpapers have ultra-fine grits, measured in microns rather than the traditional grit numbers. They provide an exceptionally smooth finish.
- Applications: Used for polishing surfaces to a mirror finish, such as in fine woodworking, plastic polishing, or restoring the shine to metals.
6. Garnet Sandpapers
- Description: Garnet is a natural abrasive known for its softness and used in sandpapers for fine woodworking.
- Applications: Excellent for hand-sanding wood, especially for fine woodworking where a smoother finish is required.
7. Emery Cloth
- Description: Not technically sandpaper, emery cloth uses a cloth backing, giving it greater flexibility than paper-backed abrasives.
- Applications: Commonly used in metalworking for sanding and polishing metal surfaces.

Tips for Effective Sanding
Effective Wood Floor Sanding is an art that combines the right tools, techniques, and patience. Whether you’re a professional or a DIY enthusiast, these tips will help you achieve the best results and make your sanding process more efficient and effective.
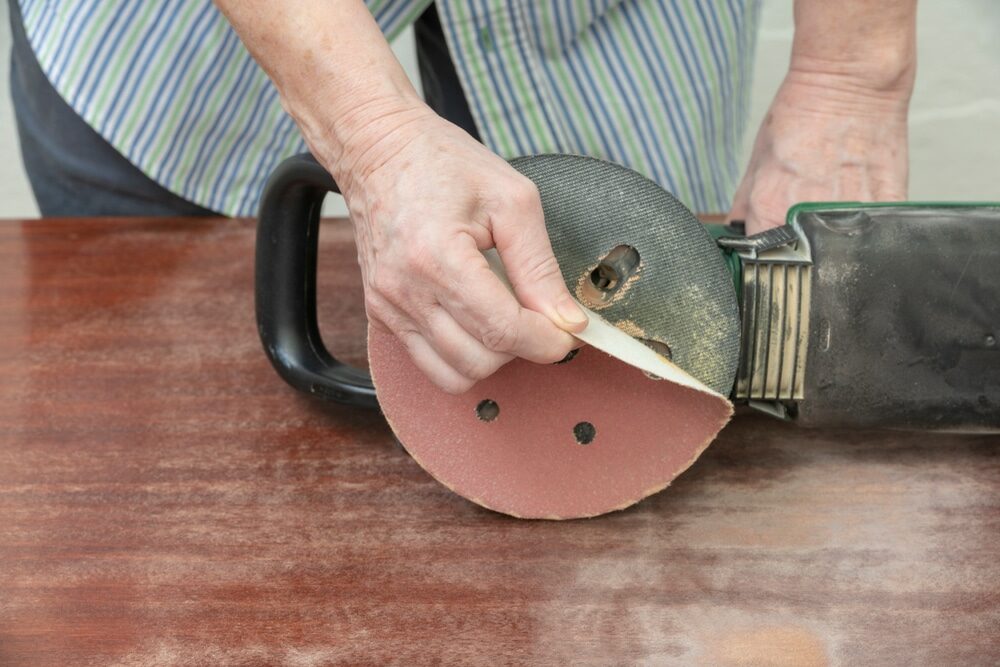
1. Choose the right sandpaper and grit.
- Select Appropriate Grit: Start with a coarser grit to remove material quickly and then gradually move to finer grits for a smooth finish.
- Right Sandpaper for Material: Use sandpaper suited for the material you are working on. For example, use waterproof sandpaper for wet-sanding applications.
2. Sanding Techniques
- Sand with the Grain: When sanding wood, always move in the direction of the grain to prevent scratches.
- Even Pressure: Apply consistent pressure while sanding. Uneven pressure can lead to gouges and an uneven surface.
- Use a Sanding Block: For flat surfaces, use a sanding block to evenly distribute pressure and avoid creating dips or grooves in the material.
- Keep Sandpaper Clean: Regularly remove the buildup of dust and debris from the sandpaper to maintain its effectiveness.
3. Power sanding vs. hand sanding
- Power Sanding: Ideal for large surfaces or when needing to remove material quickly. Be cautious with pressure and speed to avoid damaging the material.
- Hand sanding is better for fine, detailed work or when you need more control over the process. It’s also preferable for delicate materials.
4. Safety Precautions
- Wear protective gear: Always wear a dust mask and safety goggles to protect yourself from dust and debris.
- Proper Ventilation: Ensure good ventilation in your work area, especially when sanding materials that produce toxic dust.
5. Check your progress.
- Frequent Inspection: Regularly check your progress to avoid over-sanding, especially when using power sanders.
- Light and Touch: Use a light source at an angle to inspect the surface for imperfections. Run your hand over the material to feel for smoothness.
6. Clean Up Between Grits
- Remove Dust: Before switching to a finer grit, remove all dust from the surface to prevent coarse particles from scratching the material.
7. Patience is key.
- Take Your Time: Good sanding isn’t rushed. Take your time to move through the grits and achieve a smooth, even finish.

Sustainability and sandpaper
The topic of sustainability in the use of sandpaper is increasingly relevant in today’s environmentally conscious world. Considering the environmental impact of sandpaper involves looking at its production, usage, and disposal. Here are some key aspects of sustainability related to sandpaper:
1. Eco-Friendly Sandpaper Options
- Recycled Materials: Some sandpapers are made using recycled materials, which helps to reduce waste. For example, sandpapers using recycled glass or plastic as their abrasive materials are available.
- Biodegradable Backings: Choosing sandpapers with biodegradable or recyclable backings, such as certain types of paper or cloth, can help reduce environmental impact.
- Natural Abrasives: Natural abrasives like garnet are more environmentally friendly compared to synthetic ones. However, their mining still has environmental impacts.
2. Production Process
- Reducing Emissions: Manufacturers can adopt processes that reduce emissions and energy consumption during the production of sandpaper.
- Sustainable Sourcing: Ensuring that the raw materials (like the abrasive minerals) are sourced sustainably and ethically is another important aspect.
3. Usage and Efficiency
- Longer-Lasting Products: Using sandpapers that have a longer lifespan reduces waste. Ceramic abrasives, for example, tend to last longer than other types.
- Reduced Consumption: Opting for higher-quality sandpaper that can be used more times before wearing out contributes to less waste.
4. Disposal and Recycling
- Proper Disposal: Used sandpaper can sometimes be recycled, depending on its materials. Checking with local recycling guidelines is essential.
- Reducing Landfill Waste: Minimizing the amount of sandpaper that ends up in landfills by choosing recyclable or biodegradable options is beneficial.
5. Health and Safety Considerations
- Reduced Toxicity: Some sandpapers may contain toxic substances. Opting for products with lower toxicity can have environmental and health benefits.
6. Supporting green companies
- Choosing Sustainable Brands: Supporting companies that have a commitment to sustainability and environmentally friendly practices can encourage the wider adoption of these practices in the industry.
Buying Guide for Sandpaper in the UK
When purchasing sandpaper in the UK, it’s important to consider several factors to ensure you get the right product for your needs. Here’s a guide to help you make an informed decision:
1. Determine the Right Grit
- Identify the Purpose: The grit you need depends on the project. coarse grit (40–80) for heavy material removal, medium grit (100–150) for general sanding, and fine grit (180-320) for finishing touches.
- Consider the material: Different materials require different grits. Harder materials may need coarser grits for shaping, while softer materials are best sanded with finer grits.
2. Choose the appropriate type.
- Standard Sandpaper: Good for general woodworking and metalworking.
- Waterproof Sandpaper: Ideal for wet sanding applications, particularly in automotive work.
- Specialty Sandpapers: such as diamond sandpaper for hard materials or micro-mesh for ultra-fine finishes.
3. Understand the backing material.
- Paper backing is common and versatile, used for both hand and power sanding.
- Cloth backing is more durable and suitable for heavy-duty applications.
- Film backing, used for ultra-fine grits, offers flexibility and durability.
4. Adhesive Types
- Stick-On (PSA) Sandpaper: Convenient for quick changes, often used with power tools.
- Hook-and-Loop Sandpaper: Easy to remove and reattach, commonly used for orbital sanders.
5. Recommended Brands and Products
- 3M is known for its quality and wide range of options.
- Mirka offers high-quality, durable sandpapers, especially for power sanding.
- Norton: Good range of products for both professional and DIY use.
- Bosch: reliable, especially for power sanding applications.
- Flexovit offers a range of industrial-grade sandpapers.
6. Where to Buy
- DIY and Hardware Stores: B&Q, Wickes, and Homebase offer a variety of sandpapers in-store and online.
- Specialist Suppliers: For more specialized needs, look for suppliers catering to the woodworking or automotive industries.
- Online retailers: Amazon, Screwfix, and Toolstation provide a wide range of options with customer reviews.
7. Price vs. Quality
- Balance cost and quality: cheaper sandpapers might not last as long or provide as good a finish. Sometimes investing a bit more can save time and give better results.
8. Environmental Considerations
- Eco-Friendly Options: Look for sandpapers made with recycled materials or from manufacturers with sustainable practices.
9. Size and Quantity
- Pre-Cut Sheets or Rolls: Consider buying in bulk for larger projects or frequently used grits to save money.
Conclusion: Navigating the World of Sandpaper in the UK
Navigating the vast landscape of sandpaper options in the UK can initially seem daunting, but with the right knowledge, it becomes a straightforward task. From understanding the significance of grit size to choosing the right type for specific projects, the journey through the world of sandpaper is crucial for achieving optimal results in both professional and DIY projects.
Key Takeaways:
- Importance of Grit: Grit size is pivotal in determining the outcome of your sanding work. Starting with coarser grits for heavy material removal and progressively moving to finer grits for finishing touches is essential.
- Types of Sandpaper: Different types, such as aluminum oxide, silicon carbide, and garnet, cater to varied needs and materials. Choosing the right type is as important as selecting the right grit.
- Specialty Sandpapers: Understanding the use of specialty sandpapers, like wet/dry and automotive types, can enhance the quality of specific projects.
- Effective Techniques: Effective sanding involves more than just the right sandpaper. Techniques like sanding with the grain, using a sanding block, and applying even pressure play a significant role.
- Sustainability: In an era where environmental concerns are paramount, opting for eco-friendly sandpaper options and considering sustainable practices in disposal and recycling is beneficial.


Sanding
We provide virtually dust-free sanding with our continuous belt machinery with mobile extraction units, giving you a safer environment for your family.
Oiling
This organic finish not only adds beauty to your home but also has exceptional water-repellent characteristics, making it easier to clean and maintain.
Waxing
This natural floor finish offers the softest and most mellow appearance – and leaves your floor able to breath.
Buffing
Using soft buffing machines (and hand-polishing where required) will bring a wonderful sheen to your newly-finished floor.
Repairs
We offer a full assessment of your wooden floors to determine what repairs are needed to provide the perfect working surface for the later stages of sanding, staining and sealing.
Restoration
We offer a comprehensive restoration process designed to address floors that are improperly fitted or damaged over time through wear and tear.
Request a fixed price quote for your wood floor restoration now
Simply enter your postcode below to get started.
Services
Wood Floor Sanding Wood Floor Restoration Wood Floor Scratch Repair Squeaky Wood Floor Repair Parquet Floor Sanding Parquet Floor Restoration Commercial Floor Sanding Church Floor Sanding Community Centre Floor Sanding School Floor Sanding Gap Filling Gap Filling with ResinCopyright © Mr Sander®
Privacy & Cookies Terms & Conditions Complaints Procedure Cancellation Rights Sitemap

Get An Instant Price Estimate Before You Go…
Simply enter the rooms you need sanded and we’ll provide you with a price estimate instantly! Try our price calculator now.
Get a Price Estimate NowLocal Floor Sanding Experts
Over 500 5-Star Reviews
Safe, Dust Free Sanding
Operating Since 1994