London:
Nationwide:


25,000+
Floors Restored

27 Years Experience

Wood Flooring Association Certified
The Definitive Guide to Wood Stripping and Sanding
Posted on June 14, 2023
Floor Sanding Blogs
Master Wood Refinishing with our Guide to Stripping and Sanding
Renovating your wooden surfaces, be they furniture or floors, requires knowledge of two important processes: wood stripping and sanding. This guide will walk you through each process, providing a comprehensive look at how to strip and sand wood effectively and safely.
Understanding Wood Stripping and Sanding
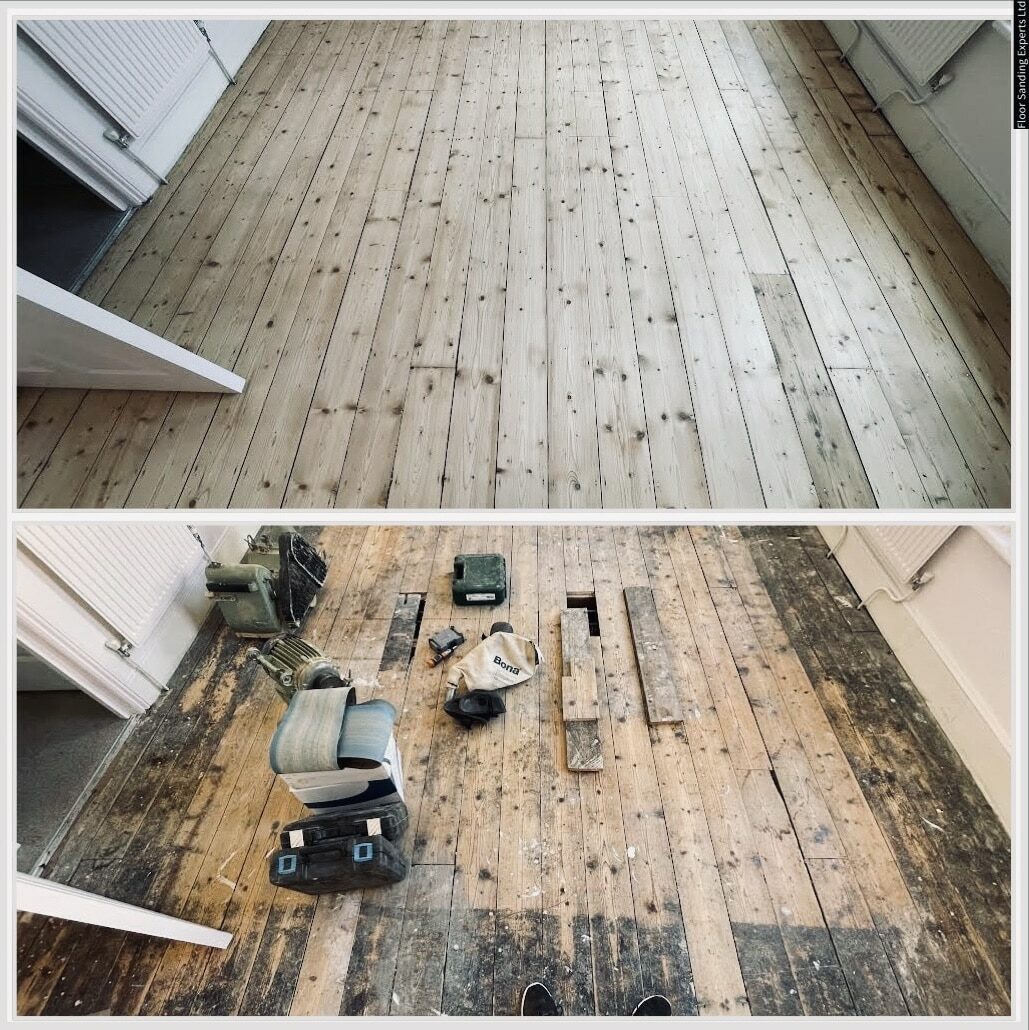
Wood stripping involves removing old paint or finish from a wooden surface, while sanding smooths the surface and prepares it for a new finish.
Part 1: Wood Stripping
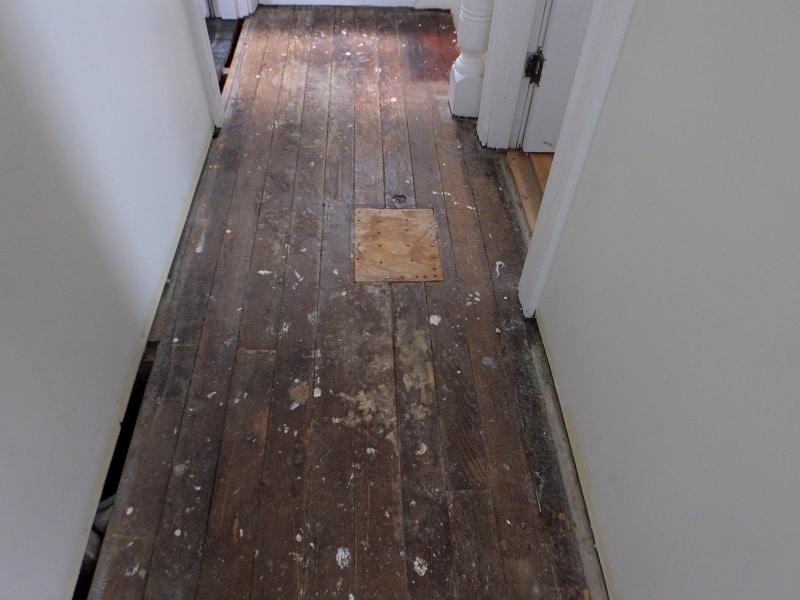
Stripping can be a complex task, but it’s necessary when the existing paint or finish is too thick or damaged.
Step 1: Gather Your Supplies
For wood stripping, you will need:
- Paint Stripper: Choose a product suitable for the type of finish you’re removing.
- Protective Gear: Gloves, safety glasses, and a respirator mask
- Paintbrush: To apply the stripper.
- Scraper: To remove the finish once it’s loose.
- Steel wool or sandpaper: for detail work
- Mineral spirits are used to clean the wood after stripping.
Step 2: Prepare Your Work Area
Work in a well-ventilated area and cover the surrounding surfaces to protect them from the paint stripper.
Step 3: Apply the stripper.
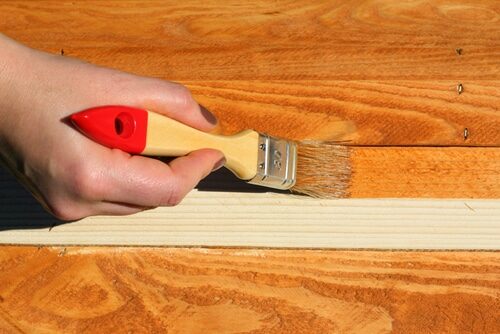
Apply a thick layer of the stripper with a paintbrush. Always follow the manufacturer’s instructions regarding application and waiting times.
Step 4: Remove the finish
Once the finish has loosened, use a scraper to gently remove it. Use steel wool or sandpaper for crevices and detailed areas.
Step 5: Clean the wood
Clean the wood with mineral spirits to remove any residue from the stripper. Allow the wood to dry thoroughly before proceeding with sanding.
Part 2: Wood Sanding
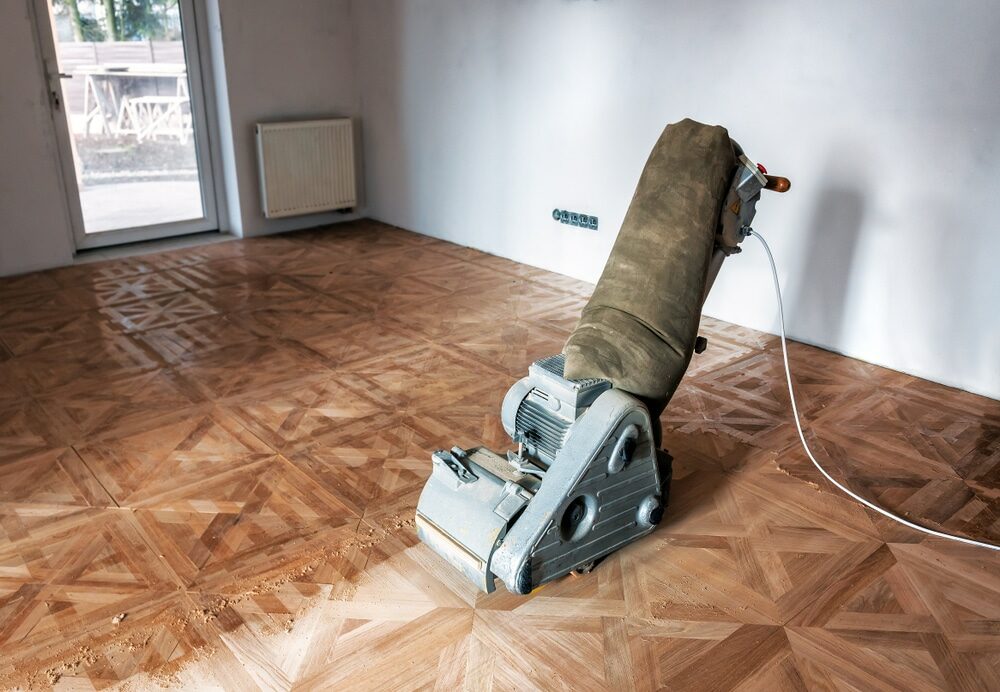
After stripping the wood, sanding helps to remove any remaining finish, smooth the surface, and prepare it for the new finish.
Step 1: Gather Your Supplies
For sanding, you will need:
- Sandpaper: Various grits, from coarse (60–80 grit) to fine (220 grit).
- Sanding Block or Electric Sander: Depending on the size of the project
- Tack cloth: to remove dust after sanding.
Step 2: Sand the wood
Start with coarse-grit sandpaper to remove any remaining finish or rough spots. Always sand in the direction of the wood grain to avoid scratches.
Step 3: Progress to Finer Grits
After the initial sanding, move to medium (100–150 grit) and then fine-grit (180–220 grit) sandpaper. Each pass with finer grits removes scratches left by the previous grit and smooths the wood further.
Step 4: Clean the wood
Use a tack cloth to remove dust after each round of sanding and before applying a new finish.
Conclusion
Wood stripping and sanding are vital steps in wood refinishing. While they may require time and effort, understanding these processes and executing them properly will ensure your wooden surfaces are ready for a fresh, new finish. Happy refinishing!
Some Useful Links:
- Floor Sanding Services
- School Floor Sanding
- Wood Floor Restorations
- Wood Floor Repairs
- Wood Floor Polishing
More from our Blog:
Unveiling the Secrets of Successful Floor Sanding
Avoid Common Mistakes When Sanding Hardwood Floors
Using a Drum Floor Sander – Why and How? | Mr Sander®
Re-finishing & Screening Your Wooden Floor: A Complete DIY Guide
How to Sand Hardwood Floors in 10 Easy Steps
Reviving Victorian Elegance: Floorboard Sanding in West London Homes

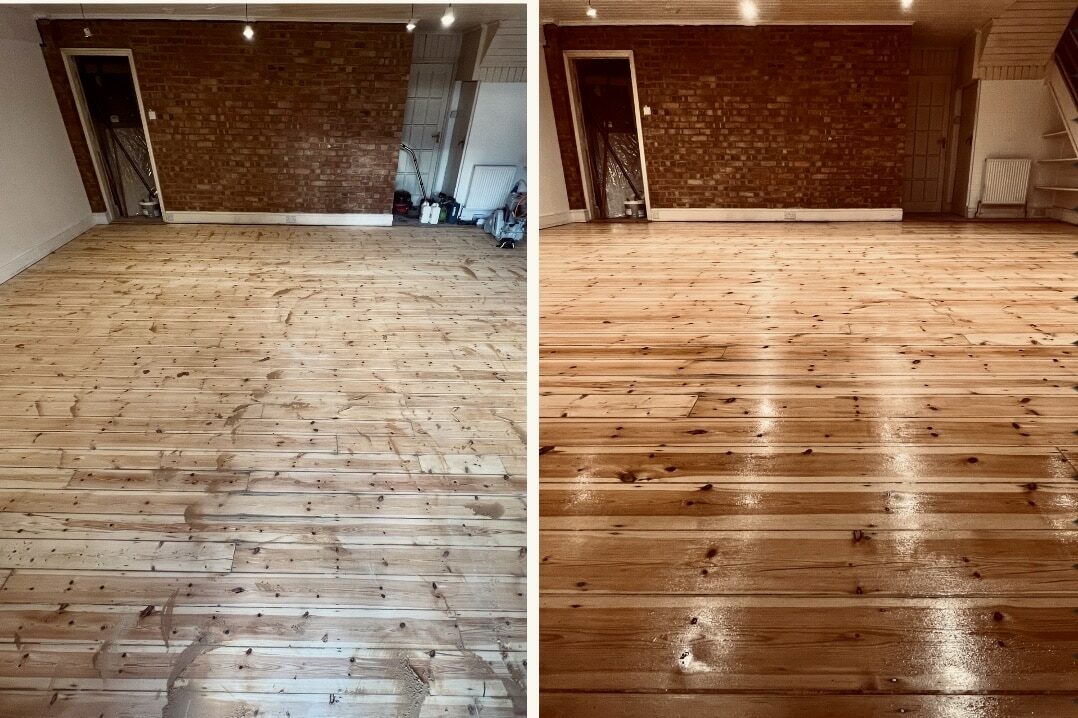

Sanding
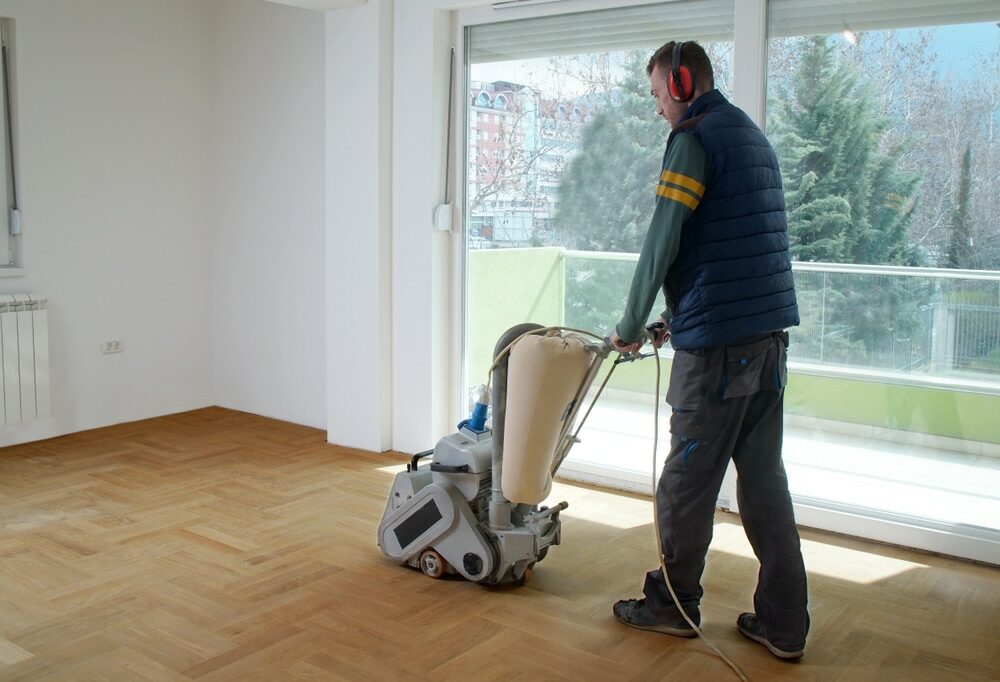
We provide virtually dust-free sanding with our continuous belt machinery with mobile extraction units, giving you a safer environment for your family.

Oiling
This organic finish not only adds beauty to your home but also has exceptional water-repellent characteristics, making it easier to clean and maintain.

Waxing
This natural floor finish offers the softest and most mellow appearance – and leaves your floor able to breath.

Buffing
Using soft buffing machines (and hand-polishing where required) will bring a wonderful sheen to your newly-finished floor.

Repairs
We offer a full assessment of your wooden floors to determine what repairs are needed to provide the perfect working surface for the later stages of sanding, staining and sealing.

Restoration
We offer a comprehensive restoration process designed to address floors that are improperly fitted or damaged over time through wear and tear.
Request a fixed price quote for your wood floor restoration now
Simply enter your postcode below to get started.






Services
Wood Floor Sanding Wood Floor Restoration Wood Floor Scratch Repair Squeaky Wood Floor Repair Parquet Floor Sanding Parquet Floor Restoration Commercial Floor Sanding Church Floor Sanding Community Centre Floor Sanding School Floor Sanding Gap Filling Gap Filling with ResinCopyright © Mr Sander®
Privacy & Cookies Terms & Conditions Complaints Procedure Cancellation Rights Sitemap

Get An Instant Price Estimate Before You Go…
Simply enter the rooms you need sanded and we’ll provide you with a price estimate instantly! Try our price calculator now.
Get a Price Estimate NowLocal Floor Sanding Experts
Over 500 5-Star Reviews
Safe, Dust Free Sanding
Operating Since 1994