London:
Nationwide:
25,000+
Floors Restored
27 Years Experience
Wood Flooring Association Certified
How to Make Your Small Wood Floor Look Good as New
Posted on May 19, 2023
Articles
Revitalize Your Hardwood: A Comprehensive Guide to Small Wood Floor Restoration
Are you tired of looking at your worn-out hardwood floor and reminiscing about the days when it was shiny and new? There’s good news: You don’t have to live with those scratches and dull spots anymore. Even your small hardwood floor can regain its original elegance. In this comprehensive guide, we will explore step-by-step methods to breathe life back into your wooden flooring. Let’s dive in!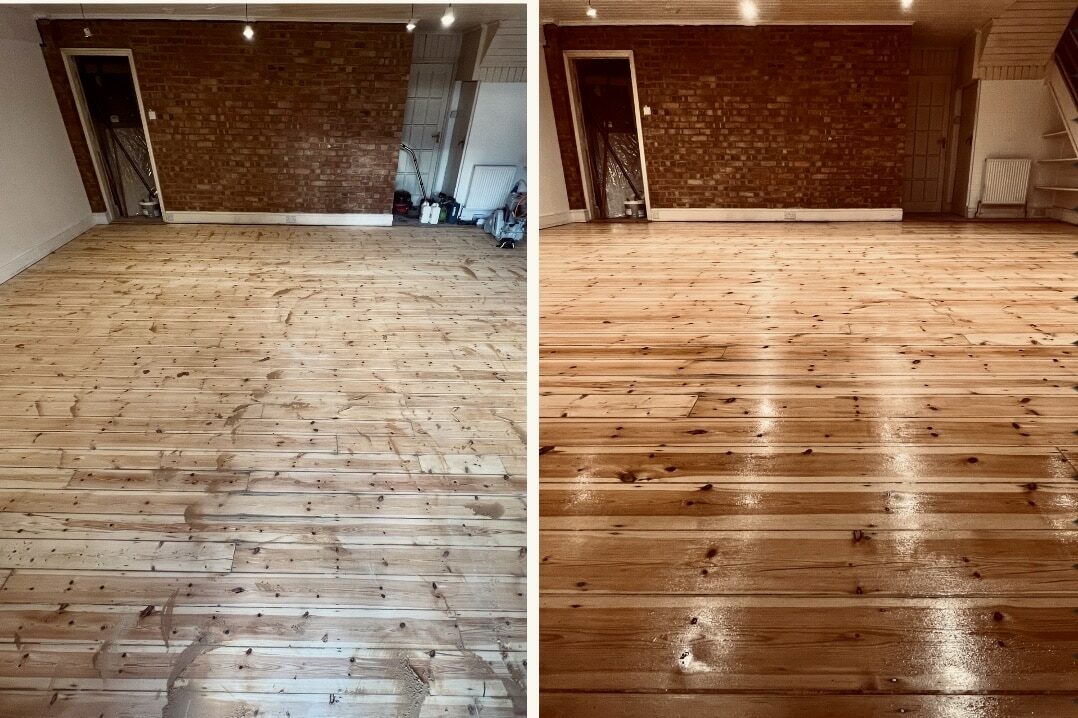
The Art of Hardwood Floor Restoration
The charm and warmth that hardwood floors provide are undeniably timeless. However, over time, these floors can lose their lustre due to regular wear, traffic, and spills. When that happens, a good restoration job is key to making them look as good as new. The restoration process varies depending on the condition of the floor. Here are the steps:Step 1: Assessing the Damage
The first thing you need to do is assess the damage. This will determine the treatment your floor needs. Look out for scratches, dullness, discoloration, stains, and even water damage. For light scratches and dullness, simple cleaning, buffing, and refinishing can do the trick. For deep scratches, discoloration, and water damage, you might need to sand and refinish the whole floor.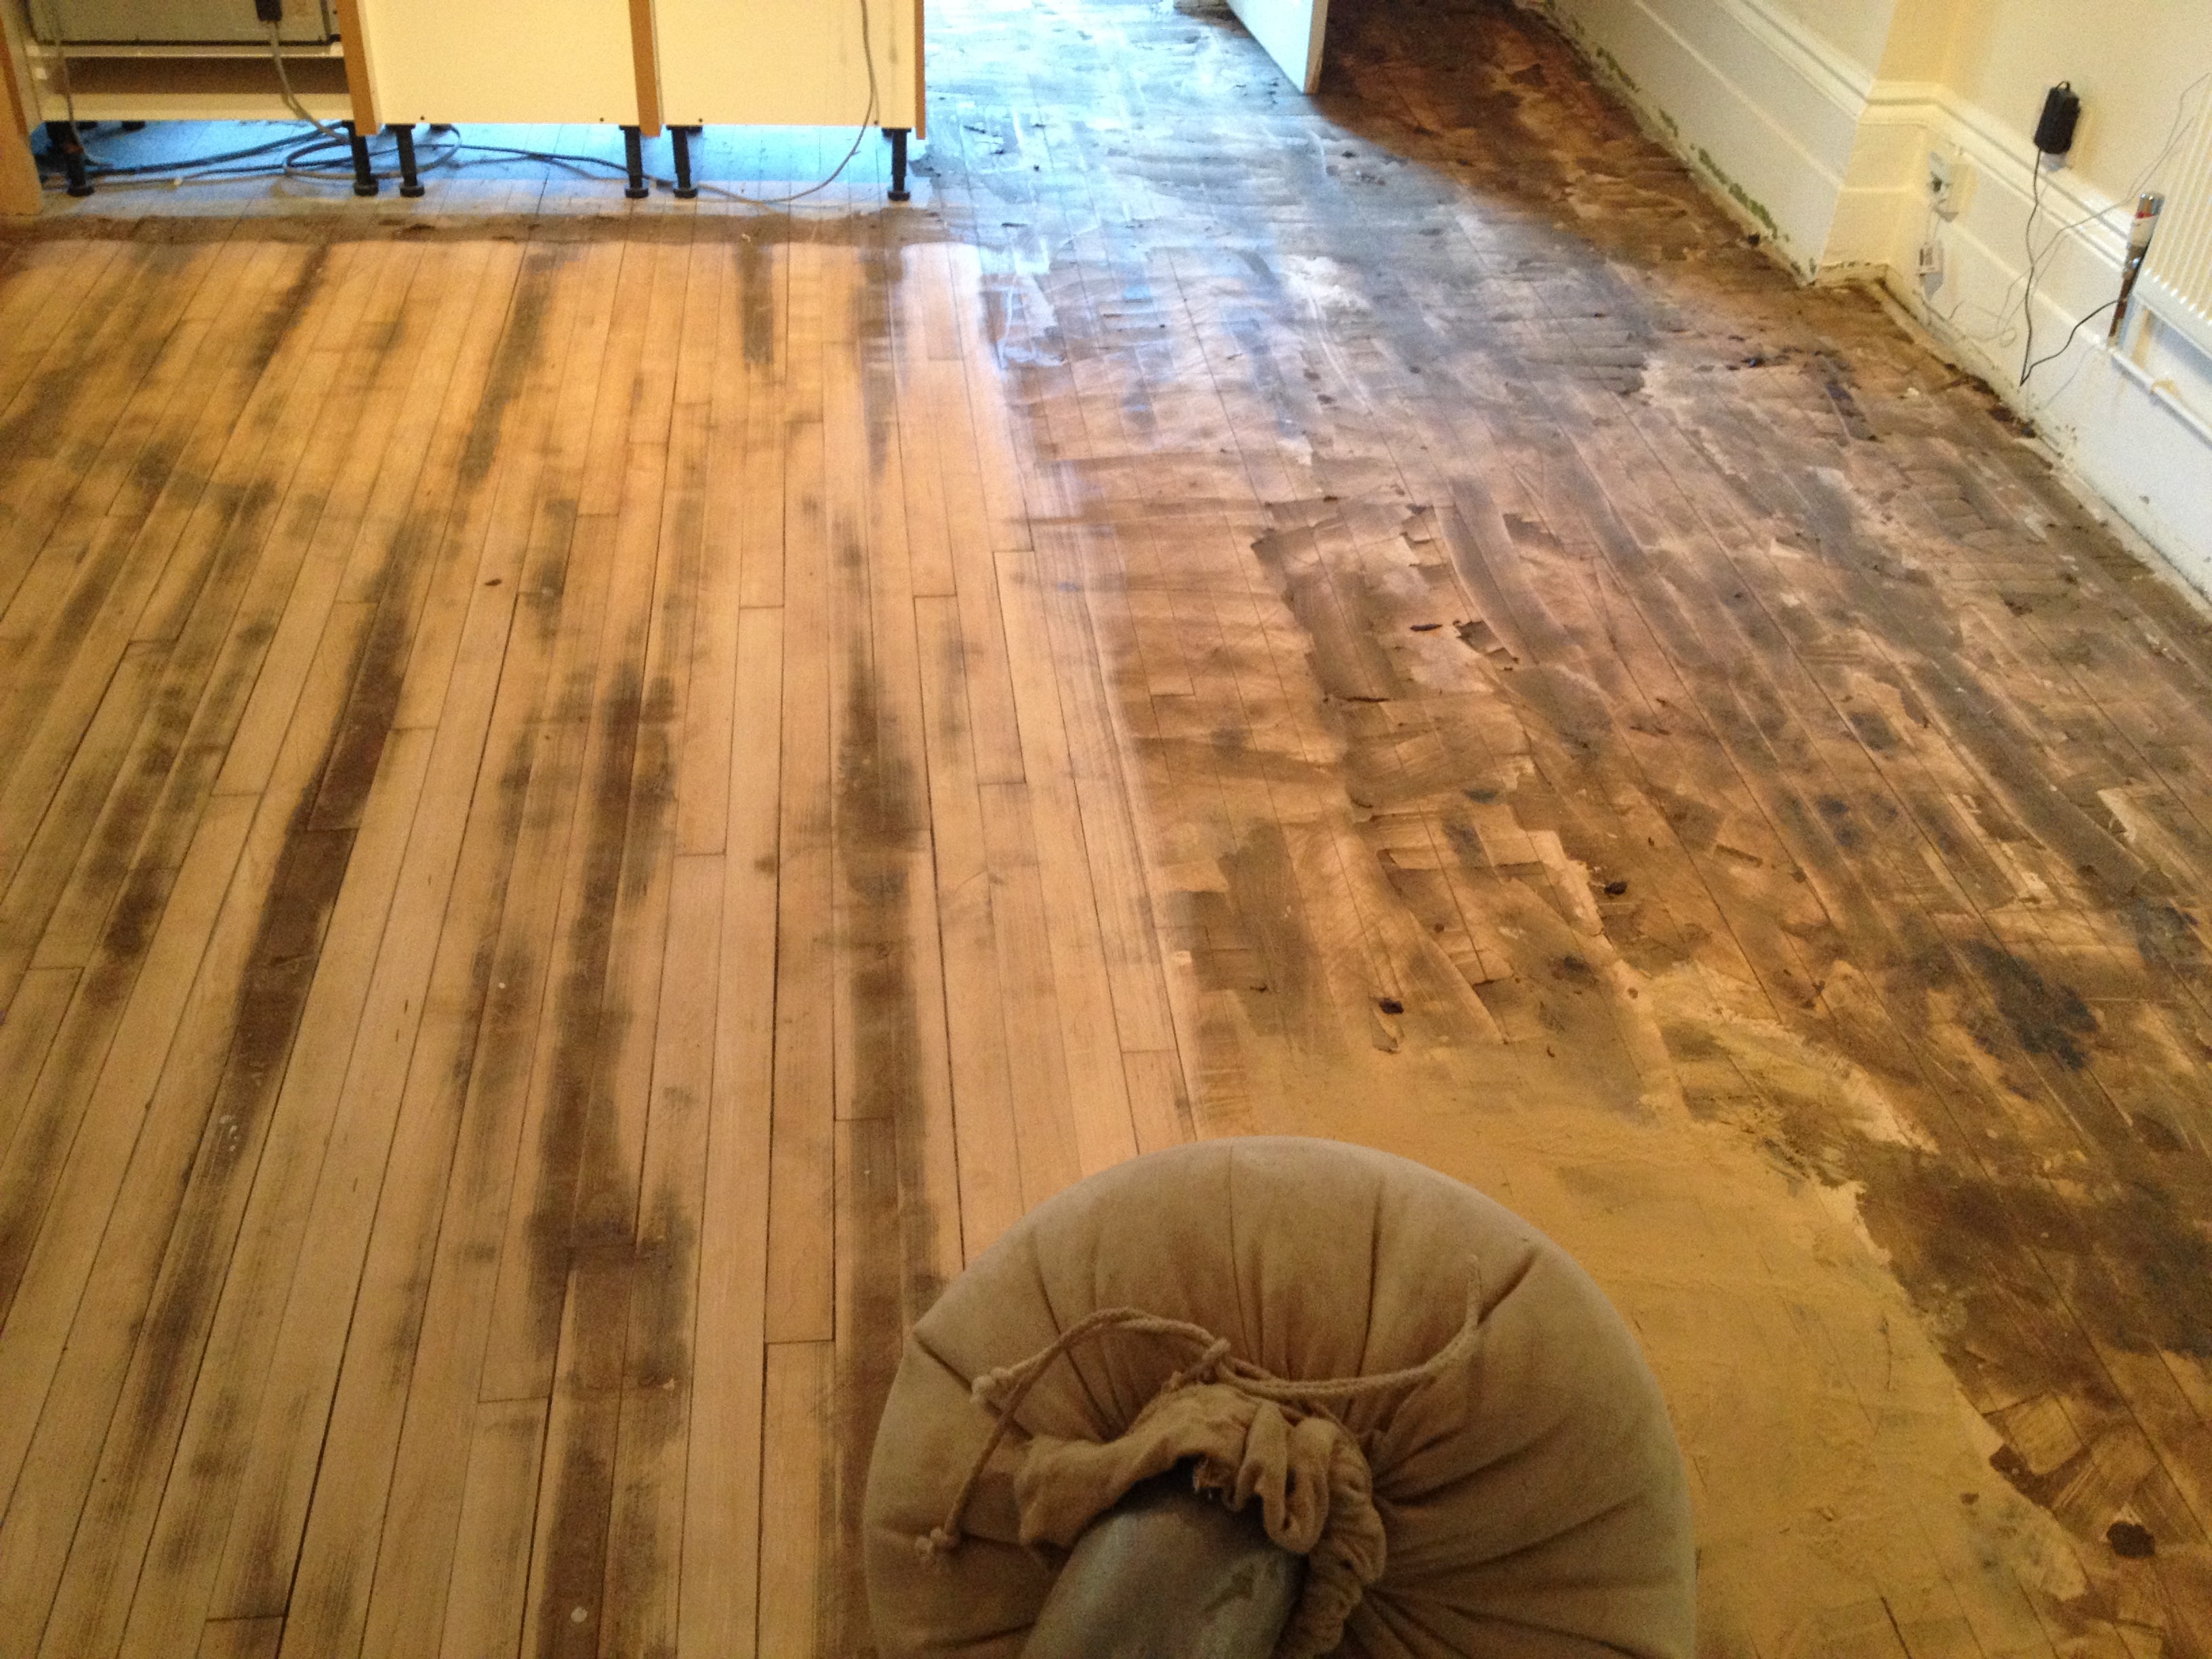
Step 2: Cleaning the Floor
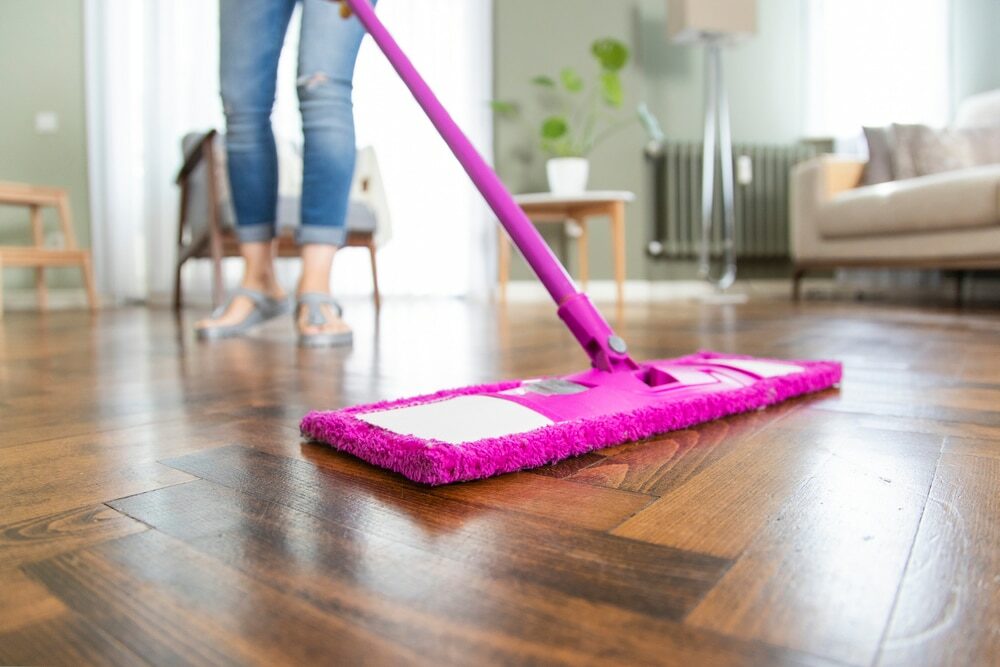
Cleaning is essential to clearing out dust, dirt, and grime from the surface. Vacuum or sweep the floor to remove any loose dirt. Then, use a damp mop with a mild wood floor cleaner to clean the surface thoroughly. Make sure you let it dry completely before proceeding.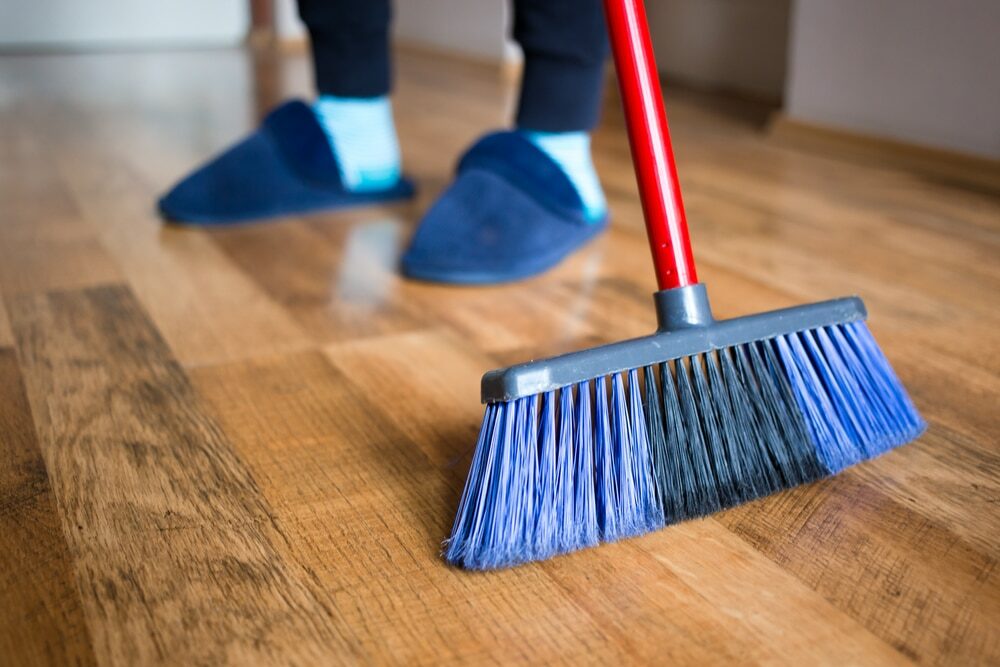
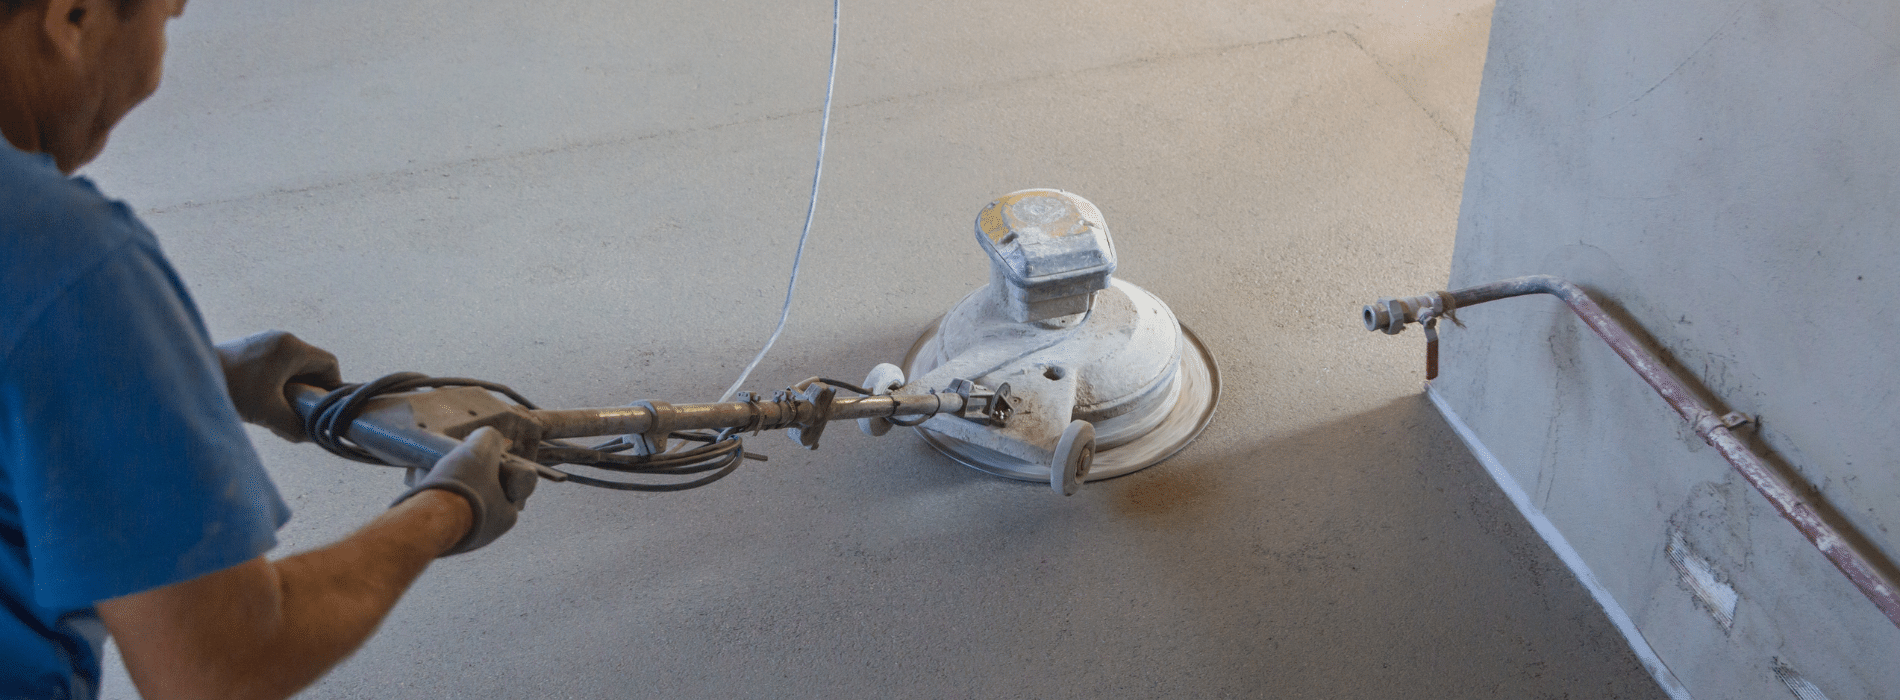
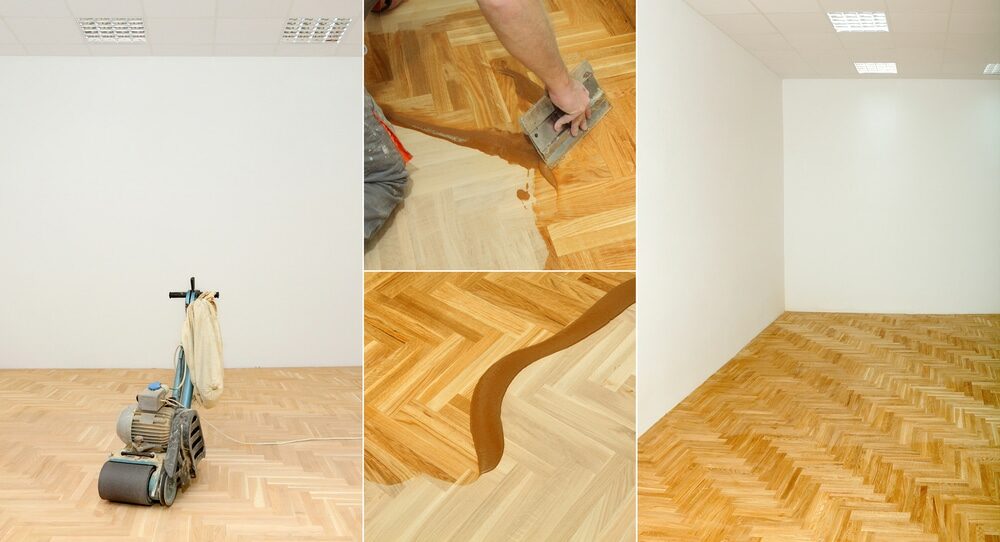
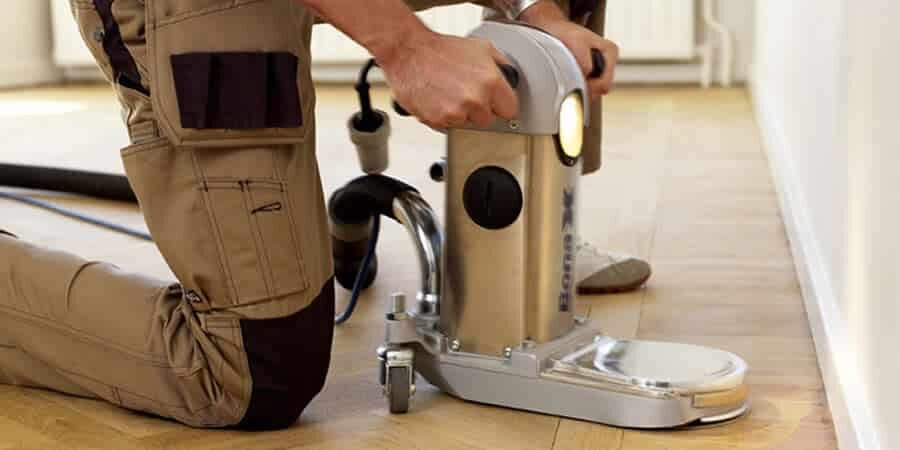
Step 3: Buffing or Sanding
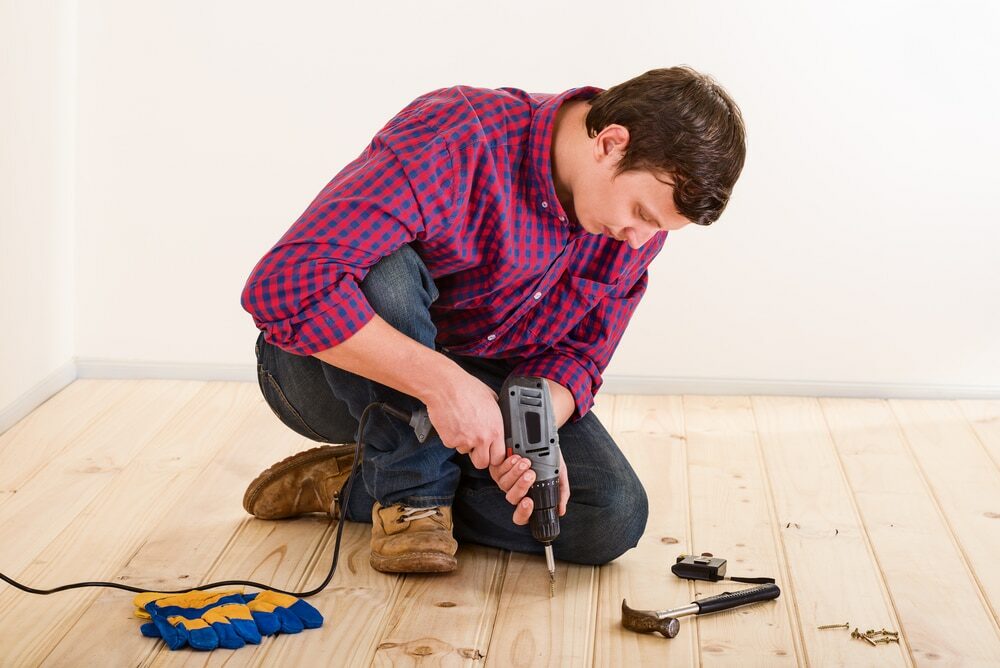
If your floor has light scratches and dull spots, buffing is a suitable option. Use a buffer or orbital sander with fine-grit sandpaper to gently scuff the finish. This will remove the old top layer, along with the scratches and dull spots. For heavily damaged floors, sanding is necessary. Use a drum or belt sander with coarse-grit sandpaper for this job. Sanding removes not only the old finish but also a thin layer of wood, revealing a fresh surface underneath. Remember, sanding is a messy and noisy process, so make sure to wear proper protective gear. Also, be prepared to seal off the area to prevent dust from spreading throughout your home.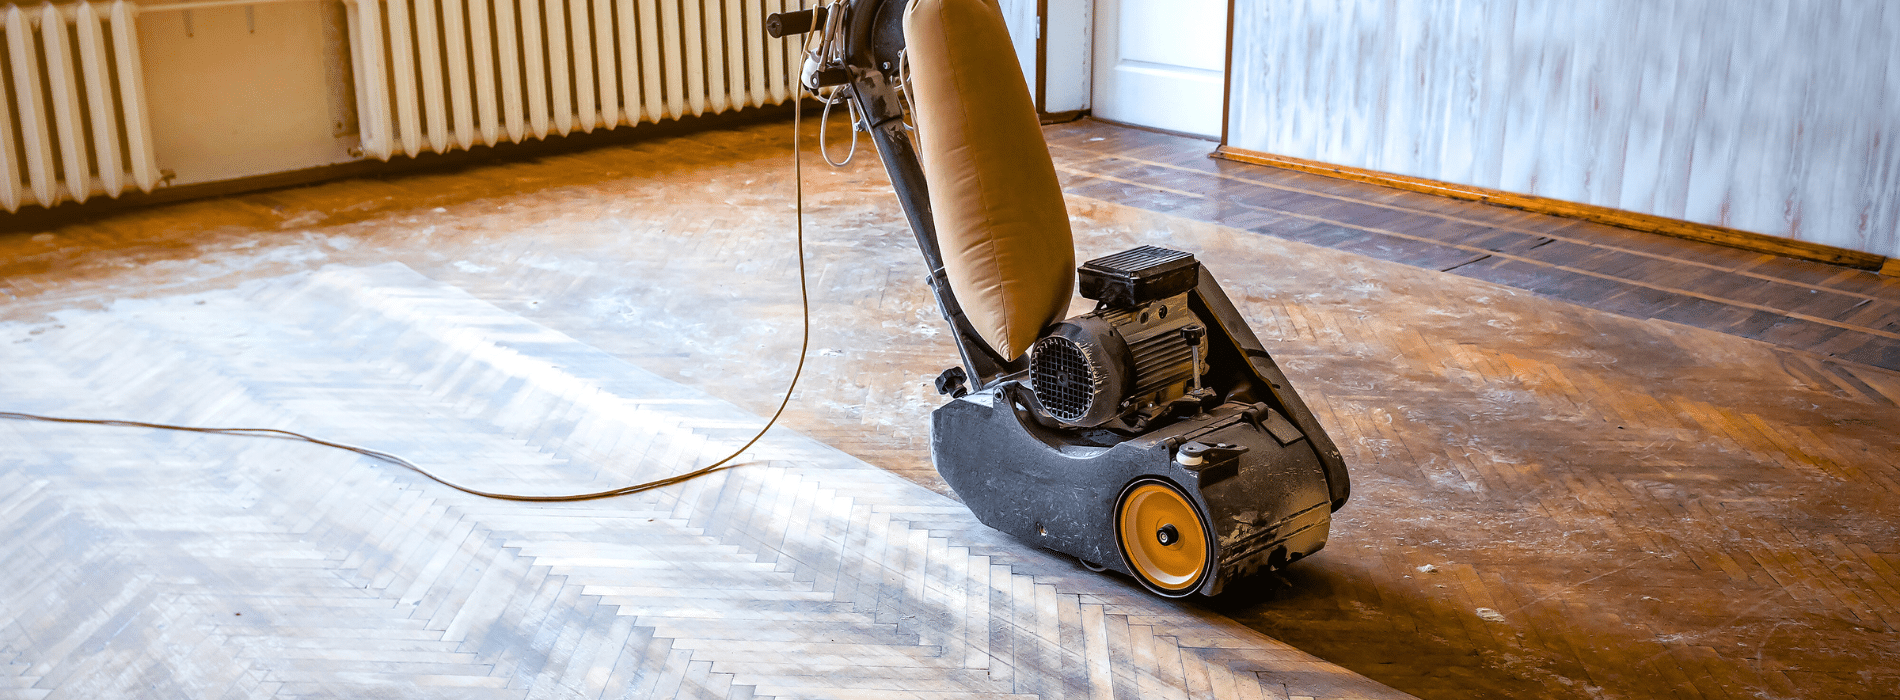
Step 4: Staining
Once the floor is smooth and free of the old finish, you can choose to stain it if you desire a different colour or want to enhance the natural wood grain. Use a brush or rag to apply the stain, following the grain of the wood. Wipe off any excess stain with a clean rag. Let it dry before applying the finish.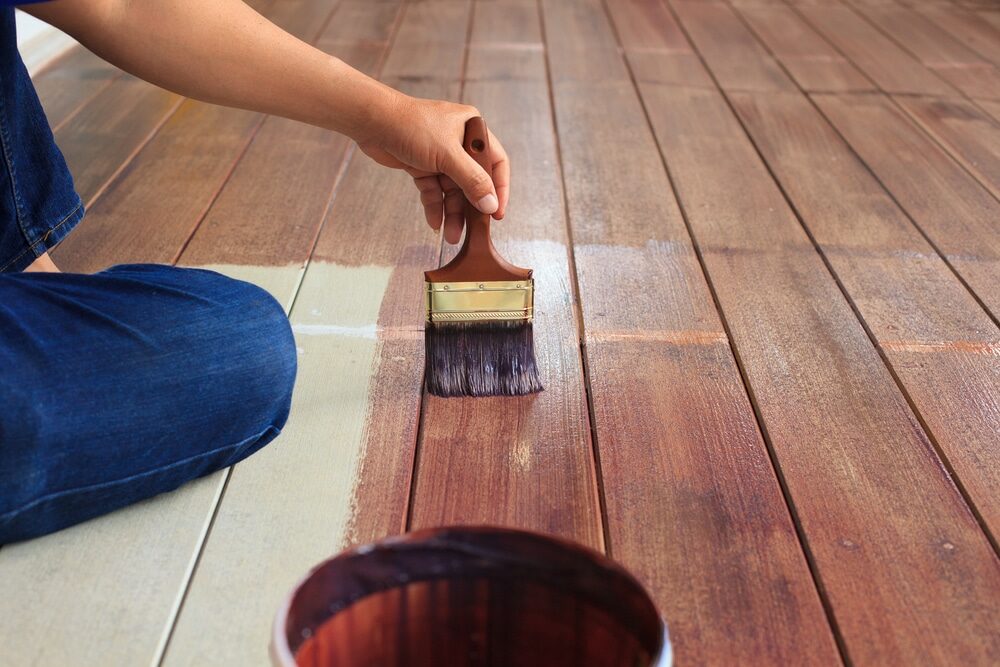
Step 5: Finishing
The last step is to apply a wood floor finish. This provides protection and gives your floor a shiny new look. There are different types of finishes, like polyurethane (water- or oil-based), wax, or varnish. Use a high-quality brush or lambswool roller to apply the finish, following the direction of the wood grain. Let each coat dry thoroughly before applying the next one. Two to three coats should be enough for most floors.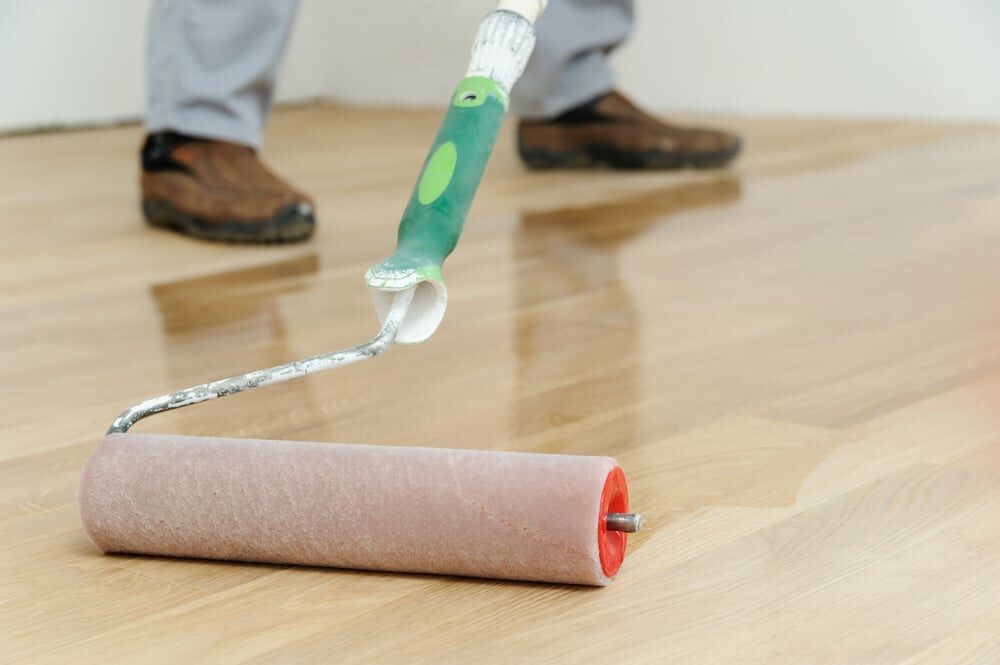
Care and Maintenance
After all that hard work, you’ll want to keep your floor looking as good as new for as long as possible. Here are some tips for maintaining your newly restored hardwood floor:- Clean regularly: Sweep or vacuum your floor regularly to prevent dust and dirt from scratching the surface. Use a microfiber mop for the best results.
- Wipe spills immediately: Any spills should be wiped up immediately to prevent staining and water damage.
- Use protective pads. Place protective pads under your furniture legs to avoid scratching your floors.
- Avoid direct sunlight. Direct sunlight can cause your hardwood floor to fade. Use curtains, blinds, or UV-protective window film to shield your floor from the sun.
- Recoat as needed: Every few years, consider recoating your floor. This involves lightly sanding the top layer and reapplying the finish. This helps to maintain the shine and protect your floor from wear and tear.
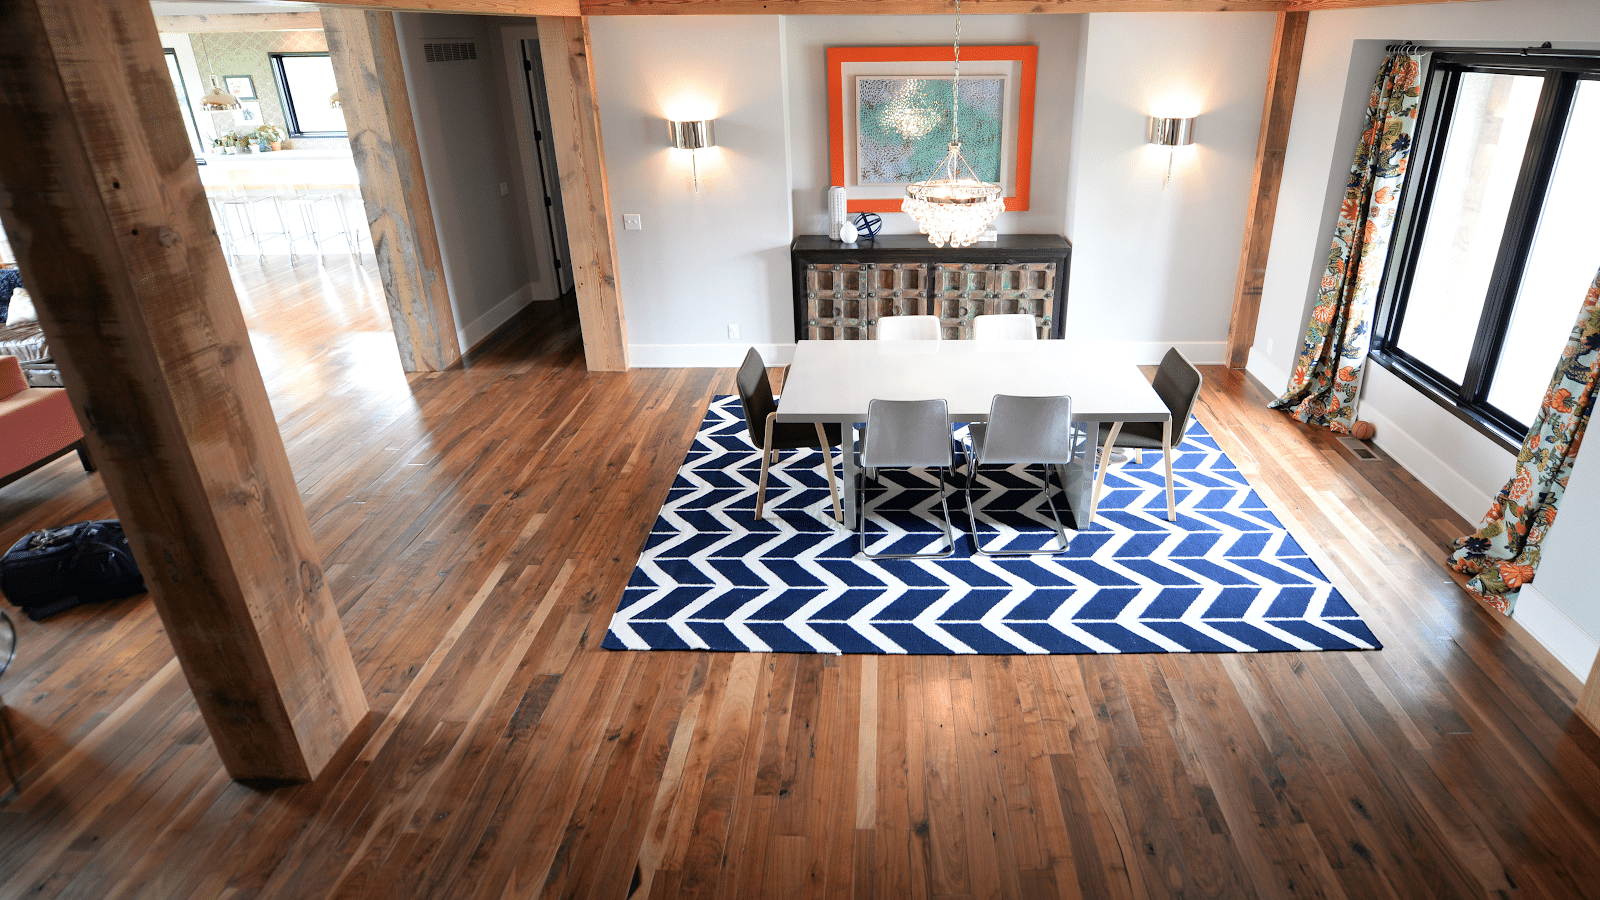
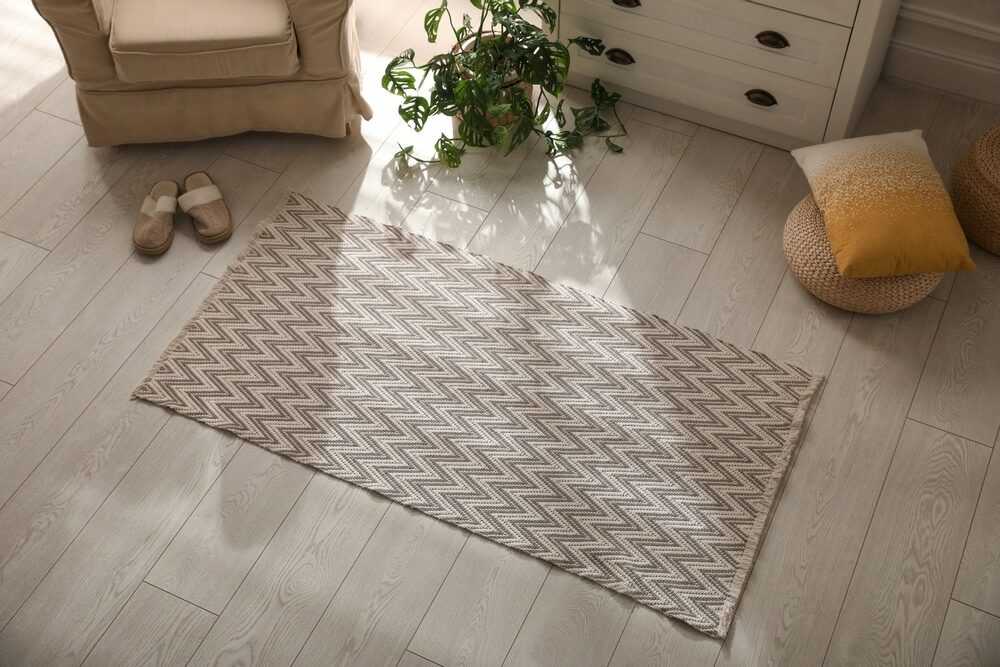
- Use rugs and mats: Consider using rugs and mats in high-traffic areas and at entrances to protect your floor from dirt and scratches.
- Avoid wearing high heels or cleats; these can cause dents and scratches on your hardwood floor.
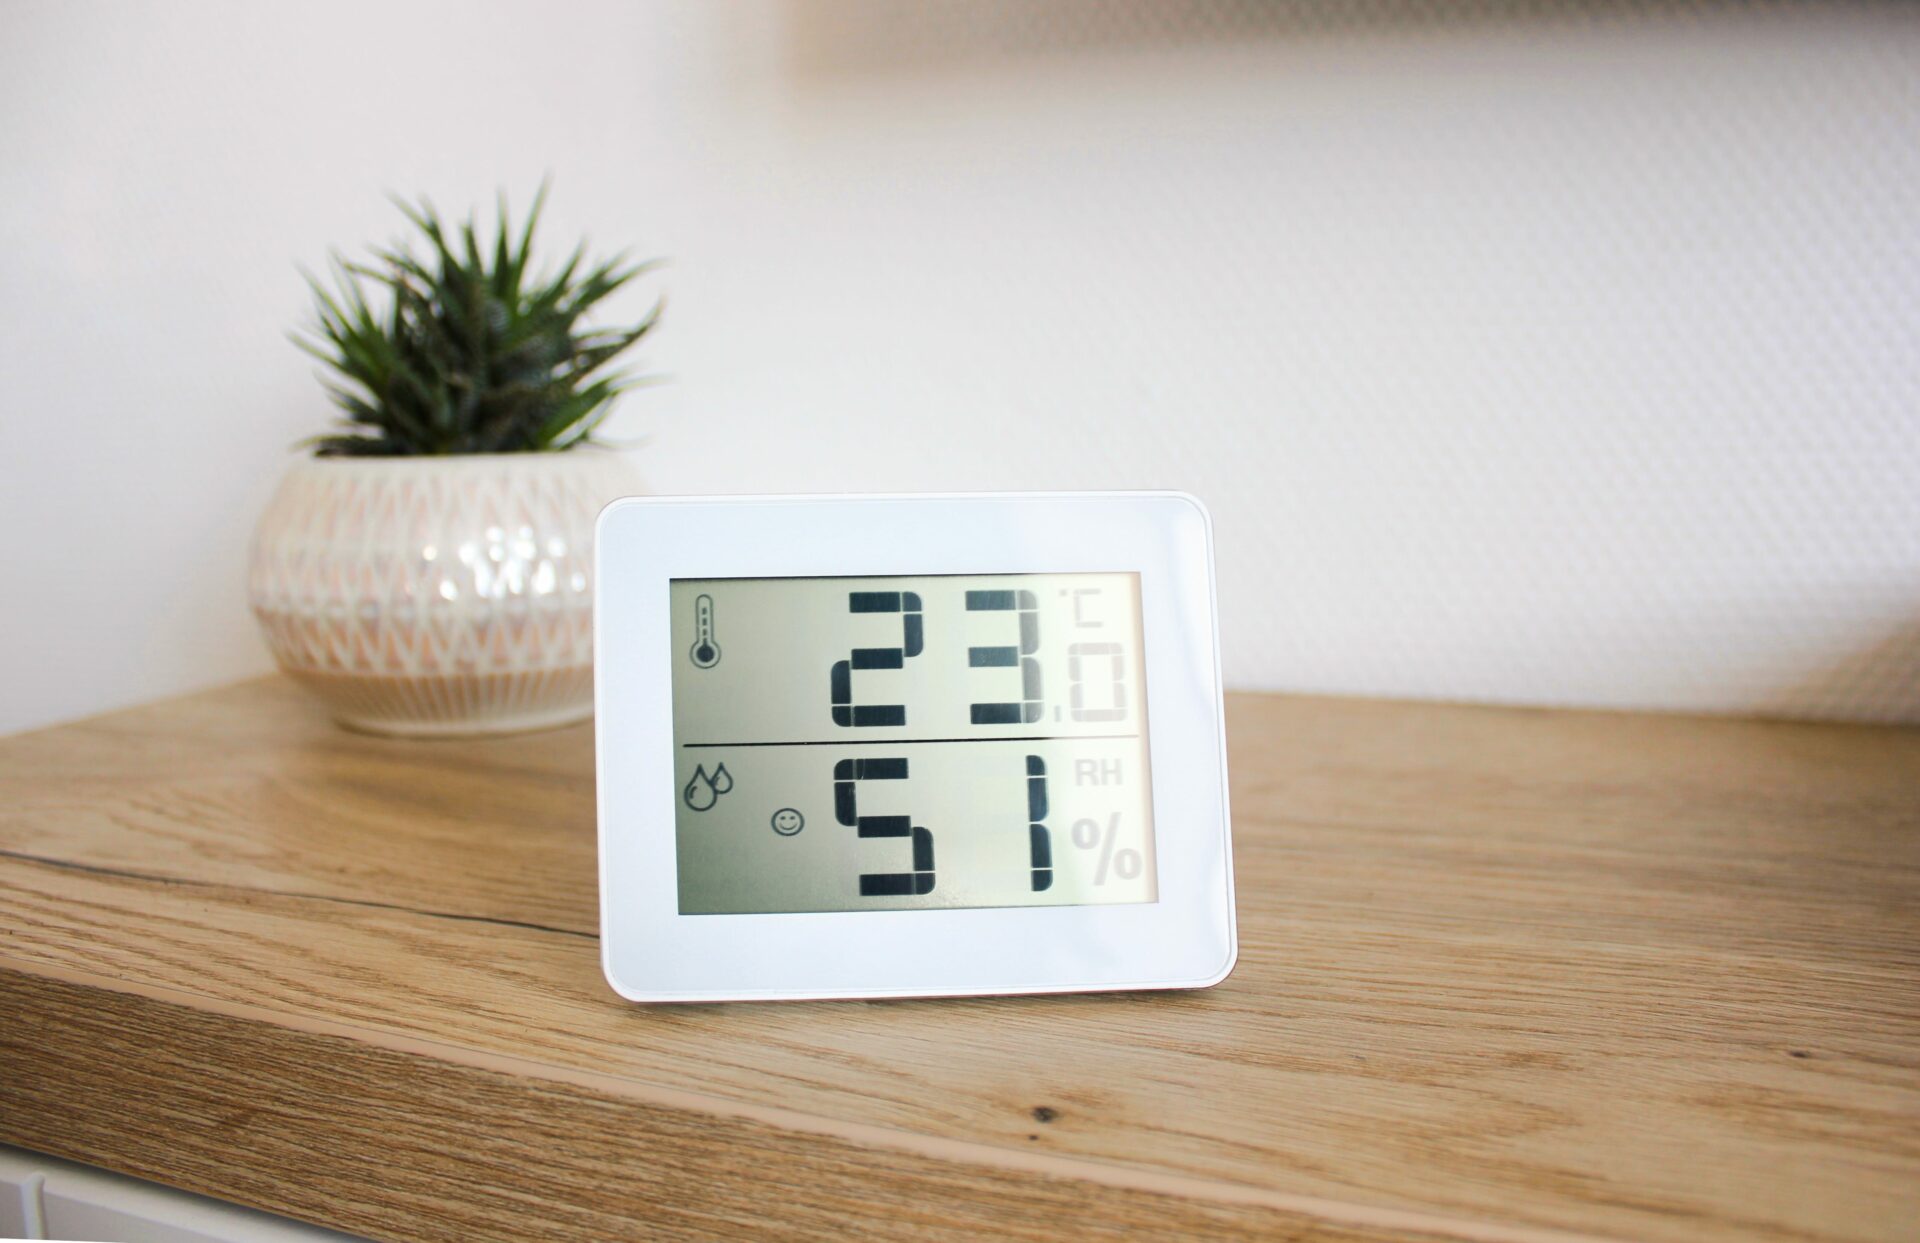
- Maintain the right humidity levels. Extreme changes in humidity can cause your floor to shrink or expand, leading to cracks or warping. Maintain a humidity level of 30%–50% in your home to prevent this.
Why restore instead of replace?
Now, you might wonder, “Why go through the hassle of restoring a hardwood floor instead of simply replacing it? Here are a few reasons:- Cost-effective: Restoration is often less expensive than replacing your entire hardwood floor.
- Preserves originality: If your home is old, the floor might be part of its architectural history. Preserving it maintains the authenticity of your home.
- Environmentally friendly: Restoring the floor reduces the demand for new wood, thereby aiding forest conservation efforts.
- Time-saving: A professional can typically restore a floor in a couple of days, while replacement could take up to a week or more, depending on the size and complexity of the project.
 In conclusion, restoring your small wood floor isn’t as daunting as it might initially seem. With the right tools, patience, and a bit of elbow grease, you can transform your dull, scratched floor into a beautiful, gleaming surface that enhances the appeal of your home.
Restoration breathes new life into old floors, maintaining their historical authenticity while improving their aesthetic and functional value. So, before deciding to replace your old wooden floor, consider restoration. You might be surprised at the stunning transformation that awaits beneath the surface wear. Remember, a good wood floor is not only about its initial installation but also about how it’s maintained and cared for throughout its lifespan.
Whether you choose to DIY or hire a professional, the goal is to ensure your floor looks as good as new, giving you many more years of warmth, beauty, and durability. Good luck with your hardwood floor restoration journey!
In conclusion, restoring your small wood floor isn’t as daunting as it might initially seem. With the right tools, patience, and a bit of elbow grease, you can transform your dull, scratched floor into a beautiful, gleaming surface that enhances the appeal of your home.
Restoration breathes new life into old floors, maintaining their historical authenticity while improving their aesthetic and functional value. So, before deciding to replace your old wooden floor, consider restoration. You might be surprised at the stunning transformation that awaits beneath the surface wear. Remember, a good wood floor is not only about its initial installation but also about how it’s maintained and cared for throughout its lifespan.
Whether you choose to DIY or hire a professional, the goal is to ensure your floor looks as good as new, giving you many more years of warmth, beauty, and durability. Good luck with your hardwood floor restoration journey!
Some Useful Links:
- Stairs Sanding & Refinishing
- Floor Sanding Services
- School Floor Sanding
- Wood Floor Restorations
- Wood Floor Repairs
- Wood Floor Polishing
More from our Blog:
Wooden Stairs and Banisters Sanding: Mr Sander®, London Matching Wood Floor Restoration to Your Personality: An In-depth Guide Key Rules for Preparing Your Wood Floor for Sanding Floor Sanding Services in London: Choosing Experts for Your Wooden Floors Wood Floor Filling Tips: A Comprehensive Guide to Flawless Flooring

Sanding
We provide virtually dust-free sanding with our continuous belt machinery with mobile extraction units, giving you a safer environment for your family.
Oiling
This organic finish not only adds beauty to your home but also has exceptional water-repellent characteristics, making it easier to clean and maintain.
Waxing
This natural floor finish offers the softest and most mellow appearance – and leaves your floor able to breath.
Buffing
Using soft buffing machines (and hand-polishing where required) will bring a wonderful sheen to your newly-finished floor.
Repairs
We offer a full assessment of your wooden floors to determine what repairs are needed to provide the perfect working surface for the later stages of sanding, staining and sealing.
Restoration
We offer a comprehensive restoration process designed to address floors that are improperly fitted or damaged over time through wear and tear.
Request a fixed price quote for your wood floor restoration now
Simply enter your postcode below to get started.
Services
Wood Floor Sanding Wood Floor Restoration Wood Floor Scratch Repair Squeaky Wood Floor Repair Parquet Floor Sanding Parquet Floor Restoration Commercial Floor Sanding Church Floor Sanding Community Centre Floor Sanding School Floor Sanding Gap Filling Gap Filling with ResinCopyright © Mr Sander®
Privacy & Cookies Terms & Conditions Complaints Procedure Cancellation Rights Sitemap

Get An Instant Price Estimate Before You Go…
Simply enter the rooms you need sanded and we’ll provide you with a price estimate instantly! Try our price calculator now.
Get a Price Estimate NowLocal Floor Sanding Experts
Over 500 5-Star Reviews
Safe, Dust Free Sanding
Operating Since 1994