London:
Nationwide:
25,000+
Floors Restored
27 Years Experience
Wood Flooring Association Certified
Floor Sanding London – Easy Steps to a Brand New Looking Floor
Posted on July 13, 2023
Blog
Ultimate Guide to Hardwood Floor Sanding in London: Easy Steps for Renewed Floors
In a city steeped in rich architectural history like London, hardwood floors are more than just a design element; they are a tribute to the city’s glorious past. These elegant and timeless floorings, however, need regular maintenance and restoration to keep their charm intact. One such effective technique is floor sanding.
This comprehensive guide will take you through easy steps to achieve a brand-new-looking floor through sanding in London.
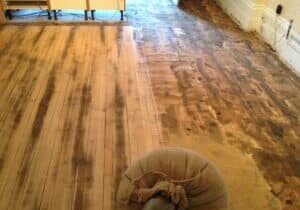
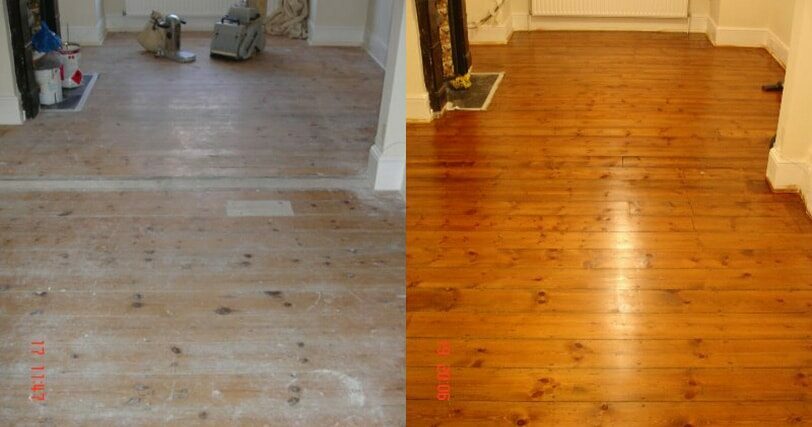
Step 1: Evaluate Your Hardwood Floor
The first step is to assess the condition of your hardwood floor. Look out for deep scratches, stubborn stains, or any signs of water damage or rot. Depending on the severity of these issues, you may need more intensive sanding or professional help.
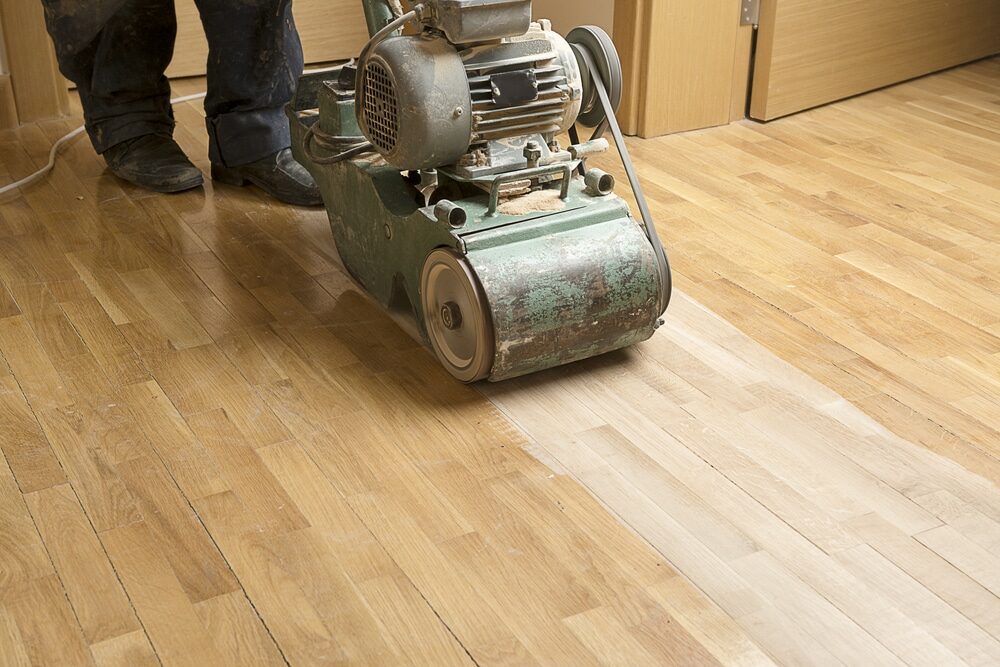
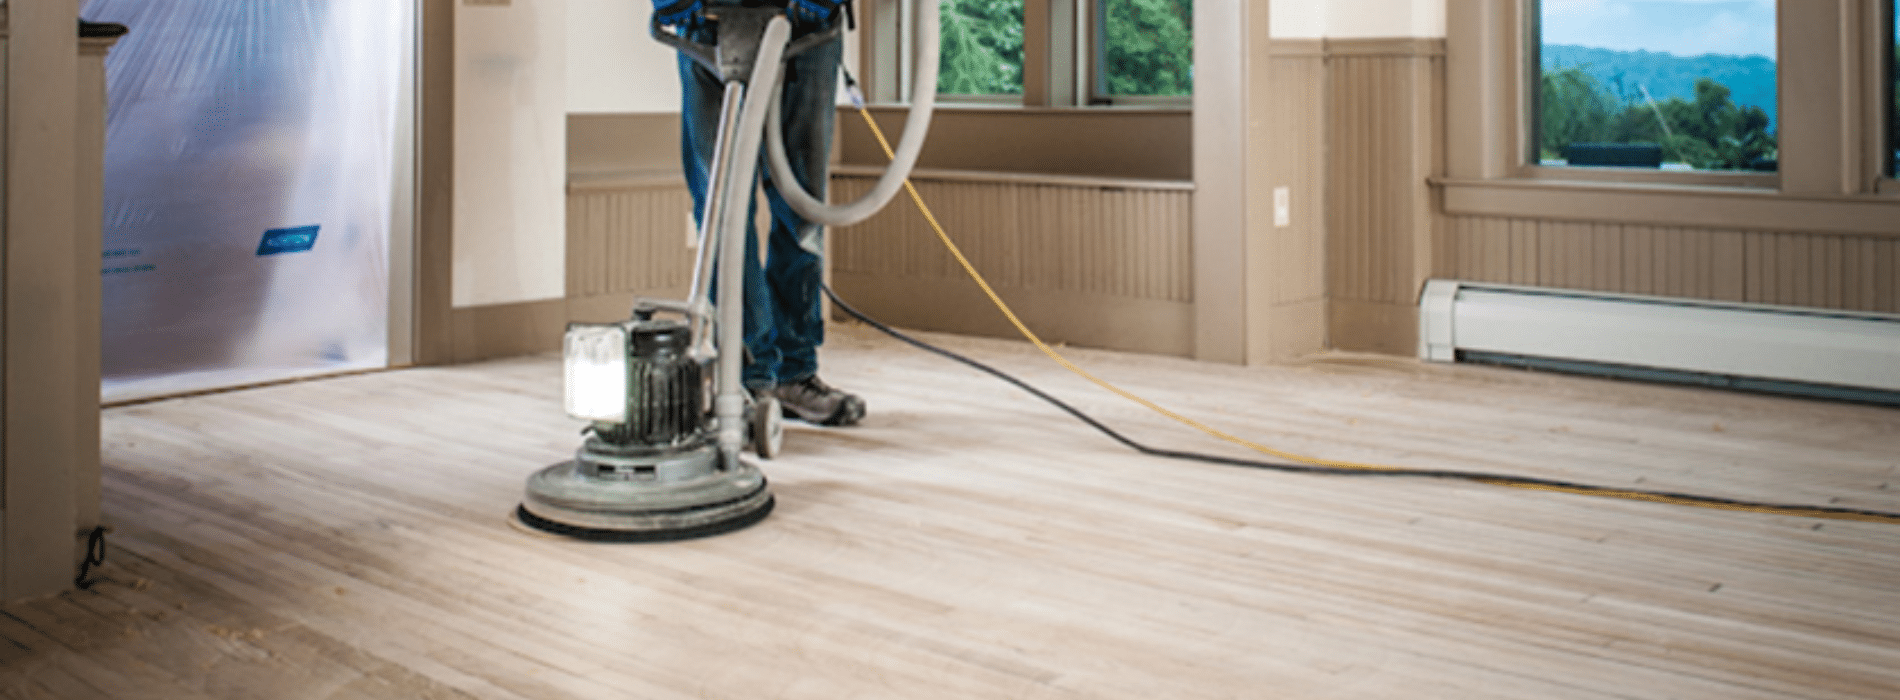
Step 2: Choose Your Sanding Equipment
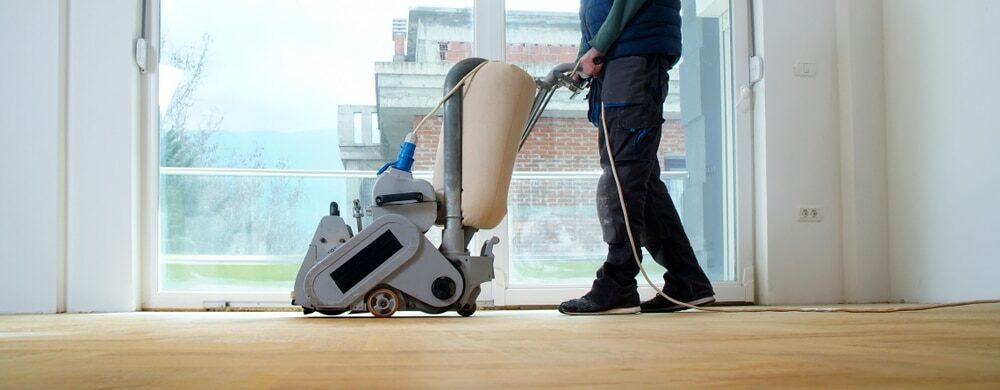
Selecting the right sanding equipment is crucial for achieving a smooth, new-looking floor. Drum sanders, for example, are ideal for larger areas, while edge sanders are perfect for corners and other hard-to-reach places. In London, many tool rental shops can provide you with the necessary equipment.
Step 3: Prepare Your Space
Before you start sanding, prepare the room. Remove all furniture and cover fixed items, such as kitchen cabinets, with plastic sheeting to protect them from dust. For safety, wear a dust mask and safety goggles.
Step 4: Start Sanding
Now it’s time to start sanding. Begin with coarse-grit sandpaper to remove the old finish and any significant damage. Sand along the wood grain, not against it, to avoid scratching the floor. Be patient and take your time; rushing might lead to uneven sanding.
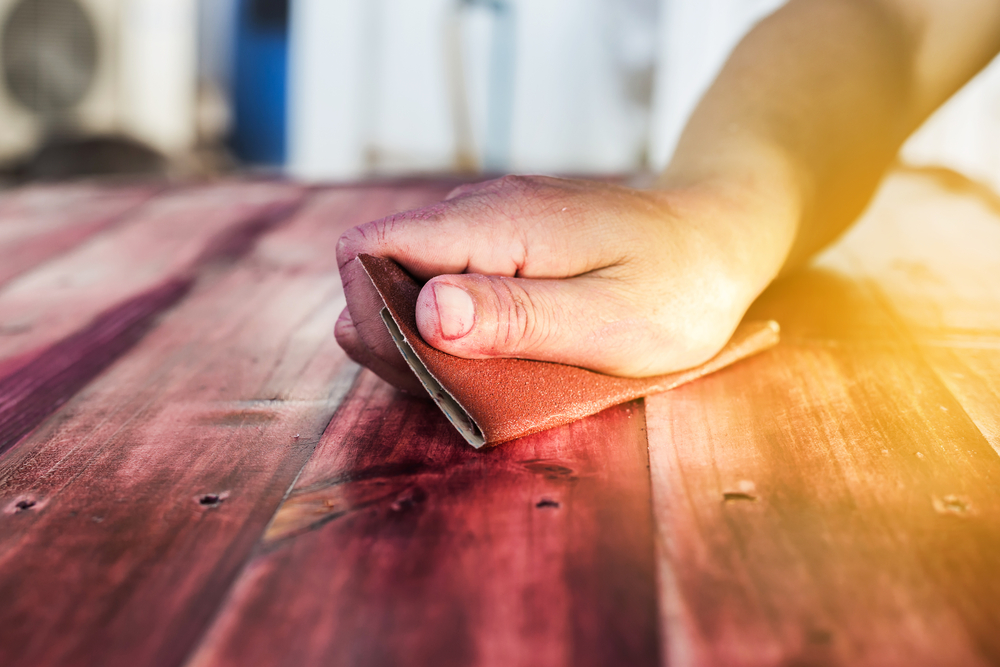
Step 5: Change Your sandpaper.
After the initial sanding, switch to medium-grit sandpaper to smooth out any rough patches. Remember, the goal is to achieve a completely smooth surface. So keep sanding until you can’t see any more scratches or dents.
Step 6: Fine Sanding
The final sanding phase involves using fine-grit sandpaper, which will give your floor a smooth, polished look. In London, due to the often humid weather, allowing your floor to rest for a day after this step is recommended to let any moisture evaporate.
Step 7: Clean Up
After the final round of sanding, it’s time to clean. Vacuum your floor thoroughly to remove all the dust and debris. Then, wipe it down with a damp (not wet) cloth. Make sure the floor is completely dry before proceeding to the next step.
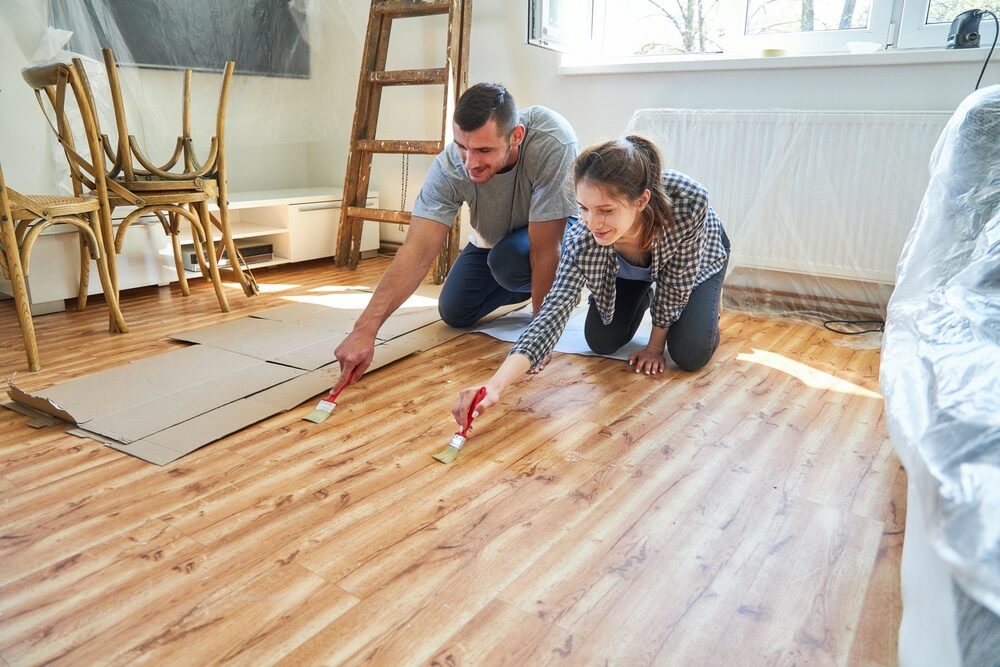
Step 8: Apply the Finish
Choose a finish that matches the original colour of your floor or complements your interior design. Apply the finish evenly using a brush or a roller, following the wood grain. Always allow ample time for the finish to dry before applying the next coat.
Step 9: Let the Floor cure.
Allow the floor to cure completely before moving furniture back into the room. The curing time varies depending on the type of finish used, but it typically ranges from a few days to a week.
Some Extra Tips
- If you are sanding a floor in a historic London property, take extra care to maintain its original character and charm. Gentle sanding and the use of eco-friendly, low-gloss finishes can help preserve the antique patina of the wood.
- If you live in a listed building or a conservation area in London, make sure to check if any restrictions apply to floor sanding or other renovation activities.
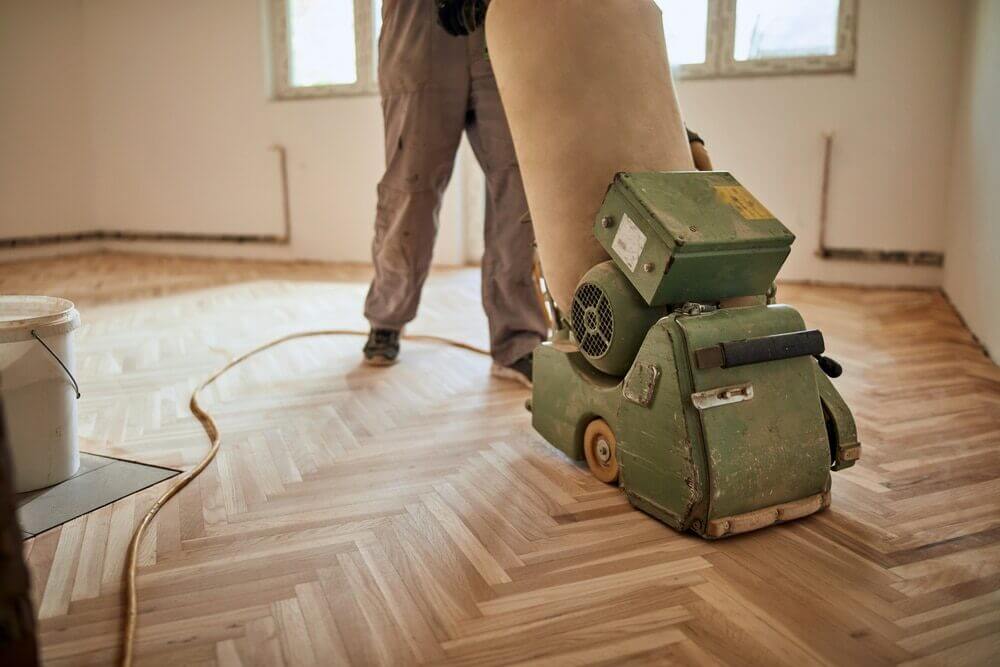
- Consider hiring a professional if your floor has intricate patterns, like parquet, or if it is significantly damaged. The diverse and experienced community of floor sanding professionals in London can handle such challenging tasks with expertise.
Floor sanding is a rewarding DIY project that can breathe new life into your aged hardwood floor. It is a task of patience and attention to detail, but with these easy steps, your London home’s floor can regain its lustre and elegance, complementing the city’s architectural charm. Whether you do it yourself or hire a professional, floor sanding can transform your old, worn-out floor into a beautiful and shiny surface that enhances the beauty of your home.
Some Useful Links:
- Floor Sanding Services
- School Floor Sanding
- Wood Floor Restorations
- Wood Floor Repairs
- Wood Floor Polishing
More from our Blog:
Fascinating Facts About Hardwood Floor Sanding in London How to Find The Best Value For Money Floorboard Sanding Experts Home Improvement Guidelines – Sanding Wooden Floors Dust Free Floor Sanding: Unraveling the Myth and Embracing the Reality Unusual Uses for Wood Floors Beyond Flooring
Get more floor restoration advice…
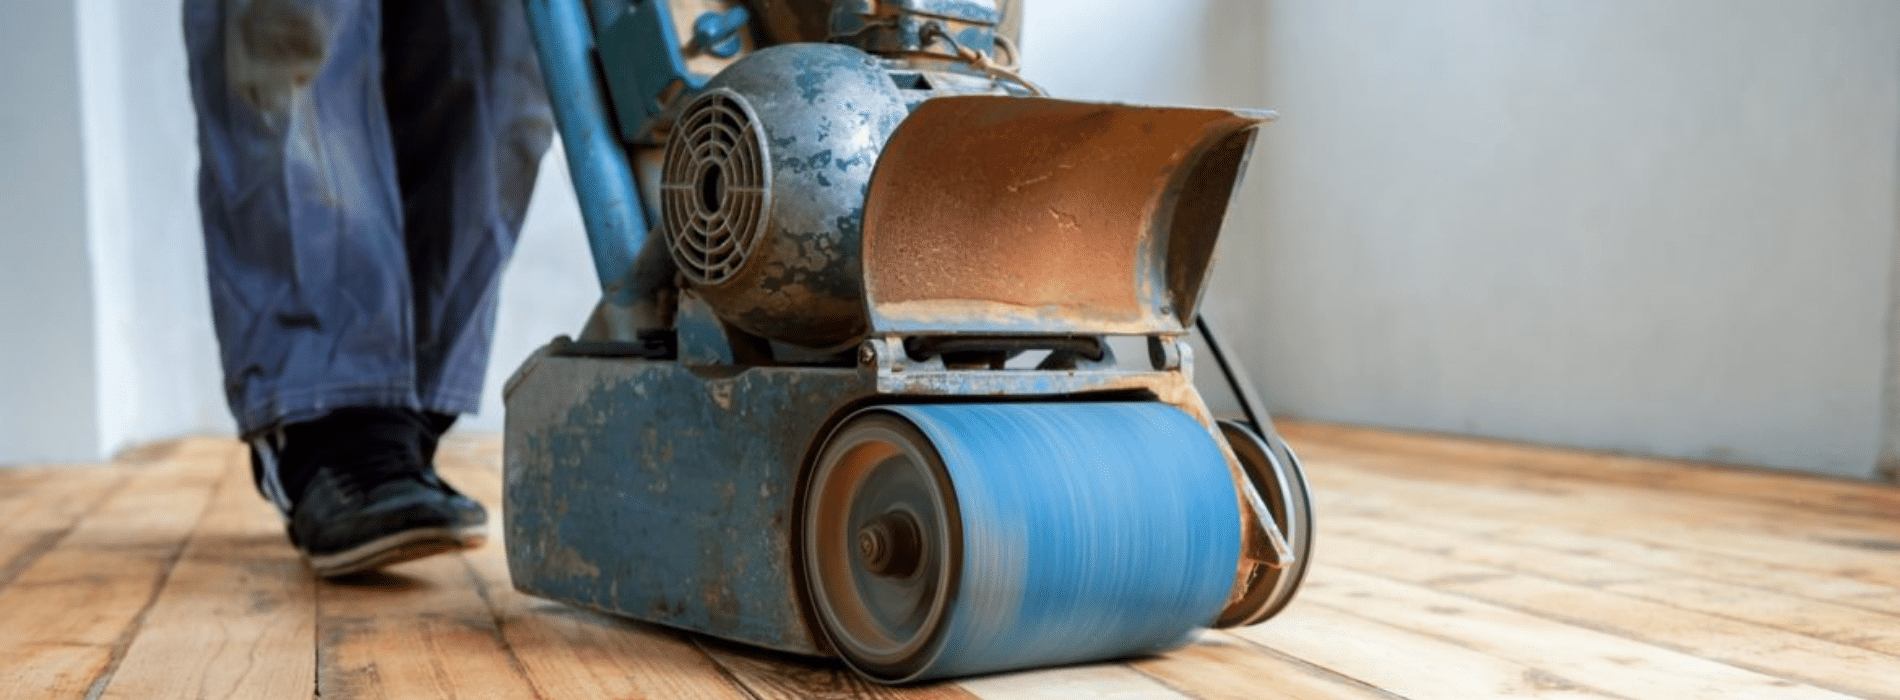
Sanding
We provide virtually dust-free sanding with our continuous belt machinery with mobile extraction units, giving you a safer environment for your family.
Oiling
This organic finish not only adds beauty to your home but also has exceptional water-repellent characteristics, making it easier to clean and maintain.
Waxing
This natural floor finish offers the softest and most mellow appearance – and leaves your floor able to breath.
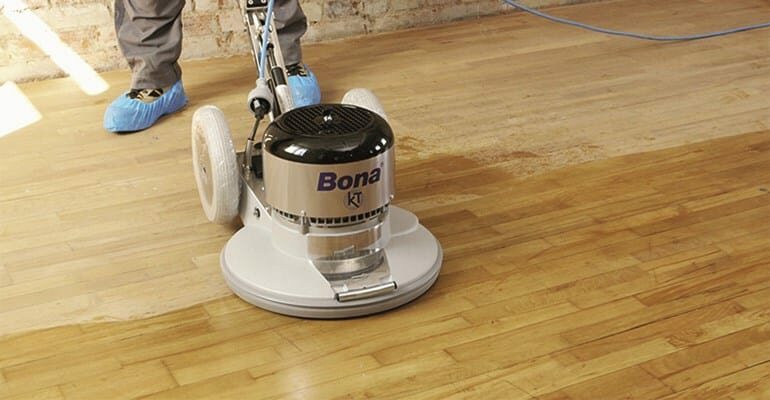
Buffing
Using soft buffing machines (and hand-polishing where required) will bring a wonderful sheen to your newly-finished floor.
Repairs
We offer a full assessment of your wooden floors to determine what repairs are needed to provide the perfect working surface for the later stages of sanding, staining and sealing.
Restoration
We offer a comprehensive restoration process designed to address floors that are improperly fitted or damaged over time through wear and tear.
Request a fixed price quote for your wood floor restoration now
Simply enter your postcode below to get started.
Services
Wood Floor Sanding Wood Floor Restoration Wood Floor Scratch Repair Squeaky Wood Floor Repair Parquet Floor Sanding Parquet Floor Restoration Commercial Floor Sanding Church Floor Sanding Community Centre Floor Sanding School Floor Sanding Gap Filling Gap Filling with ResinCopyright © Mr Sander®
Privacy & Cookies Terms & Conditions Complaints Procedure Cancellation Rights Sitemap

Get An Instant Price Estimate Before You Go…
Simply enter the rooms you need sanded and we’ll provide you with a price estimate instantly! Try our price calculator now.
Get a Price Estimate NowLocal Floor Sanding Experts
Over 500 5-Star Reviews
Safe, Dust Free Sanding
Operating Since 1994