London:
Nationwide:
25,000+
Floors Restored
27 Years Experience
Wood Flooring Association Certified
Home Improvement Guidelines – Sanding Wooden Floors
Posted on July 13, 2023
Blog
Home Improvement: A Comprehensive Guide to Sanding Wooden Floors
When it comes to home improvement, restoring wooden floors through sanding is an effective way to refresh your living space. Sanding can remove old finishes, smooth out imperfections, and prepare the floor for a fresh new finish. In this comprehensive guide, we’ll walk you through the entire process of sanding wooden floors.
The Need for Sanding
Why Sand Your Floors?
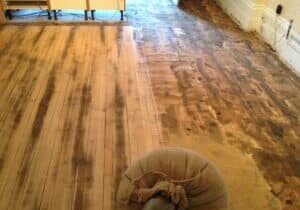
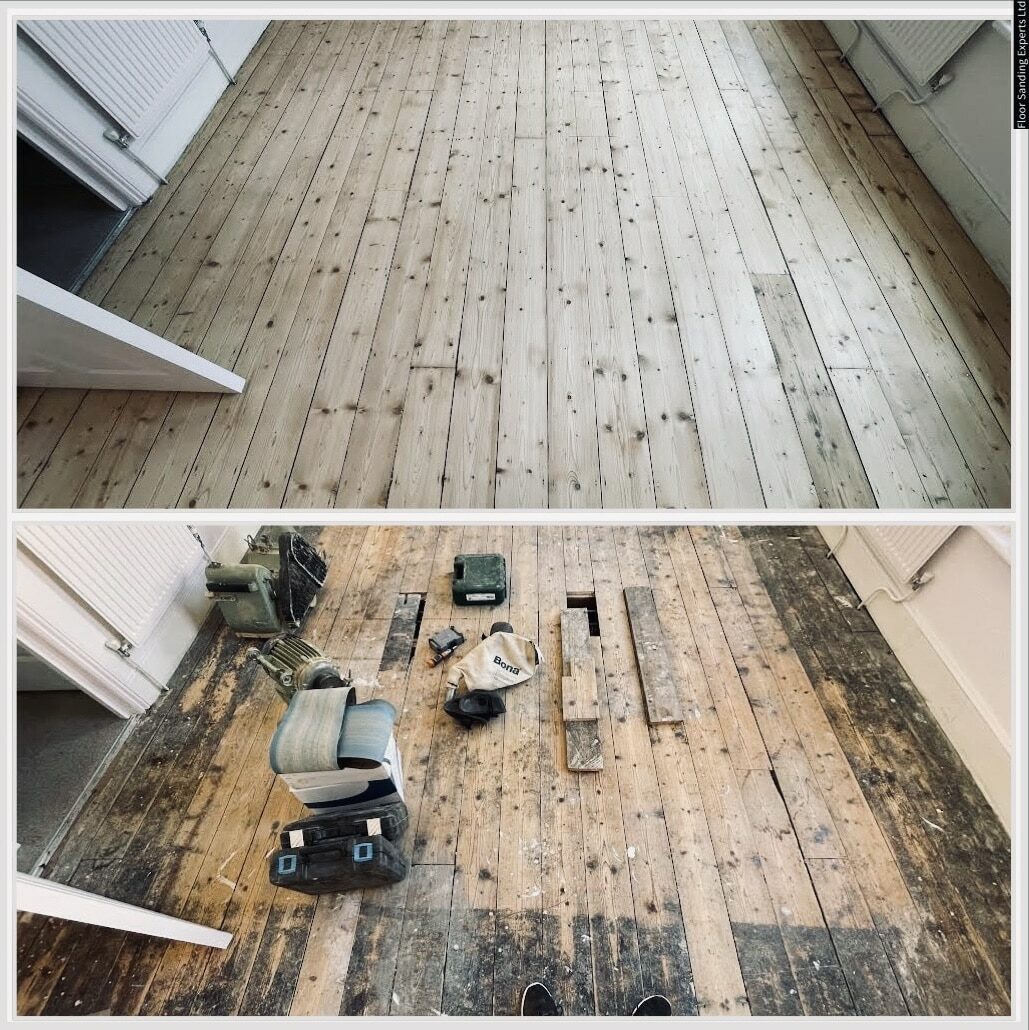
Over time, wooden floors can lose their lustre due to everyday wear and tear, scratches, and old stains. Sanding helps remove these surface imperfections, revealing the fresh wood underneath and allowing a new finish to be applied for a revived look.
Understanding The Process
Step 1: Preparing the Area
Before starting the sanding process, remove any furniture or obstacles from the room. Cover any open doorways or vents with plastic sheeting to prevent dust from spreading to other parts of the house.
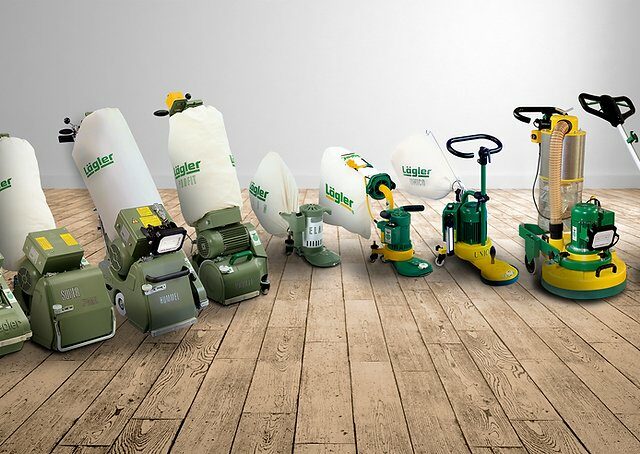
Step 2: Choosing the Right Sander
Choosing the right sander is crucial for the success of the project. For large, open areas, a drum sander is efficient, while an orbital sander is better for edges and corners. If you’re not sure, ask your local tool rental shop for advice.
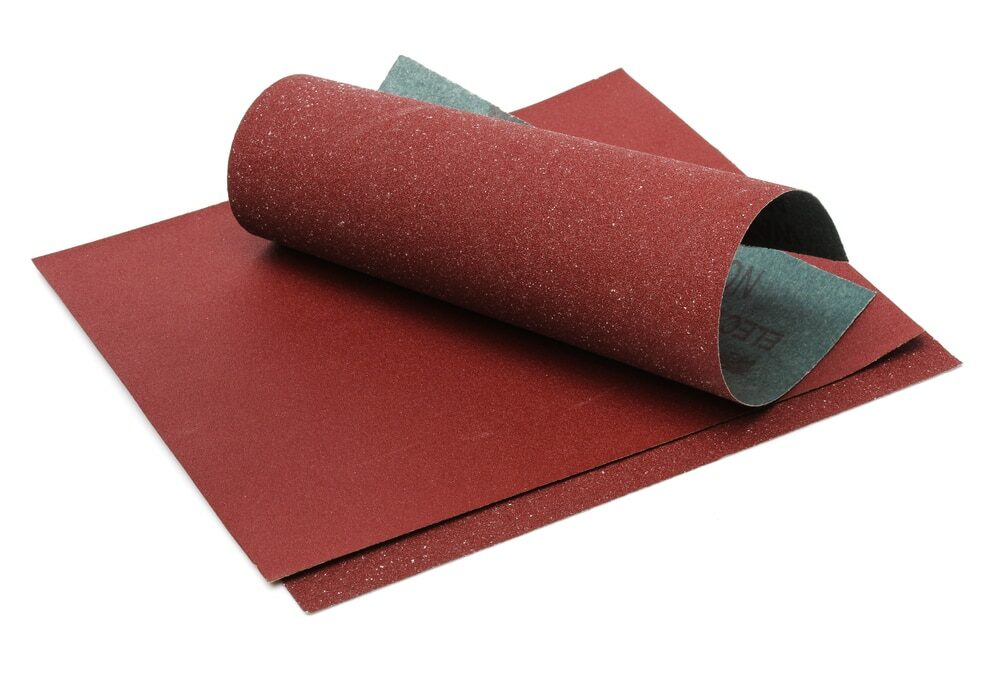
Step 3: Selecting the Sandpaper Grit
Start with coarse-grit sandpaper to remove the old finish and major imperfections. Gradually move to finer grits to smooth the wood surface. Typically, a progression from 40, 60, 80, or 100 grit works well for most floors.
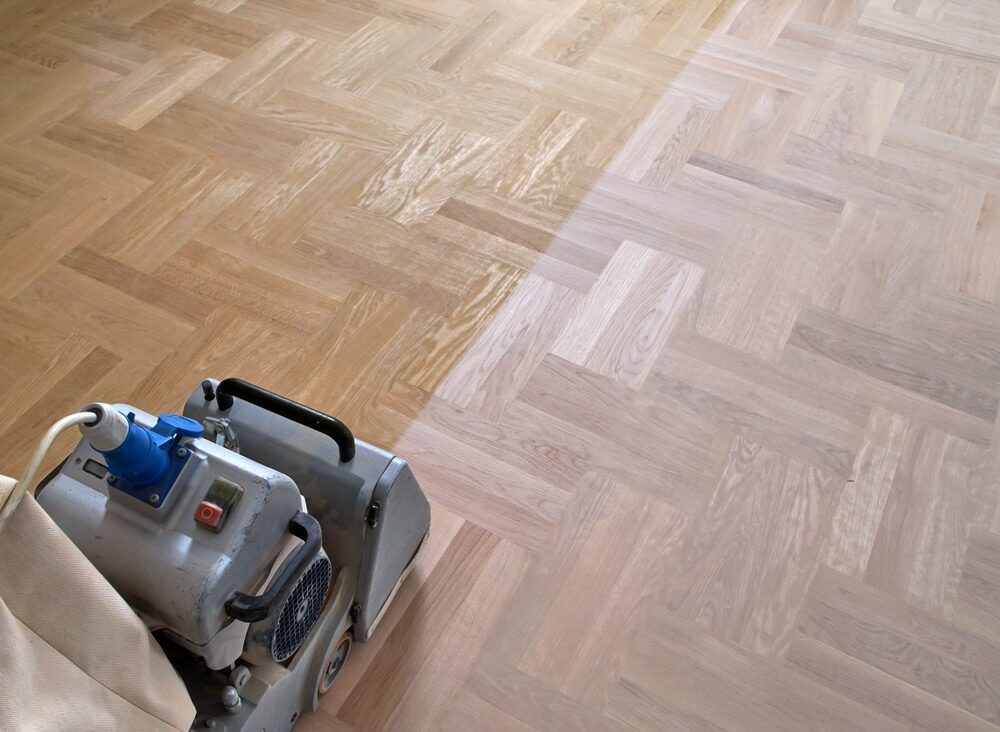
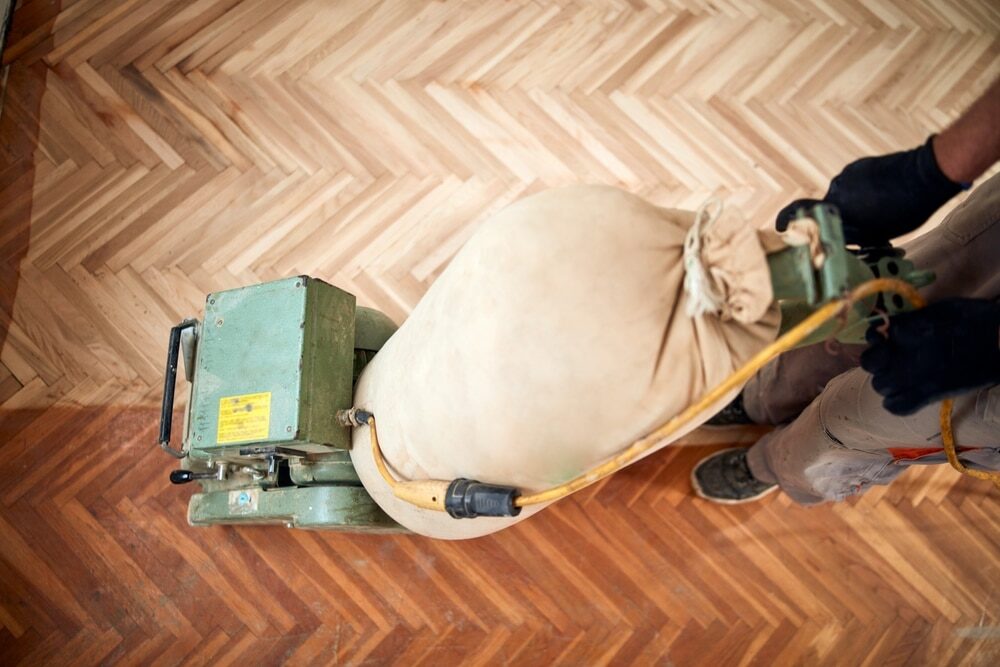
Step 4: Sanding the Floor
Always sand along the grain of the wood, not against it. Start with the drum sander for the main area of the floor. Then switch to the orbital sander for the edges and corners. Remember to keep the sander moving to avoid creating divots.
Step 5: Cleaning Up
Once the sanding is complete, vacuum or sweep up the dust. Then, wipe the floor with a damp cloth to pick up any remaining dust particles.
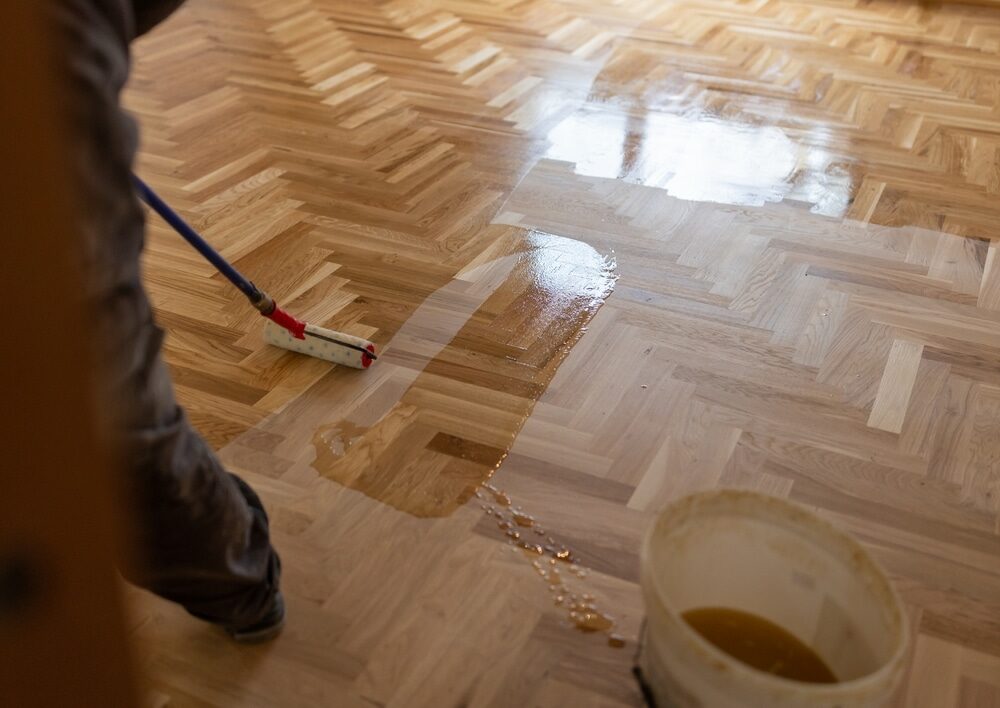
Step 6: Applying the Finish
Before applying the finish, ensure the floor is completely clean and dry. Then, using a brush or roller, apply the finish according to the manufacturer’s instructions. Let it dry thoroughly before walking on the floor.
Tips for Sanding Wooden Floors
Safety First
Always use protective gear, including safety goggles, a dust mask, and ear protection. These will protect you from dust particles, noise, and any wood fragments.
Pace Yourself
Don’t rush the sanding process. Keeping a steady pace will result in a more even finish.
Check Your progress.
Regularly turn off the sander and check your progress. This will help ensure you don’t oversand any area.
The Benefits of Sanding Wooden Floors
Sanding wooden floors can significantly improve the look and feel of your home. It can increase the lifespan of your floors, enhance the aesthetic appeal of your rooms, and even boost your property’s value.
Wrapping Up
Sanding wooden floors may seem daunting, but with the right preparation, tools, and understanding, it’s a home improvement task that can truly transform your living space. Always remember to prioritise safety and don’t rush the process. The end result will be a beautifully revived wooden floor that you can be proud of.
Some Useful Links:
- Floor Sanding Services
- School Floor Sanding
- Wood Floor Restorations
- Wood Floor Repairs
- Wood Floor Polishing
More from our Blog:
Dust Free Floor Sanding: Unraveling the Myth and Embracing the Reality Unusual Uses for Wood Floors Beyond Flooring Latest Festool Machines for Repairing Wood Floors Exploring the Timeless Appeal of Hardwood Floor The Easiest Way to Maintain your Wood Floor
Sanding
We provide virtually dust-free sanding with our continuous belt machinery with mobile extraction units, giving you a safer environment for your family.
Oiling
This organic finish not only adds beauty to your home but also has exceptional water-repellent characteristics, making it easier to clean and maintain.
Waxing
This natural floor finish offers the softest and most mellow appearance – and leaves your floor able to breath.
Buffing
Using soft buffing machines (and hand-polishing where required) will bring a wonderful sheen to your newly-finished floor.
Repairs
We offer a full assessment of your wooden floors to determine what repairs are needed to provide the perfect working surface for the later stages of sanding, staining and sealing.
Restoration
We offer a comprehensive restoration process designed to address floors that are improperly fitted or damaged over time through wear and tear.
Request a fixed price quote for your wood floor restoration now
Simply enter your postcode below to get started.
Services
Wood Floor Sanding Wood Floor Restoration Wood Floor Scratch Repair Squeaky Wood Floor Repair Parquet Floor Sanding Parquet Floor Restoration Commercial Floor Sanding Church Floor Sanding Community Centre Floor Sanding School Floor Sanding Gap Filling Gap Filling with ResinCopyright © Mr Sander®
Privacy & Cookies Terms & Conditions Complaints Procedure Cancellation Rights Sitemap

Get An Instant Price Estimate Before You Go…
Simply enter the rooms you need sanded and we’ll provide you with a price estimate instantly! Try our price calculator now.
Get a Price Estimate NowLocal Floor Sanding Experts
Over 500 5-Star Reviews
Safe, Dust Free Sanding
Operating Since 1994