London:
Nationwide:
Sanding Wooden Floors – A Comprehensive DIY Guide for Beginners
Posted on June 14, 2023
Floor Sanding Articles
The Comprehensive DIY Guide to Sanding Wooden Floors | Beginner-Friendly
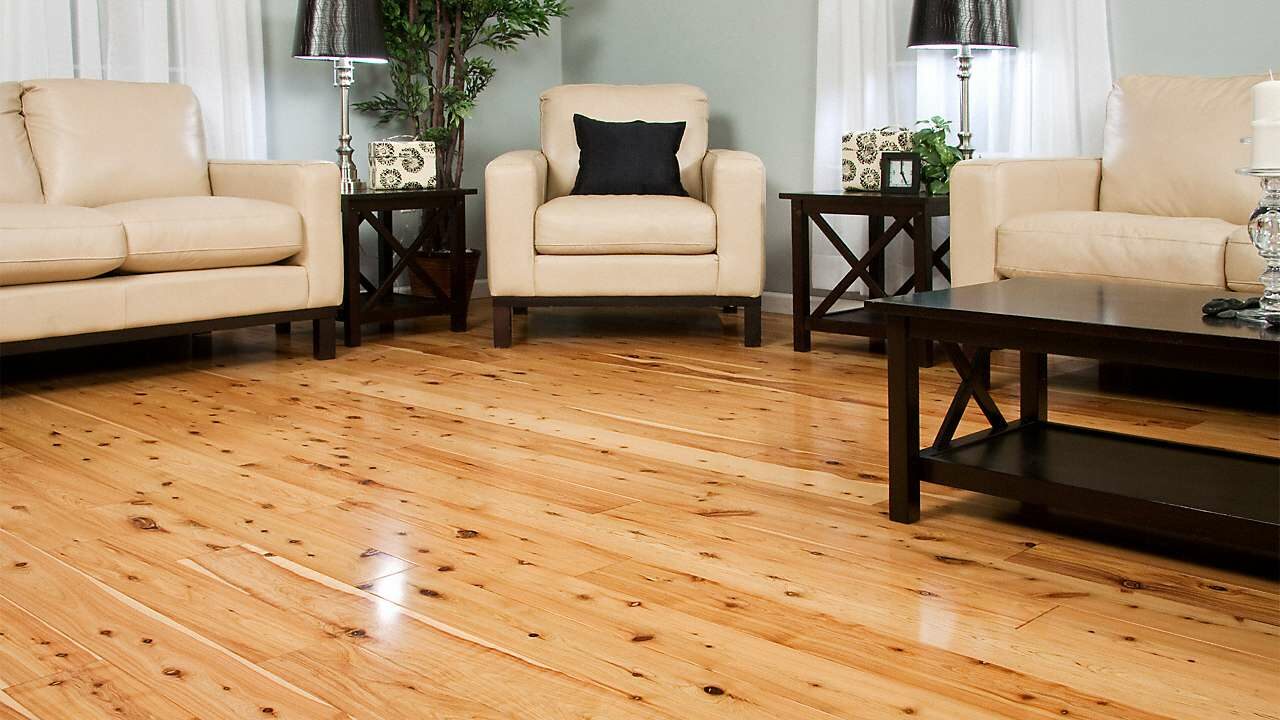
Dust off your DIY spirit and get ready to rejuvenate your wooden floors. Sanding is a fantastic way to breathe new life into your wooden floors, stripping away years of wear and tear and revealing the beautiful grain beneath. It may seem like a daunting task, but with a little patience and the right tools, even the most novice DIYer can achieve fantastic results. This guide provides you with a step-by-step walkthrough of sanding your wooden floors, demystifying the process and ensuring you can approach this task with confidence.Understanding the Basics of Sanding Wooden Floors
What is Floor Sanding?
Floor sanding is a process where the top surface of a wooden floor is worn away by abrasive materials. This is generally done to remove old finishes, repair damage, and restore the floor’s natural beauty. Sanding is a common step in refinishing hardwood floors.Why Sand Your Floor?
There are several reasons you might choose to sand your floors:- Aesthetic Appeal: Over time, wooden floors can lose their luster and appeal due to wear and tear. Sanding removes the worn top layer, revealing a fresh, untouched layer of wood beneath.
- Refinishing: Sanding is an essential step in refinishing your floors. If you want to apply a new stain or finish, you’ll need to sand the floor first.
- Repair: Sanding can help repair minor damages such as scratches, dents, or watermarks on your wooden floor.

Getting Started: What You’ll Need
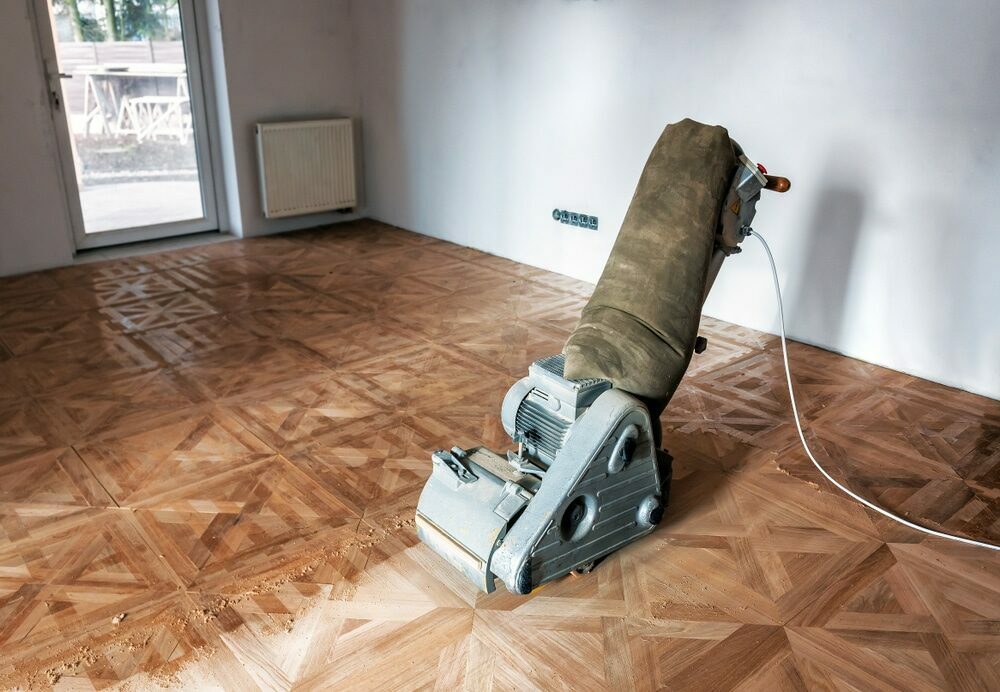
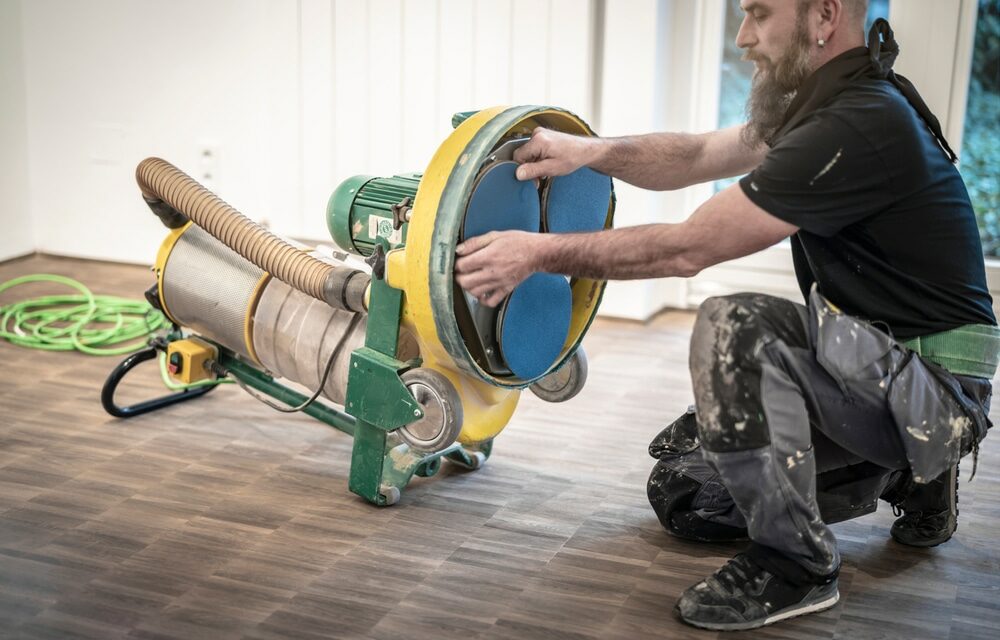
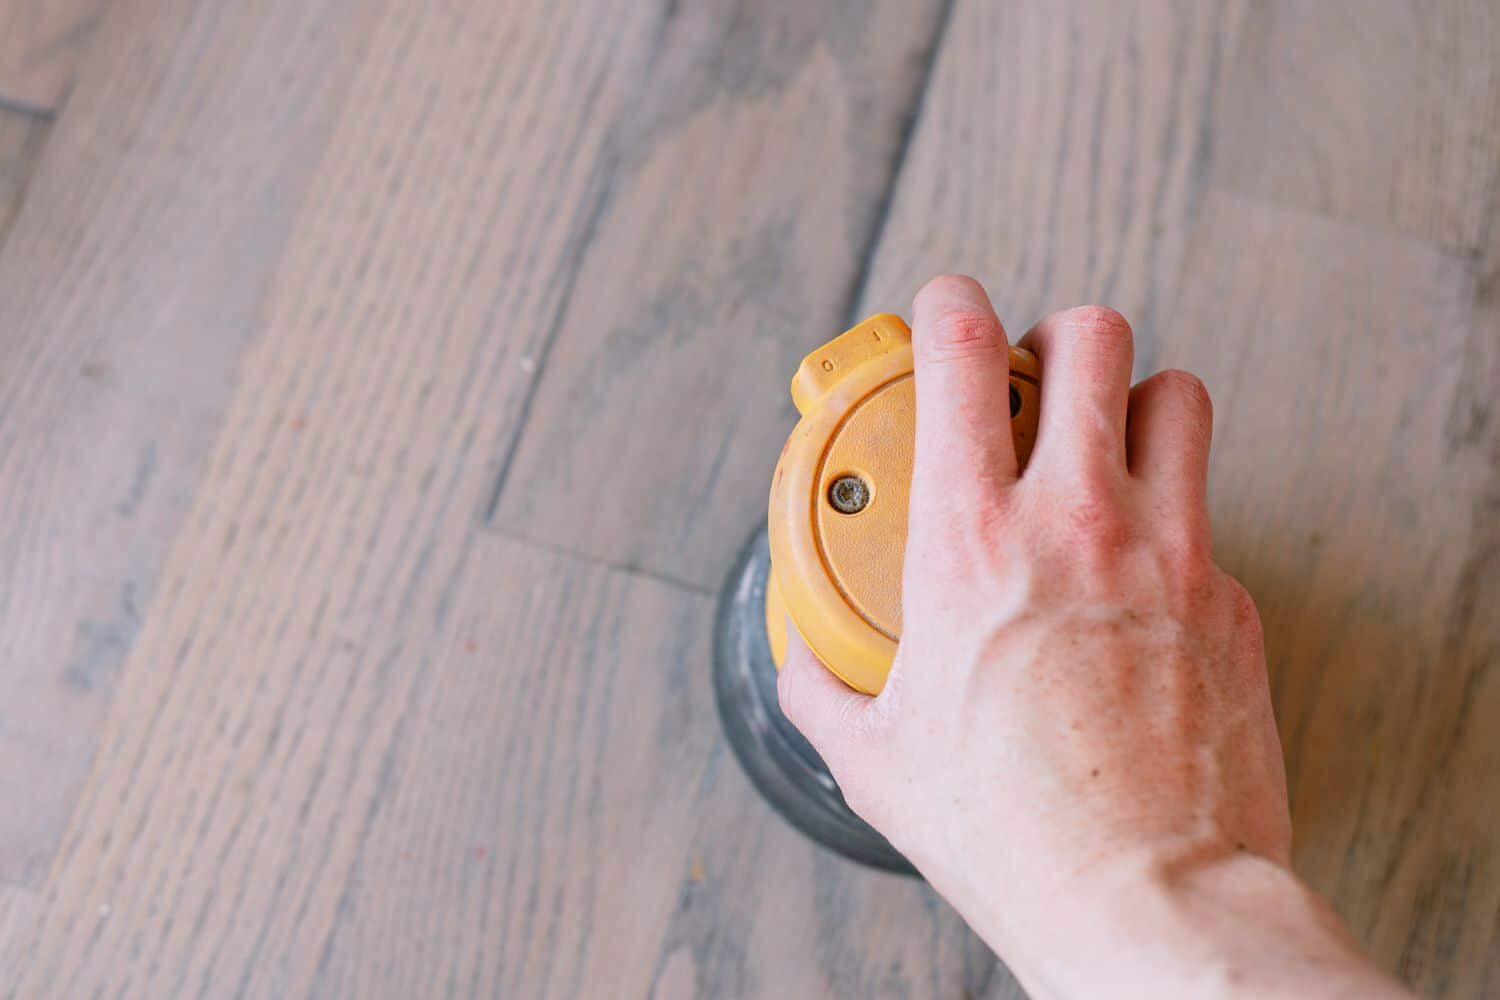
Before we begin, it’s crucial to gather all the necessary materials and tools. Here’s what you’ll need:- Drum or orbital sander (You can rent one from a local home improvement store)
- Variety of sandpaper grits (e.g., 36, 60, 80, and 100)
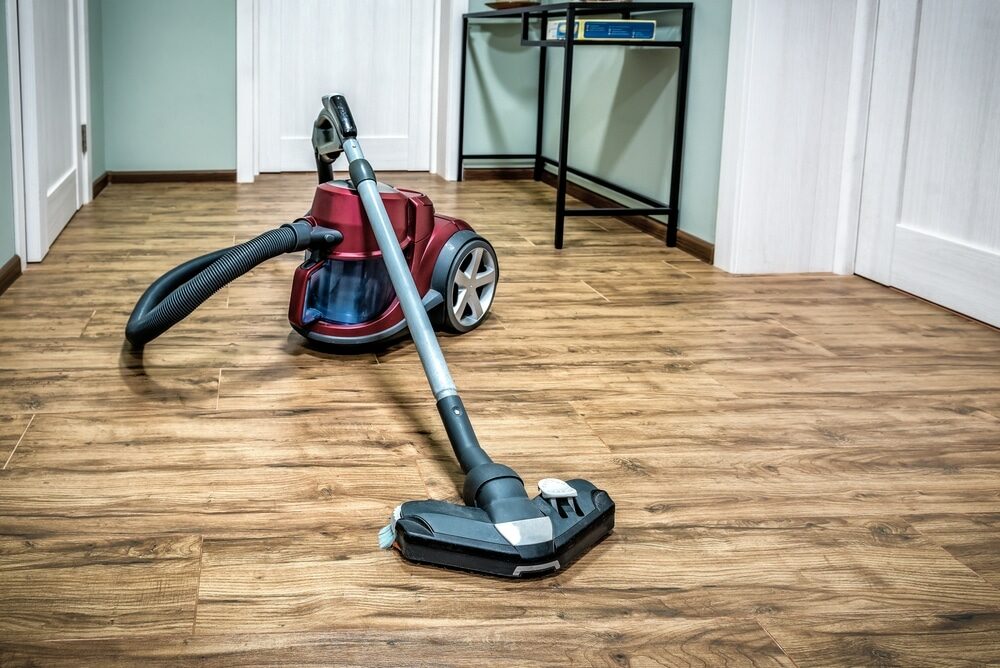
- Vacuum cleaner
- Protective gear (dust mask, safety glasses, ear protection)
- Plastic sheets (for protecting furniture and doorways from dust)
- Wood filler
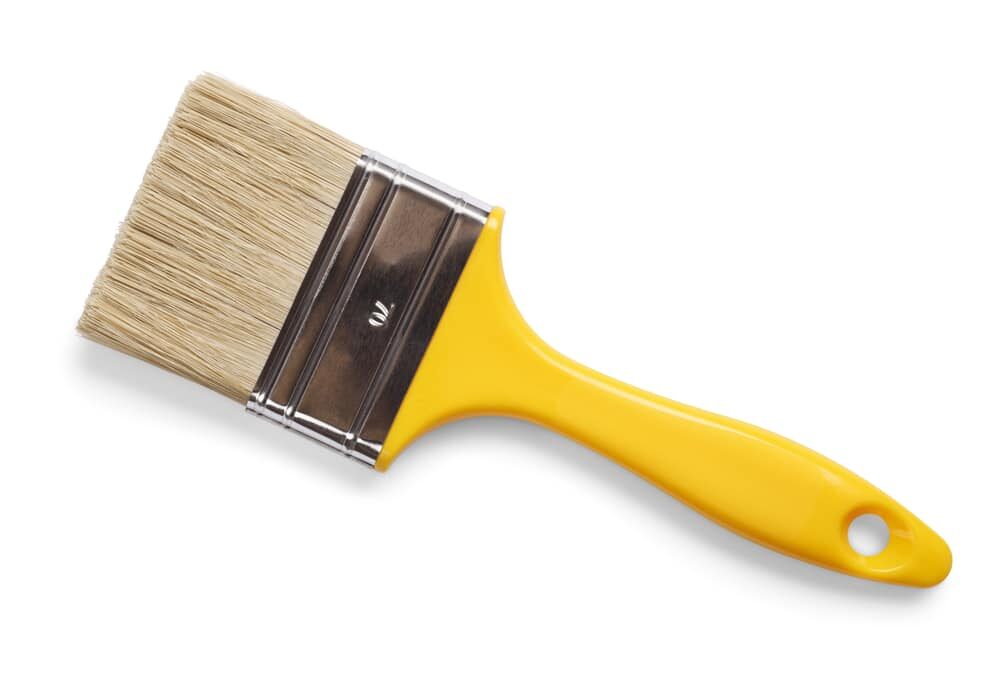
- Paintbrush
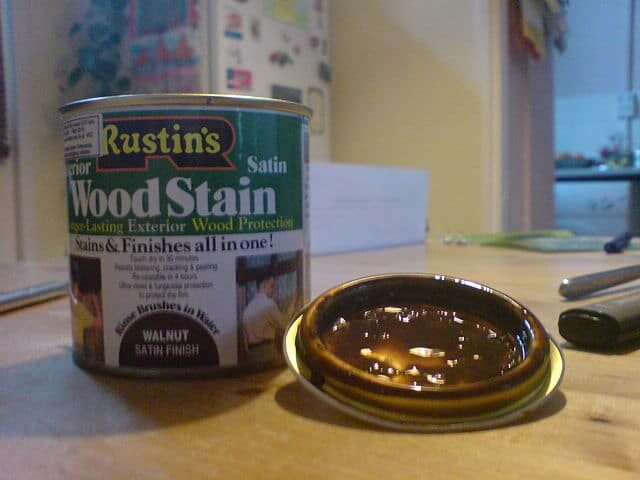
- Wood stain or finish


Step 1: Preparation is Key
Preparation is a vital step in any DIY task, and sanding wooden floors is no exception. Firstly, remove all furniture and rugs from the room. Next, take care of your nails. No, not your manicure, but any protruding nail heads in the floor. Make sure they’re hammered down below the surface of the wood. Use the plastic sheets to cover any doorways and vents to prevent dust from spreading throughout your home. Don’t forget to don your protective gear to protect yourself from dust and noise.Step 2: Choose the Right Sander
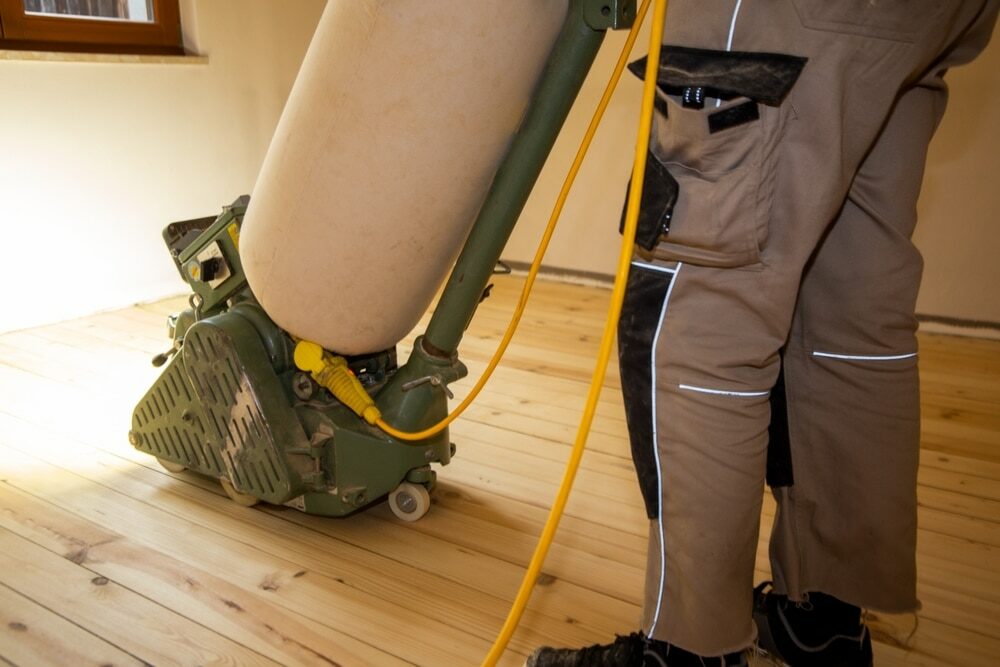
You have two primary choices when it comes to floor sanders: drum sanders and orbital sanders. A drum sander is powerful and ideal for larger, open areas, but it can be difficult to control for beginners. An orbital sander is less aggressive and easier to manage, making it a better choice for novices.
Step 3: Start Sanding
Attach the coarsest grit sandpaper (36-grit) to your sander. Always start sanding along the grain of the wood, never across it. Start at one end of the room and work your way methodically to the other end. Don’t rush the process; let the sander do the work.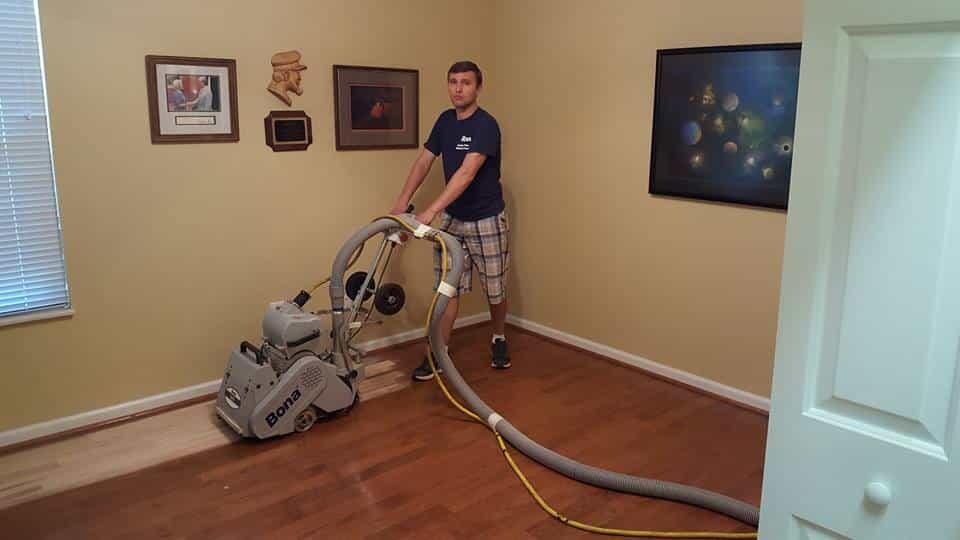
Step 4: Repeat with Finer Grits
After the initial sanding, vacuum the floor thoroughly. Then, repeat the sanding process with progressively finer grits of sandpaper (60, 80, 100). Remember to vacuum between each sanding to remove dust and debris. This step ensures a smooth finish and prepares the wood for staining or sealing.Step 5: Fill Gaps and Holes
Examine the floor for any gaps or holes. Use a wood filler to repair these imperfections. Once the filler has dried, lightly sand the area to ensure it’s flush with the rest of the floor.
Step 6: Apply Your Finish
Lastly, it’s time to apply your chosen finish or stain. Use a paintbrush to apply it evenly over the floor, following the grain of the wood. Be sure to read the manufacturer’s instructions regarding drying times.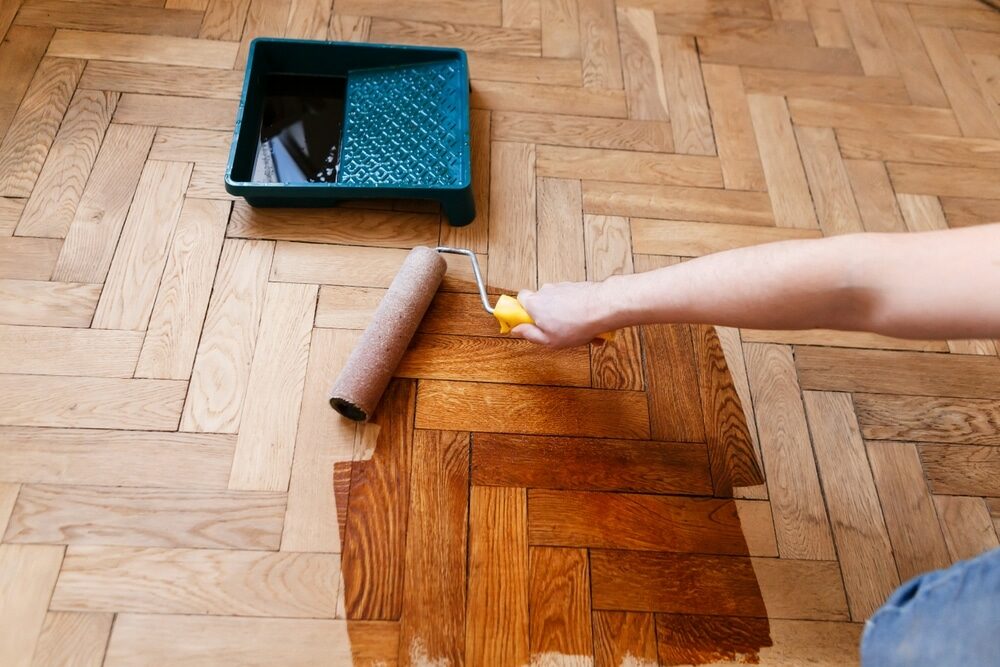
Conclusion
Sanding wooden floors is no small task, but it’s certainly manageable for even the most novice DIYer. Remember, preparation is key, take your time, and always prioritize safety. In the end, you’ll be rewarded with a beautifully restored wooden floor that will enhance the appeal of your home. The feeling of accomplishment when you step back and admire your handiwork? Well, that’s just a bonus. Happy sanding!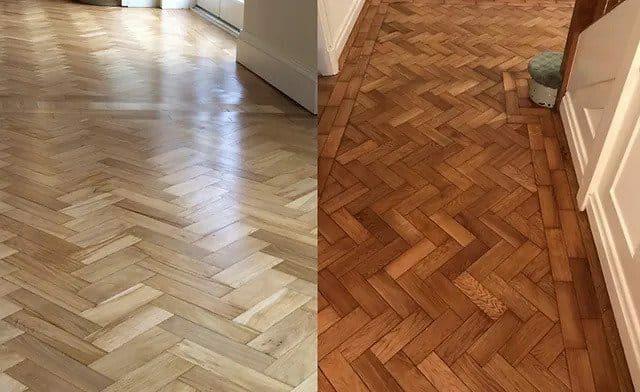
Some Useful Links:
- Floor Sanding Services
- School Floor Sanding
- Wood Floor Restorations
- Wood Floor Repairs
- Wood Floor Polishing
More from our Blog:
Unveiling the Secrets of Successful Floor Sanding Avoid Common Mistakes When Sanding Hardwood Floors Using a Drum Floor Sander – Why and How? | Mr Sander® Re-finishing & Screening Your Wooden Floor: A Complete DIY Guide
Sanding
We provide virtually dust-free sanding with our continuous belt machinery with mobile extraction units, giving you a safer environment for your family.
Oiling
This organic finish not only adds beauty to your home but also has exceptional water-repellent characteristics, making it easier to clean and maintain.
Waxing
This natural floor finish offers the softest and most mellow appearance – and leaves your floor able to breath.
Buffing
Using soft buffing machines (and hand-polishing where required) will bring a wonderful sheen to your newly-finished floor.
Repairs
We offer a full assessment of your wooden floors to determine what repairs are needed to provide the perfect working surface for the later stages of sanding, staining and sealing.
Restoration
We offer a comprehensive restoration process designed to address floors that are improperly fitted or damaged over time through wear and tear.
Request a fixed price quote for your wood floor restoration now
Simply enter your postcode below to get started.
Services
Wood Floor Sanding Wood Floor Restoration Wood Floor Scratch Repair Squeaky Wood Floor Repair Parquet Floor Sanding Parquet Floor Restoration Commercial Floor Sanding Church Floor Sanding Community Centre Floor Sanding School Floor Sanding Gap Filling Gap Filling with ResinCopyright © Mr Sander®
Privacy & Cookies Terms & Conditions Complaints Procedure Cancellation Rights Sitemap