London:
Nationwide:
25,000+
Floors Restored
27 Years Experience
Wood Flooring Association Certified
Comprehensive Guide to Floor Sanding, Floorboard Sanding and Sanding Floorboards
Posted on May 22, 2023
News
Master the Art of Floor Sanding, Floorboard Sanding, and Sanding Floorboards
A beautifully finished wooden floor is a sight to behold, adding a unique charm and natural warmth to any home. However, the wear and tear of everyday life can eventually dull its luster. This is where floor sanding, floorboard sanding, and sanding floorboards come into the picture—techniques designed to revive the beauty of your wooden flooring. In this comprehensive guide, we will delve into these methods, helping you understand each process, the steps involved, the tools needed, and the best practices to achieve stunning results.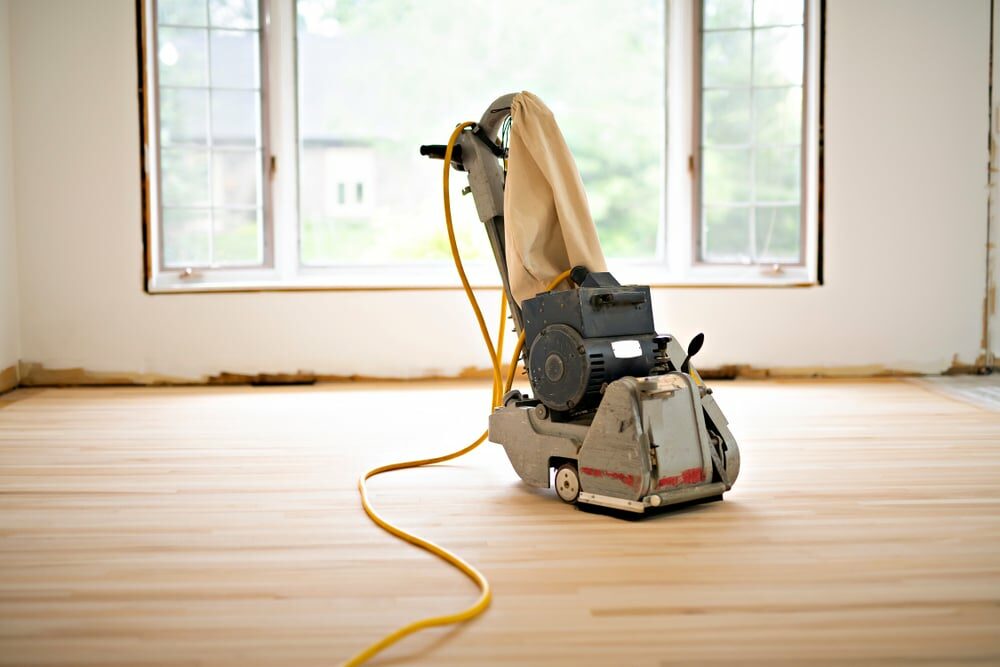
Understanding the Basics of Floor Sanding
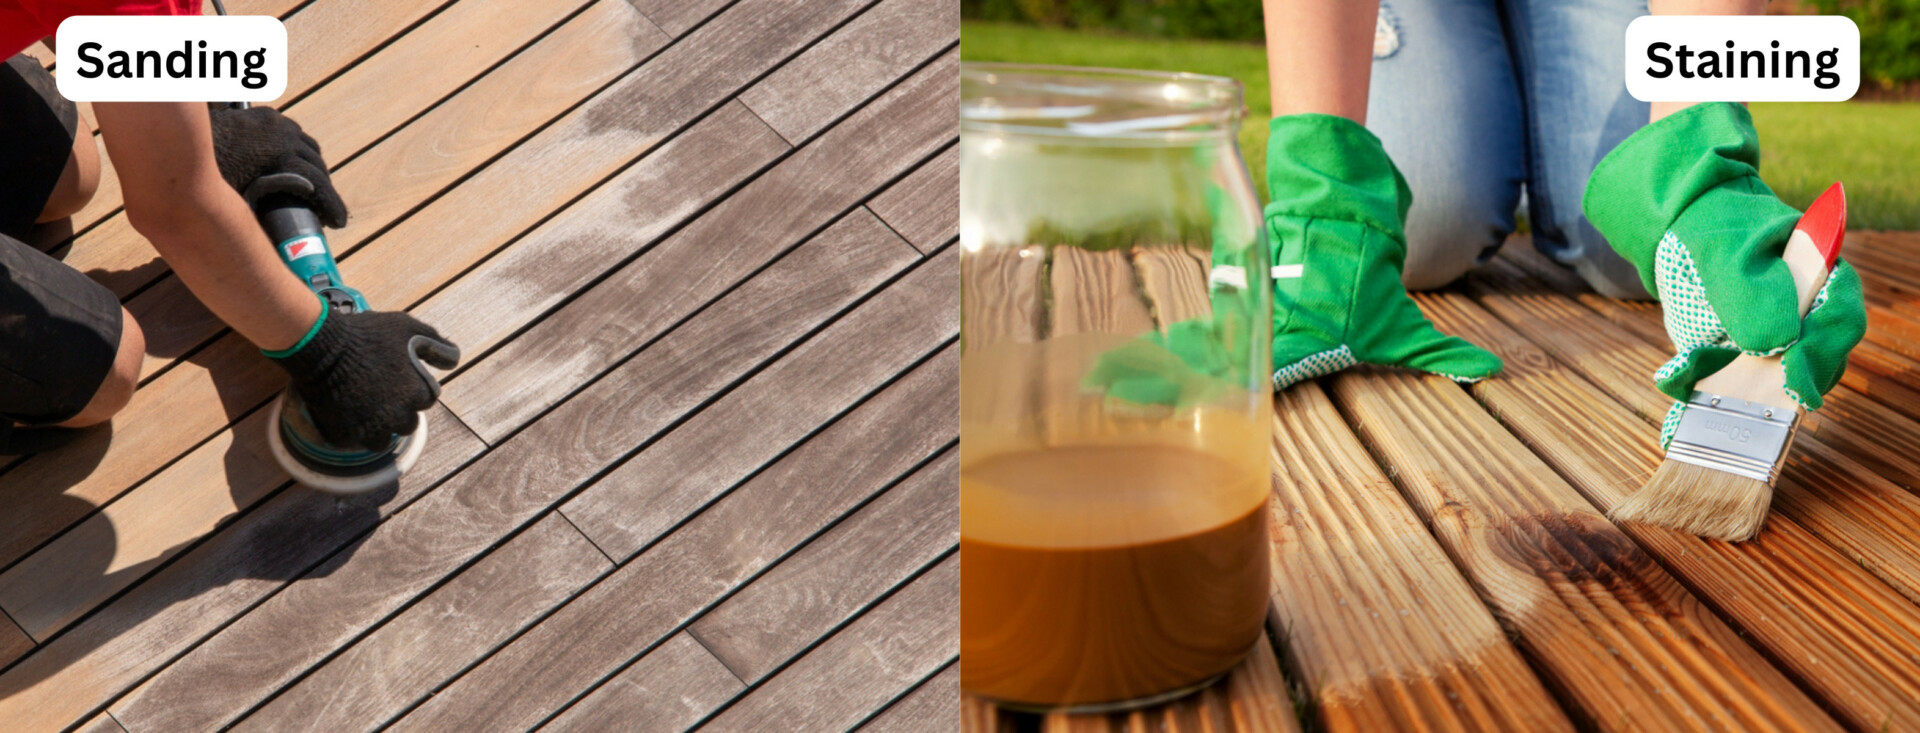
Floor sanding is a broad term used to describe the process of smoothing the surface of a wooden floor by abrasion with sandpaper. This technique removes the old finish, scratches, and surface imperfections, revealing a fresh layer of wood underneath. Sanding can dramatically improve the look of your floor, preparing it for a new finish and extending its lifespan.Diving deeper into floorboard sanding
Floorboard sanding is a more specific term that refers to the process of sanding individual wooden boards that make up your flooring. This technique is usually needed when there are noticeable differences in height between the floorboards, causing an uneven surface. Sanding these boards down to a uniform level can create a smoother, more comfortable floor.Sanding Floorboards: The Detailed Process
Sanding floorboards is not just a simple task of running a machine over the wood. It requires careful planning, the right tools, and a bit of know-how to get the job done correctly. Here’s a detailed step-by-step guide on how to sand floorboards:1. Preparing the Floor
Before starting, remove all furniture from the room and ensure the floor is clean. Check for any protruding nails and either hammer them down or remove them entirely. If there are gaps between your floorboards, now is the time to fill them.
2. Choosing the Right Tools
You’ll need a floor sander and an edging sander. The floor sander is used for the main part of the floor, while the edging sander is for corners and edges that the larger machine can’t reach. You will also need different grits of sandpaper: coarse, medium, and fine.
3. Beginning the Sanding Process
Start with the coarse-grit sandpaper. Sand diagonally across the floorboards to even out the surface, then switch to sanding along the grain of the wood. Remember, never leave the sander stationary while it’s switched on, as this can create dips in your floor.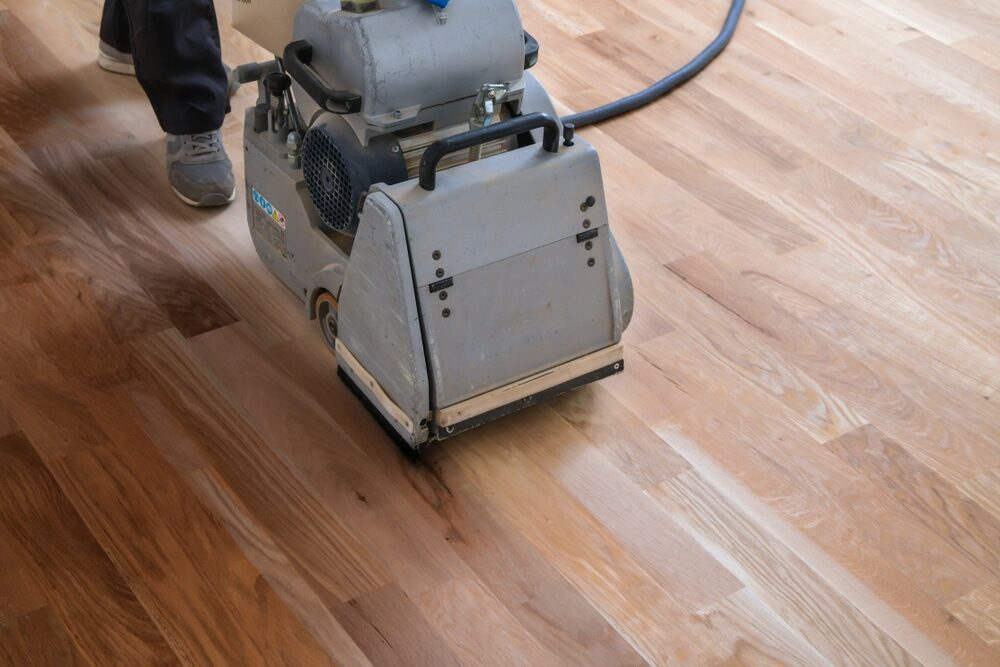
4. Repeating the process with medium and fine grits
Once you’ve completed the first pass, repeat the process using medium-grit sandpaper, followed by fine-grit sandpaper. This will progressively smooth your floorboards, preparing them for the final finish.5. Applying the finish
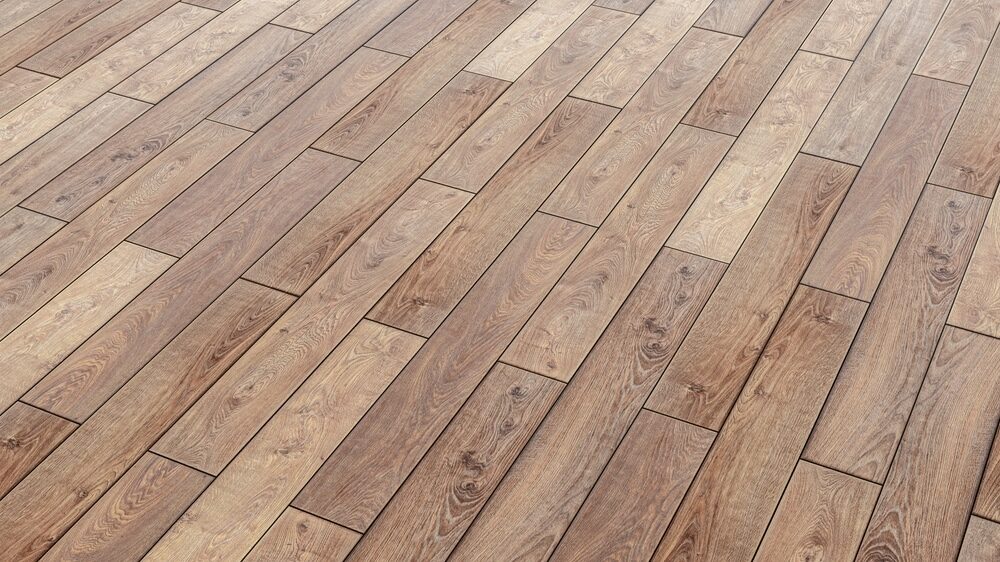
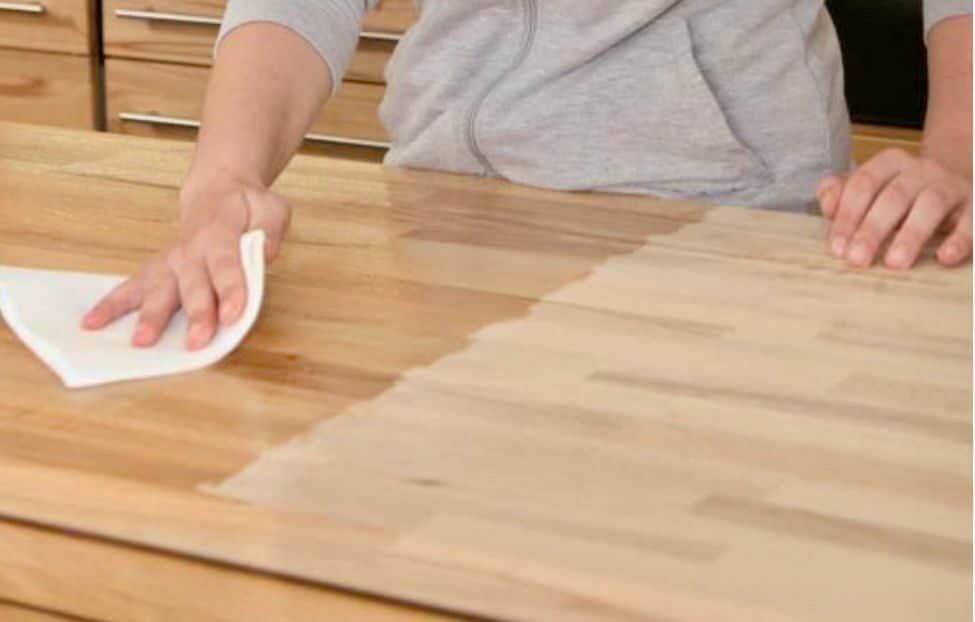
After sanding is complete, thoroughly clean the floor to remove any dust. Then, apply your chosen finish, such as varnish or oil, to protect the wood and enhance its natural beauty.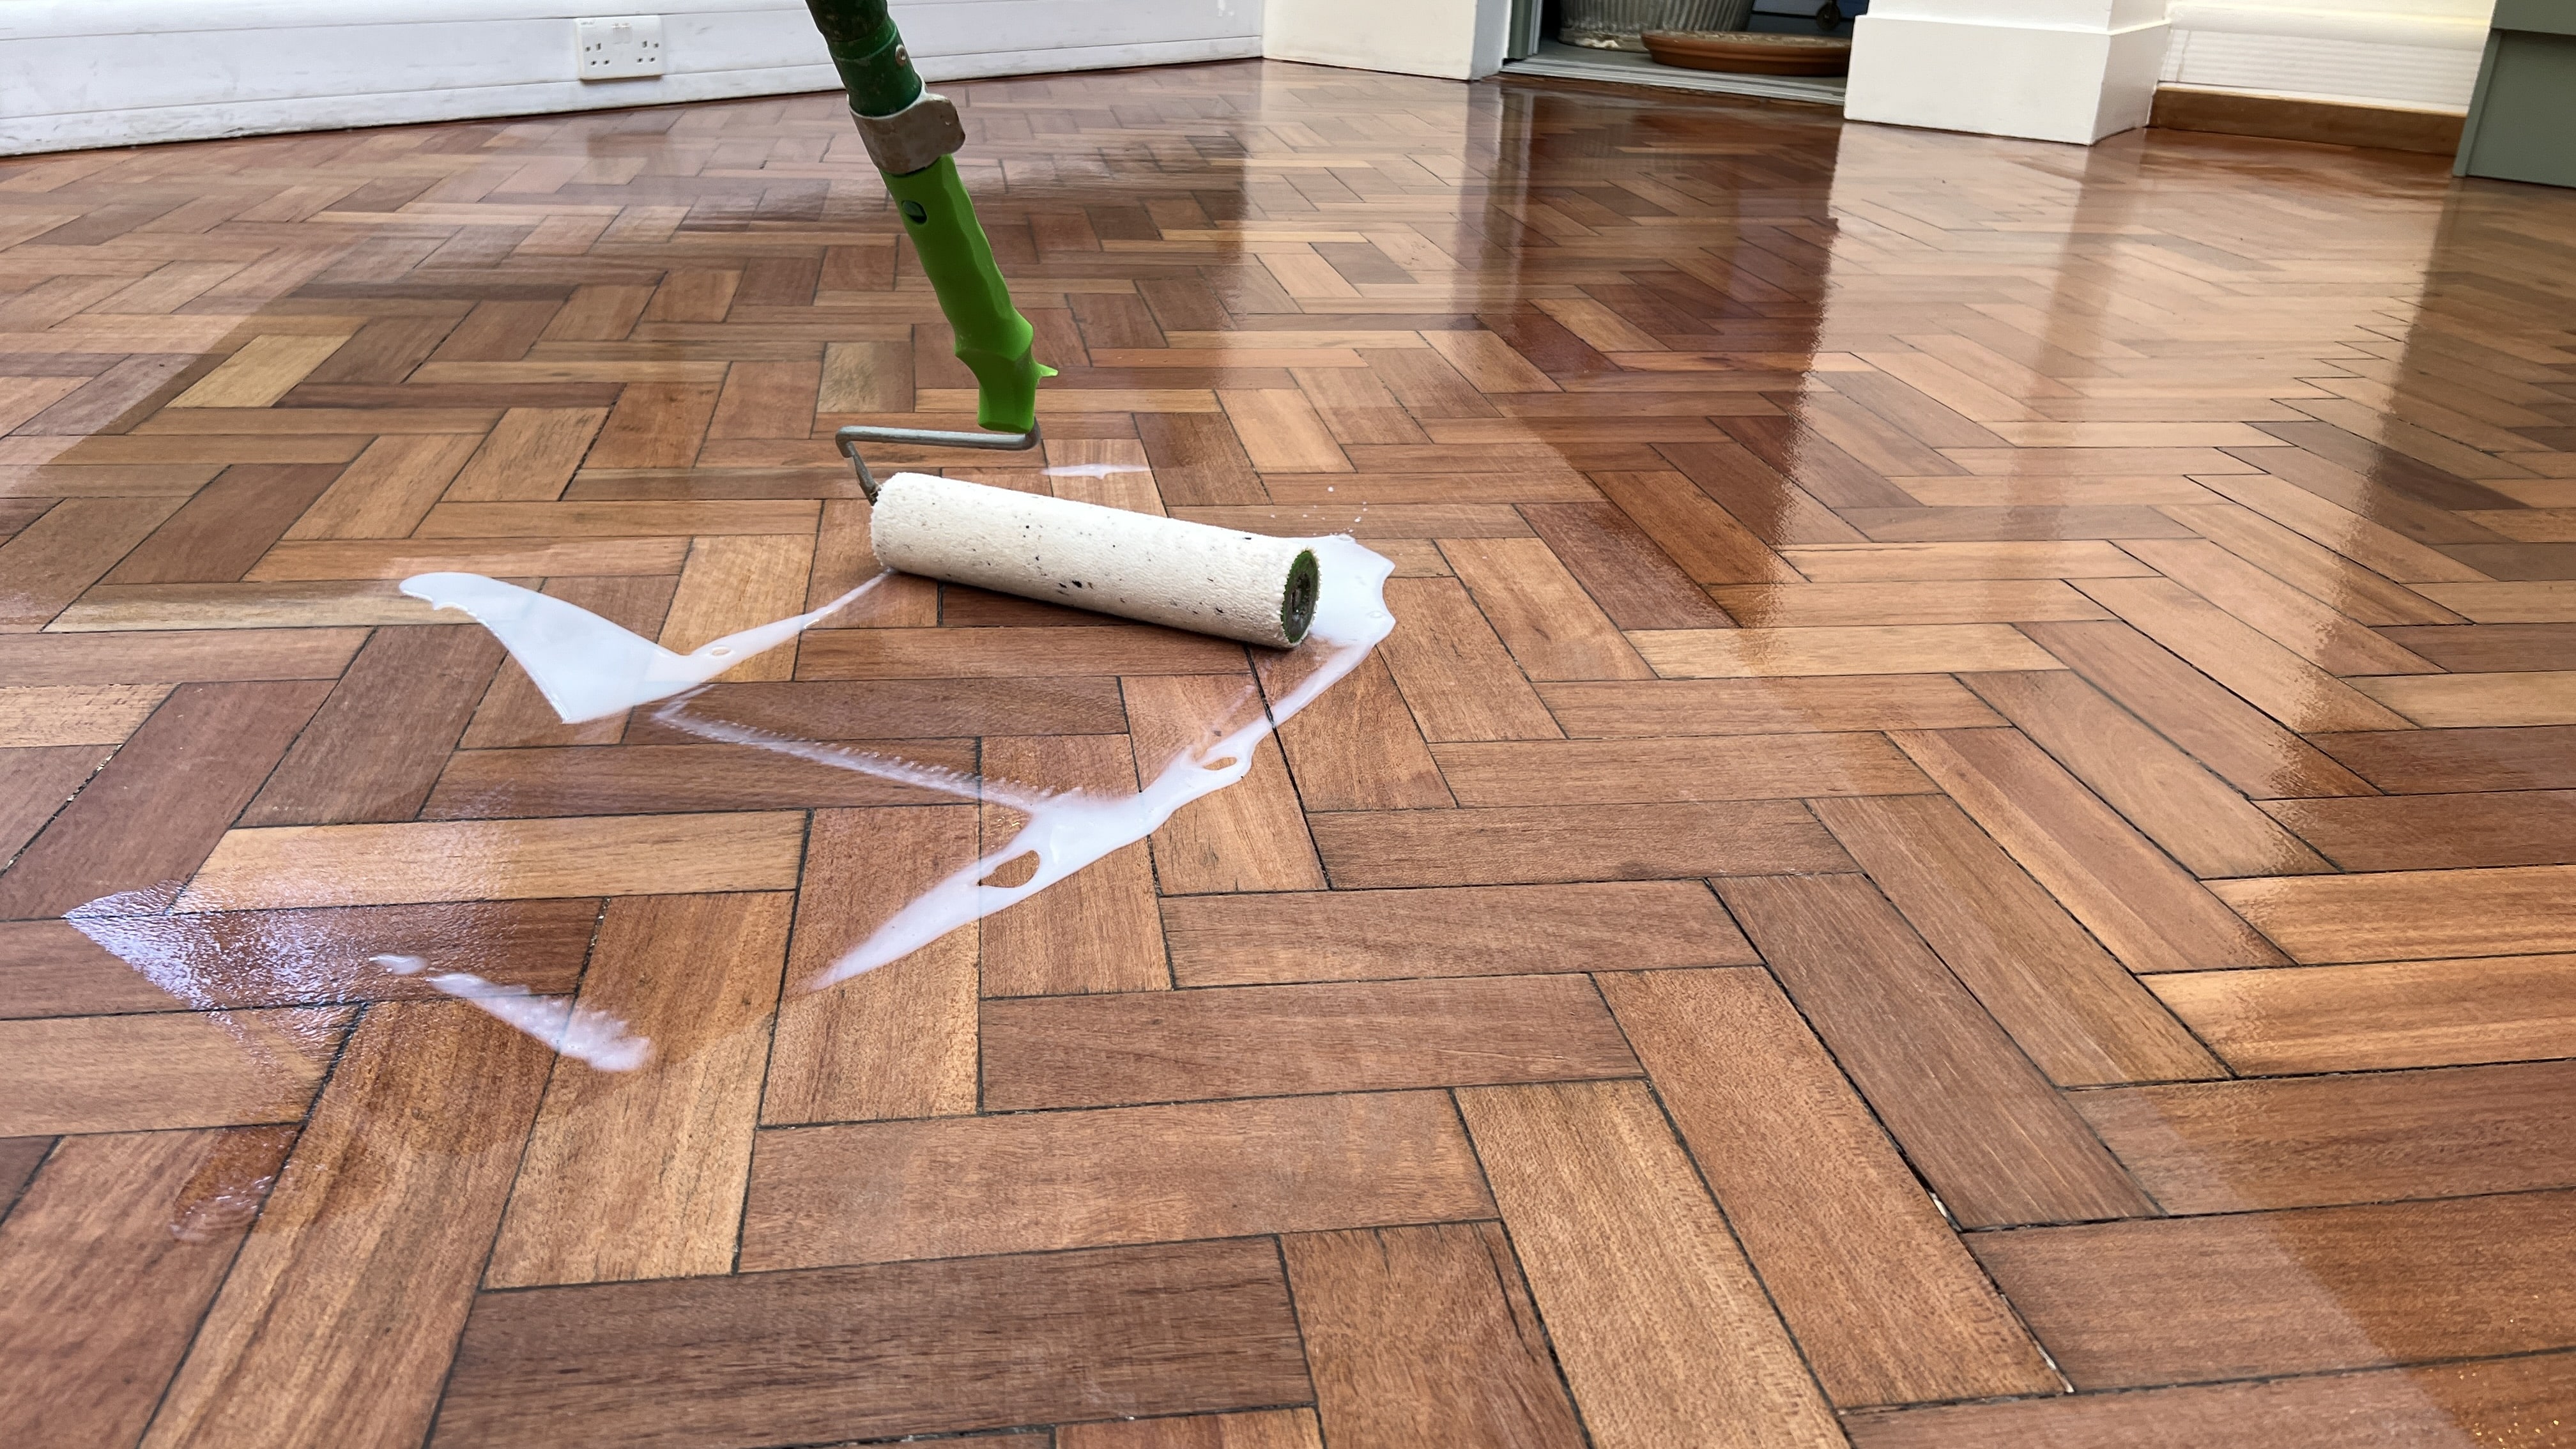
Best Practices for Sanding Floorboards
Here are some best practices to keep in mind when sanding floorboards:- Always sand along the grain. This helps maintain the natural pattern of the wood and reduces the chance of leaving visible scratches.
- Wear appropriate safety gear, which includes safety glasses, ear protection, and a dust mask.
- Don’t rush the process. Sanding is a task that requires patience. Rushing can result in an uneven surface and a less-than-perfect finish.
- Ensure proper ventilation. Sanding can produce a lot of dust and fumes, especially when applying the finish. Make sure your work area is well ventilated.
- Use a vacuum between grits. Vacuuming your floor after each round of sanding will prevent dust and debris from scratching your floorboards in the next sanding pass.
- Take care of your tools. Regularly check and replace the sandpaper on your sanding machine. A worn-out piece of sandpaper won’t do the job effectively and can even damage your floor.
When to Consider Professional Help
While sanding floorboards is a task that you can undertake yourself, there are times when hiring a professional might be the best course of action. If your floorboards are particularly old, warped, or damaged, a professional will have the expertise to handle these issues without causing further harm. Additionally, professionals have access to industrial-grade equipment that can get the job done more efficiently and effectively.
In Conclusion
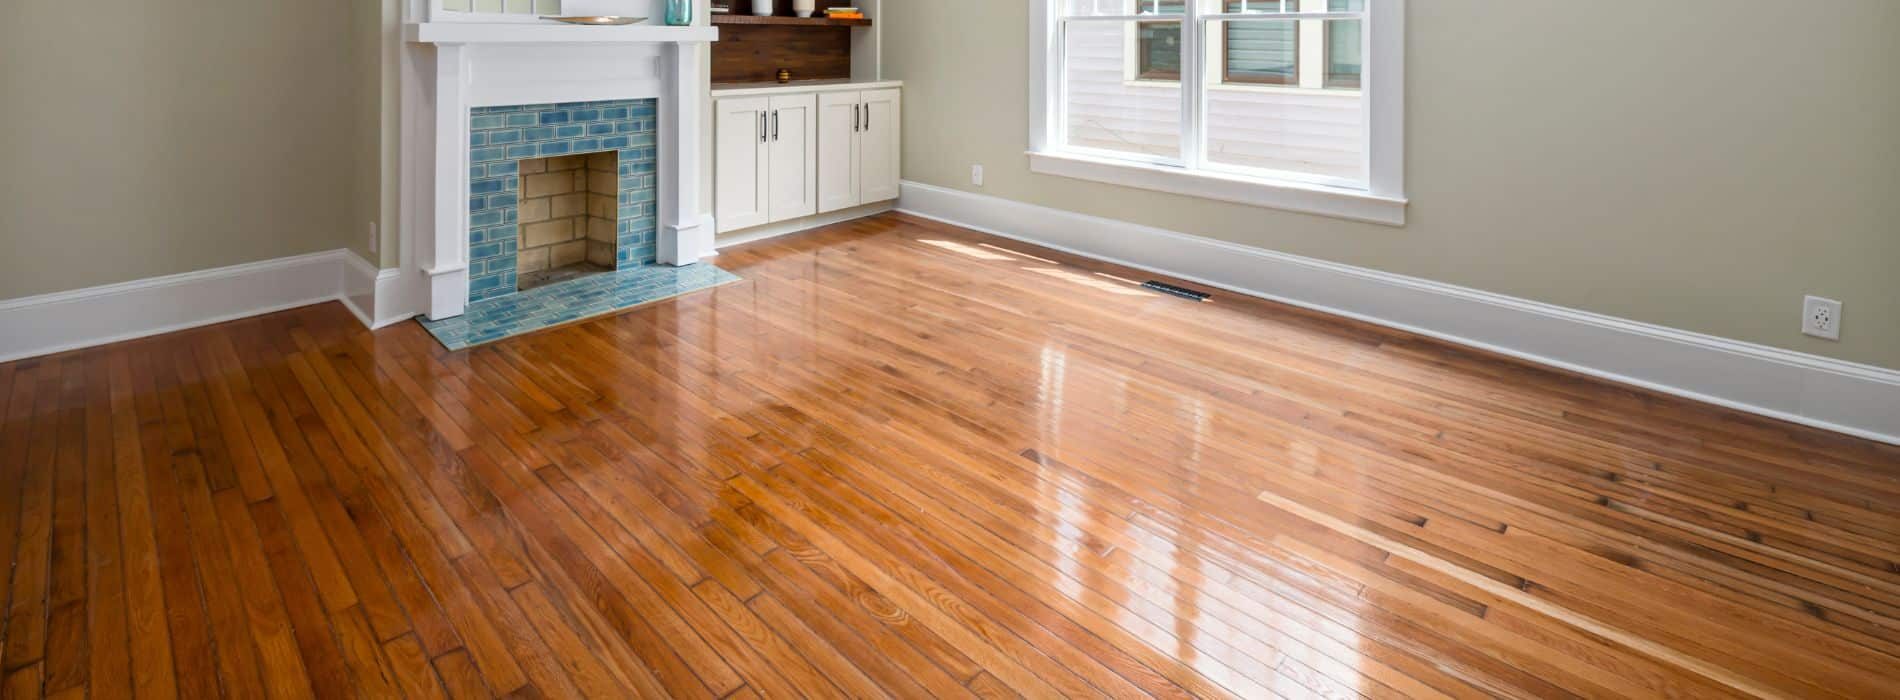
Floor sanding, floorboard sanding, and sanding floorboards are techniques that, when done correctly, can rejuvenate your wooden floors and bring back their natural elegance. The process, though time-consuming and requiring careful attention, is a worthy investment. It not only enhances the aesthetic appeal of your floors but also contributes to their longevity. Remember that every wooden floor is unique with its grain patterns, age, and previous finishes. Thus, each floor may react differently to the sanding process. What’s most important is understanding your floor’s particular needs and treating it accordingly. Whether you decide to take the DIY route or hire professionals, armed with this comprehensive guide, you’re now equipped to make informed decisions about the care of your wooden floors. Beautifully sanded and finished floorboards can transform the look and feel of your home, adding a timeless charm that only wood can provide. So, roll up your sleeves (or dial a professional), take that step, and breathe new life into your wooden floors. After all, your home deserves nothing but the best!Some Useful Links:
- Stairs Sanding & Refinishing
- Floor Sanding Services
- School Floor Sanding
- Wood Floor Restorations
- Wood Floor Repairs
- Wood Floor Polishing
More from our Blog:
Wood Floor Sanding & Polishing Vs. Dustless Floor Sanding: Which is Right for You? Mastering the Art of Wooden Floor Sanding: Know Your Limits Do you Want A Beautiful Wood Floor Restoration? Hire Mr Sander® in London Dustless Wood Floor Sanding: The Efficient & Cleaner Renovation Refinishing Wood Flooring to Best Effect at Mr Sander®
Sanding
We provide virtually dust-free sanding with our continuous belt machinery with mobile extraction units, giving you a safer environment for your family.
Oiling
This organic finish not only adds beauty to your home but also has exceptional water-repellent characteristics, making it easier to clean and maintain.
Waxing
This natural floor finish offers the softest and most mellow appearance – and leaves your floor able to breath.
Buffing
Using soft buffing machines (and hand-polishing where required) will bring a wonderful sheen to your newly-finished floor.
Repairs
We offer a full assessment of your wooden floors to determine what repairs are needed to provide the perfect working surface for the later stages of sanding, staining and sealing.
Restoration
We offer a comprehensive restoration process designed to address floors that are improperly fitted or damaged over time through wear and tear.
Request a fixed price quote for your wood floor restoration now
Simply enter your postcode below to get started.
Services
Wood Floor Sanding Wood Floor Restoration Wood Floor Scratch Repair Squeaky Wood Floor Repair Parquet Floor Sanding Parquet Floor Restoration Commercial Floor Sanding Church Floor Sanding Community Centre Floor Sanding School Floor Sanding Gap Filling Gap Filling with ResinCopyright © Mr Sander®
Privacy & Cookies Terms & Conditions Complaints Procedure Cancellation Rights Sitemap

Get An Instant Price Estimate Before You Go…
Simply enter the rooms you need sanded and we’ll provide you with a price estimate instantly! Try our price calculator now.
Get a Price Estimate NowLocal Floor Sanding Experts
Over 500 5-Star Reviews
Safe, Dust Free Sanding
Operating Since 1994