London:
Nationwide:
25,000+
Floors Restored
27 Years Experience
Wood Flooring Association Certified
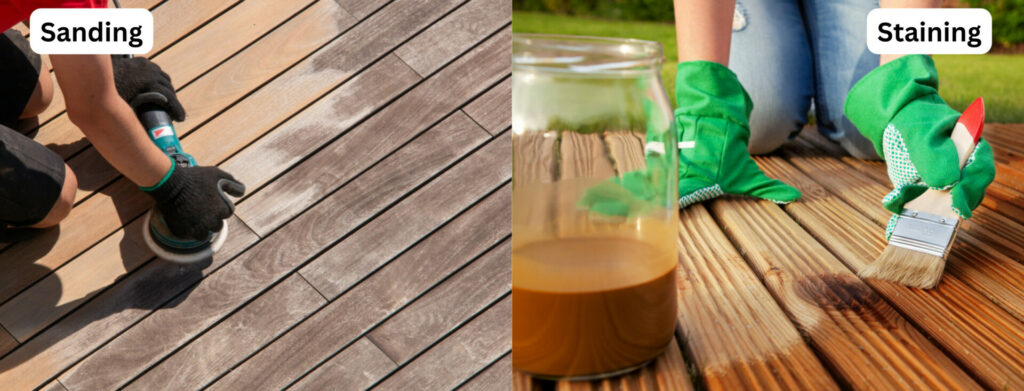
Cost Comparison: Sanding vs Staining Your Deck
Posted on January 16, 2024
Deck Maintenance
Cheap or Chic? Comparing the Costs of Sanding vs. Staining Your Deck
A deck can be the heart of your outdoor living space, providing a place to relax, entertain guests, or simply enjoy the beauty of your backyard. However, like any other part of your home, decks require regular maintenance to ensure they not only look their best but also stand the test of time. Two primary methods for deck maintenance that often come into play are sanding and staining.
In the quest to keep your deck in top-notch condition, the decision between deck sanding and staining can be a perplexing one. Are you better off investing in a thorough sanding to restore the wood’s original beauty, or should you opt for the protective shield of staining to enhance its longevity? To help you make an informed decision, this comprehensive guide delves into the world of deck maintenance, comparing the costs, benefits, and considerations of both sanding and staining.
We’ll explore the intricacies of each process, outline the tools and materials you’ll need, and discuss the pros and cons of each method. By the time you finish reading, you’ll have a clear understanding of which approach suits your deck’s needs, your budget, and your personal preferences.
So, whether you’re a seasoned DIY enthusiast or considering hiring a professional, join us on this journey as we unravel the mystery of deck maintenance, providing you with the insights you need to make your deck a beautiful and durable outdoor oasis.
Let’s begin by understanding the importance of deck maintenance and why it matters more than you might think.
Understanding Your Deck
Before diving into the cost comparison between sanding and staining your deck, it’s crucial to understand the unique characteristics and needs of your deck. Decks come in various materials, sizes, and ages, and each one may require different levels of maintenance. By gaining a deeper understanding of your deck, you can make more informed decisions about how to care for it effectively.
Deck Materials and Their Maintenance Needs
Decks are constructed using a variety of materials, with the most common ones being wood, composite, and PVC. Each material has its own set of maintenance requirements:
1. Wood Decks:
Wood decks are beautiful and natural but tend to require more maintenance. They can be made from cedar, redwood, pressure-treated lumber, or exotic hardwoods like ipe. Wood decks need regular sealing or staining to protect against moisture, UV rays, and rot.

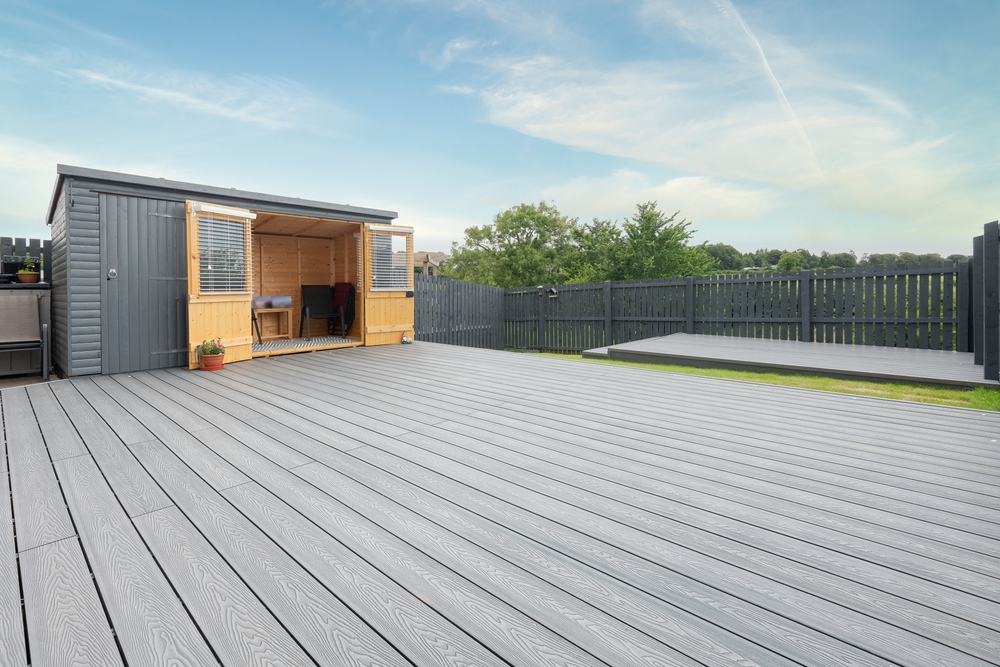
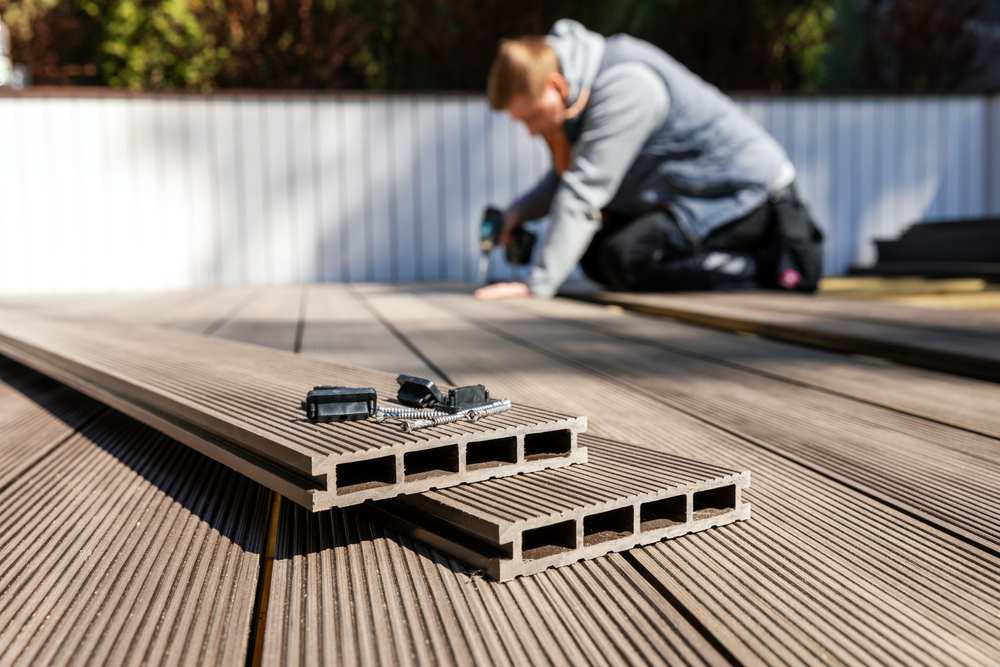
2. Composite Decks:
Composite decking is engineered from a mix of wood fibers and recycled plastic. While they are low-maintenance compared to wood, they may still benefit from occasional cleaning and staining to maintain their appearance.
3. PVC Decks:
PVC decks are made from synthetic materials and are highly resistant to moisture, fading, and staining. They generally require the least maintenance, typically only needing periodic cleaning.
Signs Your Deck Needs Attention
Regardless of the material, your deck will give you signs when it’s time for maintenance. Look out for these common indicators:
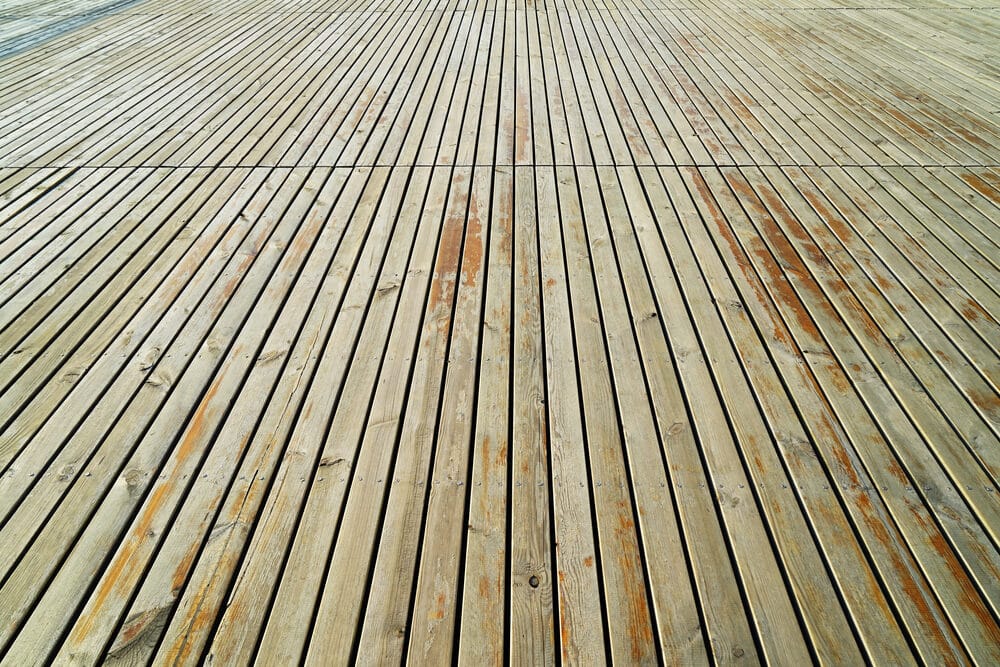
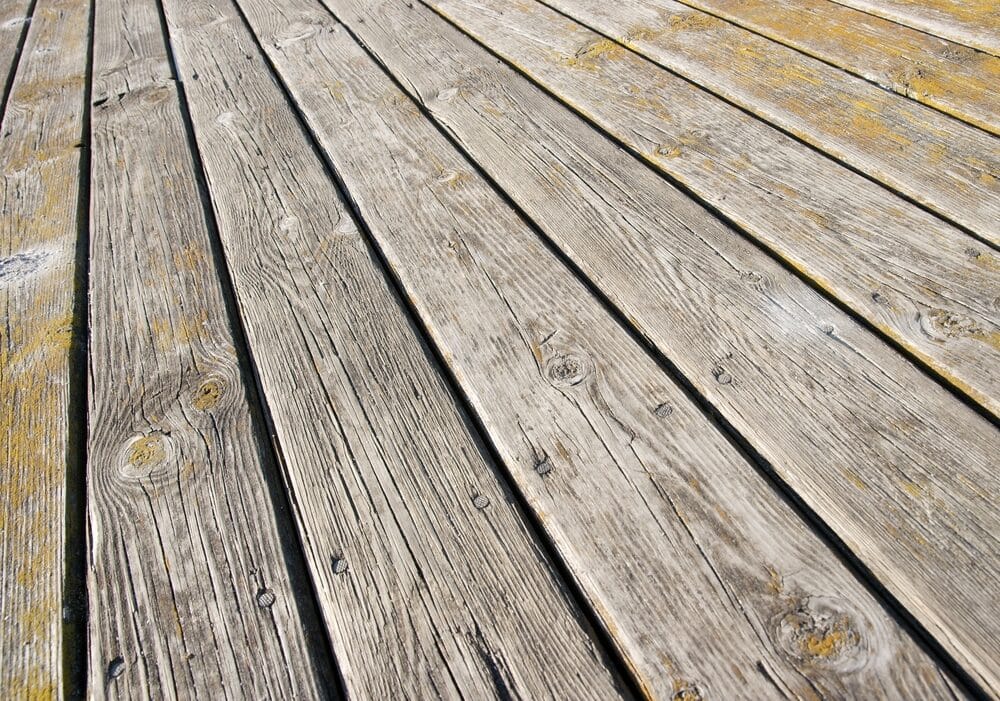
- Fading Color: If your deck’s color has faded or become uneven, it may be time to refresh it with staining or sanding.
- Cracks and Splinters: Cracks and splinters in the wood are not only unsightly but can also pose safety hazards. Sanding can help smooth out the surface and prevent further damage.
- Water Damage: Water damage can lead to rot, which can compromise the structural integrity of your deck. Staining and sealing can help prevent this.
- Mold and Mildew: If you notice mold or mildew growth on your deck, it’s essential to address it promptly. Staining can inhibit the growth of these unwanted visitors.
- Warped or Loose Boards: Warped or loose boards not only look bad but can also be dangerous. Sanding and repairing or replacing damaged boards may be necessary.
Understanding the current condition and material of your deck will play a crucial role in determining the best maintenance approach. In the following sections, we will explore the processes of sanding and staining in detail, helping you make an informed decision based on your deck’s specific needs.
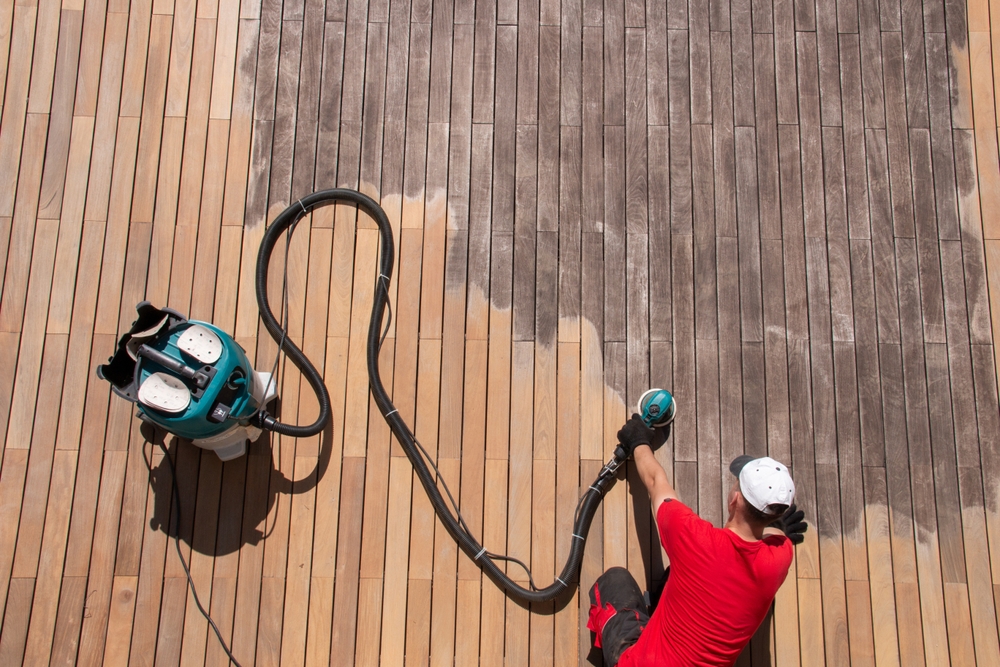
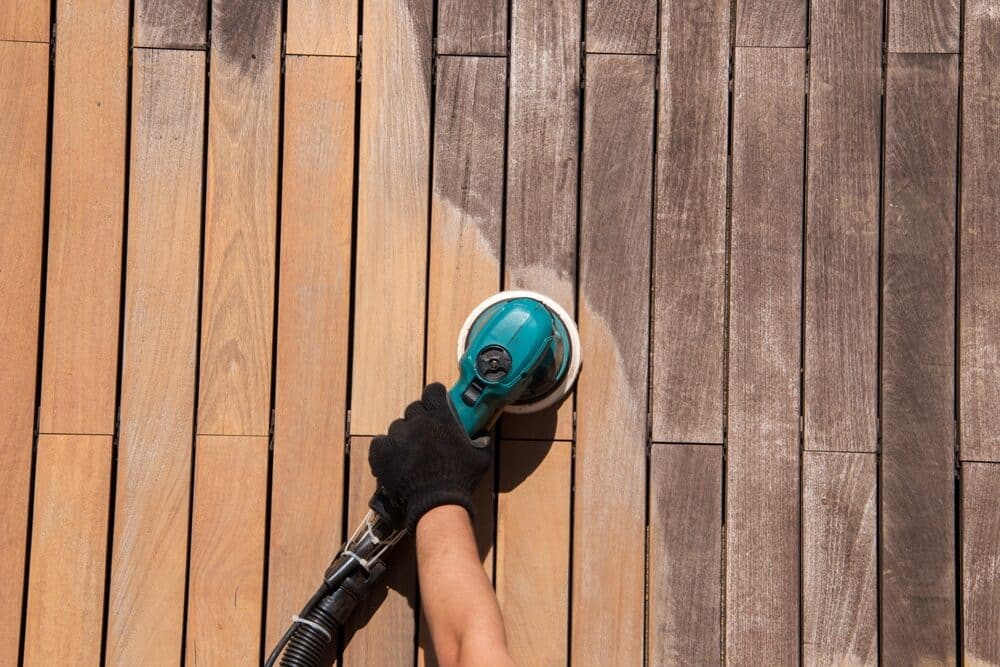
Sanding Your Deck
Deck sanding is a crucial part of deck maintenance, especially for wooden decks. Over time, wood decks can become weathered, with the surface becoming rough, uneven, and potentially splintered. Sanding is the process of smoothing out the wood’s surface by removing imperfections, old finishes, and grime. Here’s a step-by-step guide on how to sand your deck effectively:
Tools and Materials Needed
Before you begin sanding your deck, gather the necessary tools and materials:
1. Safety Gear: Safety should always come first. Wear safety goggles, a dust mask, and ear protection to shield yourself from dust and debris.
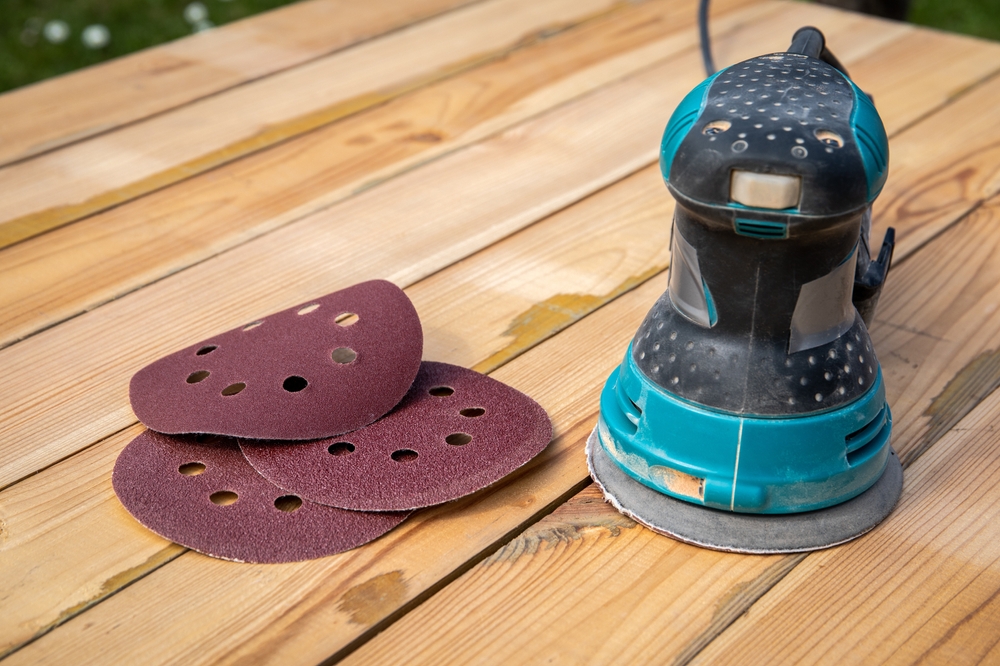
2. Sander: You can use either a handheld orbital sander for small areas or a larger drum sander or floor sander for more extensive decks. The choice depends on the size of your deck and your comfort with the equipment.
3. Sandpaper: Depending on the condition of your deck, you may need coarse (60-80 grit) sandpaper for initial sanding and finer (100-120 grit) sandpaper for finishing.
4. Sanding Pads: For handheld orbital sanders, consider using sanding pads or discs that are compatible with your sander.
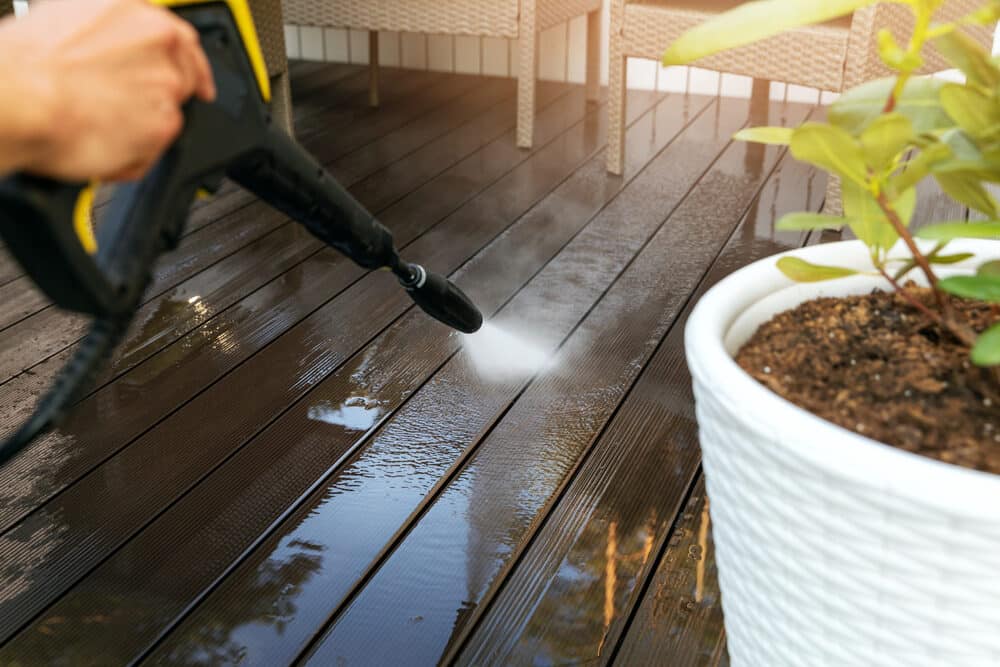
5. Deck Cleaning Solution: A deck cleaning solution or deck cleaner will help remove dirt, stains, and mildew before sanding.
6. Pressure Washer: A pressure washer can be helpful for thoroughly cleaning the deck before sanding.
7. Scraper or Putty Knife: You may need these tools to remove any stubborn paint or old finishes.
7. Scraper or Putty Knife: You may need these tools to remove any stubborn paint or old finishes.
Step-by-Step Guide to Sanding
1. Clear and Clean the Deck: Remove all furniture, plants, and debris from the deck. Sweep the surface to remove loose dirt and debris. If your deck is particularly dirty, consider using a pressure washer to clean it thoroughly. Allow it to dry completely.
2. Inspect and Repair: Examine the deck for any loose boards or protruding nails. Make necessary repairs before sanding.
3. Safety Gear: Put on your safety gear, including goggles, a dust mask, and ear protection.
4. Begin Sanding: If using a handheld orbital sander, start with the coarsest sandpaper (60-80 grit) and sand in the direction of the wood grain. Work systematically, covering the entire surface. For larger decks, consider renting a drum or floor sander for more efficient sanding.
5. Change Sandpaper: Once you’ve completed the initial sanding, switch to finer sandpaper (100-120 grit) for a smoother finish. Repeat the sanding process.
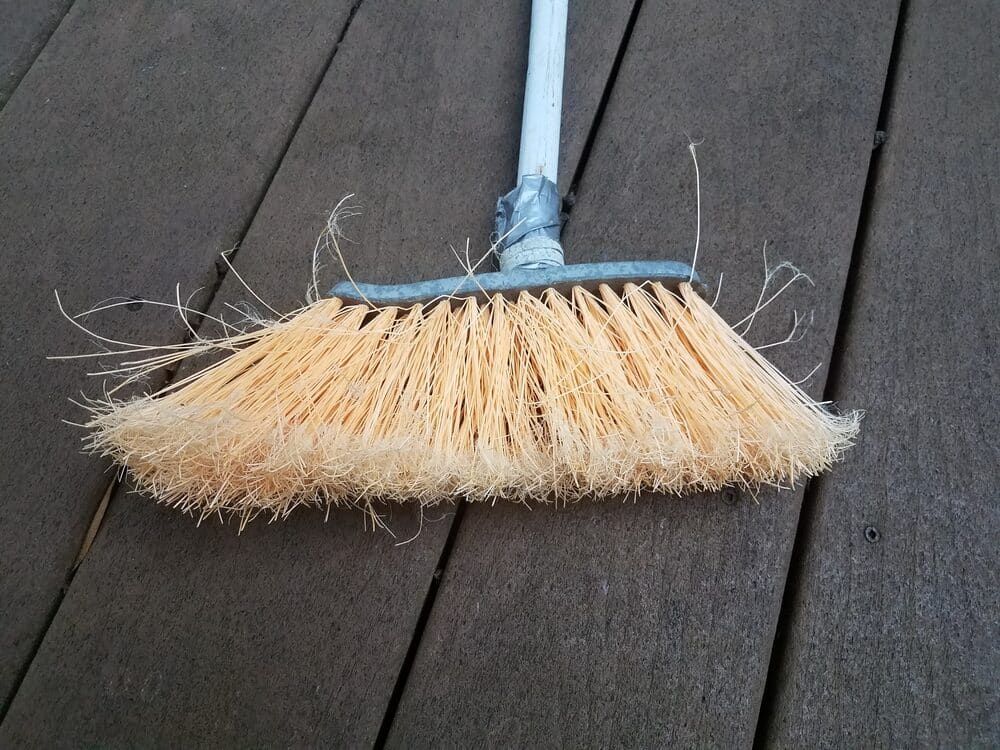
6. Clean the Dust: After sanding, remove all dust and debris from the deck using a vacuum or broom.
7. Finish and Seal: After sanding, you have the option to apply a wood finish or sealer to protect the wood. This step is essential to safeguard your deck from future damage caused by moisture, UV rays, and general wear and tear.
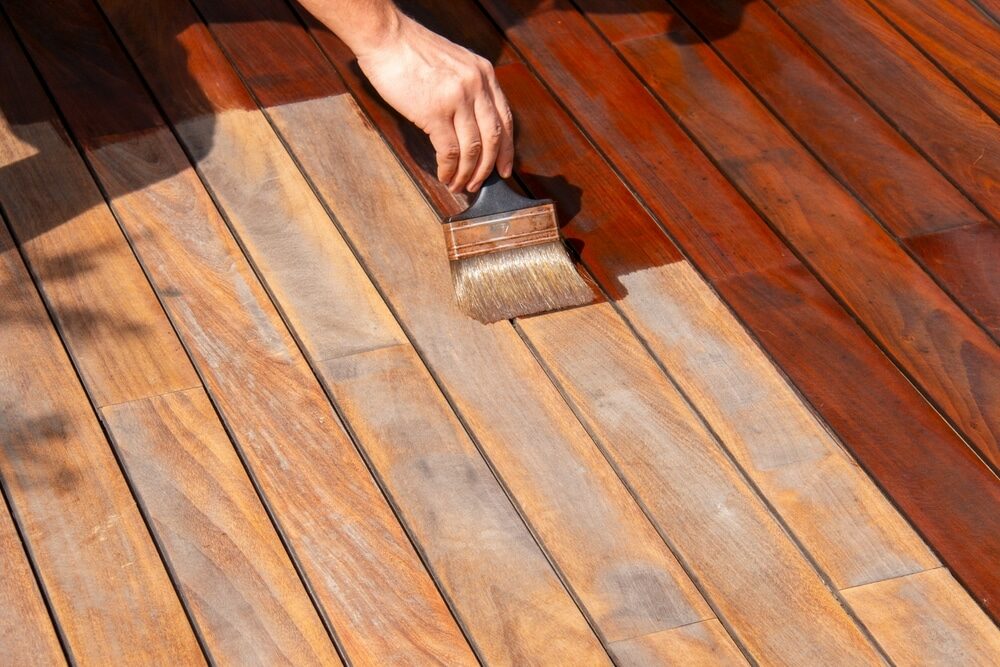
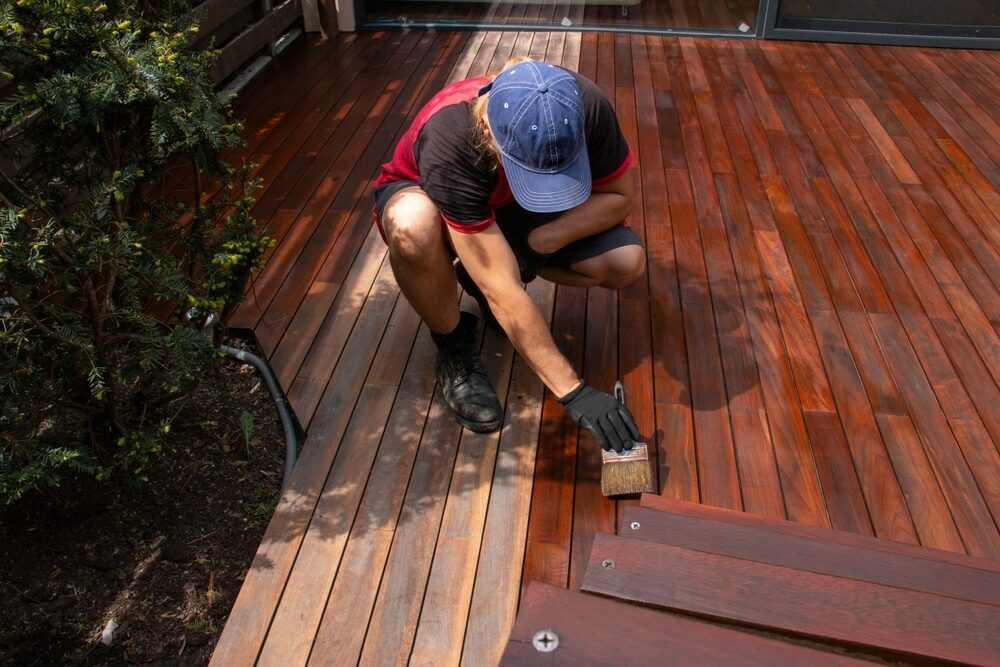
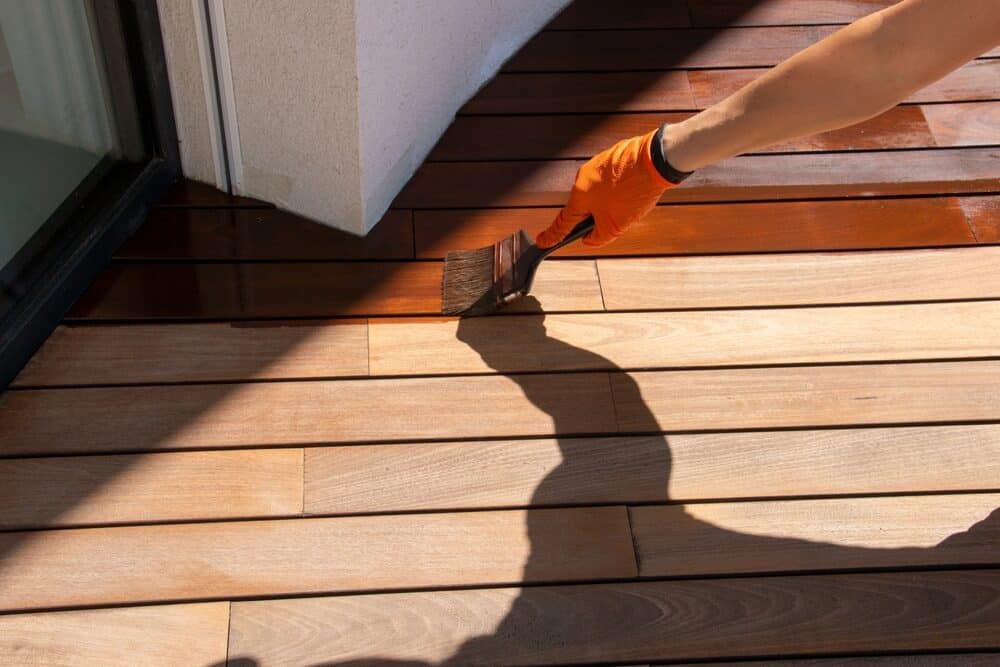
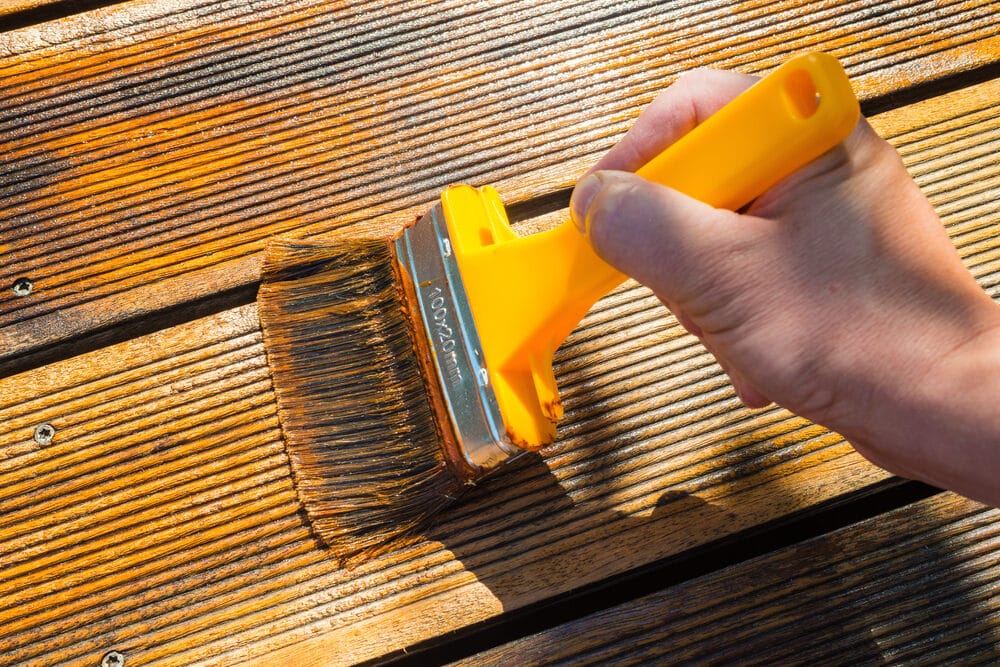
Staining Your Deck
Deck staining is a critical aspect of deck maintenance, especially for wooden decks. Unlike sanding, which primarily focuses on the surface, staining involves applying a protective coating to the wood to safeguard it from the elements. Stains come in various types and finishes, and choosing the right one can significantly impact your deck’s appearance and longevity. Here’s a step-by-step guide on how to stain your deck effectively:
What is Deck Staining?
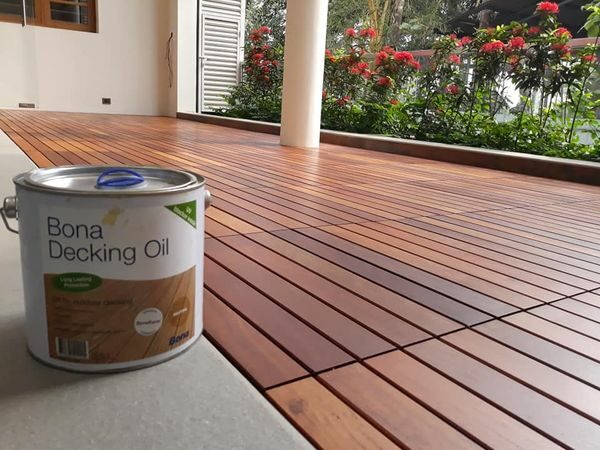
Deck staining involves applying a wood stain or sealant to your deck’s surface. The primary purposes of staining are:
- Protection: Stains create a barrier that shields the wood from moisture, UV rays, and other environmental factors that can cause damage over time.
- Enhancement: Stains come in various colors and finishes, allowing you to enhance the natural beauty of the wood or change its appearance to match your preferences.
Types of Deck Stains
There are three main types of deck stains:
- Clear or Transparent Stains: These stains provide minimal color change and are best for showcasing the natural grain of the wood while offering basic protection.
- Semi-Transparent Stains: These stains add some color to the wood while still allowing the grain to show through. They offer moderate protection.
- Solid or Opaque Stains: Solid stains completely cover the wood’s surface, providing the most color and the highest level of protection. They are often used to hide imperfections in older wood.
Choosing the Right Stain for Your Deck
Selecting the appropriate stain for your deck involves considering several factors:
- Wood Type: The type of wood your deck is made from will influence the stain’s appearance. Some stains are better suited to specific wood species.
- Desired Look: Determine whether you want to preserve the natural look of the wood or change it with a different color or finish.
- Climate: Your local climate and weather conditions should guide your choice. Decks in harsher climates may require more protective, solid stains.
Step-by-Step Guide to Staining
1. Prepare the Deck: Clear the deck of furniture, plants, and debris. Ensure the deck is clean and dry.
2. Inspect and Repair: Examine the deck for any loose boards, protruding nails, or damaged areas. Make necessary repairs.
3. Choose the Stain: Select the type and color of stain that suits your deck and personal preferences.
4. Safety Gear: Put on appropriate safety gear, including safety goggles, gloves, and old clothing.
5. Apply the Stain: Use a paintbrush, roller, or sprayer to apply the stain evenly. Start from one end and work your way to the other, following the wood’s grain. Apply a thin, even coat.
6. Allow Drying Time: Let the first coat dry according to the manufacturer’s instructions, which typically range from a few hours to a day or more.
7. Apply Additional Coats: Depending on your desired finish and the stain type, you may need to apply multiple coats. Always follow the recommended drying times between coats.
8. Cleanup: Properly clean your application tools and dispose of any waste according to local regulations.
Cost Comparison
When it comes to maintaining your deck, cost considerations play a significant role in deciding between sanding and staining. Both methods have associated expenses, and understanding these costs can help you make an informed choice.
Calculating the Costs of Sanding
1. Equipment Rental or Purchase: If you don’t already own the necessary sanding equipment, you’ll need to budget for rental or purchase costs. This includes handheld orbital sanders, drum sanders (for larger decks), sandpaper, and sanding pads.
2. Safety Gear: Safety should never be compromised, so factor in the cost of safety gear such as goggles, dust masks, and ear protection.
3. Deck Cleaning Solution: You’ll need a deck cleaning solution to prep the deck before sanding.
4. Stain or Sealant: After sanding, you’ll likely want to apply a stain or sealant for protection. Include the cost of these products in your budget.
5. Labor: If you hire a professional to sand your deck, labor costs will be an additional expense.
6. Repairs: If your deck requires any repairs, such as replacing damaged boards, you’ll need to budget for materials and labor.

Calculating the Costs of Staining
1. Stain or Sealant: The primary cost for staining your deck is the stain or sealant itself. The price can vary significantly depending on the type, brand, and quantity needed to cover your deck adequately.
2. Application Tools: You’ll need brushes, rollers, or a sprayer for applying the stain.
3. Safety Gear: Don’t forget to include the cost of safety gear like goggles and gloves.
4. Labor: If you decide to hire a professional to stain your deck, labor costs will be part of your budget.

Maintenance Considerations
Maintaining your deck is not a one-time task; it’s an ongoing commitment to ensuring the longevity and beauty of your outdoor space. When deciding between sanding and staining, it’s essential to consider how each method impacts the long-term maintenance requirements of your deck.
How Often Do You Need to Sand or Stain Your Deck?
The frequency of deck maintenance plays a significant role in your decision-making process. Here’s a general guideline:
- Sanding: Sanding is typically a one-time or occasional task. You may need to sand your deck when it becomes weathered, uneven, or shows signs of splintering. Once you’ve restored the surface through sanding, you can extend the time between maintenance by applying a protective finish or stain.
- Staining: Staining requires more frequent attention. Most stains last between 2 to 5 years, depending on factors such as weather conditions, sun exposure, and the type of stain used. After this period, you’ll need to reapply the stain to maintain protection and appearance.
Tips for Prolonging the Life of Your Deck
To maximize the time between maintenance tasks and ensure your deck remains in great condition, consider these tips:
1. Regular Cleaning: Keep your deck clean by sweeping away debris and periodically washing it with mild soap and water. Removing dirt and stains promptly can prevent the need for more extensive maintenance later.
2. Protective Finish: After sanding, consider applying a protective finish or sealant to your deck. This can help prolong the effects of sanding and reduce the frequency of re-sanding.
3. Quality Materials: If you’re building a new deck or replacing old boards, invest in high-quality materials. Better materials can resist weathering and damage for longer periods.
4. Shade and Cover: Providing shade through awnings, pergolas, or umbrellas can protect your deck from excessive sun exposure, which can lead to faster deterioration.
5. Regular Inspections: Periodically inspect your deck for any signs of damage, such as loose boards, protruding nails, or splintered wood. Promptly address any issues to prevent them from worsening.
6. Professional Maintenance: Consider hiring a professional deck maintenance service for regular inspections and preventive measures. They can catch problems early and ensure your deck remains in top condition.
7. Follow Manufacturer Guidelines: When using stains or sealants, follow the manufacturer’s recommendations for application and maintenance. This will help ensure that your deck receives the best protection.
In summary, while both sanding and staining contribute to the maintenance of your deck, staining requires more frequent attention. If you’re looking for a low-maintenance option, sanding might be the initial solution, followed by the application of a protective finish or sealant. However, if you enjoy the aesthetic benefits of staining and are prepared for regular upkeep, staining can provide added protection and enhance the appearance of your deck. Ultimately, the choice should align with your preferences, budget, and commitment to maintaining your outdoor oasis.
Conclusion
Maintaining your deck is a vital part of preserving your outdoor oasis, and the decision between sanding and staining is a crucial one. Each method offers its own set of benefits and considerations, making it essential to weigh your options carefully.
If you’re seeking to restore the natural beauty of your deck and create a smooth, even surface, sanding may be the way to go. Sanding can rejuvenate your deck, making it a safe and comfortable space for you and your family to enjoy. However, it’s essential to be prepared for the time and effort involved in the process.
On the other hand, staining provides an opportunity to enhance your deck’s aesthetics while adding a layer of protection against the elements. Stains come in various colors and finishes, allowing you to customize your outdoor space to your liking. Keep in mind that staining requires periodic reapplication to maintain its protective qualities and appearance.
Consider the factors that matter most to you, including your budget, time availability, environmental concerns, and personal preferences. Whether you choose to sand or stain your deck, remember that regular maintenance is key to keeping it in top condition.
Whichever path you decide to take, a well-maintained deck can become the centerpiece of your outdoor living space, a place where you can relax, entertain, and connect with nature. As you embark on your deck maintenance journey, we hope this guide has provided you with valuable insights and information to make informed decisions and create a beautiful and enduring outdoor retreat.
So, roll up your sleeves, put on your safety gear, and let your deck maintenance adventure begin. Your outdoor haven is waiting to be rediscovered and enjoyed for years to come!


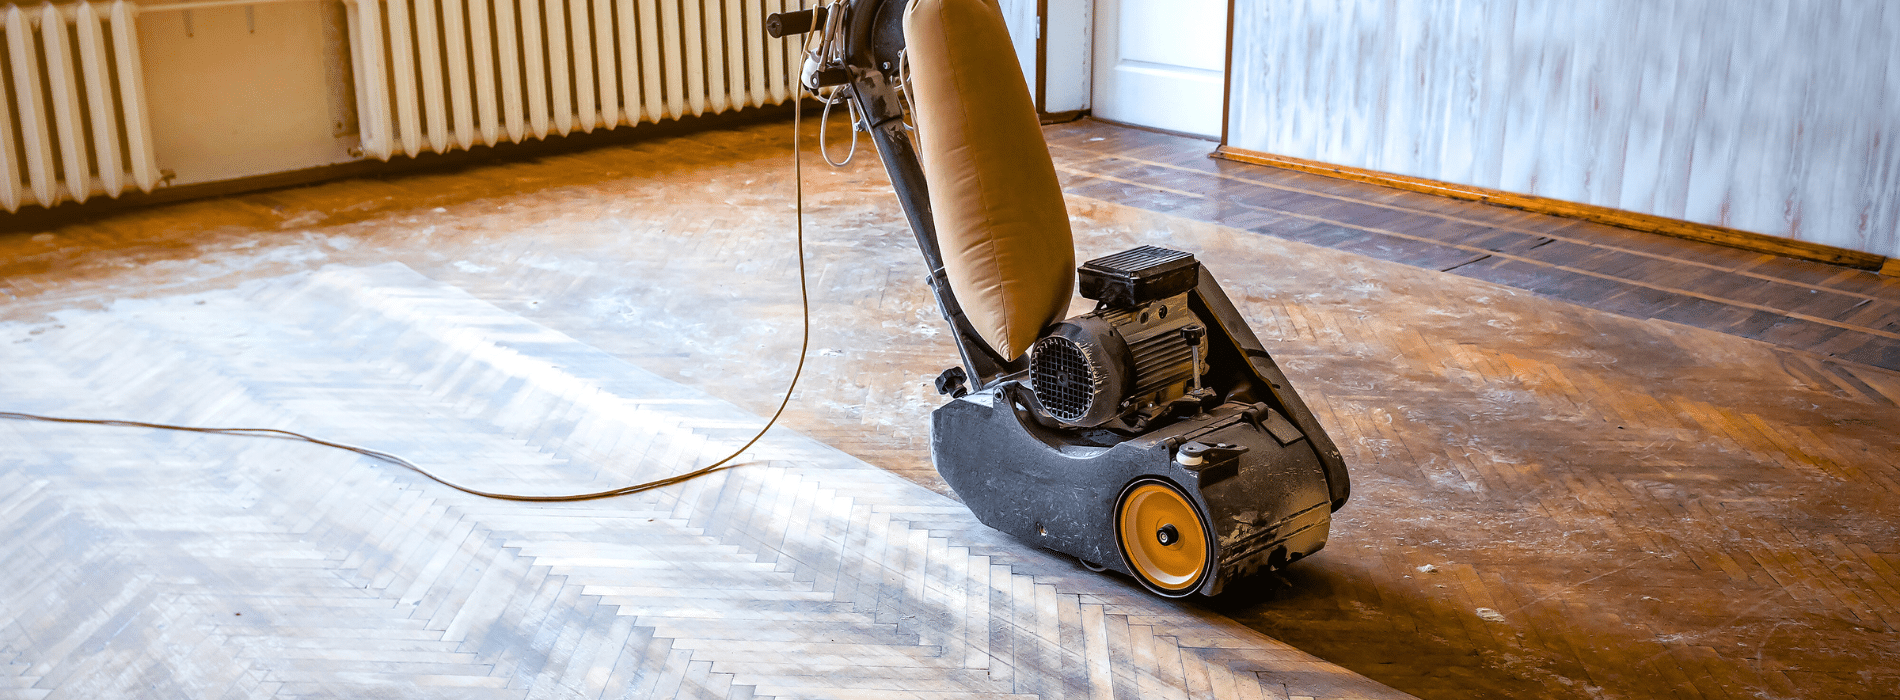
Sanding
We provide virtually dust-free sanding with our continuous belt machinery with mobile extraction units, giving you a safer environment for your family.
Oiling
This organic finish not only adds beauty to your home but also has exceptional water-repellent characteristics, making it easier to clean and maintain.
Waxing
This natural floor finish offers the softest and most mellow appearance – and leaves your floor able to breath.
Buffing
Using soft buffing machines (and hand-polishing where required) will bring a wonderful sheen to your newly-finished floor.
Repairs
We offer a full assessment of your wooden floors to determine what repairs are needed to provide the perfect working surface for the later stages of sanding, staining and sealing.
Restoration
We offer a comprehensive restoration process designed to address floors that are improperly fitted or damaged over time through wear and tear.
Request a fixed price quote for your wood floor restoration now
Simply enter your postcode below to get started.
Services
Wood Floor Sanding Wood Floor Restoration Wood Floor Scratch Repair Squeaky Wood Floor Repair Parquet Floor Sanding Parquet Floor Restoration Commercial Floor Sanding Church Floor Sanding Community Centre Floor Sanding School Floor Sanding Gap Filling Gap Filling with ResinCopyright © Mr Sander®
Privacy & Cookies Terms & Conditions Complaints Procedure Cancellation Rights Sitemap

Get An Instant Price Estimate Before You Go…
Simply enter the rooms you need sanded and we’ll provide you with a price estimate instantly! Try our price calculator now.
Get a Price Estimate NowLocal Floor Sanding Experts
Over 500 5-Star Reviews
Safe, Dust Free Sanding
Operating Since 1994