London:
Nationwide:
25,000+
Floors Restored
27 Years Experience
Wood Flooring Association Certified
Avoiding Damage: Can Your Kitchen Worktop Get Wet Between Sanding and Oiling?
Posted on December 26, 2023
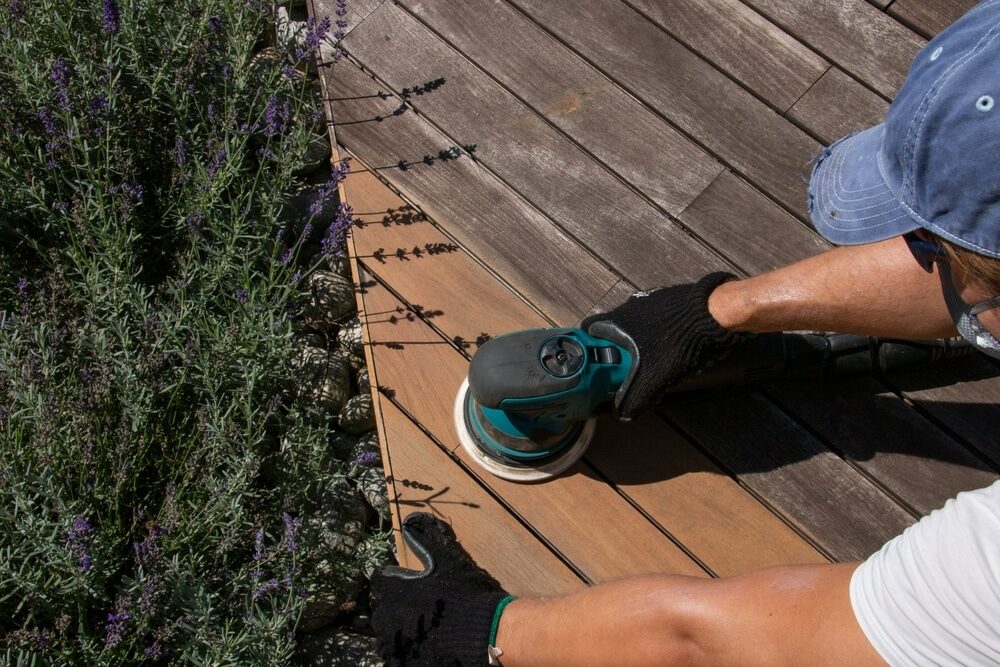
Kitchen Worktop sanding
Preserving Your Kitchen Worktop: Is Moisture Between Sanding and Oiling a Concern?
Your kitchen worktop is not just a functional surface but also a focal point in your kitchen’s design. To keep it looking its best and ensuring its longevity, proper maintenance is crucial. One vital aspect of this maintenance involves sanding and oiling your worktop to maintain its pristine condition. However, a question often arises during this process: Can your kitchen worktop get wet between sanding and oiling?
In the following sections, we will delve deep into this topic, exploring the significance of sanding and oiling your kitchen worktop and providing step-by-step guidance on how to perform these tasks effectively. Moreover, we will discuss the potential risks associated with moisture exposure during this critical maintenance phase, and why understanding these risks is paramount.
Whether you’re a seasoned DIY enthusiast or someone embarking on their first kitchen renovation, understanding the impact of moisture on your worktop during sanding and oiling is essential. By the end of this comprehensive guide, you will have the knowledge and tools necessary to avoid damage and maintain the pristine condition of your kitchen worktop, ensuring it remains not only functional but also a stunning centerpiece in your home. Let’s dive in and explore the fascinating world of kitchen worktop maintenance.
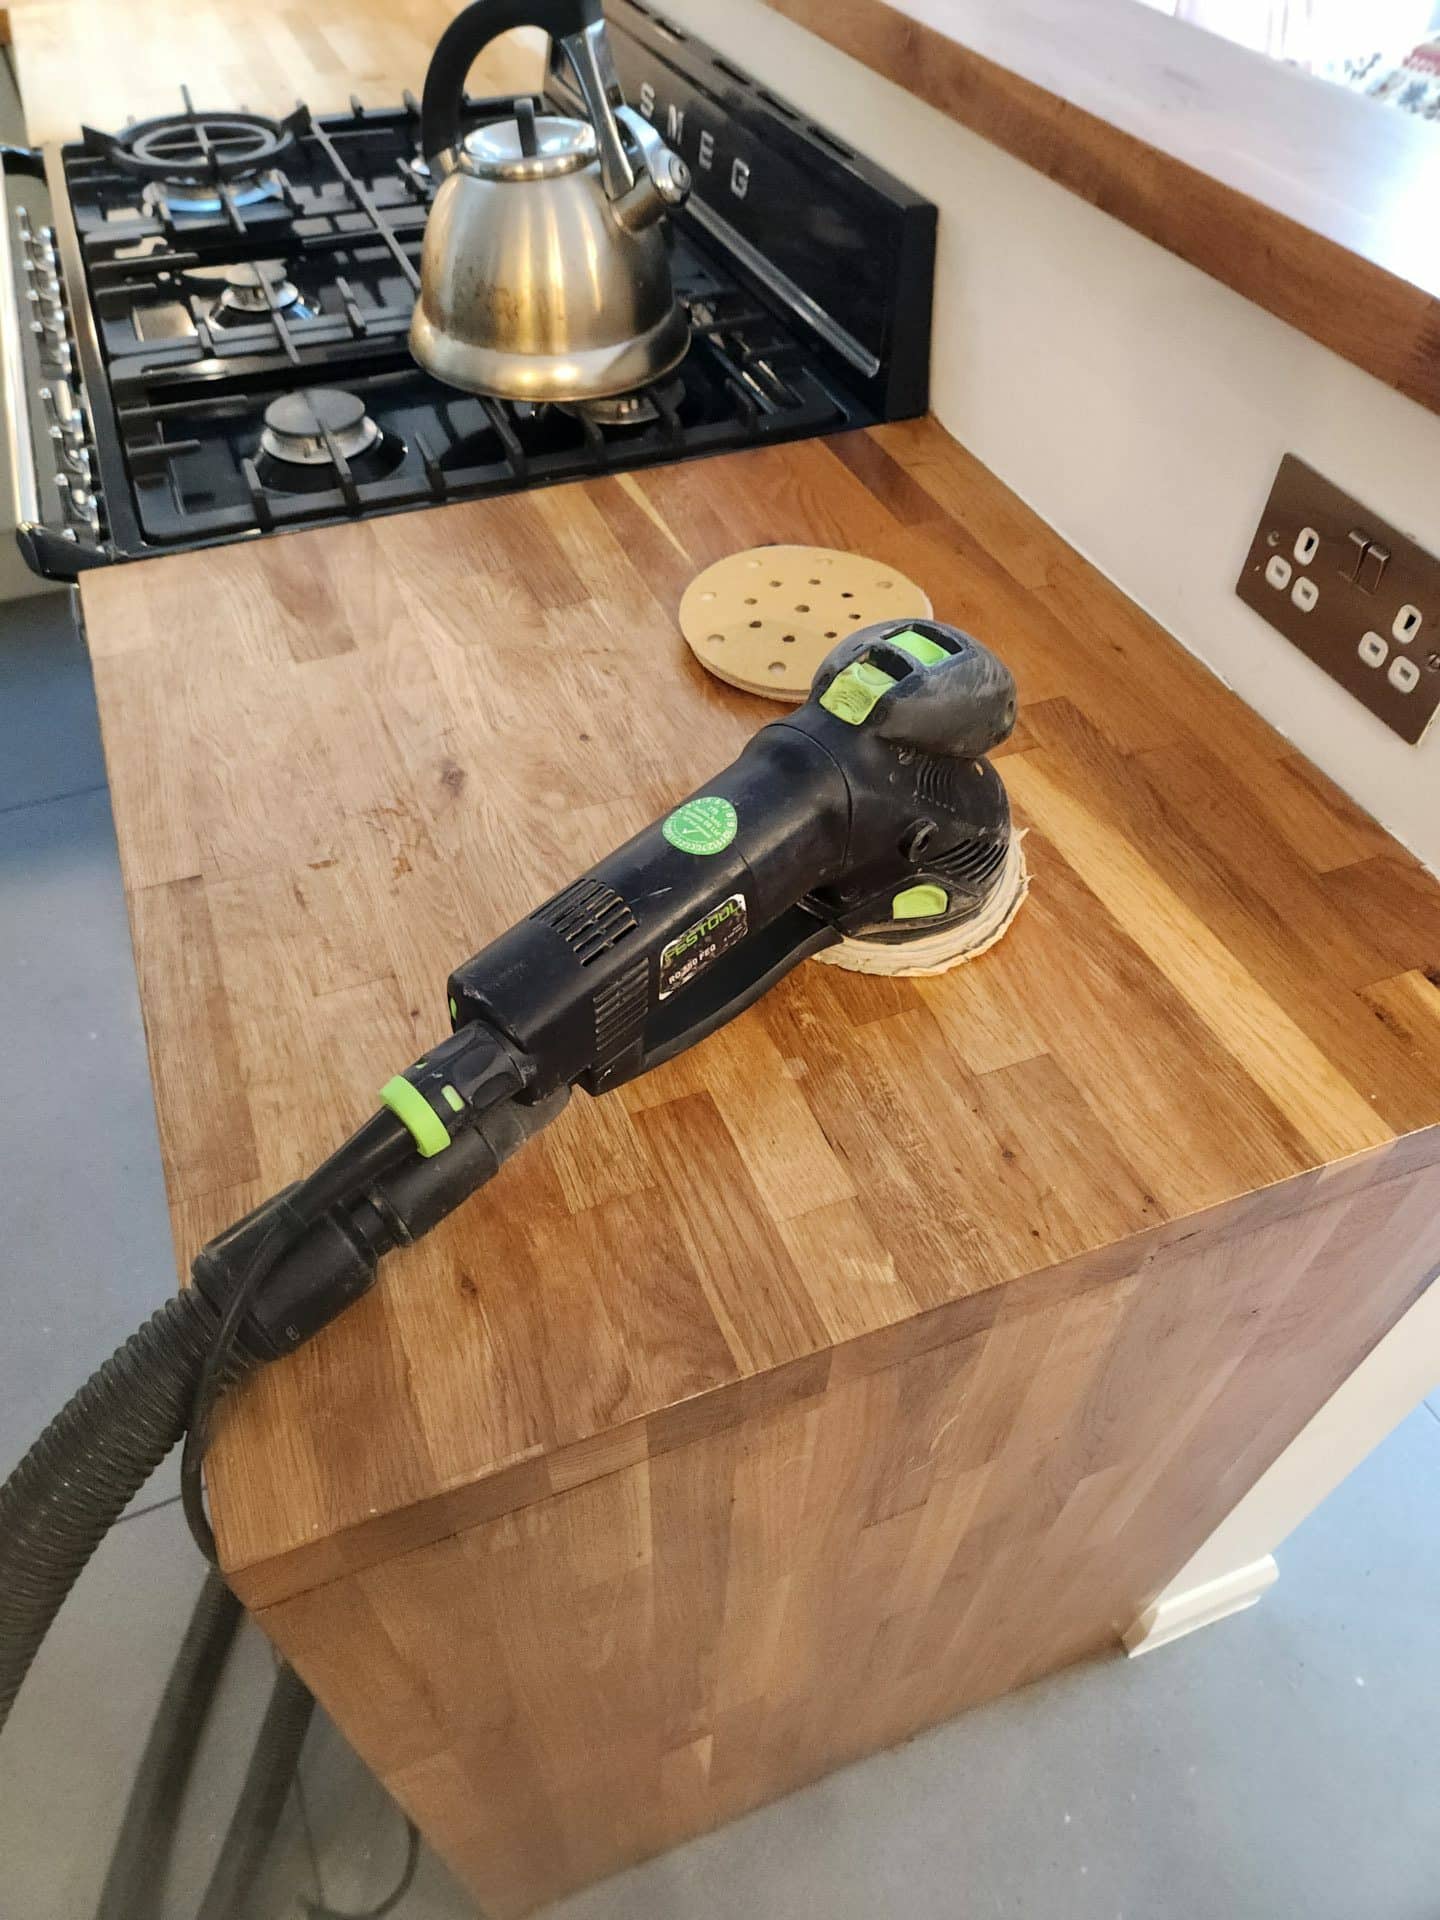
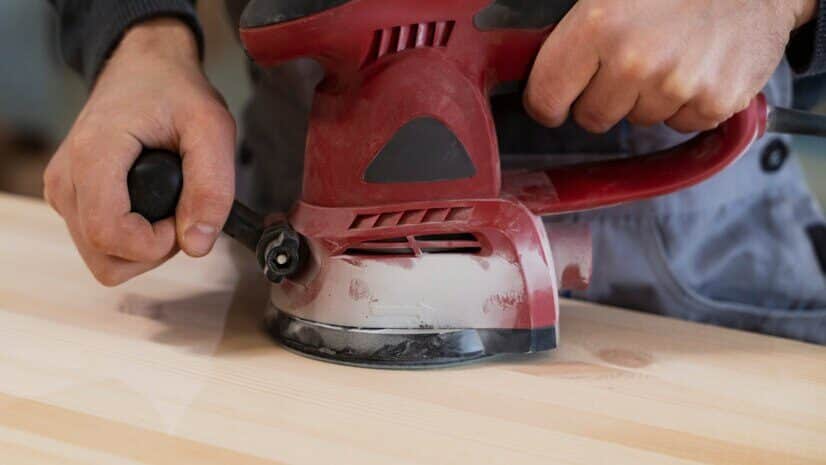
The sanding process
Sanding your kitchen worktop is a fundamental step in its maintenance that should not be overlooked. Here, we’ll take you through the process and explain its importance in detail.

1. Why sanding matters
- Understand why sanding is a critical step in worktop maintenance.
- Removing surface imperfections, scratches, and stains.
- Creating a smooth and even surface for oil application.
2. Step-by-Step Guide to Sanding
- Gather the necessary tools and materials.
- Preparing the worktop: clearing and cleaning the surface.
- Choosing the right sandpaper grit for your worktop material.
- Sanding techniques: the correct motion and pressure.
- How to address different types of imperfections (e.g., scratches, watermarks).
- Progression of grits: when to switch to finer sandpaper.
3. Common sanding mistakes to avoid
- Identifying and avoiding pitfalls in the sanding process.
- Over-sanding or under-sanding: finding the right balance.
- Ensuring even sanding across the entire worktop.
- Proper disposal of sanding debris.
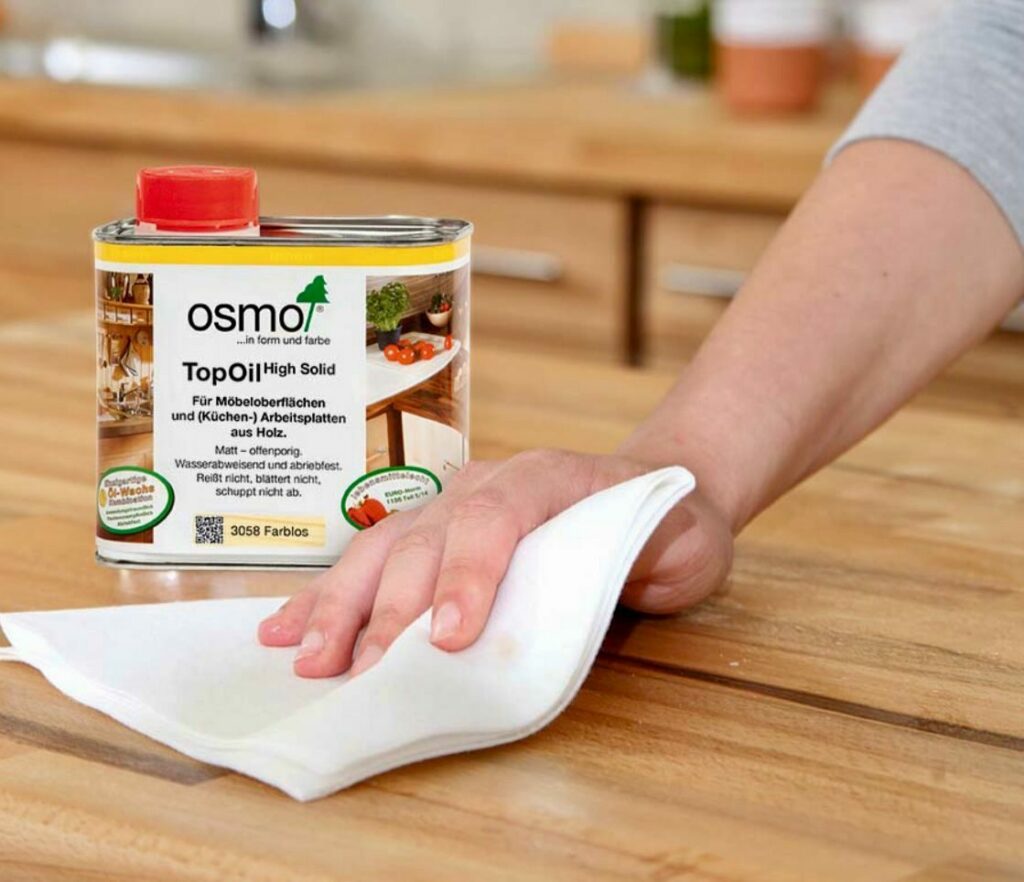
Oiling your worktop
Once you’ve successfully sanded your kitchen worktop, the next crucial step is to apply the appropriate oil. Oiling not only enhances the appearance of the worktop but also protects it from daily wear and tear. Here’s a detailed look at this essential process:
The Benefits of Oiling
- Understanding why oiling is a vital part of worktop maintenance.
- Enhancing the natural beauty of the wood or stone.
- Providing a protective barrier against moisture, stains, and scratches.
- Extending the lifespan of your worktop.
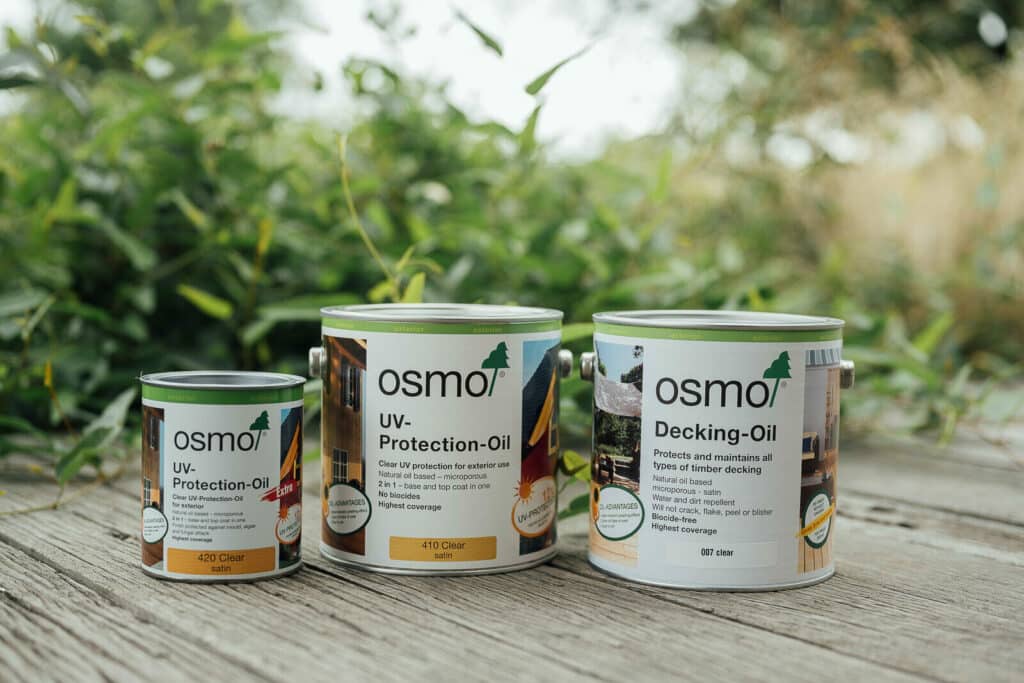
Choosing the Right Oil
- There are different types of oils for various worktop materials (e.g., wood, granite, marble).
- Water-based vs. oil-based oils: advantages and disadvantages.
- Considering food-safe and eco-friendly options.
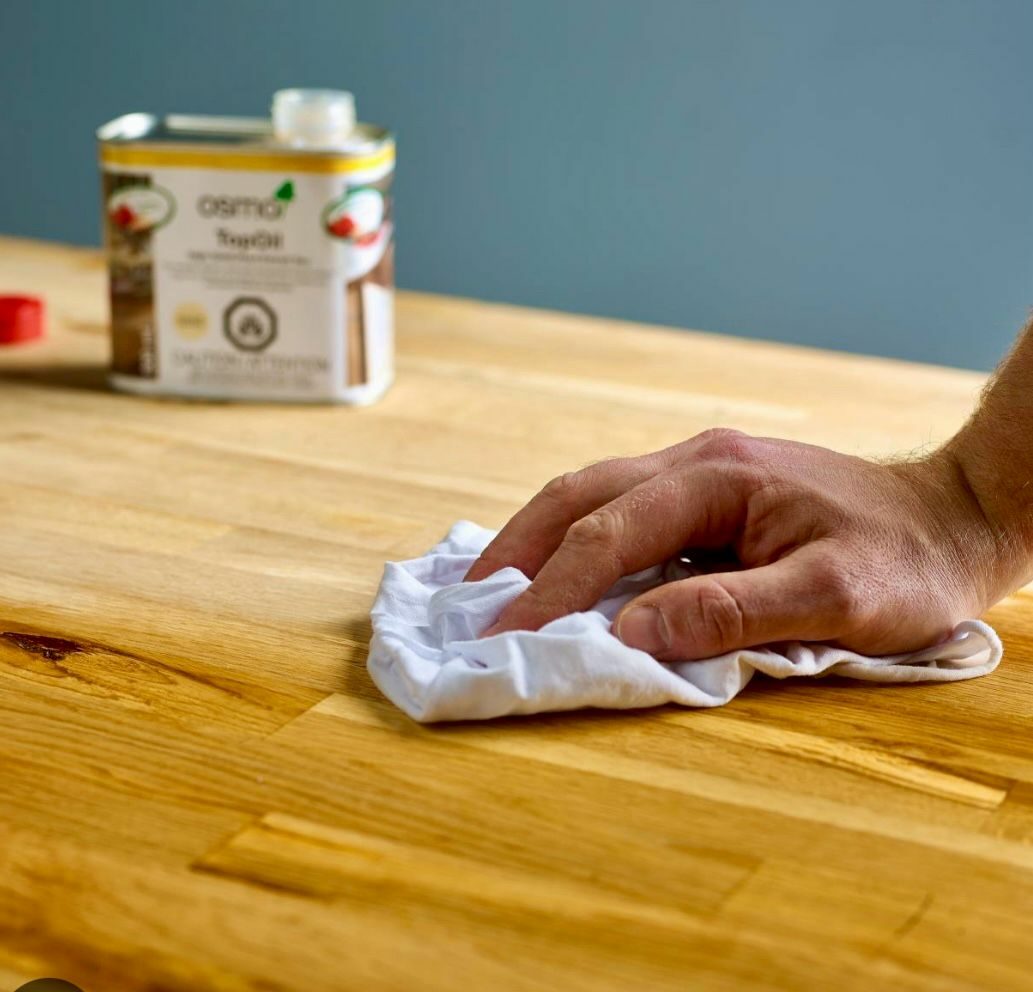
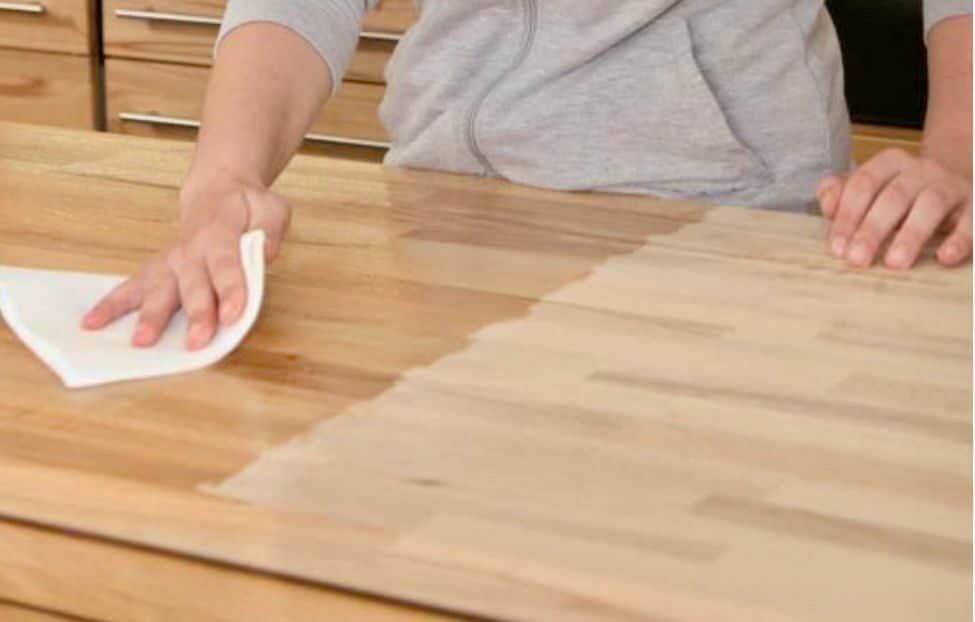
Proper application techniques
- Preparing the worktop surface after sanding.
- Applying the oil: brushes, cloths, or sponges?
- Spreading the oil evenly and avoiding excess.
- Understanding drying and curing times.
- Repeat applications: when and how often?
Maintaining Your Oiled Worktop
- Cleaning and maintenance routines to prolong the oil’s effectiveness.
- Identifying signs that it’s time for a new coat of oil.
- Repairing minor scratches or imperfections on an oiled surface.
Moisture and Your Worktop
Understanding how moisture can affect your kitchen worktop between the sanding and oiling kitchen worktop stages is essential for its long-term durability and appearance. In this section, we’ll delve into the various ways moisture can impact your worktop:
The Risks of Moisture Exposure
- Detailing the potential damage caused by moisture during this crucial phase.
- Warping, swelling, and cupping: the physical consequences.
- Stains, discoloration, and mould growth: the visual and health concerns.
- How moisture affects different worktop materials (e.g., wood, stone, laminate).
The importance of a dry environment
- Emphasising the need for a controlled environment during sanding and oiling.
- Monitoring humidity levels in your kitchen.
- Avoiding direct contact with water sources.
- Using protective coverings or barriers to prevent moisture exposure.
Choosing the right time
- Timing your worktop maintenance to minimise moisture risks.
- Considering seasonal changes in humidity,.
- Planning ahead to ensure a dry environment.

Preventing moisture damage
To ensure your kitchen worktop remains in excellent condition during the sanding and oiling process, it’s essential to take proactive measures to prevent moisture damage. Here are some practical steps to help you maintain a dry environment:
1. Clear the workspace:
- Remove any items from your worktop, including appliances, utensils, and dishes.
- Clean the worktop surface thoroughly to eliminate dust and debris.
2. Seal off water sources:
- Identify and seal off any water sources or leaks in the vicinity of your worktop.
- Ensure that sinks, faucets, and pipes are secure and leak-free.
3. Use protective coverings:
- Cover your worktop with waterproof materials like plastic sheeting or drop cloths.
- Secure the coverings in place to prevent accidental exposure to moisture.
4. Control humidity levels:
- Monitor the humidity levels in your kitchen with a hygrometer.
- Use dehumidifiers or fans to maintain a stable, dry environment.
5. Plan adequate drying time:
- Schedule the sanding and oiling process during periods of lower humidity, if possible.
- Allow sufficient time for the worktop to dry completely between sanding and oiling.
6. Minimise foot traffic:
- Limit movement around the worktop area to reduce the chance of spills or accidents.
- Communicate the importance of a dry environment to household members.
By taking these preventative measures, you can significantly reduce the risk of moisture damage to your kitchen worktop between the sanding and oiling stages. These steps will help ensure that your worktop remains in optimal condition, both functionally and aesthetically. In the next section, we’ll discuss what to do if your worktop does get wet unintentionally and how to mitigate potential damage.

Dealing with Unintended Moisture
Despite your best efforts, accidents can happen, and your kitchen worktop may get wet between sanding and oiling your kitchen worktop. It’s crucial to address this situation promptly to minimise any potential damage. Here’s how to handle unintended moisture:
1. Act Quickly
- As soon as you notice the moisture, take immediate action to remove it.
2. Dry the surface
- Use clean, absorbent cloths or paper towels to blot and soak up excess moisture.
- Do not rub the surface, as this may spread the moisture.
3. Ventilation
- Open windows and doors to improve air circulation and aid in drying.
- Use fans or dehumidifiers to expedite the drying process.
4. Assess Damage
- Inspect the worktop for any visible signs of damage, such as swelling or discoloration.
- Note any areas that require additional attention.
5. Sand and re-oil if necessary.
- If the damage is minimal and the worktop has dried completely, consider lightly sanding and reapplying oil to the affected areas.
- Ensure the surface is thoroughly dry before proceeding with this step.
6. Consult a professional.
- If the damage is extensive or you’re uncertain about how to address it, consider consulting a professional worktop installer or restorer.
- They can provide expert advice and may be able to repair more severe damage.

Conclusion
Maintaining the pristine condition of your kitchen worktop is essential for both its longevity and aesthetics. Sanding and oiling are key components of this maintenance process, but they come with their own challenges, particularly in avoiding moisture exposure during these critical phases.
In this blog post, we’ve explored the importance of sanding your kitchen worktop and oiling, providing step-by-step guidance on how to execute these tasks effectively. We’ve also delved into the potential risks associated with moisture exposure between sanding and oiling and offered practical advice on how to prevent and address unintended moisture.
Here are the key takeaways from this discussion:
- Sanding your worktop is crucial for removing imperfections, creating a smooth surface, and preparing it for oiling.
- Oiling your worktop enhances its appearance, protects it from daily wear and tear, and extends its lifespan.
- Moisture exposure during the maintenance process can lead to damage such as warping, staining, or mould growth.
- Maintaining a dry environment during sanding and oiling is essential, involving proper workspace preparation, sealing off water sources, and controlling humidity levels.
- In cases of unintended moisture, act promptly by drying the surface, assessing damage, and taking the necessary repair steps.
By following these guidelines and being proactive in your worktop maintenance, you can ensure that your kitchen worktop remains a beautiful and functional centrepiece in your home.
Remember that proper care and attention to detail will pay off in the long run, preserving the quality and appearance of your worktop for years to come. So, take the time to sand and oil your worktop with care and diligence, and you’ll enjoy a kitchen that continues to shine.

Sanding
We provide virtually dust-free sanding with our continuous belt machinery with mobile extraction units, giving you a safer environment for your family.
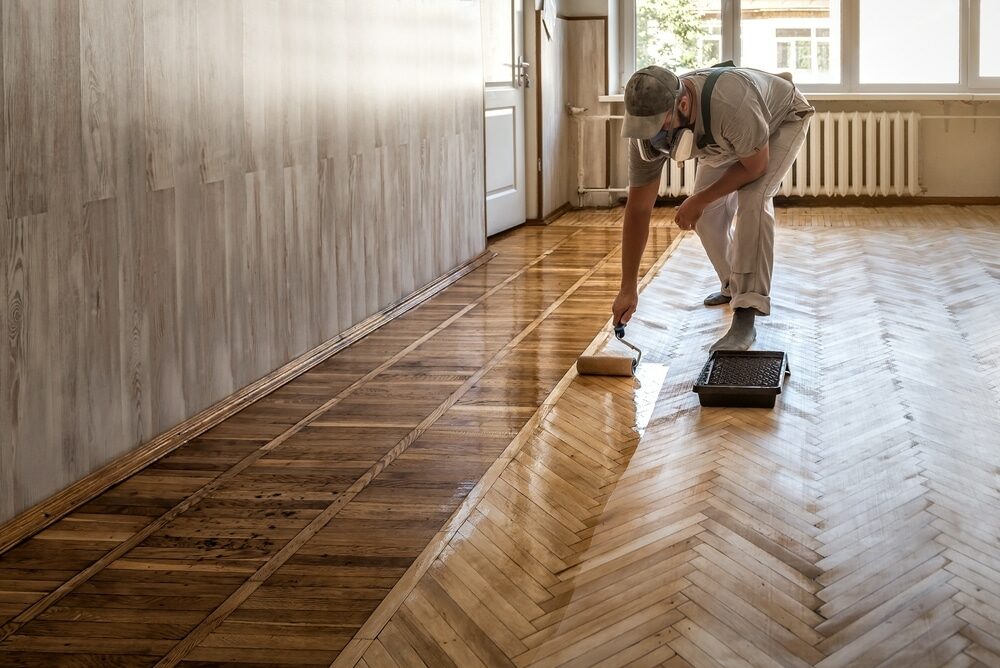
Oiling
This organic finish not only adds beauty to your home but also has exceptional water-repellent characteristics, making it easier to clean and maintain.
Waxing
This natural floor finish offers the softest and most mellow appearance – and leaves your floor able to breath.
Buffing
Using soft buffing machines (and hand-polishing where required) will bring a wonderful sheen to your newly-finished floor.
Repairs
We offer a full assessment of your wooden floors to determine what repairs are needed to provide the perfect working surface for the later stages of sanding, staining and sealing.
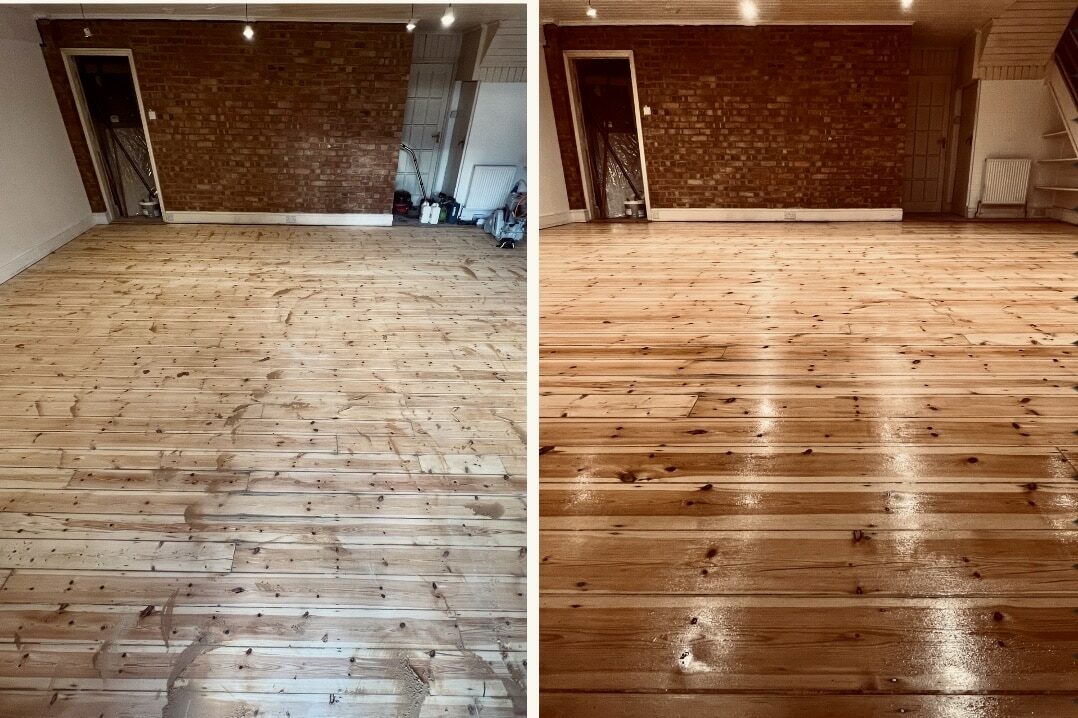
Restoration
We offer a comprehensive restoration process designed to address floors that are improperly fitted or damaged over time through wear and tear.
Request a fixed price quote for your wood floor restoration now
Simply enter your postcode below to get started.
Services
Wood Floor Sanding Wood Floor Restoration Wood Floor Scratch Repair Squeaky Wood Floor Repair Parquet Floor Sanding Parquet Floor Restoration Commercial Floor Sanding Church Floor Sanding Community Centre Floor Sanding School Floor Sanding Gap Filling Gap Filling with ResinCopyright © Mr Sander®
Privacy & Cookies Terms & Conditions Complaints Procedure Cancellation Rights Sitemap

Get An Instant Price Estimate Before You Go…
Simply enter the rooms you need sanded and we’ll provide you with a price estimate instantly! Try our price calculator now.
Get a Price Estimate NowLocal Floor Sanding Experts
Over 500 5-Star Reviews
Safe, Dust Free Sanding
Operating Since 1994