London:
Nationwide:
25,000+
Floors Restored
27 Years Experience
Wood Flooring Association Certified
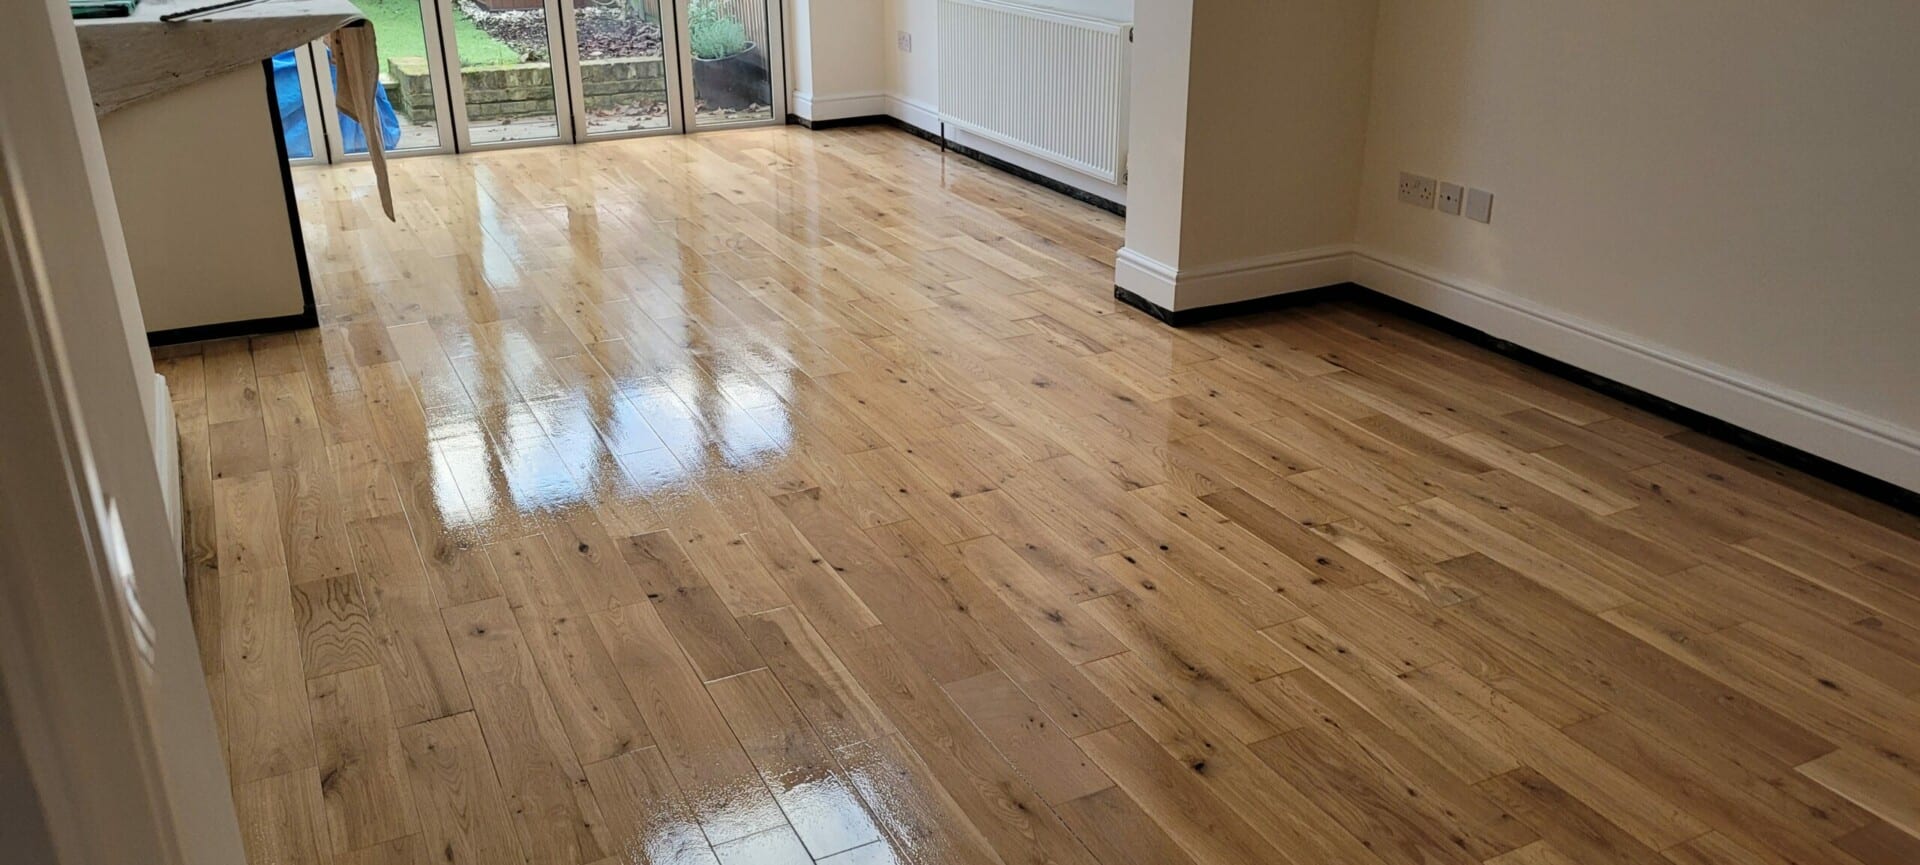
Refinishing Wood Flooring to Best Effect at Mr Sander®
Posted on May 21, 2023
Blog
Comprehensive Guide to Refinishing Wood Flooring for the Best Effect
Wood flooring is a classic, timeless choice for any home. However, even the best-cared-for wood floors can show signs of age and wear over time. Stains, scratches, dullness, and fading are all common issues that can detract from the beauty of a wood floor. But the good news is that you don’t need to replace your entire floor to regain its original charm. Refinishing your wood floor can bring it back to life and help it look its best.
The Value of Refinishing Wood Flooring
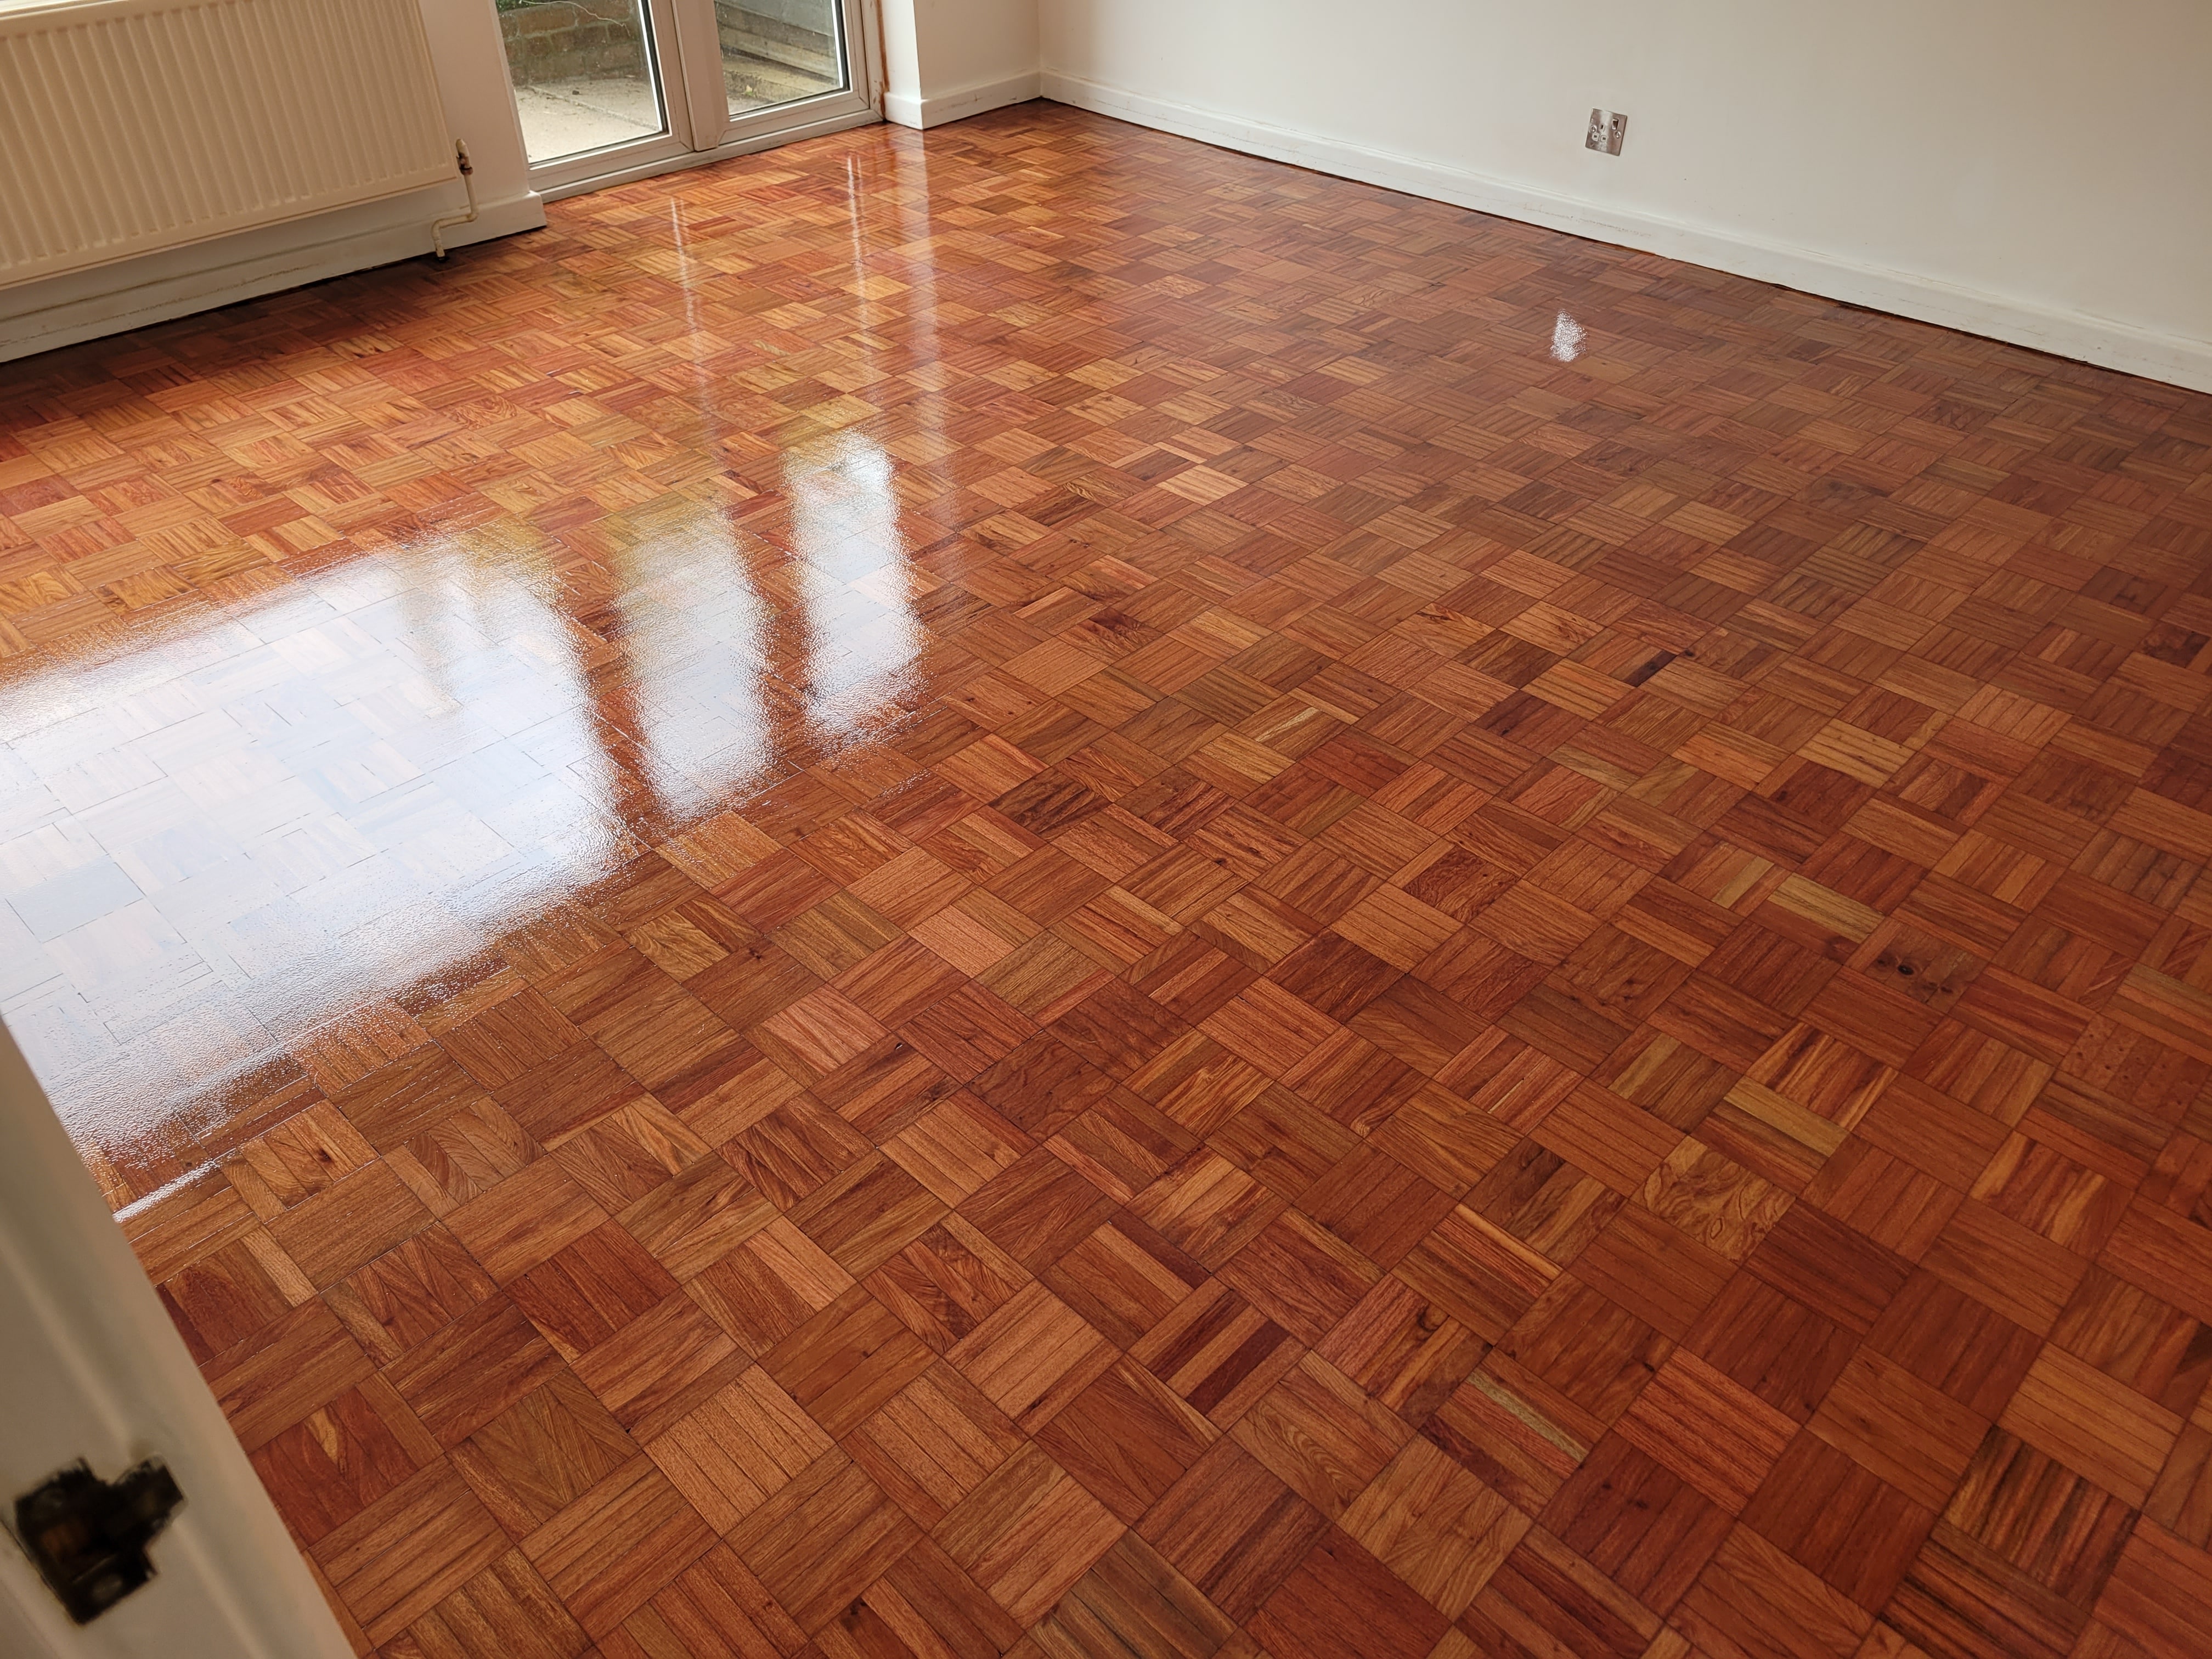
Refinishing wood floors involves sanding down the existing finish to reveal the bare wood, then applying a new finish to protect the wood and enhance its appearance. The result can completely transform your floor, making it look brand new. Not only can refinishing improve the aesthetics of your floor, but it can also extend its lifespan, protect it from future damage, increase your home’s value, and even improve indoor air quality by removing old, dirty finishes and sealants that may have been trapping allergens and bacteria.Assessing Your Wood Floor’s Condition
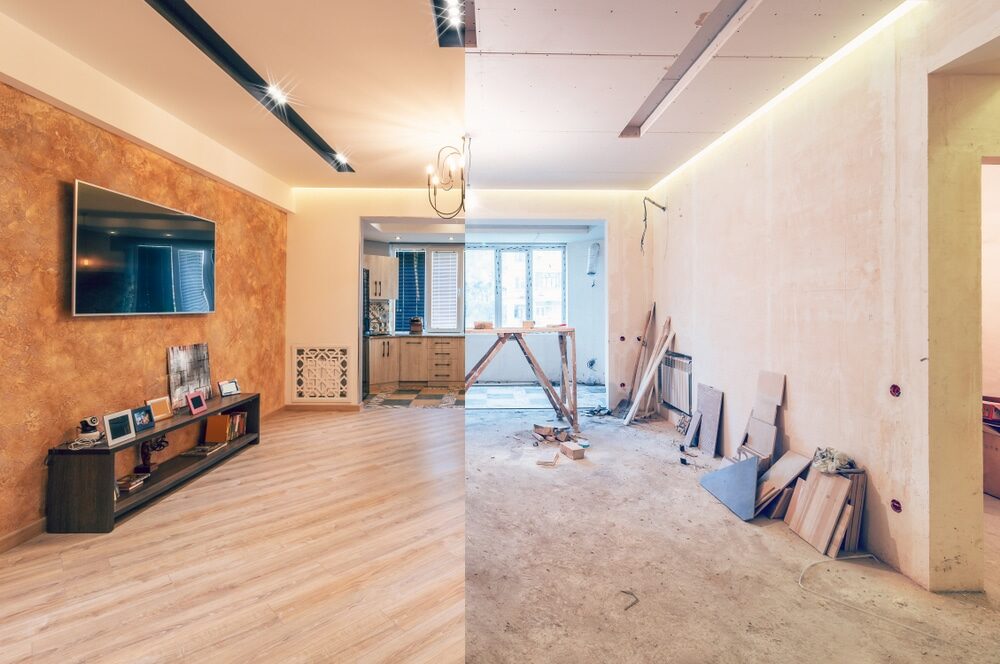
Before you decide to refinish your wood floor, assessing its condition is essential. Look for signs of damage, such as deep scratches, gouges, stains, or areas where the wood is worn or damaged. If these issues are localized, you might get away with a simple repair and recoating rather than a complete refinishing job. But if your floor has extensive damage or the finish is worn away to reveal bare wood in many areas, refinishing is likely the best option. Additionally, if your floor has been sanded and refinished multiple times, check the thickness of the wood above the tongue and groove. If it’s too thin, you might need to replace the floor instead of refinishing it.Preparing for the refinishing process
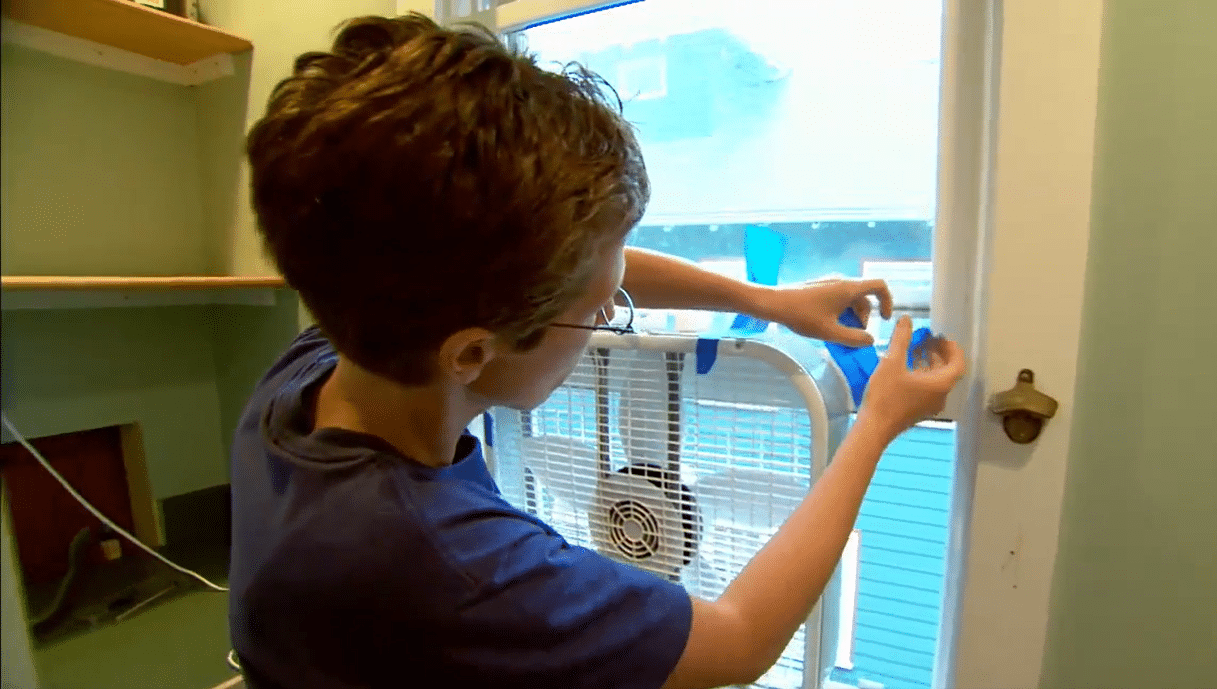
Preparation is critical to a successful refinishing project. Start by clearing the room entirely. Remove all furniture, rugs, and other items from the space. You’ll also need to remove the baseboard molding to prevent it from getting damaged during refinishing. Then, clean the floor thoroughly to remove dust, dirt, and debris. Any grit left on the floor can cause scratches during the sanding process. Safety is also a vital consideration during preparation. Always use appropriate safety gear, including a dust mask, safety goggles, and ear protection. Ensuring good ventilation in the room is essential, as the refinishing process can create dust and fumes.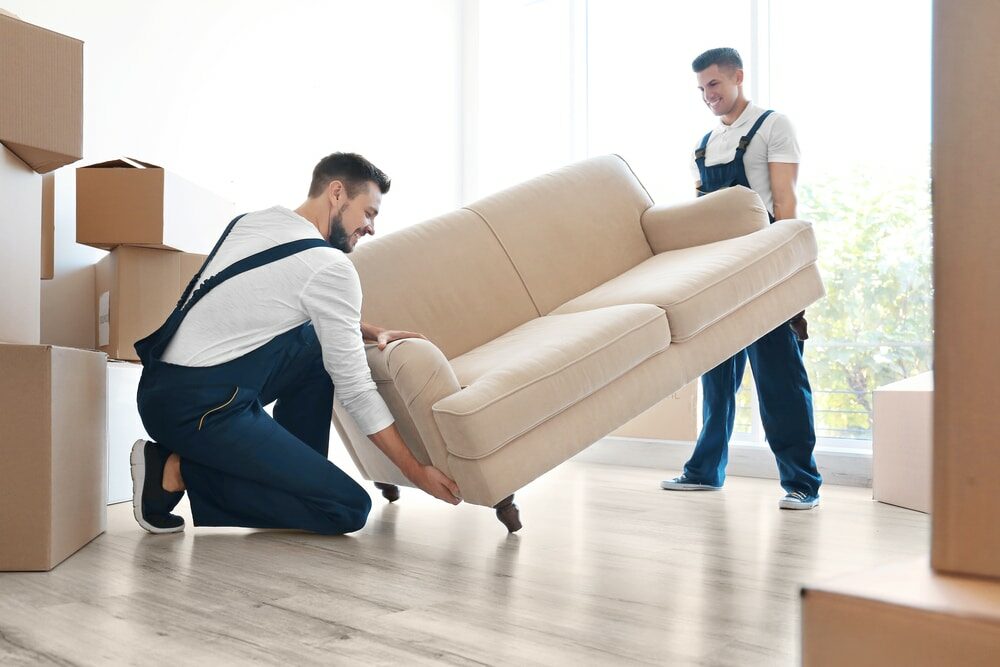
The Refinishing Process: Sanding
Sanding is the first step in the refinishing process. This removes the old finish and any superficial damage to the wood, leaving a clean, smooth surface ready for the new finish. To sand your floor, you’ll need a drum sander for the main floor area and an edge sander for the edges and corners that the drum sander can’t reach. Start with coarse-grit sandpaper to remove the old finish and any surface damage, switch to medium-grit paper to smooth the wood, and finish with fine-grit paper to create a smooth surface. Sanding creates a lot of dust, so seal off doorways with plastic sheeting and vacuum the floor thoroughly after each round of sanding.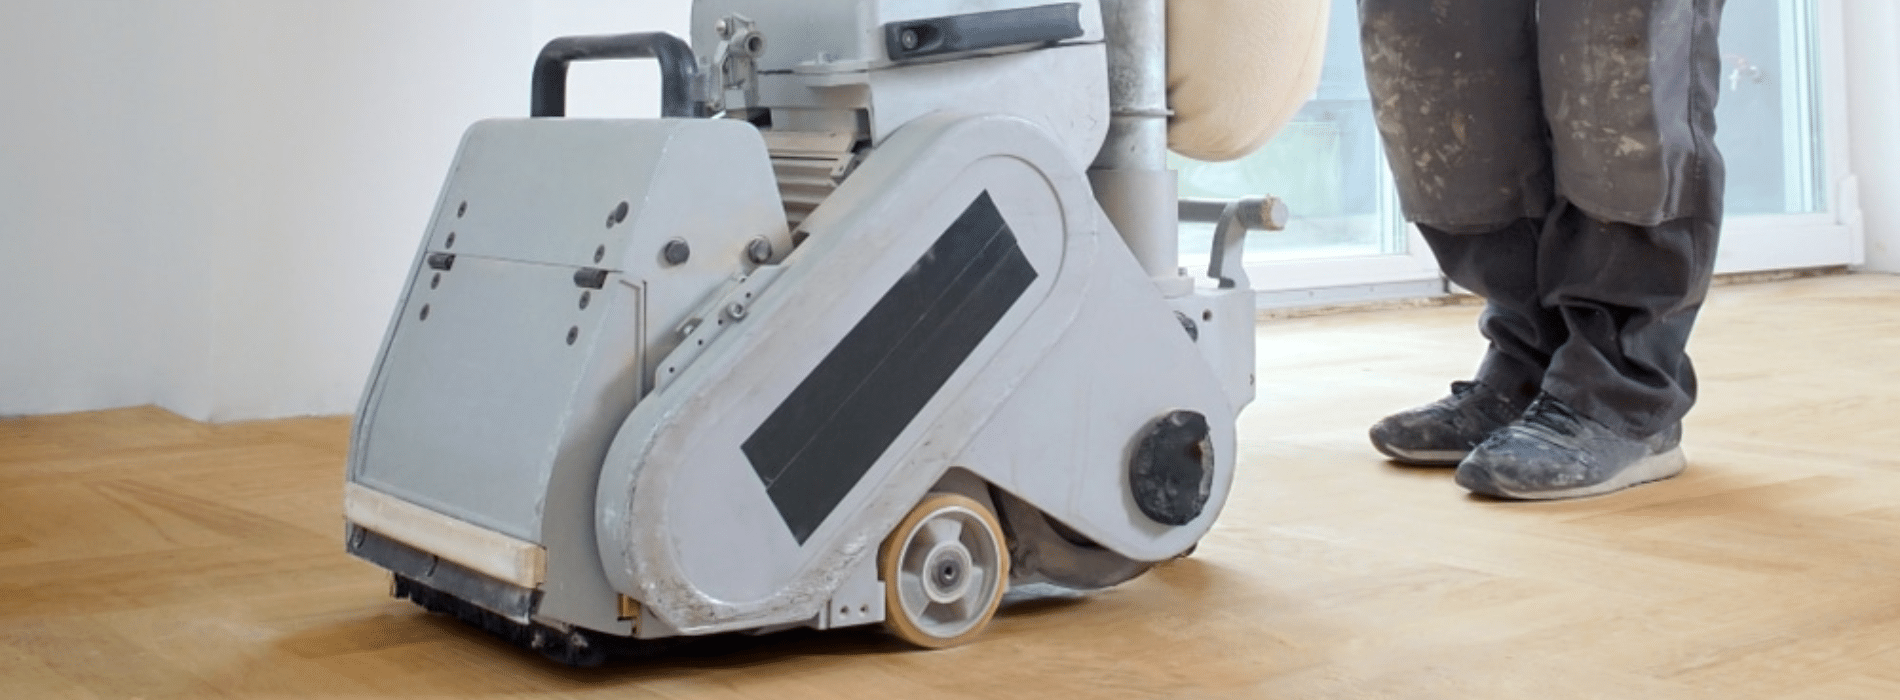
The Refinishing Process: Staining and Finishing
After sanding, you have the option to stain your wood floor. Staining can enhance the wood’s natural color or change it entirely. Apply the stain evenly, following the wood grain, and let it soak into the wood for a few minutes before wiping off the excess with a clean cloth. Once the stain is dry, you can apply the finish. The type of finish you choose will depend on your aesthetic preferences, the type of wood, and the level of durability you need. Polyurethane is a common choice due to its durability and resistance to wear and tear. Other options include varnish, lacquer, and oil finishes. Start at the room’s furthest corner when applying the finish and work toward the exit to avoid stepping on the freshly coated floor. Apply the finish evenly and smoothly, following the wood grain. Most finishes will require multiple coats for the best result. Allow each coat to dry thoroughly before applying the next one. Once the final coat is dry, wait a few more days before moving furniture back into the room to avoid damaging the new finish.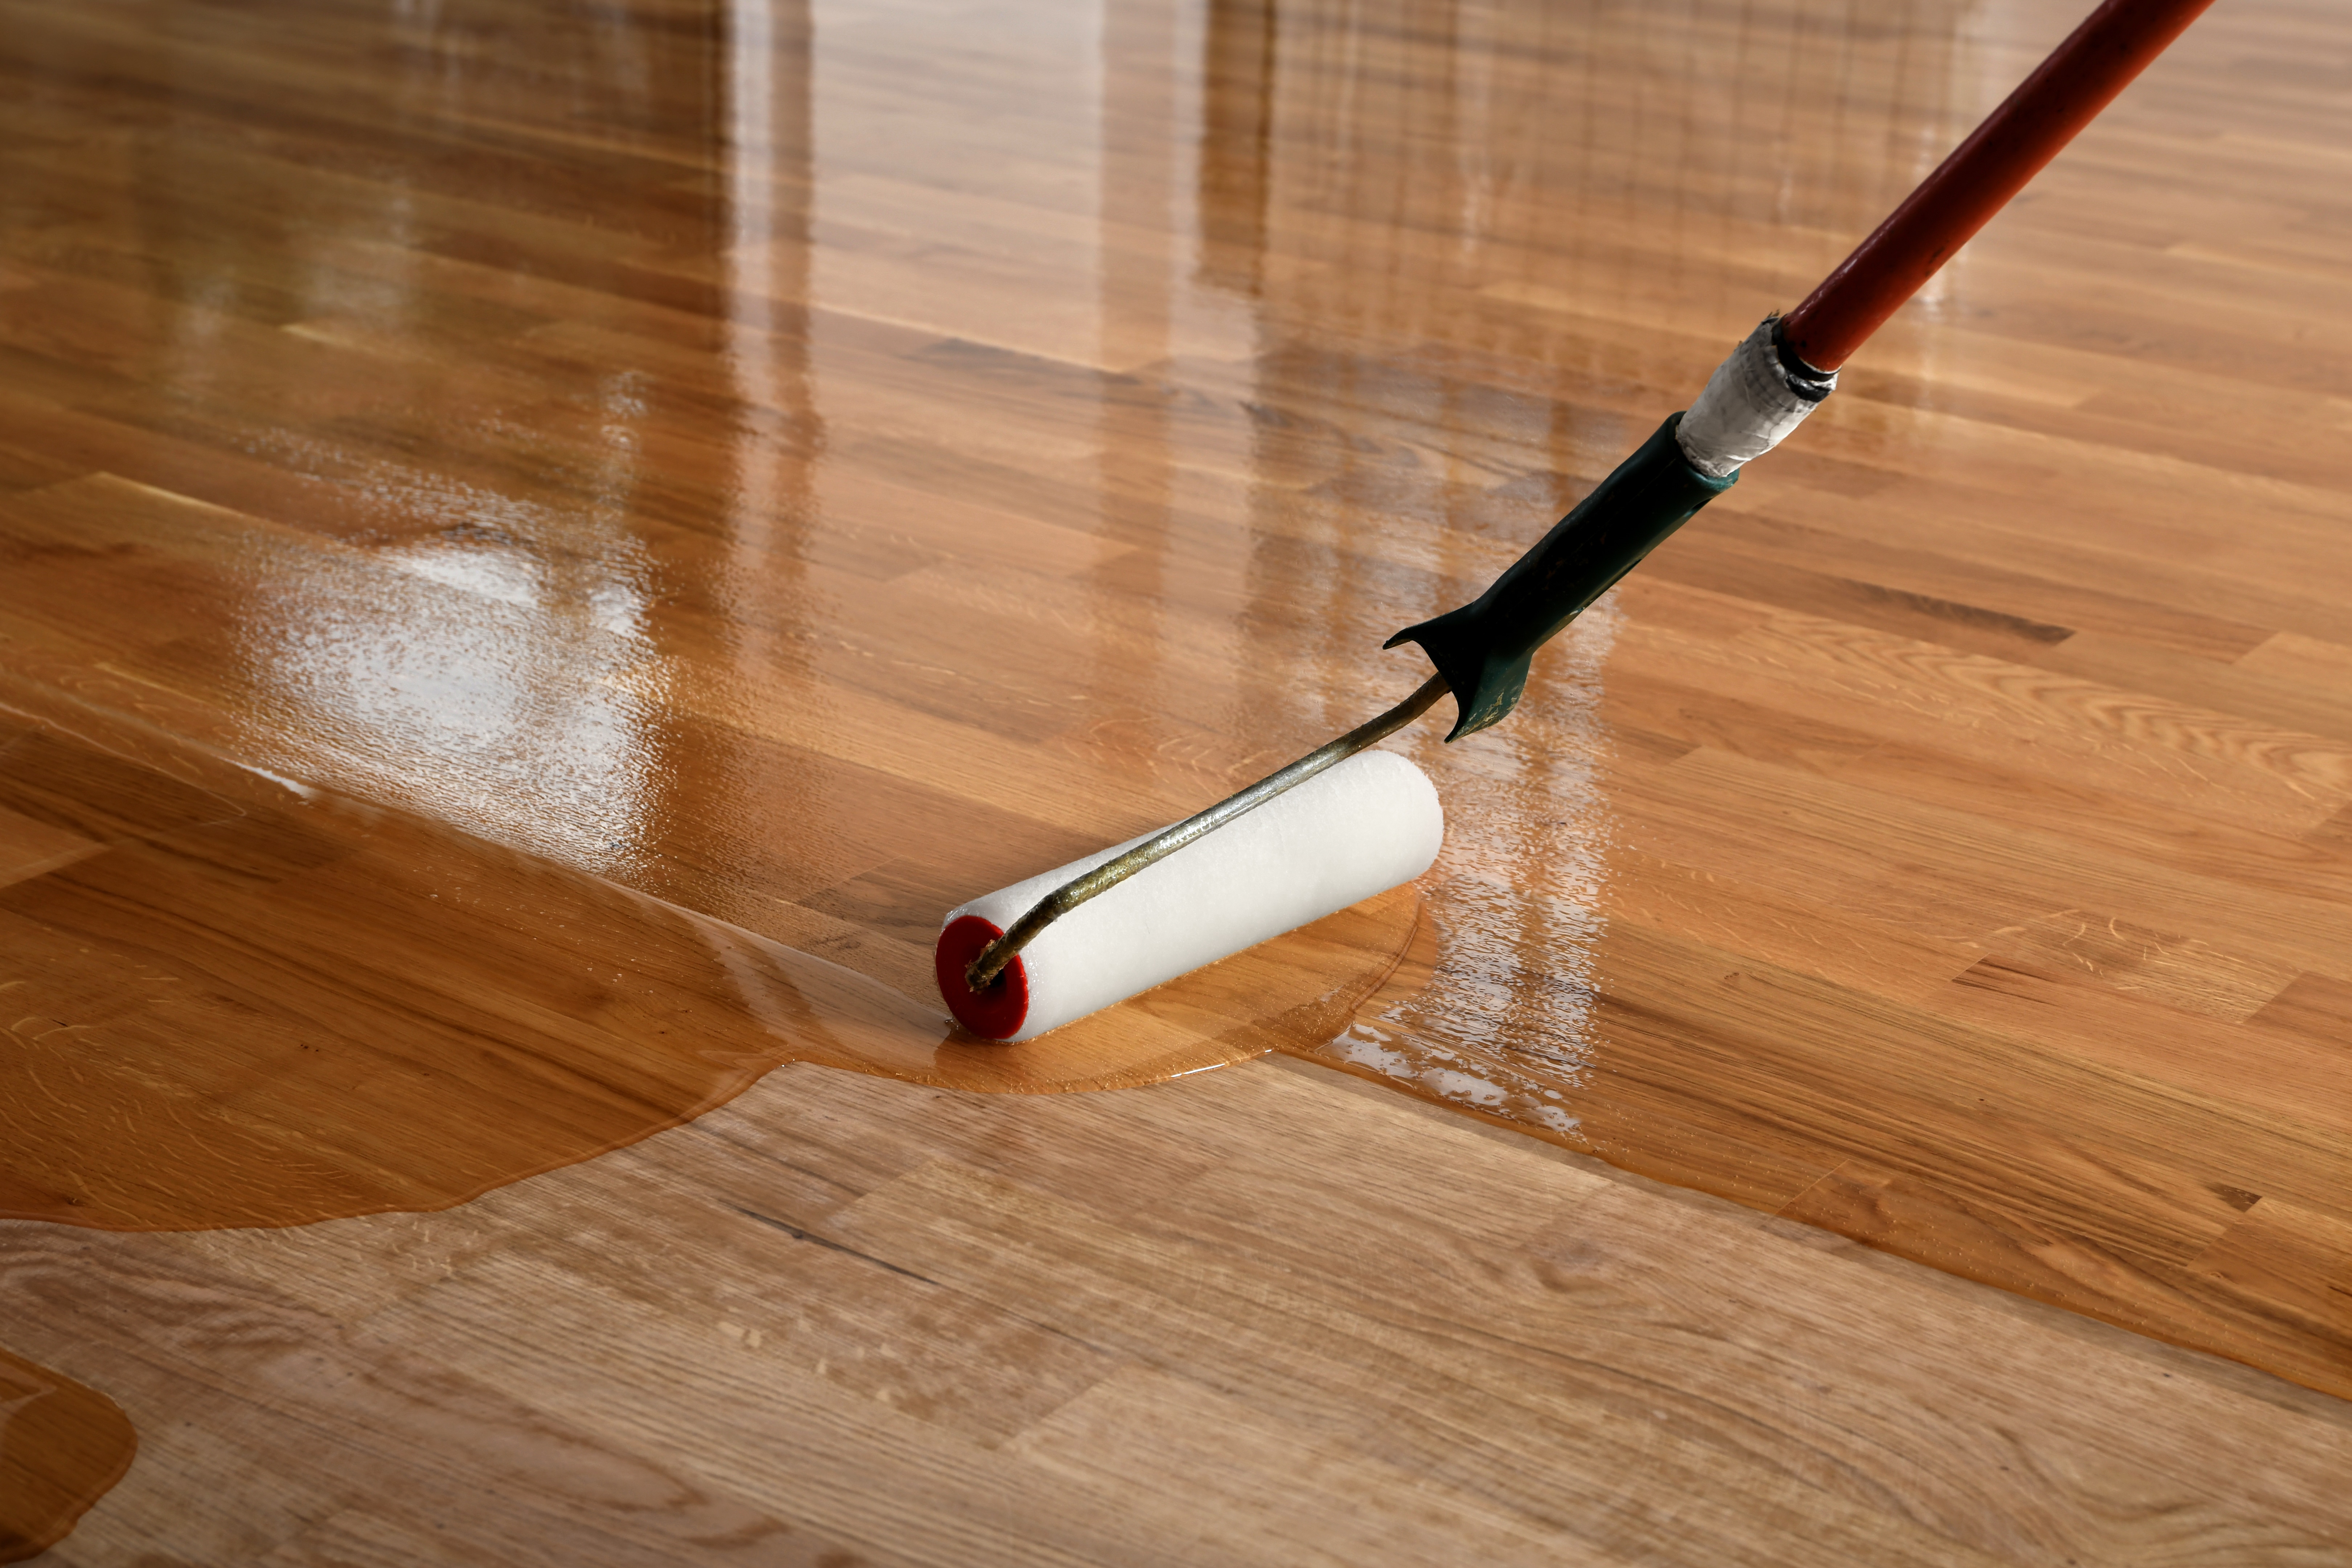
Aftercare Tips
Proper care and maintenance after refinishing will ensure that your wood floor stays looking beautiful for as long as possible. Here are some tips:- Keep the floor clean. Sweep or vacuum regularly to remove dust and dirt that could scratch the finish. Clean with a damp mop and a cleaner specifically designed for wood floors when needed.
- Protect the floor from furniture: Use felt pads under furniture legs to prevent scratches.
- Control humidity: Extreme changes in humidity can cause wood to expand and contract, potentially damaging the finish. Try to maintain a consistent humidity level in your home.
- Consider rugs: Area rugs can protect high-traffic areas of your floor from wear and tear. Just make sure to use rugs with a natural backing, such as felt or rubber, to prevent floor discoloration.
- Schedule regular touch-ups: Even with careful maintenance, your floor’s finish may wear down over time, especially in high-traffic areas. Scheduling regular touch-ups can keep your floor looking its best.
Conclusion
Refinishing a wood floor can seem daunting, but with careful planning and a bit of elbow grease, it’s a project that the DIY homeowner can tackle. By refinishing your floor, you can breathe new life into your home, bringing back the original charm and beauty of your wood flooring. Preparation is critical; take your time with each step of the process, and don’t forget to look after your newly refinished floor properly. That way, you’ll get to enjoy the fruits of your labor for many years to come. Whether you’re refinishing your floor to restore its original look or to try something new, the effort is worth the effect. A well-maintained wood floor can be a stunning focal point in any home, and refinishing can make it shine to its best effect.Some Useful Links:
- Stairs Sanding & Refinishing
- Floor Sanding Services
- School Floor Sanding
- Wood Floor Restorations
- Wood Floor Repairs
- Wood Floor Polishing
More from our Blog:
Recoating a Wood Floor with Lacquered Finish | Step-by-Step Guide Professional Hardwood Floor Restoration in London Homes The Ultimate Guide to Refreshing Wood Flooring in Your London Home DIY Wood Floor Sanding Guide | Restore Your Floors to Their Former Glory Parquet Wood Floor Restoration Guide | Breathe New Life into Your Floors DIY Guide: Filling Gaps in Wood Floors to Restore Their Beauty

Sanding
We provide virtually dust-free sanding with our continuous belt machinery with mobile extraction units, giving you a safer environment for your family.
Oiling
This organic finish not only adds beauty to your home but also has exceptional water-repellent characteristics, making it easier to clean and maintain.
Waxing
This natural floor finish offers the softest and most mellow appearance – and leaves your floor able to breath.
Buffing
Using soft buffing machines (and hand-polishing where required) will bring a wonderful sheen to your newly-finished floor.
Repairs
We offer a full assessment of your wooden floors to determine what repairs are needed to provide the perfect working surface for the later stages of sanding, staining and sealing.
Restoration
We offer a comprehensive restoration process designed to address floors that are improperly fitted or damaged over time through wear and tear.
Request a fixed price quote for your wood floor restoration now
Simply enter your postcode below to get started.
Services
Wood Floor Sanding Wood Floor Restoration Wood Floor Scratch Repair Squeaky Wood Floor Repair Parquet Floor Sanding Parquet Floor Restoration Commercial Floor Sanding Church Floor Sanding Community Centre Floor Sanding School Floor Sanding Gap Filling Gap Filling with ResinCopyright © Mr Sander®
Privacy & Cookies Terms & Conditions Complaints Procedure Cancellation Rights Sitemap

Get An Instant Price Estimate Before You Go…
Simply enter the rooms you need sanded and we’ll provide you with a price estimate instantly! Try our price calculator now.
Get a Price Estimate NowLocal Floor Sanding Experts
Over 500 5-Star Reviews
Safe, Dust Free Sanding
Operating Since 1994