London:
Nationwide:
25,000+
Floors Restored
27 Years Experience
Wood Flooring Association Certified
Complete Wood Floor Restoration: Tips for Removing Blemishes, Cracks & More
Posted on May 14, 2023
Floor Sanding News
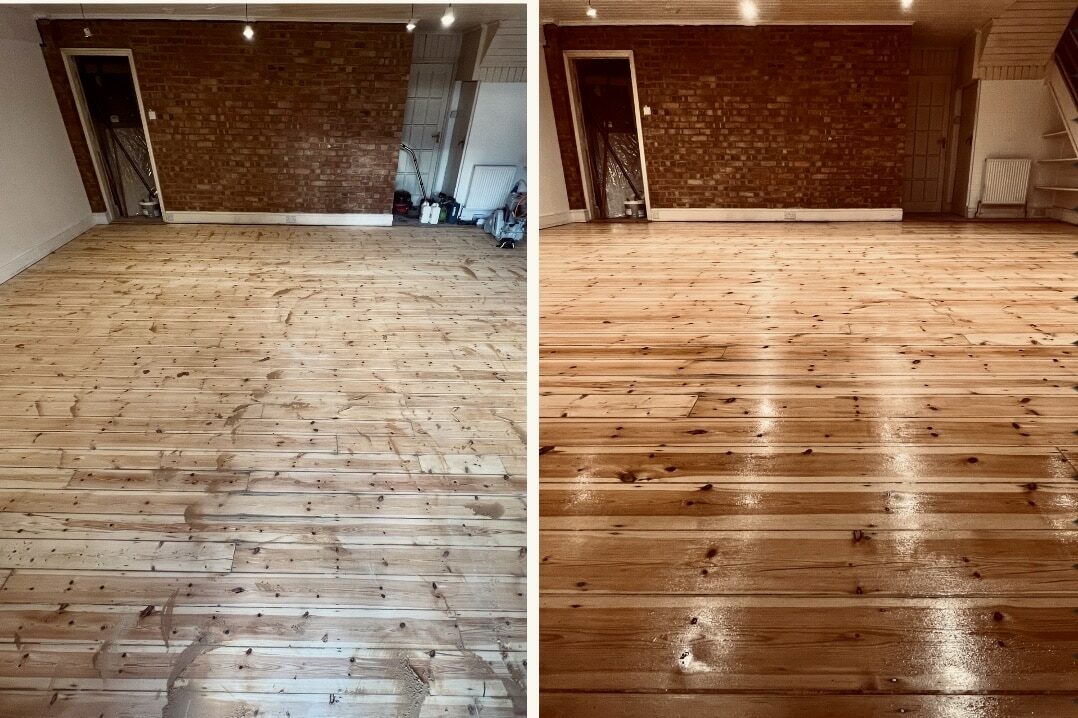
Comprehensive Guide to Wood Floor Restoration: Removing Blemishes, Cracks, Burns, and More
Wood floors are the heart and soul of many homes, offering both aesthetic appeal and a practical solution to high-traffic areas. However, over time, these floors can become damaged or discoloured, leading to a less-than-ideal appearance. This guide will provide a step-by-step approach to restoring your wood floors, from dealing with stains and cracks to burn marks and other damages.
Getting Rid of Blemishes
First and foremost, we tackle blemishes—those marks, stains, and discoloration that often plague wood floors. While a thorough sanding usually takes care of these issues, some stubborn spots may need extra attention.
Bleach Treatment
For these stubborn stains, try using undiluted household bleach. Dip a rag in the bleach and gently rub it into the stain until the natural colour of the wood is removed, leaving a white appearance. Be patient; this may take several applications. Once you’ve successfully lightened the spot, re-sand the area and apply a thin veneer of wood stain to blend it with the surrounding floor colour. After the stain is dry, lightly sand the spot until the grain becomes even with the rest of the floor.
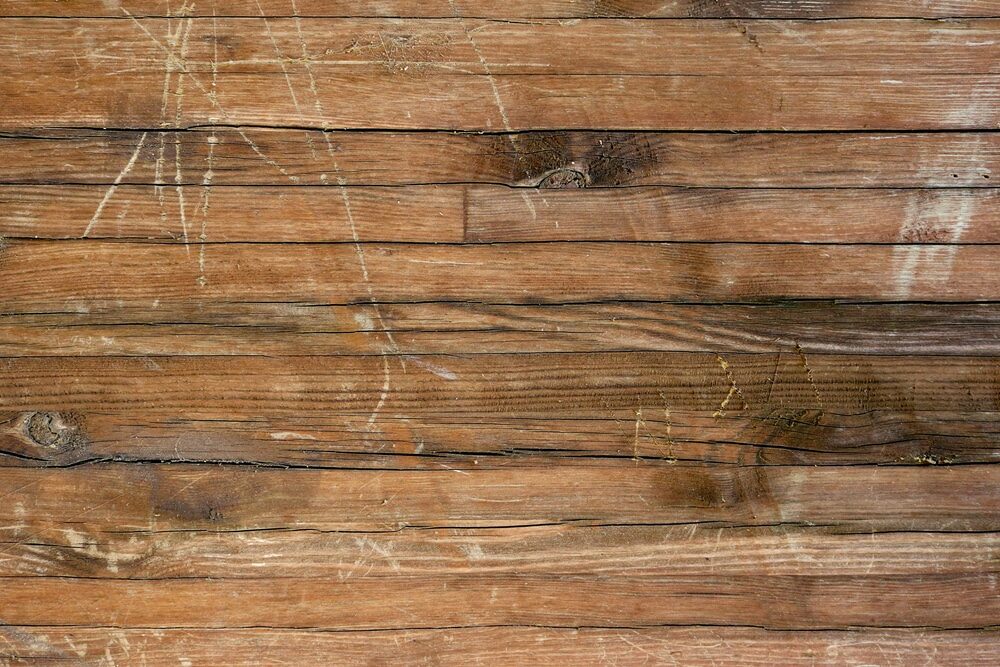
Handling Cracks
Over time, small cracks and fissures may become more noticeable, especially after sanding. These cracks can be easily dealt with using a filler, but it’s crucial to consider the size of the crack and its location before proceeding.
Test Patch
For instance, if a crack is hidden under furniture and unseen, use this area to test how the floor reacts to the filler. Apply a small amount of filler and let it dry completely. Check for any colour differences or noticeable changes in the floor texture. If the test patch is successful, you can proceed to fill the rest of the cracks.
Dealing with Burns
Burn marks on wood floors can be quite an eyesore. These can be removed through gentle scraping, or for smaller burns, a mild household cleaning product can be used.
Gentle Care
Avoid over-sanding the burn area, as this could create a dip in the floor, making it challenging to reach with the sander. If the burn mark is large and deep, you can use the bleach and wood stain method described earlier.
Inspecting for Nails and Tacks
Raised, broken, or missing nails and tacks can cause accidents and are unsightly. Inspect the floor carefully for these protrusions and address them before starting the sanding process.
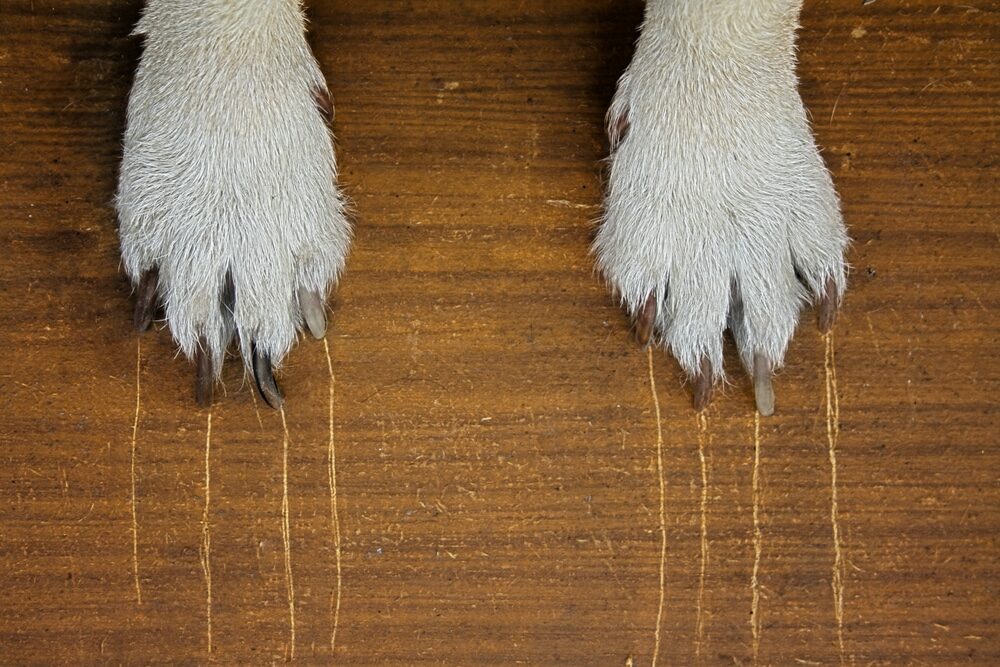
Damage Caused by Children’s Toys and Pet Stains
Houses with children and pets often experience extra wear and tear on their floors. Simple bleach, stain, and sand procedures should remove marks caused by children’s toys or pet stains. However, if you discover unpleasant odours, you can use one of the many pet odour sprays available on the market.
For more persistent odours, try immersing the stain in a hydrogen peroxide solution covered with a rag soaked in ammonia. Please note that it is crucial to keep children and pets away from the room during this process and never mix ammonia with any product containing bleach, as this combination emits dangerous fumes.
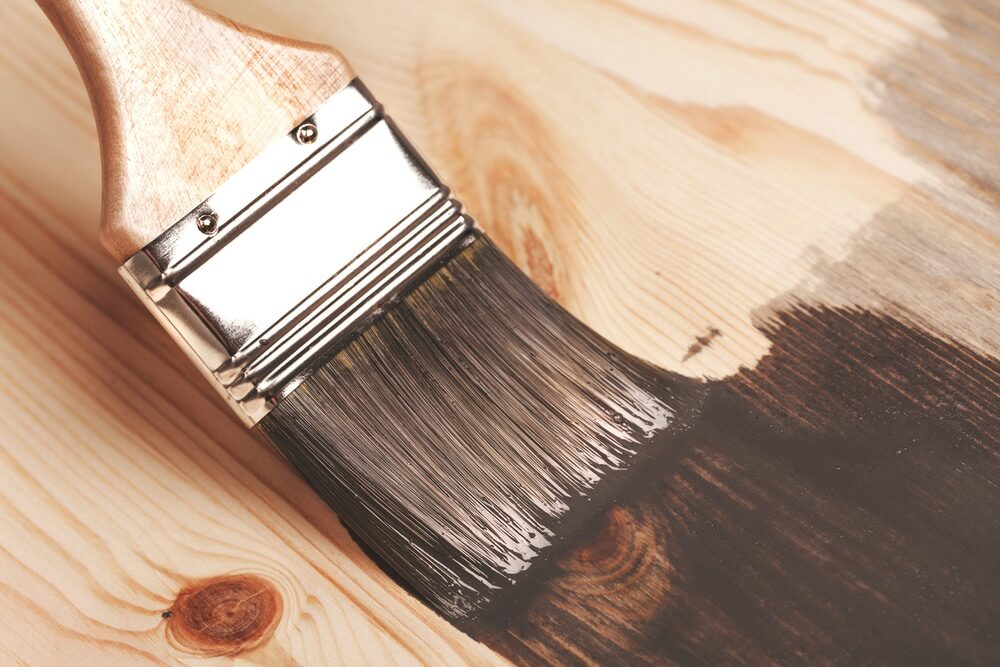
Changing the floor colour
If you’re looking to change the floor colour, remove any existing finish completely. Wash the floor with bleach and water to lighten it, or with water alone to darken it, then sand evenly. Let the floor dry thoroughly before applying the new wood stain.
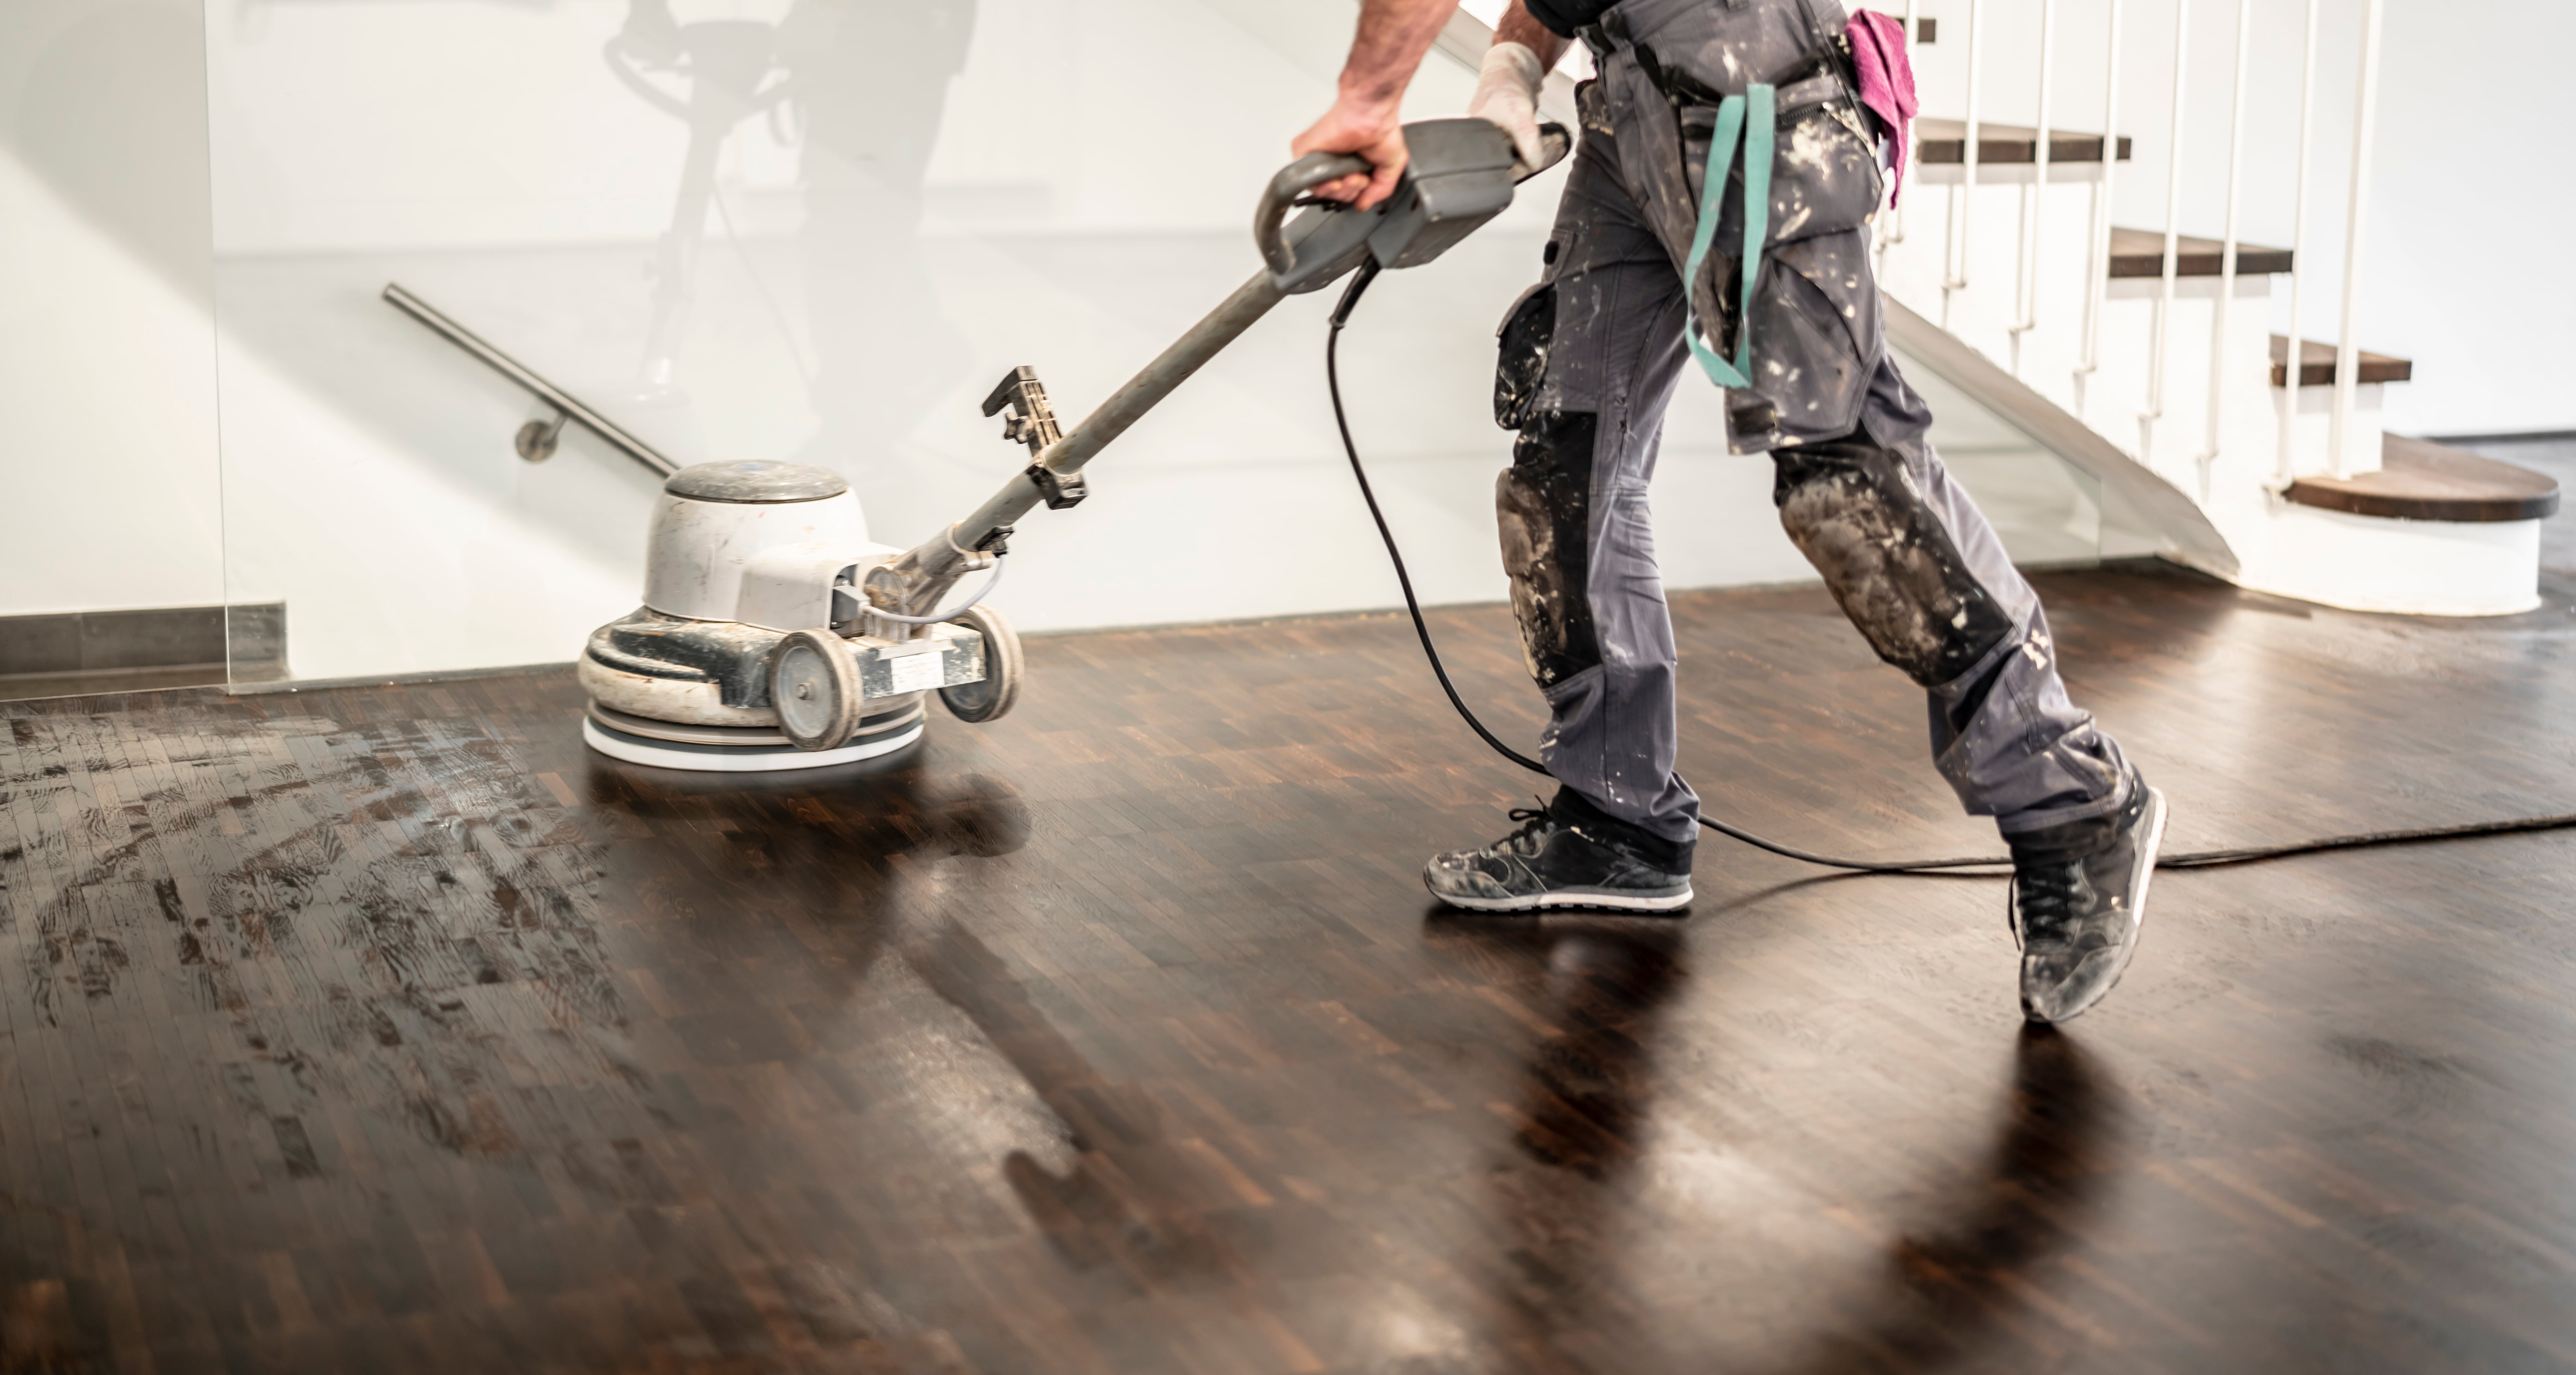
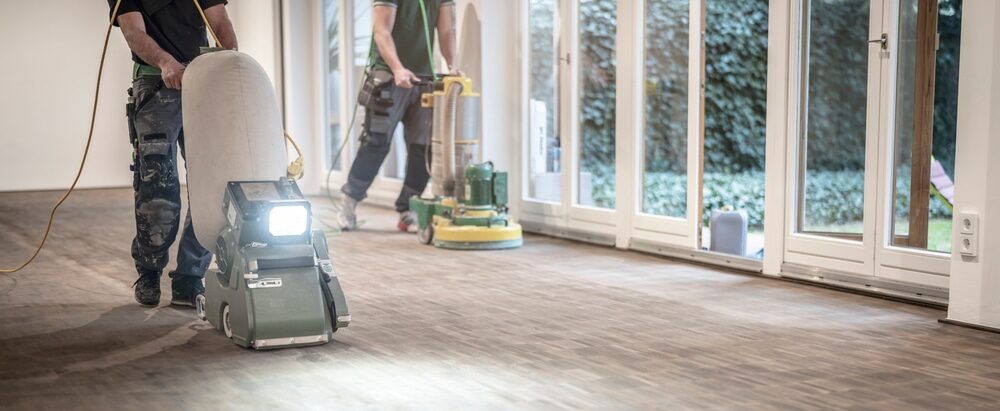
Floor Sanding
For a larger area, consider hiring a sanding machine from a local plant machinery shop. For smaller or harder-to-reach areas, such as stairs, hand sanding tools can be your best friend. The key is to sand along the grain of the wood and to keep the sander moving at all times. To achieve a professional finish, blend the floor edges with a hand sander. This technique is particularly useful in areas with no furniture, like hallways and landings.
Remember, wood floor sanding isn’t just about wielding a sander for a couple of hours. It requires patience, effort, and skill. If you’re worried that your enthusiasm might outstrip your DIY abilities, don’t hesitate to call in professional floor sanding experts.
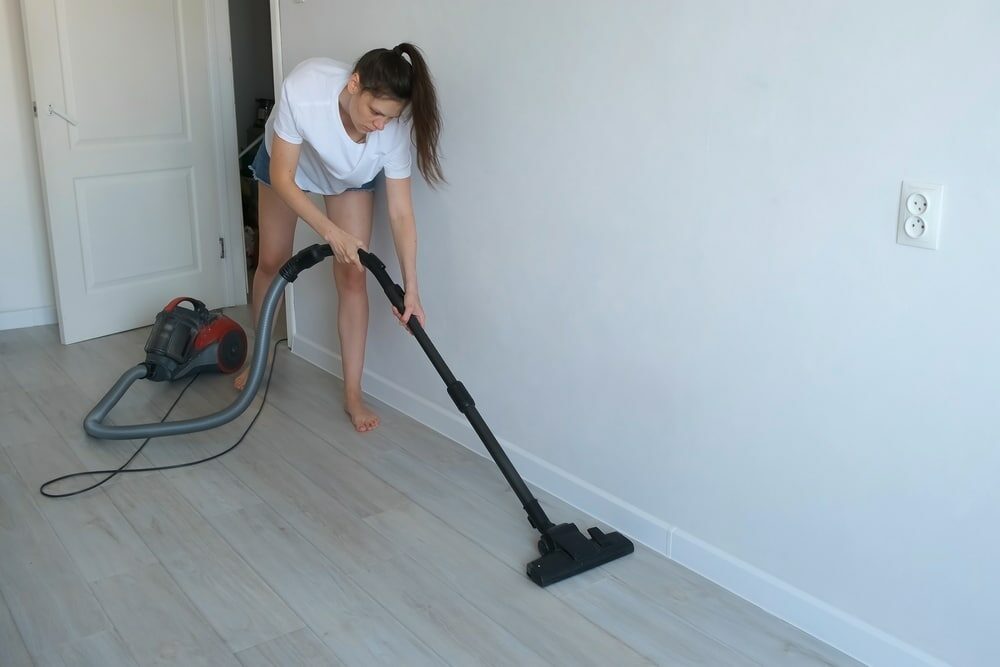
Vacuuming and dusting
Once you’ve sanded the floor evenly, the next step is to vacuum lightly and dry dust the surface with a clean duster over the head of a broom. This step ensures that all particles of fine dust and grit are removed before you apply the topcoat. It’s a critical step because any remaining dust can affect the final result, causing bumps or inconsistencies in the finish.
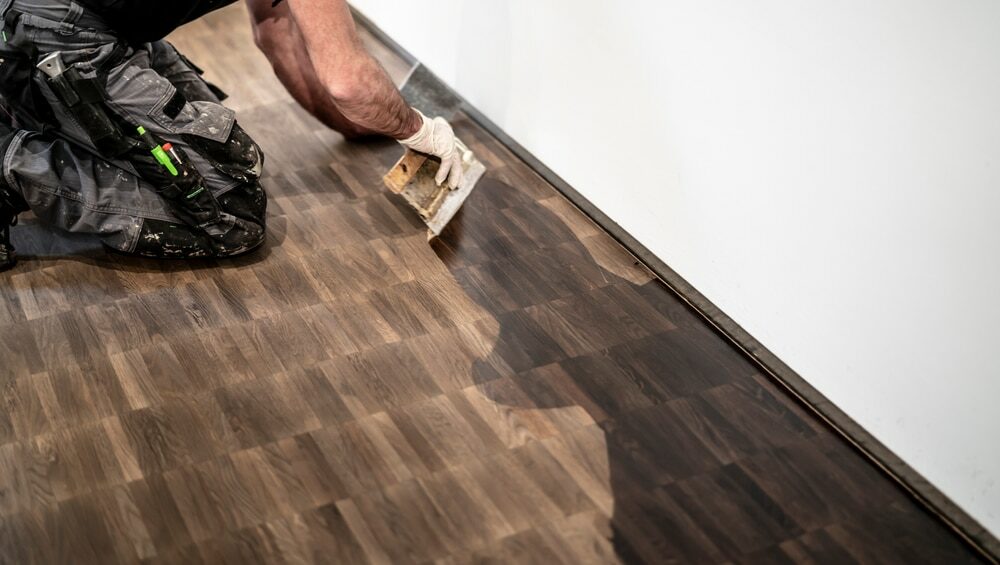
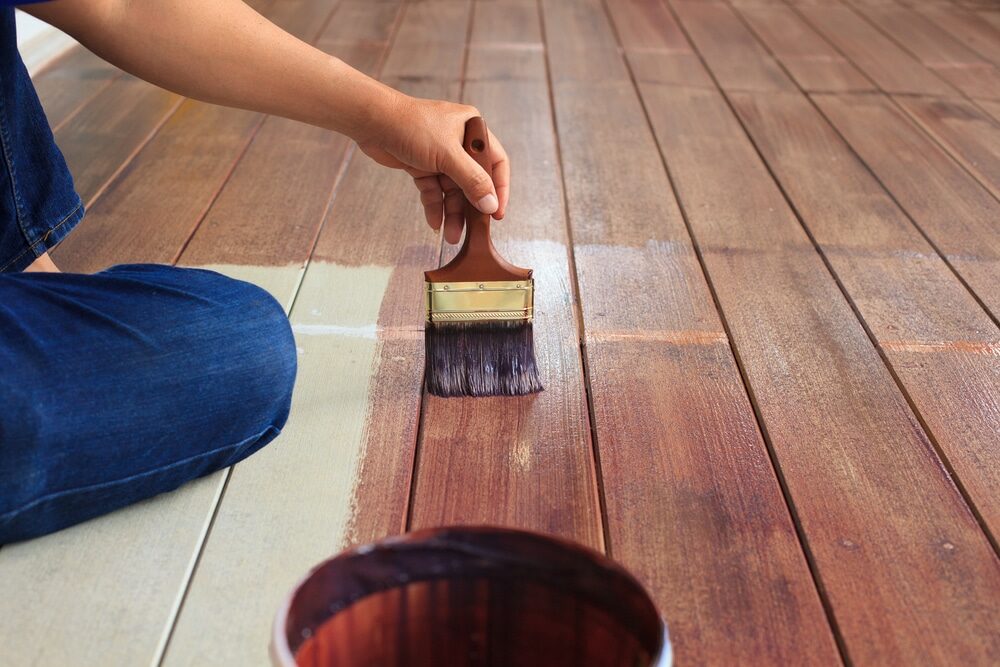
Staining
Now that your floor is as clean as it can be, it’s time to stain it. But before you do, always test the stain on a hidden area of the floor. This step is crucial, as it gives you a chance to see how the wood absorbs the stain and what the final colour will look like. Once you’re happy with the result, you can proceed to stain the rest of the floor.
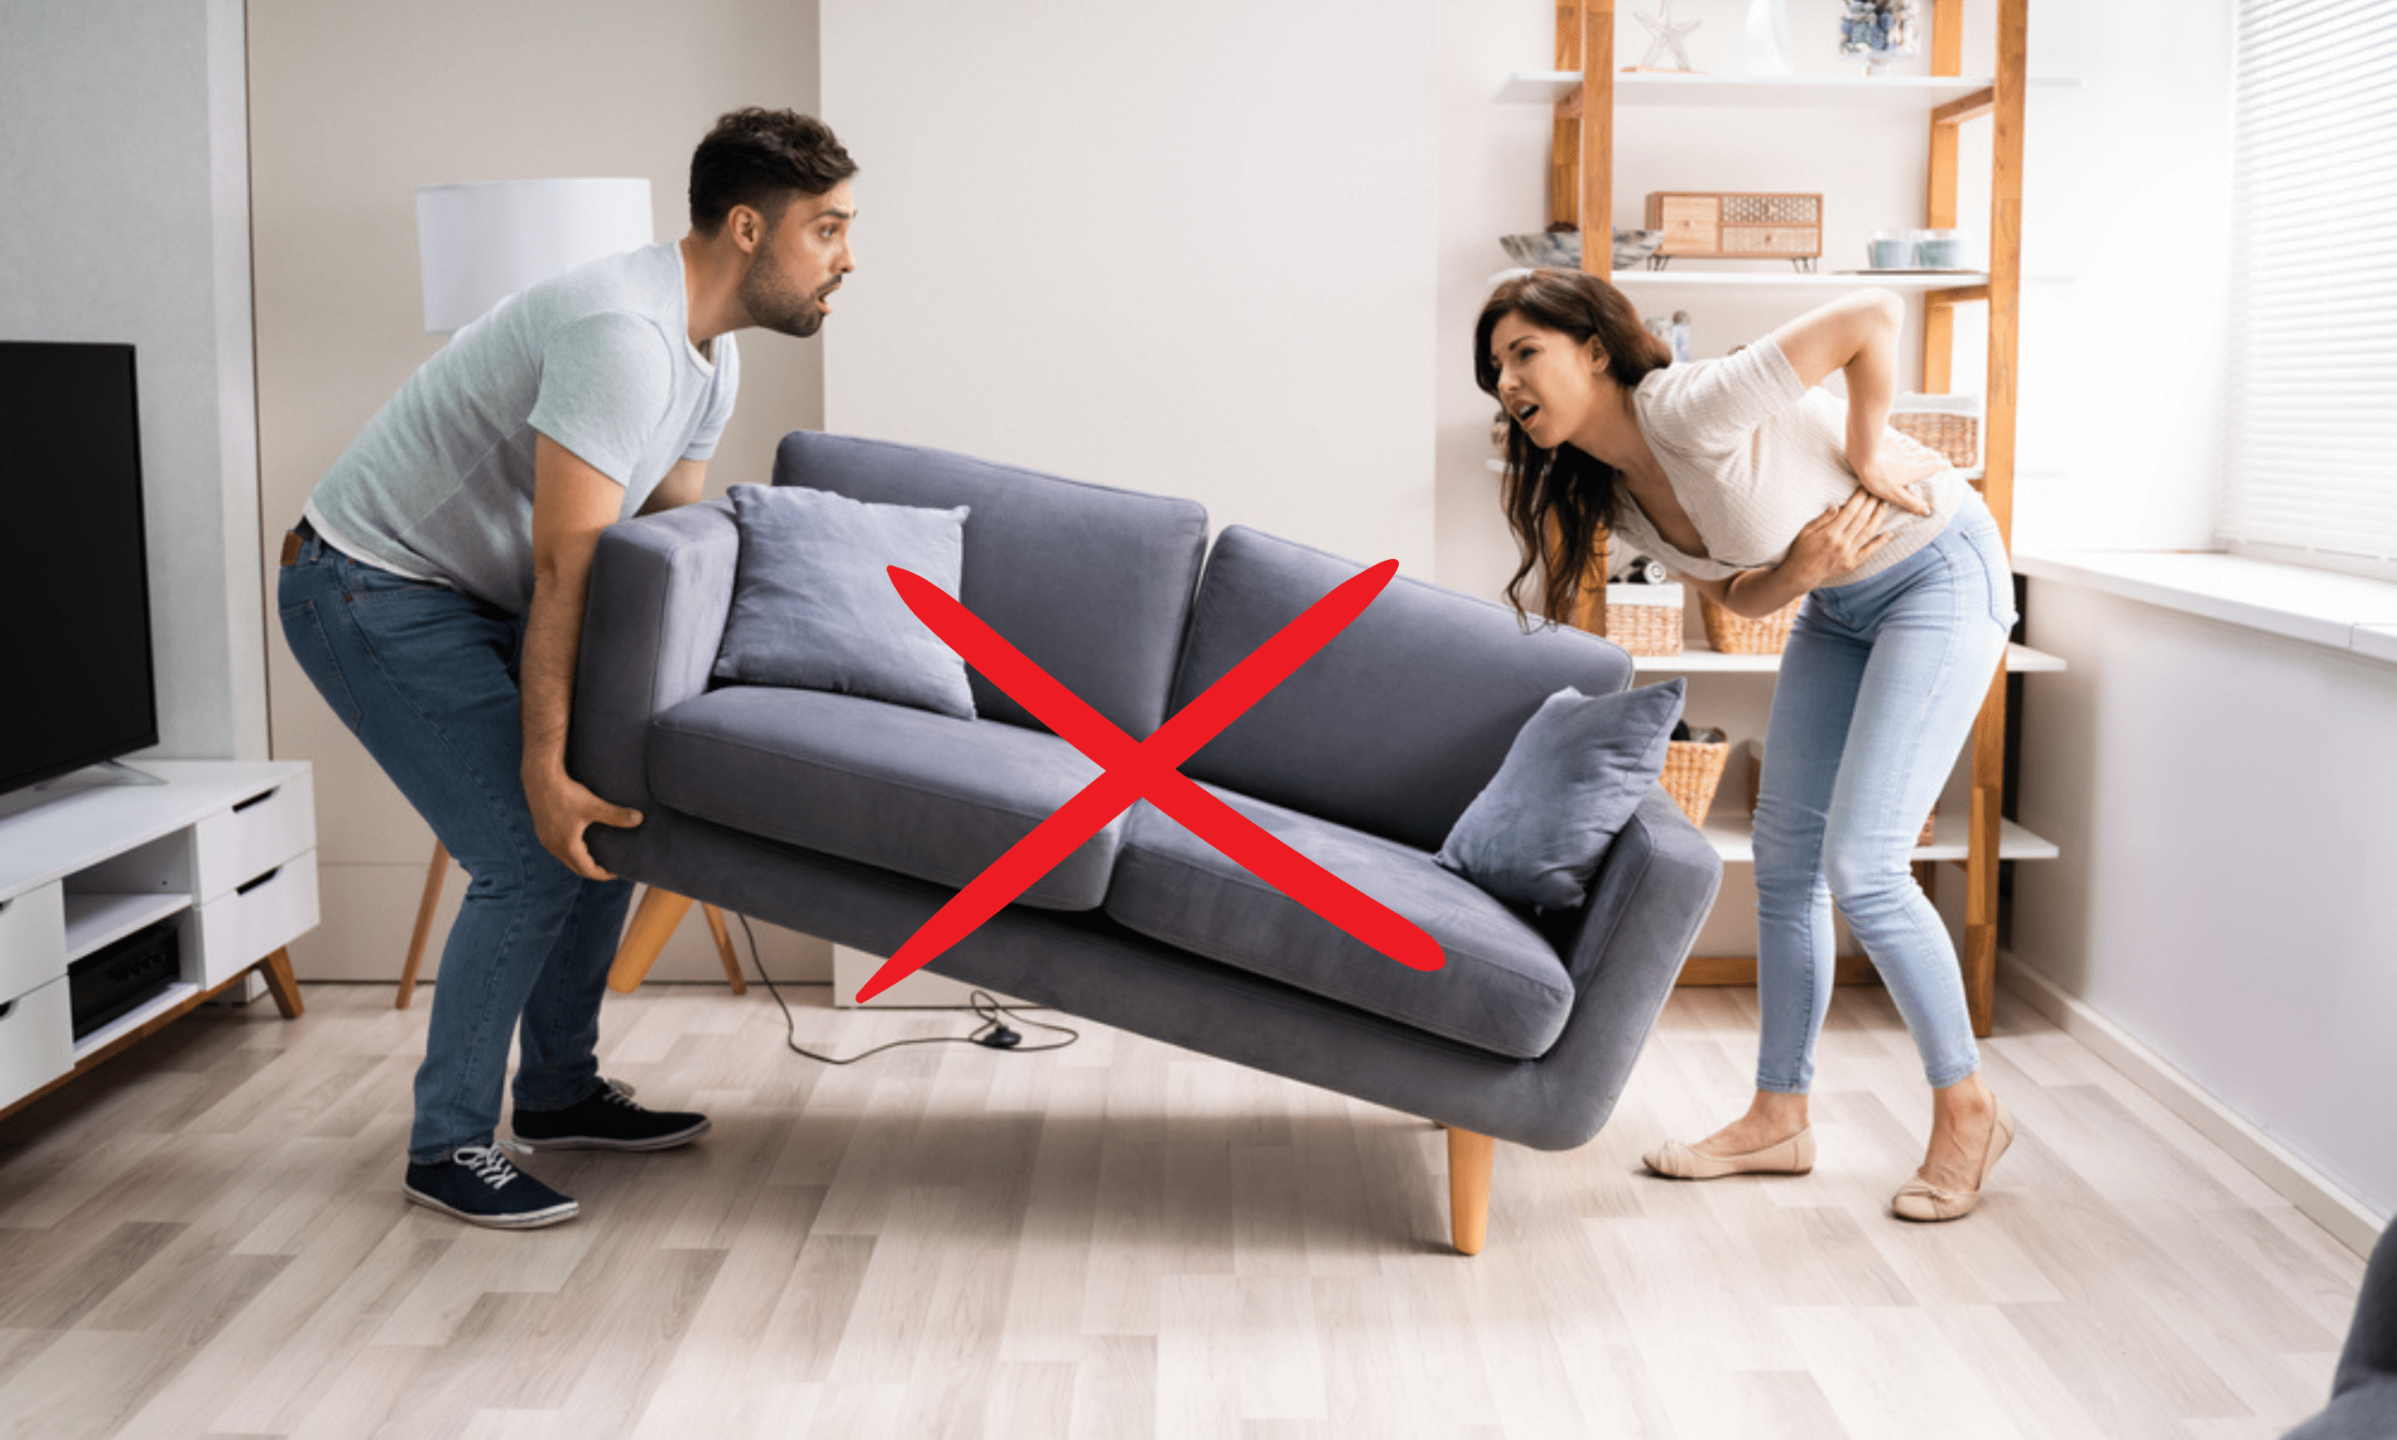
Apply the stain following the wood grain and let it dry completely. The drying time may vary, but it’s typically wise to let it dry overnight, or even for two days if possible, before replacing the furniture. This waiting period ensures that the stain has had enough time to penetrate the wood and that it won’t get damaged when you move the furniture back in.
Final Thoughts
Wood floor restoration is a rewarding task that can bring back the beauty and charm of your floors. Whether you’re dealing with blemishes, cracks, burns, or other types of damage, there are ways to address these issues and restore your floor to its former glory. Just remember to have patience, take your time, and, when in doubt, don’t hesitate to consult a professional. With these tips and techniques, you’re well on your way to enjoying beautiful wood floors once again.
Remember, your floors are not just a functional part of your home; they also contribute significantly to your home’s overall aesthetic. So take the time to care for them, and they will serve you well for many years to come.
Some Useful Links:
- Wood Floor Restorations
- Wood Floor Repairs
- Wood Floor Polishing
- Floor Sanding Services
- School Floor Sanding
More from our Blog:
Essential Winter Care for Hardwood Flooring | Preserve Your Floors Through Winter How to Clean Laminate Wooden Flooring: A Comprehensive Guide How to Stain a Wood Floor: A Comprehensive Step-by-Step Guide Laminate Wood Flooring vs Engineered Wood Flooring: A Comprehensive Guide Comparing Top 7 Flooring Options: An In-depth Analysis Professional Hardwood Floor Installation: From Preparation to Sanding and Finishing

Sanding
We provide virtually dust-free sanding with our continuous belt machinery with mobile extraction units, giving you a safer environment for your family.
Oiling
This organic finish not only adds beauty to your home but also has exceptional water-repellent characteristics, making it easier to clean and maintain.
Waxing
This natural floor finish offers the softest and most mellow appearance – and leaves your floor able to breath.
Buffing
Using soft buffing machines (and hand-polishing where required) will bring a wonderful sheen to your newly-finished floor.
Repairs
We offer a full assessment of your wooden floors to determine what repairs are needed to provide the perfect working surface for the later stages of sanding, staining and sealing.
Restoration
We offer a comprehensive restoration process designed to address floors that are improperly fitted or damaged over time through wear and tear.
Request a fixed price quote for your wood floor restoration now
Simply enter your postcode below to get started.
Services
Wood Floor Sanding Wood Floor Restoration Wood Floor Scratch Repair Squeaky Wood Floor Repair Parquet Floor Sanding Parquet Floor Restoration Commercial Floor Sanding Church Floor Sanding Community Centre Floor Sanding School Floor Sanding Gap Filling Gap Filling with ResinCopyright © Mr Sander®
Privacy & Cookies Terms & Conditions Complaints Procedure Cancellation Rights Sitemap

Get An Instant Price Estimate Before You Go…
Simply enter the rooms you need sanded and we’ll provide you with a price estimate instantly! Try our price calculator now.
Get a Price Estimate NowLocal Floor Sanding Experts
Over 500 5-Star Reviews
Safe, Dust Free Sanding
Operating Since 1994