London:
Nationwide:


25,000+
Floors Restored

27 Years Experience

Wood Flooring Association Certified
Professional Hardwood Floor Installation: From Preparation to Sanding and Finishing
Posted on May 12, 2023
Articles
What to expect from a hardwood floor installation
Do you find yourself marvelling at the timeless elegance of hardwood floors? You’re not alone. The aesthetic appeal, warmth, and durability of hardwood flooring make it a popular choice for homeowners. While installing a hardwood floor yourself may seem like a worthwhile DIY project, it is often best left to the professionals. This intricate task involves precise preparation, meticulous laying of hardwood planks, thorough sanding, and expert finishing. It’s a labour-intensive process that necessitates specialised tools and equipment, particularly for sanding and finishing.
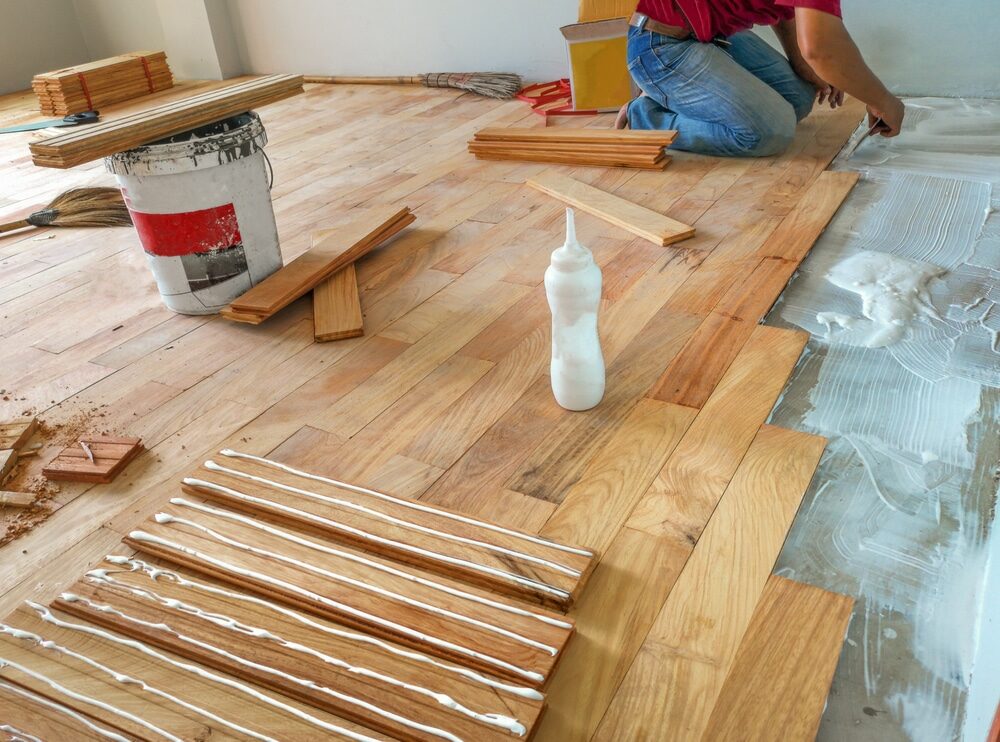
Why consider professional installation?
Homeowners may underestimate the complexities of hardwood floor installation, viewing it as merely glueing or nailing down planks. However, the process is far more intricate, starting with a properly prepared subfloor and ending with a beautifully finished hardwood floor.
Installation in detail
1. Subfloor preparation
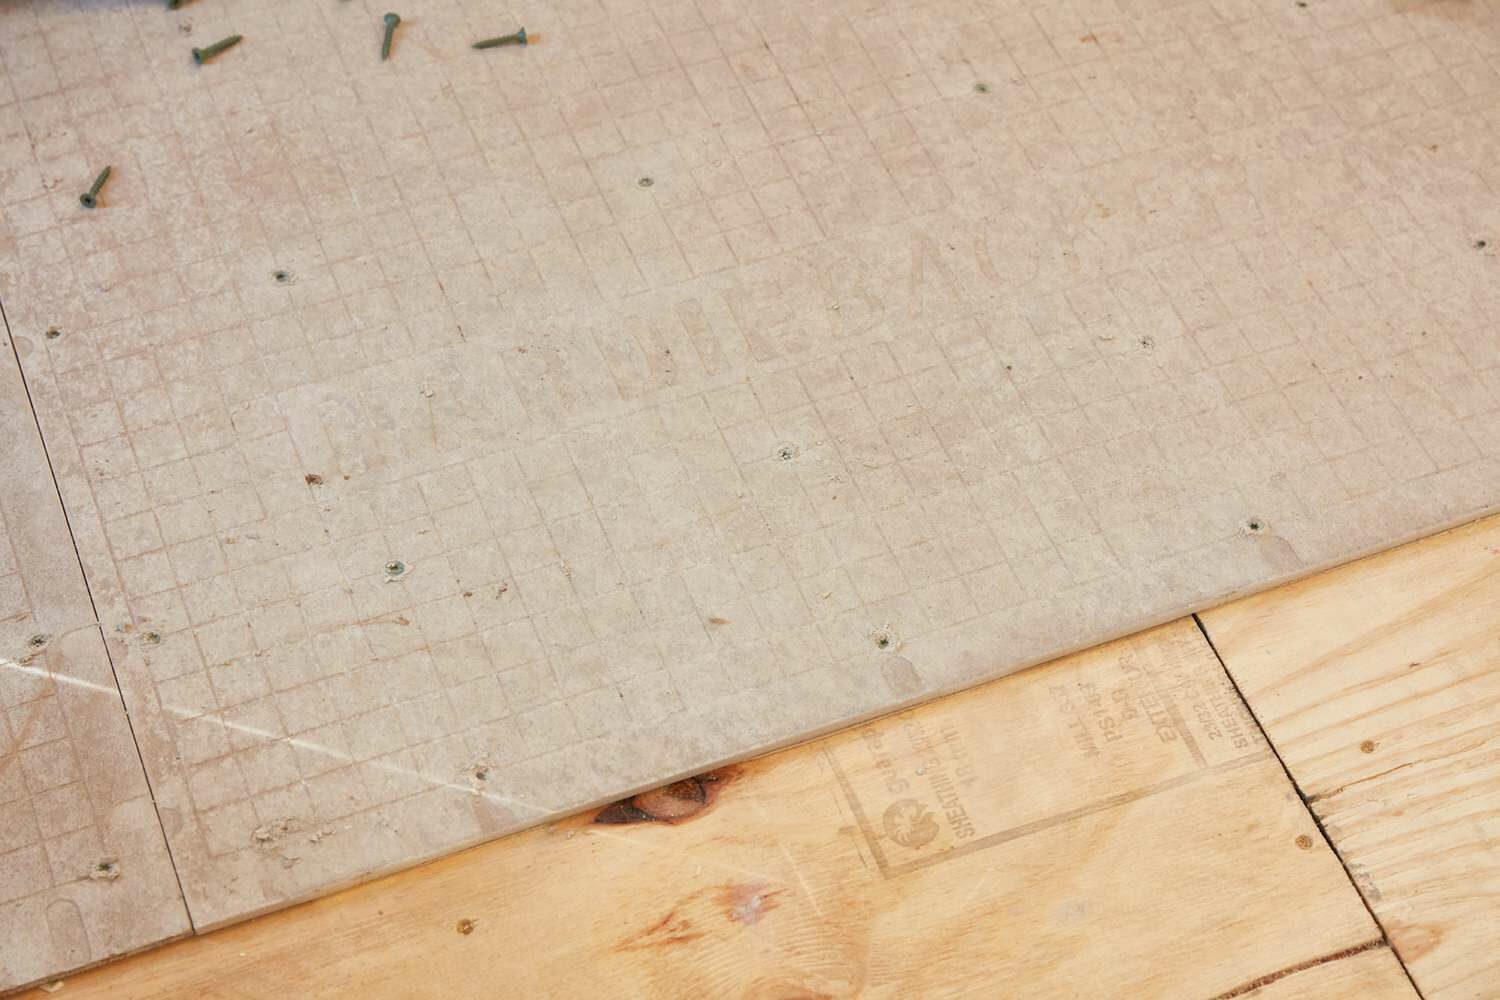
The first step in hardwood floor installation is preparing the subfloor. This foundational stage is crucial because any imperfections on the subfloor can lead to squeaking or uneven flooring. The subfloor must be clean, dry, and level. If there are any irregularities, the professional installer will use levelling compounds or other techniques to ensure a flat surface. This attention to detail allows for a smooth and solid foundation for the hardwood planks.
2. Layout and Installation
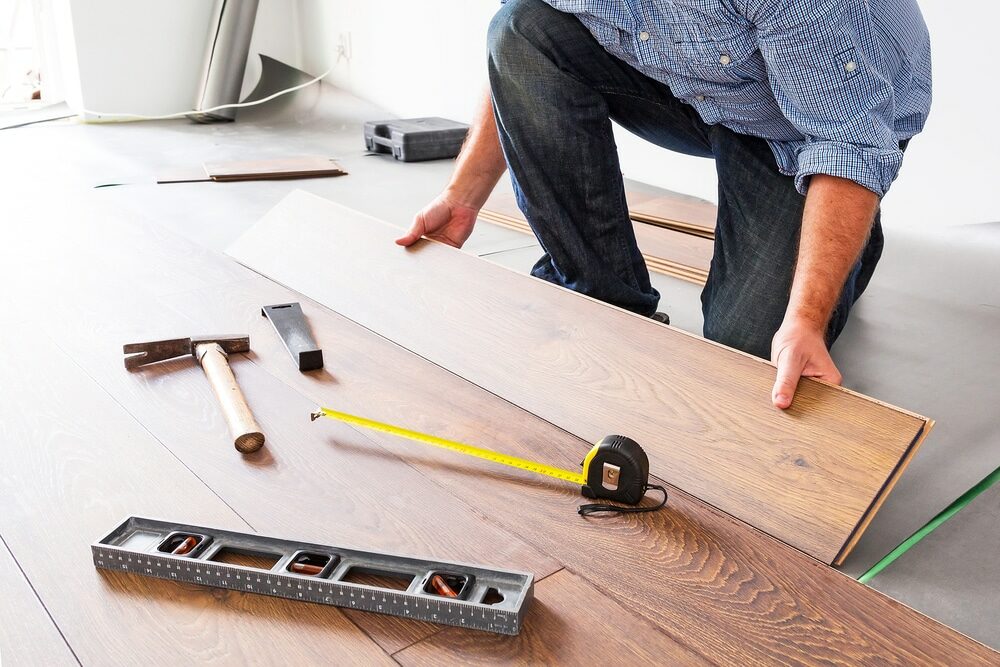
Once the subfloor is prepared, the hardwood planks are meticulously laid out across the entire floor. This step involves more than just placing planks on the subfloor. Professionals consider the direction of the floor joists, the room’s shape, and the source of natural light to decide on the best layout. They’ll also allow for expansion space around the perimeter to accommodate the natural movement of the wood caused by changes in temperature and humidity.
The planks are then fastened to the subfloor, typically using a nailing pattern of four to six inches. This secure attachment ensures the stability and longevity of your hardwood floor.
Sanding in detail
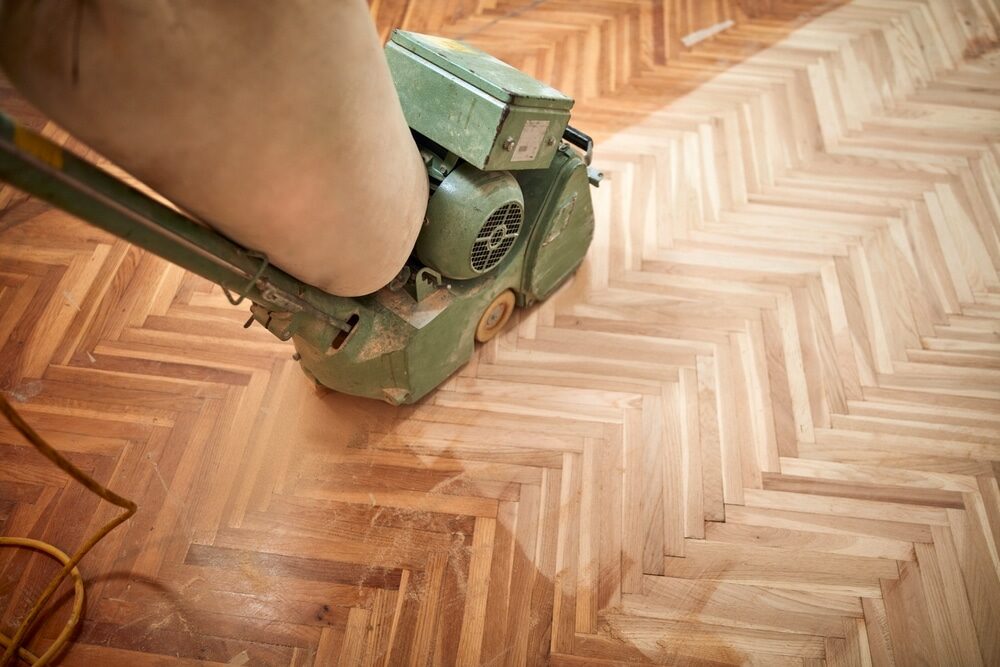
Sanding is another complex phase of hardwood floor installation that requires expertise and specialised equipment. It’s not just about smoothing the floor; it’s about preparing the surface for staining and finishing of wood floors.
1. Filling and fixing
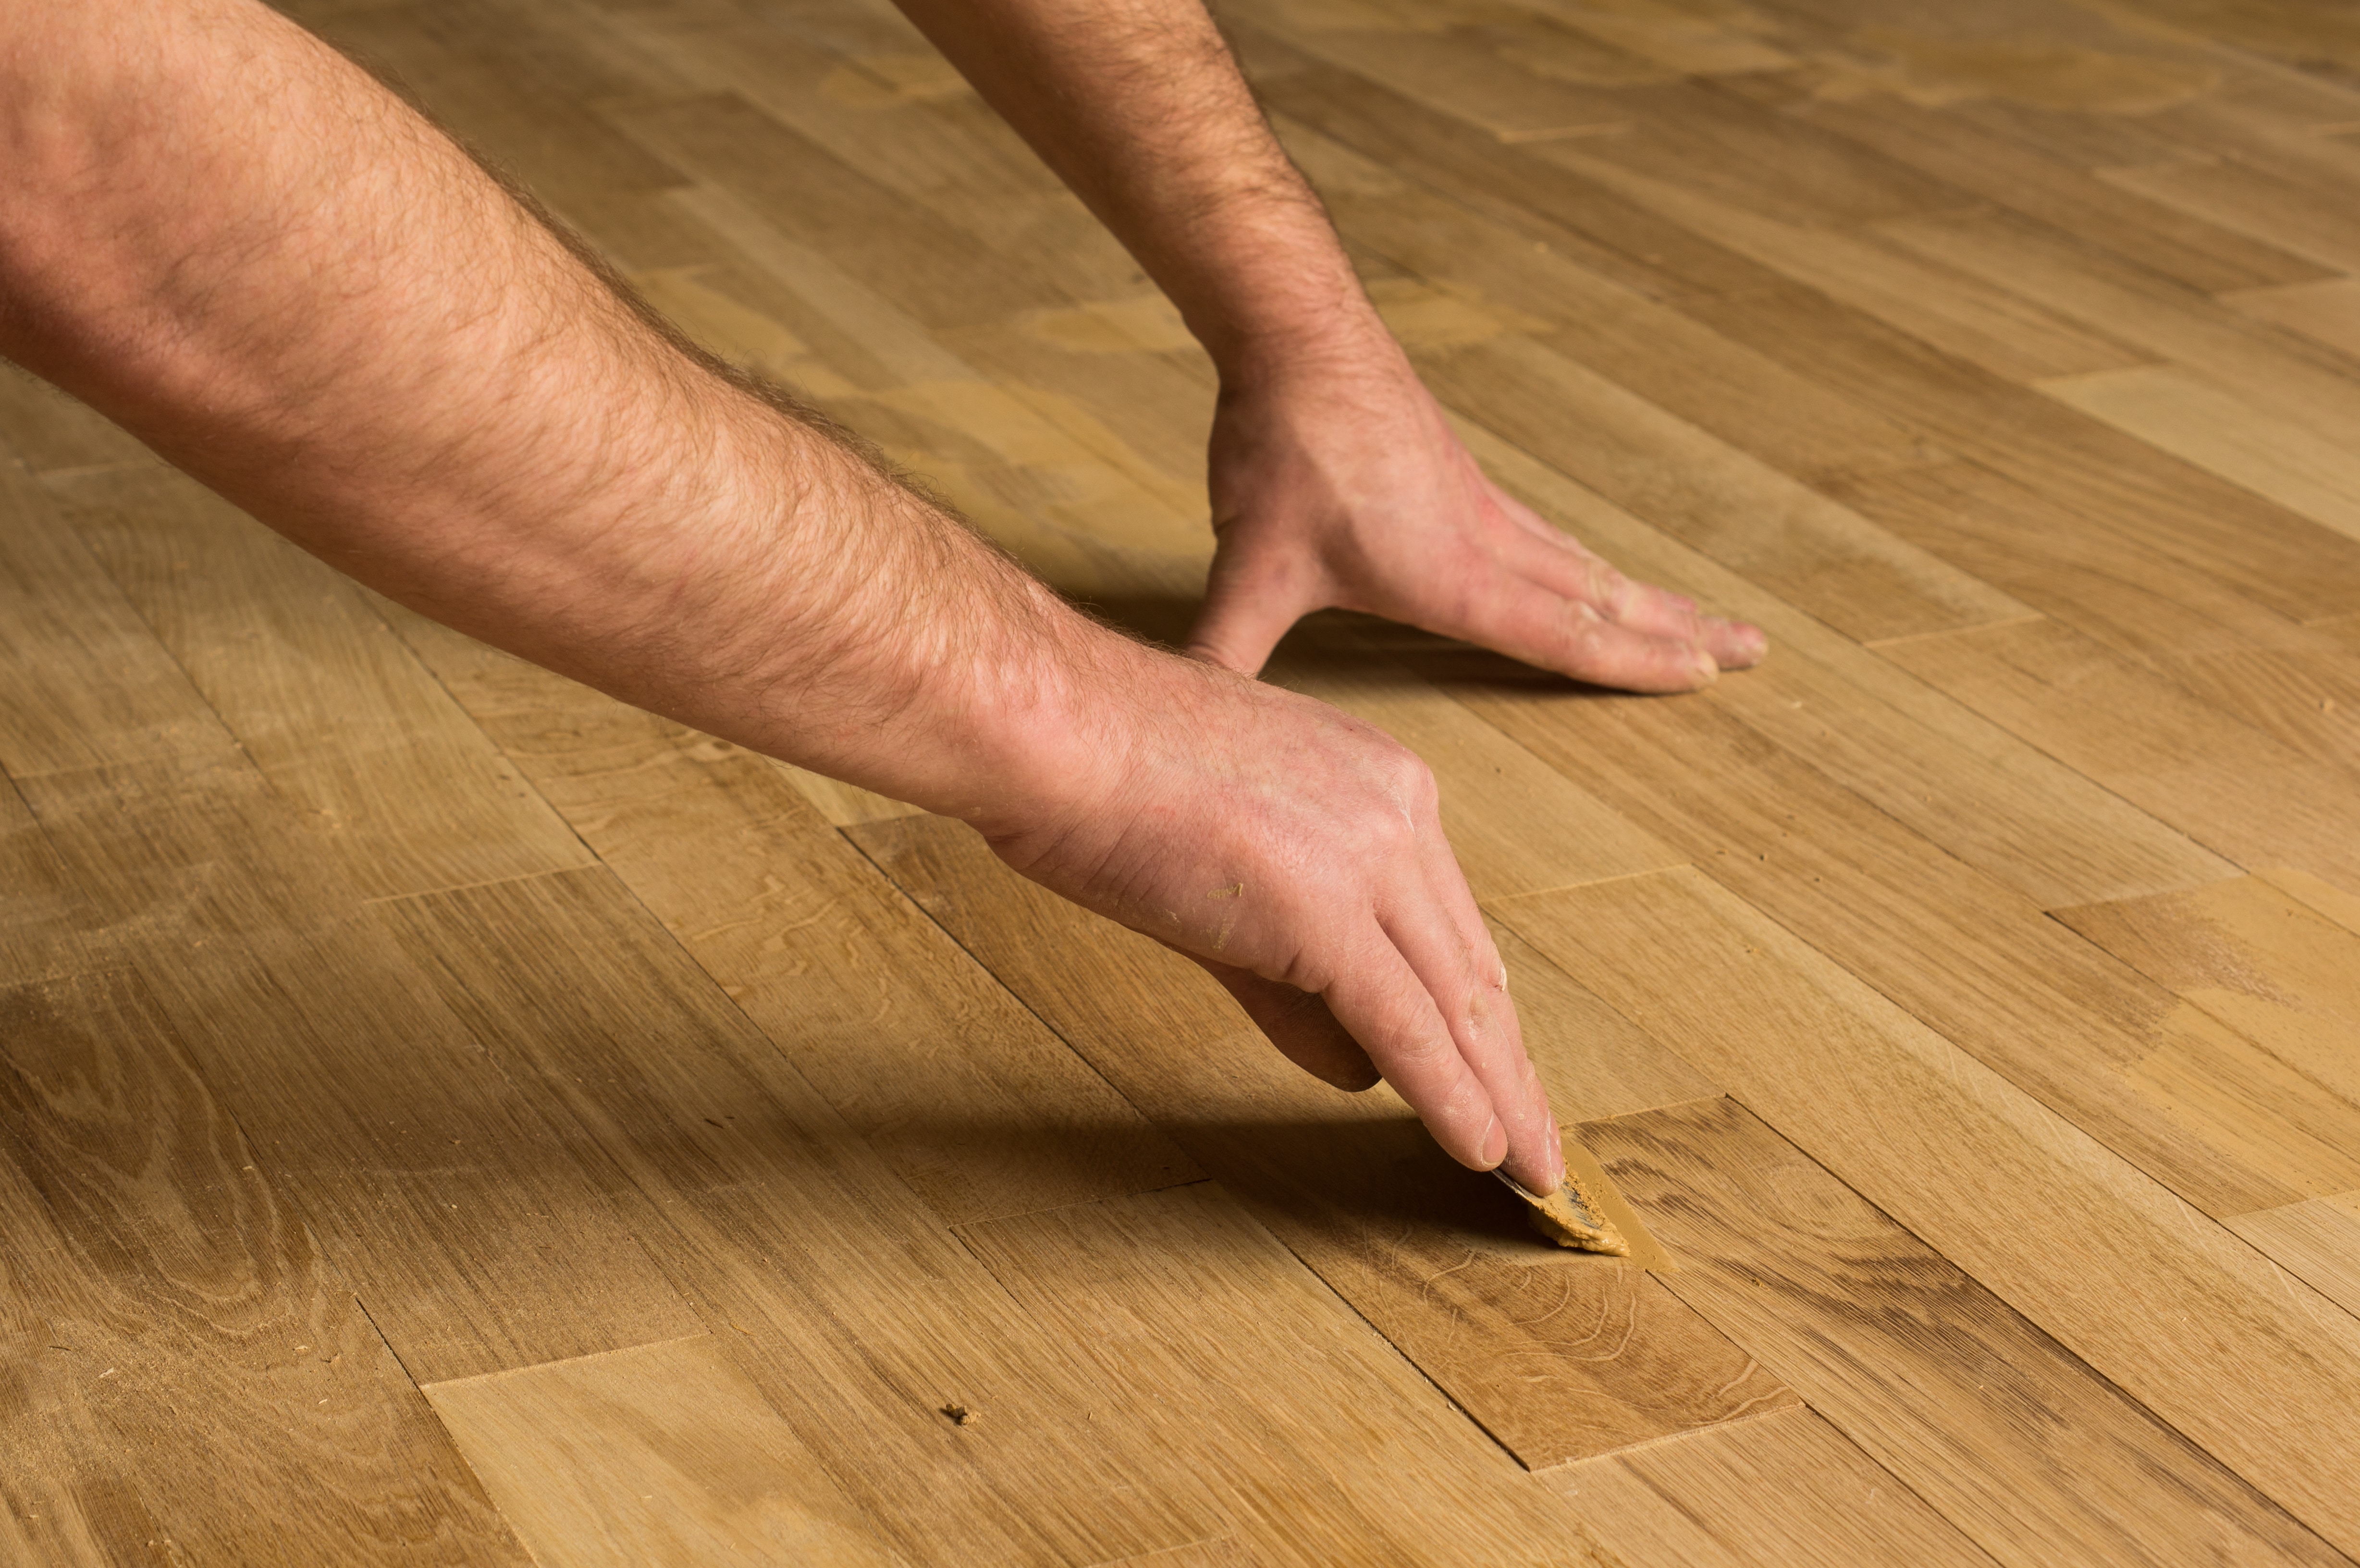
Before the actual floor sanding begins, a custom wood filler is troweled into any cracks or imperfections. This step ensures a uniform and level surface.
2. Sanding Process
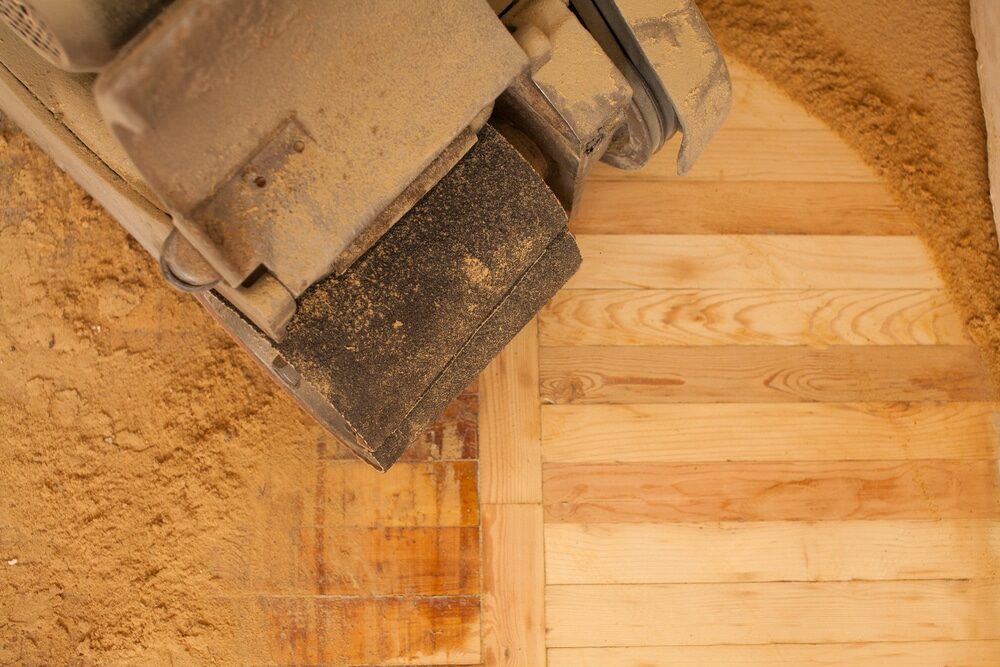
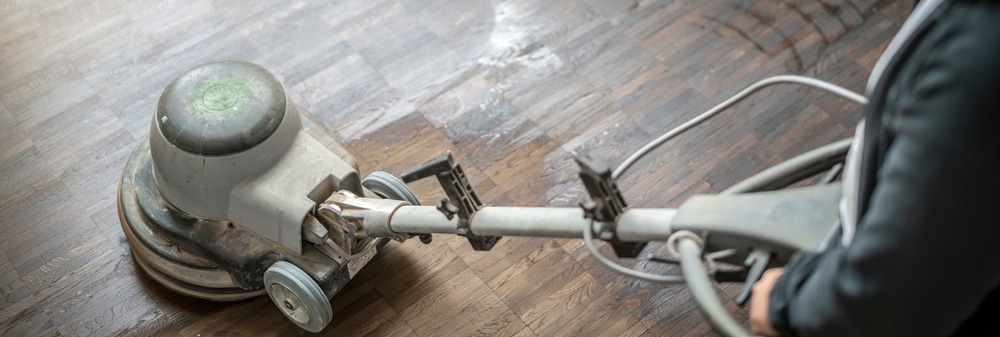
Professional floor sanding equipment is then used to buff the floor, removing any rough spots, scratches, or old finish. The floor is sanded multiple times, starting with coarse-grit sandpaper to remove major imperfections and then gradually transitioning to finer grits for a smooth finish.
Dust Mitigation
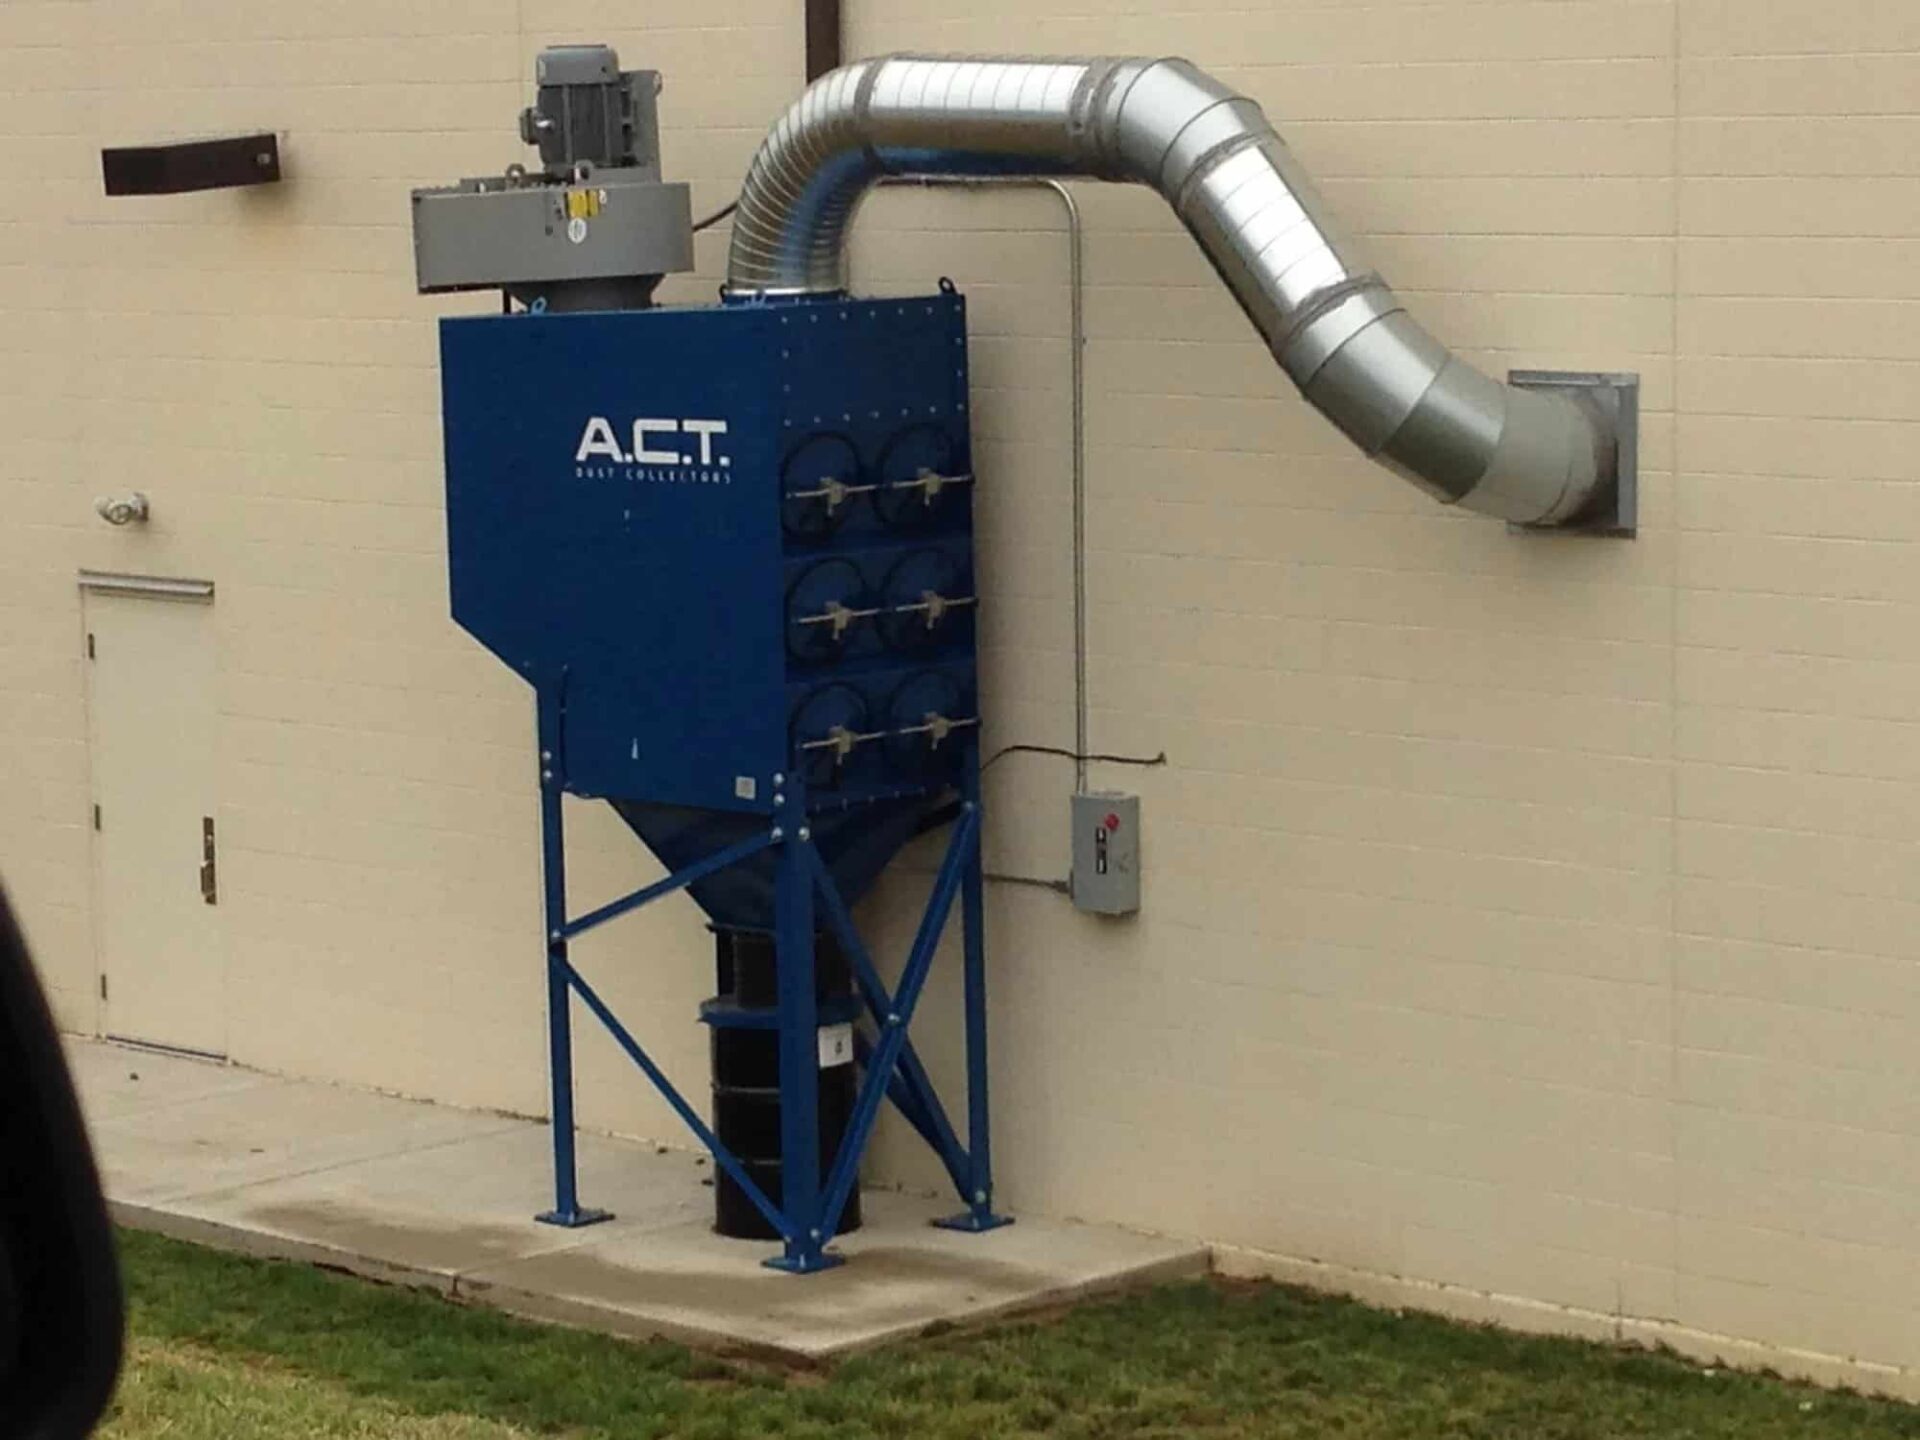
Dust mitigation is an essential part of the floor sanding process. Without the right procedures and equipment, dust can permeate your home, leading to prolonged cleaning and potential adverse effects. Professional installers use dust containment systems to minimise dust dispersion, ensuring your home remains as clean as possible.
Staining and Finishing
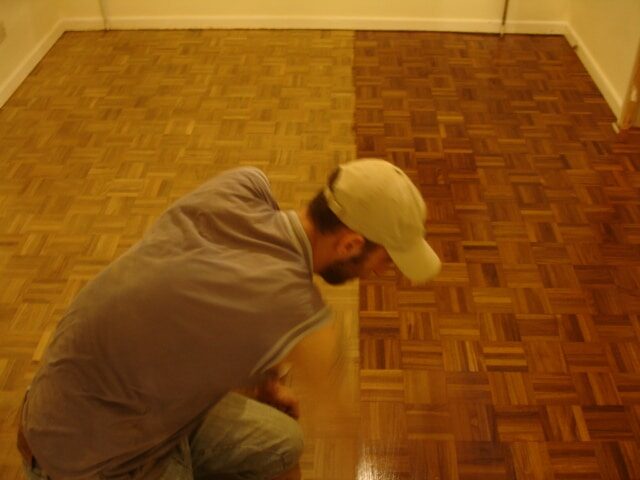
Once the floor is sanded and dust-free, it’s ready for staining. Staining wood floors is an art that can significantly enhance the beauty of your hardwood floor. It brings out the grain and can help achieve the colour that best matches your interior design.
The final step is applying a finish, which protects your floor from wear and tear and adds a touch of sheen. There are different types of finishes available, such as polyurethane, varnish, and oil, each offering different levels of durability, ease of application, and aesthetic appeal.
Some Useful Links:
- Wood Floor Restorations
- Wood Floor Repairs
- Wood Floor Polishing
- Floor Sanding Services
- School Floor Sanding
Conclusion
Installing a hardwood floor is a significant investment that can dramatically enhance the beauty and value of your home. While the process is labour-intensive and requires specialised skills and tools, professional installation ensures that every step is executed with precision. From subfloor preparation and plank installation to sanding your floors, dust mitigation, staining and finishing hardwood floors, professionals provide a seamless service that guarantees a stunning and durable hardwood floor. Choosing professional installation means you’re not just investing in a hardwood floor but also in the craftsmanship that ensures its longevity.
More from our Blog:
Mastering the Art of Laying a Hardwood Floor: A Comprehensive DIY Guide
Embracing the Charm of Wood Flooring: Why Choose Wood Floors?
Hardwood Floors & Allergies: A Detailed Look at the Health Benefits
Mastering Hardwood Floor Care: Effective Cleaning and Polishing
Techniques Expert Tips on Hardwood Floor Maintenance:
Keep Your Floor Looking Great Update Your Home’s Look With Floor Sanding: Revitalize Your Interiors


Sanding
We provide virtually dust-free sanding with our continuous belt machinery with mobile extraction units, giving you a safer environment for your family.

Oiling
This organic finish not only adds beauty to your home but also has exceptional water-repellent characteristics, making it easier to clean and maintain.

Waxing
This natural floor finish offers the softest and most mellow appearance – and leaves your floor able to breath.

Buffing
Using soft buffing machines (and hand-polishing where required) will bring a wonderful sheen to your newly-finished floor.

Repairs
We offer a full assessment of your wooden floors to determine what repairs are needed to provide the perfect working surface for the later stages of sanding, staining and sealing.

Restoration
We offer a comprehensive restoration process designed to address floors that are improperly fitted or damaged over time through wear and tear.
Request a fixed price quote for your wood floor restoration now
Simply enter your postcode below to get started.






Services
Wood Floor Sanding Wood Floor Restoration Wood Floor Scratch Repair Squeaky Wood Floor Repair Parquet Floor Sanding Parquet Floor Restoration Commercial Floor Sanding Church Floor Sanding Community Centre Floor Sanding School Floor Sanding Gap Filling Gap Filling with ResinCopyright © Mr Sander®
Privacy & Cookies Terms & Conditions Complaints Procedure Cancellation Rights Sitemap

Get An Instant Price Estimate Before You Go…
Simply enter the rooms you need sanded and we’ll provide you with a price estimate instantly! Try our price calculator now.
Get a Price Estimate NowLocal Floor Sanding Experts
Over 500 5-Star Reviews
Safe, Dust Free Sanding
Operating Since 1994