London:
Nationwide:
25,000+
Floors Restored
27 Years Experience
Wood Flooring Association Certified
How to Stain a Wood Floor: A Comprehensive Step-by-Step Guide
Posted on April 13, 2023
Articles
Comprehensive Step-by-Step Guide: How to Stain a Wood Floor
Staining your wood floor can breathe new life into your home, transforming its appearance and adding character to your rooms. The process, however, can be complex and requires careful preparation and execution. This comprehensive guide will take you through each step of staining a wood floor, offering practical tips and advice to help you achieve a professional-looking finish.
Step 1: Gather Your Supplies
Before you start, make sure you have all the necessary supplies:
- Sandpaper (in various grits)
- Orbital sander or drum sander
- Wood stain
- Polyurethane finish
- Brushes and rollers
- Paint trays
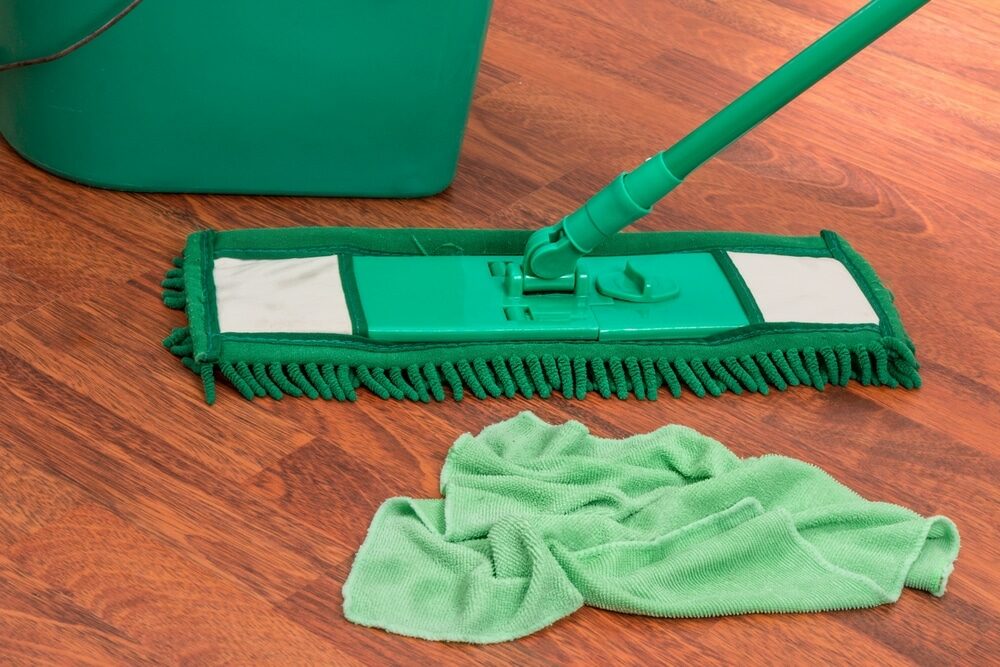
- Rags and towels
- Protective gear (gloves, goggles, dust mask)
- Painter’s tape
- Vacuum cleaner

Step 2: Prepare the room
Remove all furniture, rugs, and other items from the room. Cover any vents with plastic sheeting and painter’s tape to prevent dust from entering your HVAC system. Use painter’s tape to protect baseboards and other areas you don’t want stained.
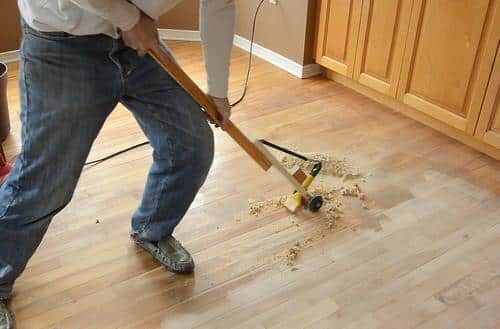
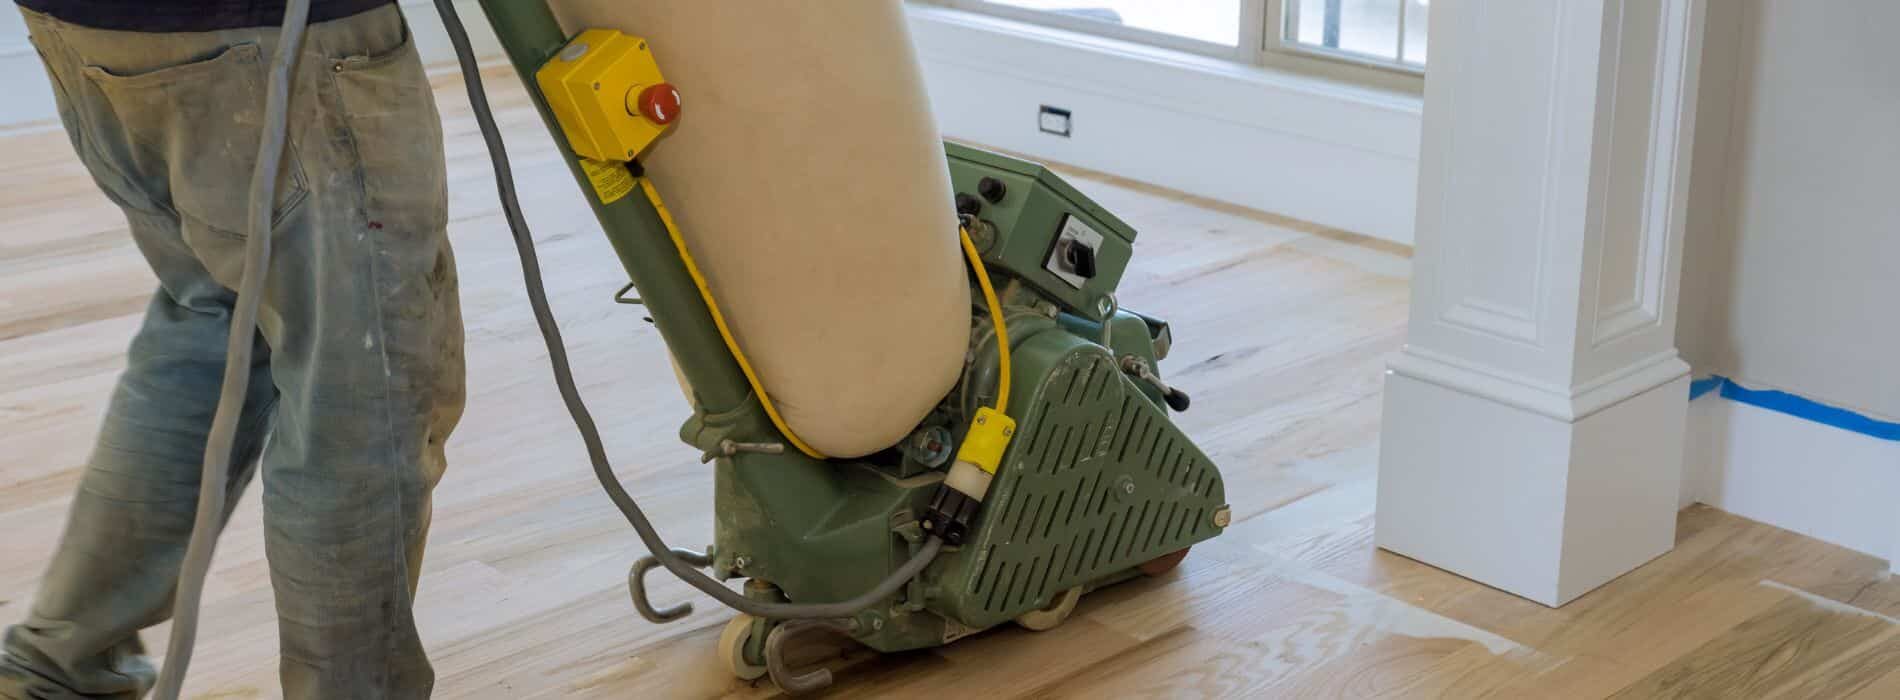
Step 3: Sand the floor
Sanding is a crucial step in preparing your floor for staining. It removes the old finish and levels the floor, ensuring the stain applies evenly. Start with coarse-grit sandpaper (like 40 or 60 grit) to remove old finishes and scratches, then progressively move to finer grits (up to 120 or 150 grit) to smooth the floor.
You can use a drum sander for the main floor area and an edge sander for corners and edges. Remember to always sand along the grain of the wood, not against it.

Step 4: Clean the floor
Once you’ve finished floor sanding, thoroughly clean the floor. Vacuum or sweep up the dust, then wipe the floor with a damp cloth. Allow the floor to dry completely before moving on to the next step.
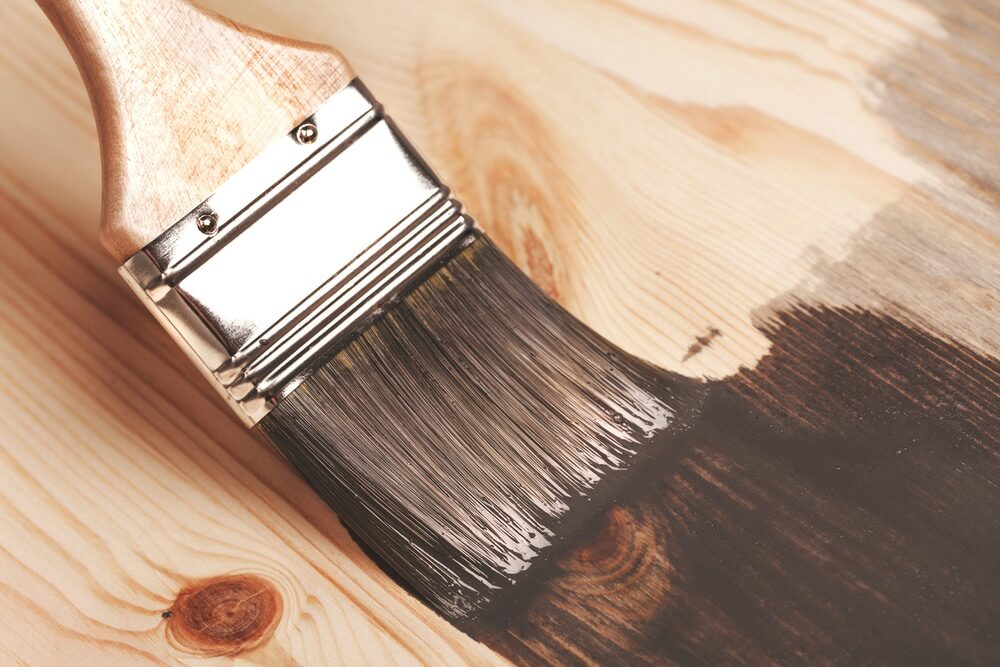
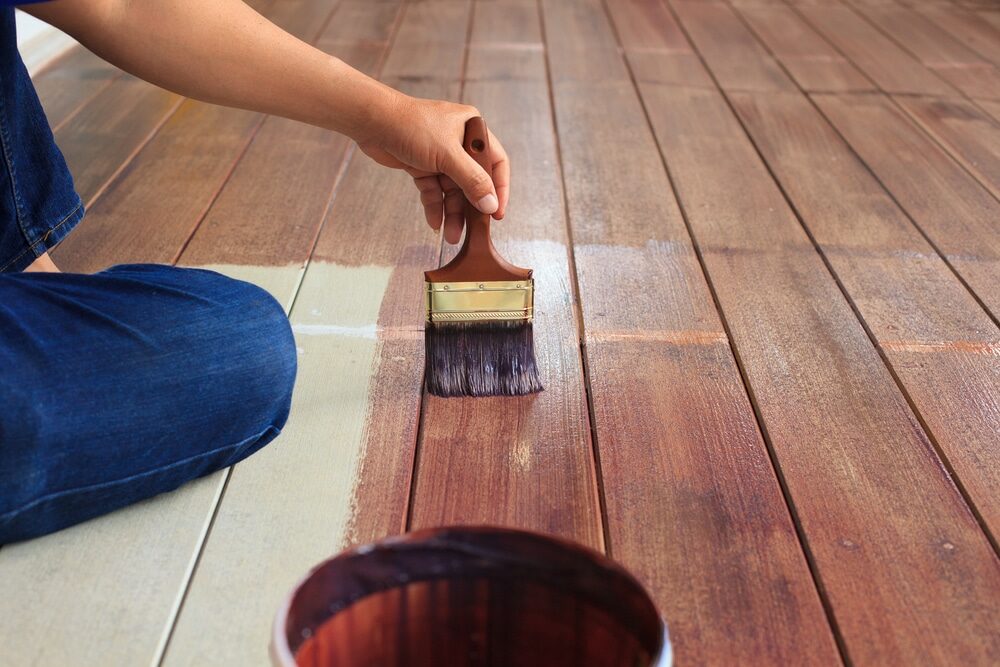
Step 5: Apply the Stain
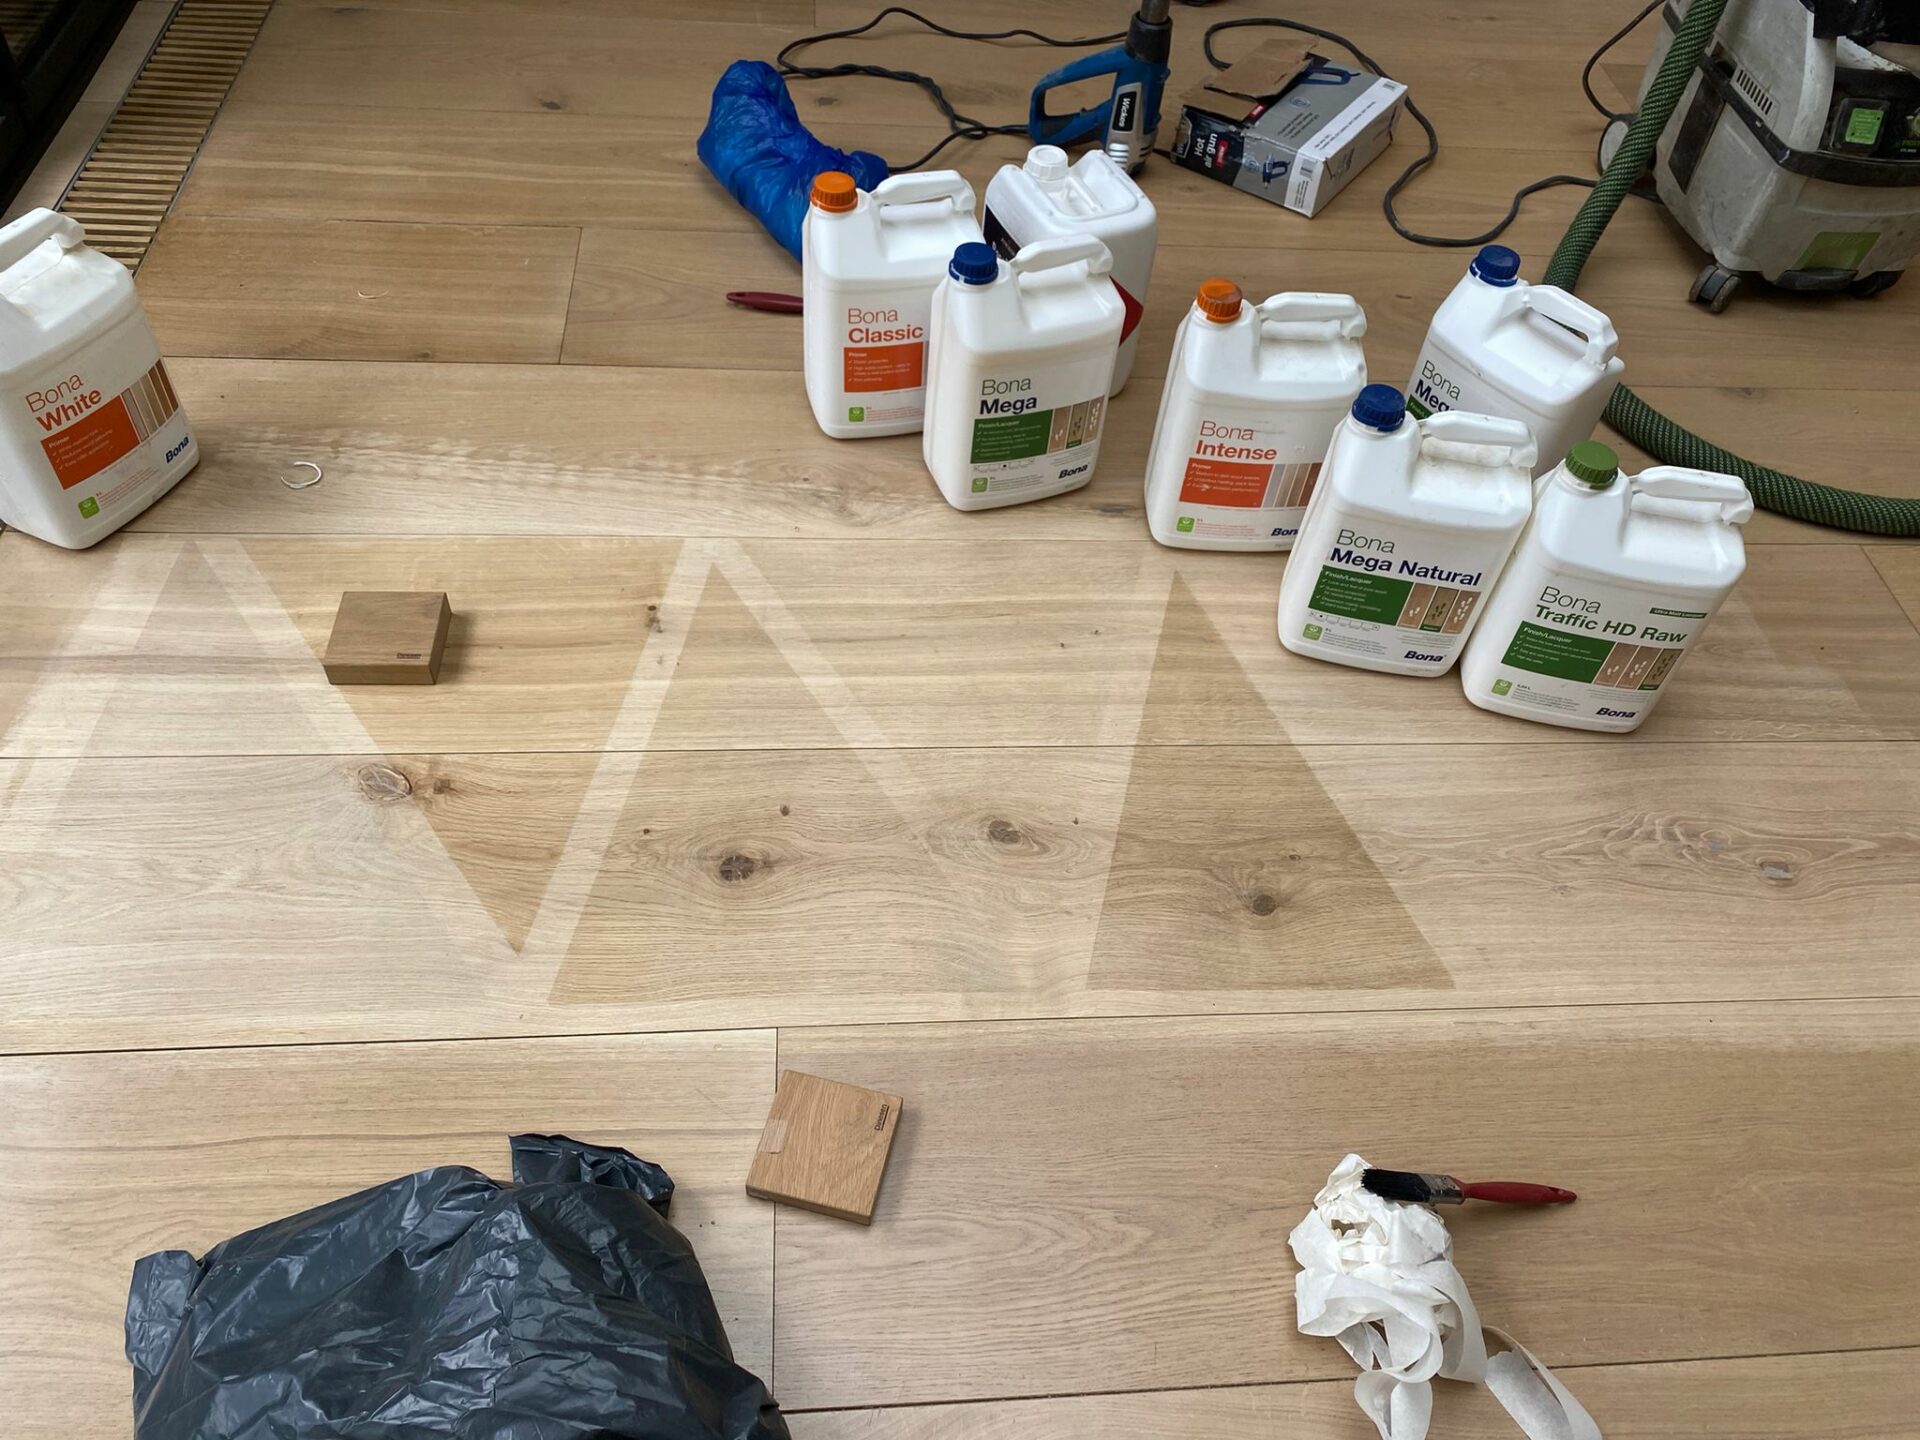
Before applying the stain, test it on a hidden area or a scrap piece of wood to ensure you’re happy with the colour. If it’s too dark, you can dilute it; if it’s too light, let it sit longer or apply multiple coats.
Using a brush or a clean rag, apply the stain along the grain of the wood. Work in manageable sections, applying the stain and letting it sit for a few minutes before wiping off the excess with a clean rag. The longer the stain sits, the darker the colour will be.
Step 6: Allow the stain to dry.
Let the stain dry completely. The drying time will depend on the type of stain and the conditions in your home, but usually, 24 hours is enough. Avoid walking on the floor during this time.
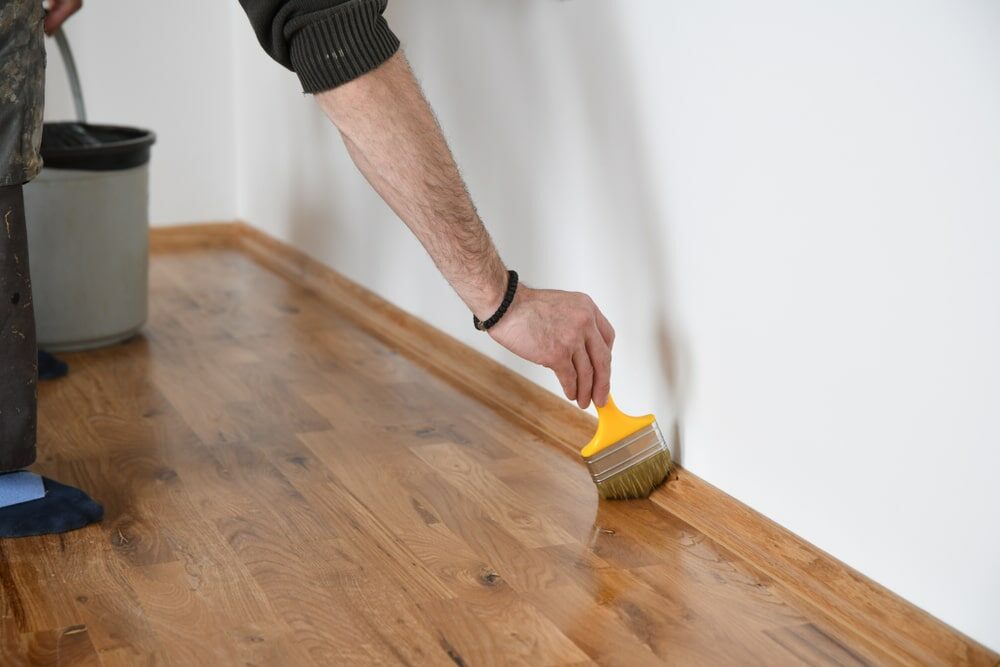
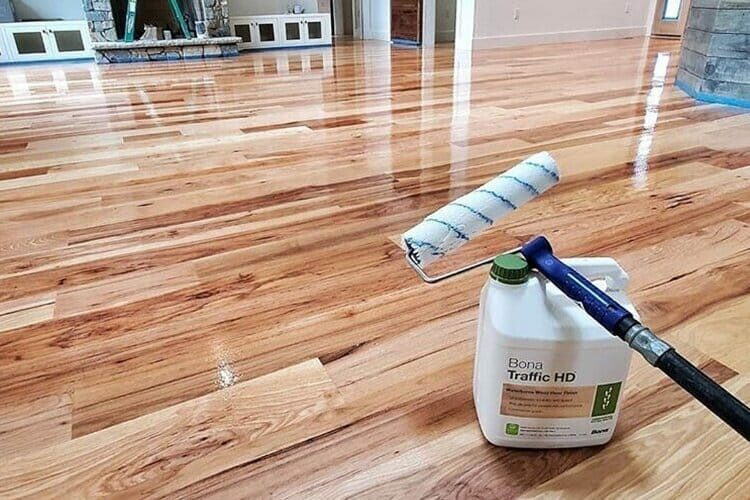
Step 7: Apply the Finish
Once the stain is dry, apply a polyurethane finish to protect your floor and give it a glossy or semi-glossy appearance. You can use a high-quality, natural-bristle brush, a lamb’s wool roller, or a water-based applicator.
Start at the corner of the room farthest from the door and work your way back. Apply the finish with the grain of the wood, maintaining a wet edge to avoid lap marks. Let the finish dry for several hours, then lightly sand the floor with fine-grit sandpaper (220 grit) to remove any bubbles or imperfections. Clean the floor again and apply a second coat of finish.

Step 8: Let the Finish Cure
Allow the finish to cure for several days before moving furniture back into the room. The curing time will depend on the type of finish, but typically, it takes 2–3 days. During this period, avoid walking on the floor as much as possible to prevent dents and scratches.
Conclusion
Staining a wood floor is an excellent way to enhance its natural beauty and protect it from wear and tear. It can be a time-consuming and labour-intensive process, but the results are well worth the effort. With the right tools, high-quality materials, and a bit of patience, you can transform your old or dull wood floor into a beautiful and durable surface that adds warmth and character to your home.
Remember, the key to a successful staining project is preparation. Make sure the floor is clean and smooth before applying the stain, and always test the stain on a hidden area to ensure you’re happy with the colour. Also, take your time when applying the stain and the finish to achieve a smooth, even result. And finally, allow plenty of time for the stain and finish to dry and cure before walking on the floor or moving furniture back into the room.
Staining your wood floor is a rewarding DIY project that can significantly improve the look and feel of your home. So, roll up your sleeves, gather your supplies, and start transforming your wood floor!
Tips for Staining Your Wood Floor
Here are some additional tips to help you stain your wood floor like a pro:
- Choose the Right Stain: There are various types of wood stains available, including oil-based and water-based stains, each offering different colours and finishes. Choose one that suits your taste and matches your home’s interior.
- Ventilate Your Space: Staining can produce strong fumes, so make sure your work area is well ventilated. Open windows and doors, and use fans to circulate the air if necessary.
- Stay Safe: Wear protective gear, including gloves, goggles, and a dust mask, especially when sanding and applying the stain and finish.
- Keep a Steady Hand: Apply the stain and the finish carefully and evenly to avoid streaks and blotches. If you’re not confident in your ability to do this, consider hiring a professional.
- Maintain Your Floor: Once your floor is stained and finished, keep it looking its best with regular cleaning and maintenance. Sweep or vacuum regularly, clean up spills immediately, and avoid wearing shoes with hard or sharp soles on your wood floor.
- Follow the Manufacturer’s Instructions: Always follow the manufacturer’s instructions when using stain and finish products. This will help you achieve the best results and avoid potential problems.