London:
Nationwide:
25,000+
Floors Restored
27 Years Experience
Wood Flooring Association Certified
Preparing Wood Floors for Sanding: A Comprehensive Guide
Posted on June 12, 2023
Floor Sanding Services News
The Essential Guide to Preparing Wood Floors for Sanding
Sanding your wood floors is a key step in refinishing and maintaining their beauty and durability. However, it’s crucial to adequately prepare your floors before embarking on this task. In this guide, we’ll walk you through the steps required to prepare your wood floors for sanding, ensuring a smoother process and superior results.Understanding the Importance of Preparation
The preparation process is essential for successful sanding. It allows you to identify and rectify any issues that could impact the quality of the sanding job. Proper preparation also ensures a safer work environment, helping to prevent accidental damage or injuries.Clearing the Room
The first step in preparing wood floors for sanding is to clear the room completely. Remove all furniture, rugs, and decorations. Don’t forget about curtains, wall hangings, and any other small items that could be overlooked. Ensure that the room is as empty as possible to allow for unimpeded access to the floor.
Cleaning the floor
Once the room is cleared, the next step is cleaning the floor. Use a broom or vacuum cleaner to remove all dust, dirt, and debris. This step is crucial because any dirt or grit left on the floor can damage the sanding equipment or mar the finished result.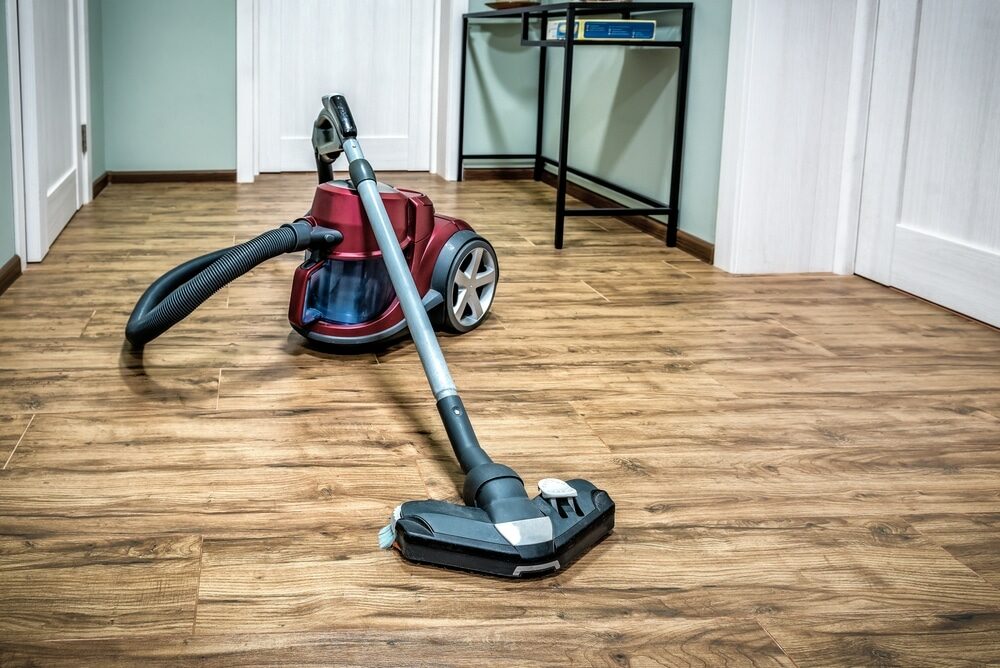
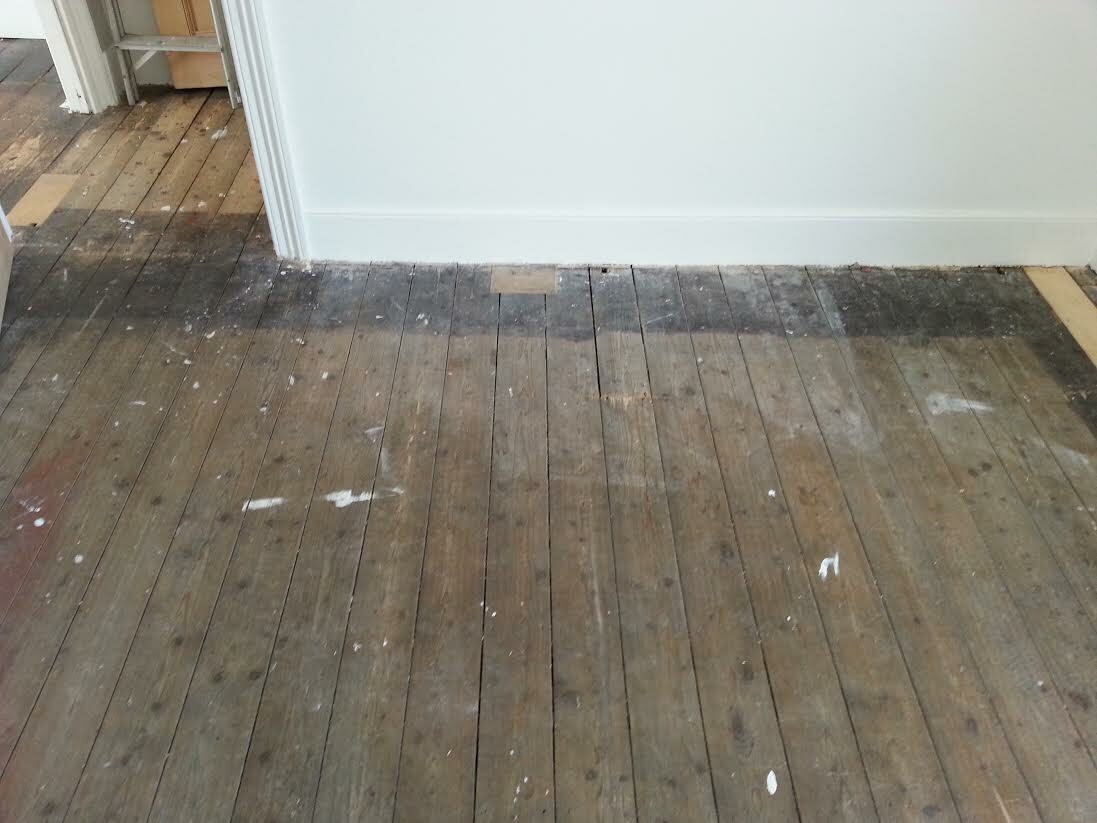
Inspecting the Floor
A thorough floor inspection is key to identifying potential issues that could affect the sanding process. Look for protruding nails, loose boards, or deep stains. Protruding nails should be hammered down, loose boards secured, and deep stains assessed to determine whether they can be removed by sanding or if the boards need to be replaced.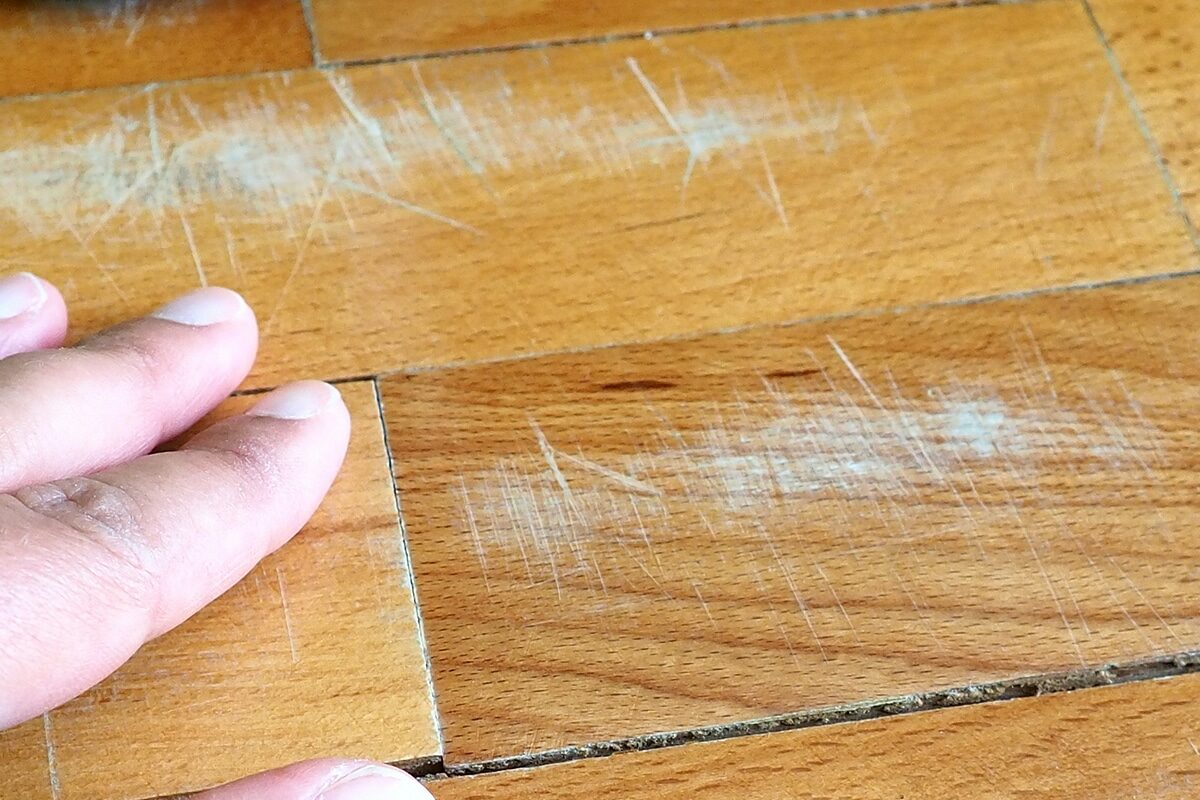
Making necessary repairs
After the inspection, it’s time to make any necessary repairs. Fill in any gaps between the boards with wood filler, let it dry, and then sand it down to level with the rest of the floor. If there are severely damaged boards, it might be necessary to replace them before you start sanding.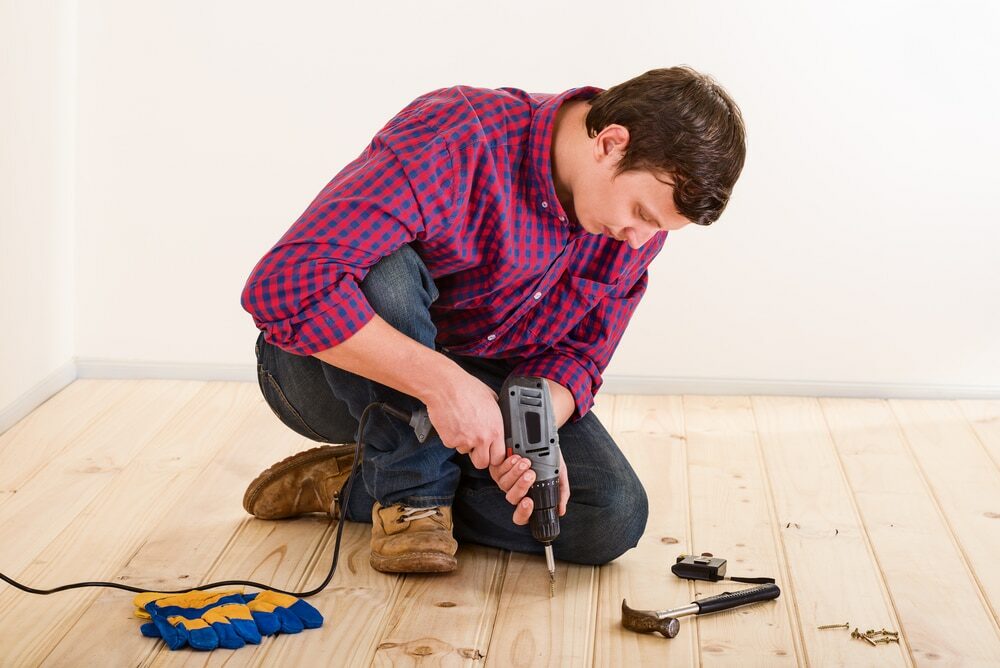
Preparing the Perimeter
Often, floor sanders can’t reach the very edges of the room, so you’ll need to prepare the perimeter separately. Use a handheld orbital sander or sanding block to manually sand the edges. Be sure to use the same grit of sandpaper you’ll be using for the rest of the floor to ensure an even finish.Masking off areas
Before you start sanding, mask off any areas you want to protect from dust. This includes doorways, vents, and built-in cabinets. Use plastic sheets and painter’s tape for this purpose. Remember, sanding can create a lot of dust, so it’s essential to seal off the room as much as possible.Safety Precautions
Last but not least, don’t forget to take safety precautions. Wear protective gear, including safety glasses, a dust mask, and ear protection. Make sure your work area is well ventilated and that you take regular breaks during the sanding process.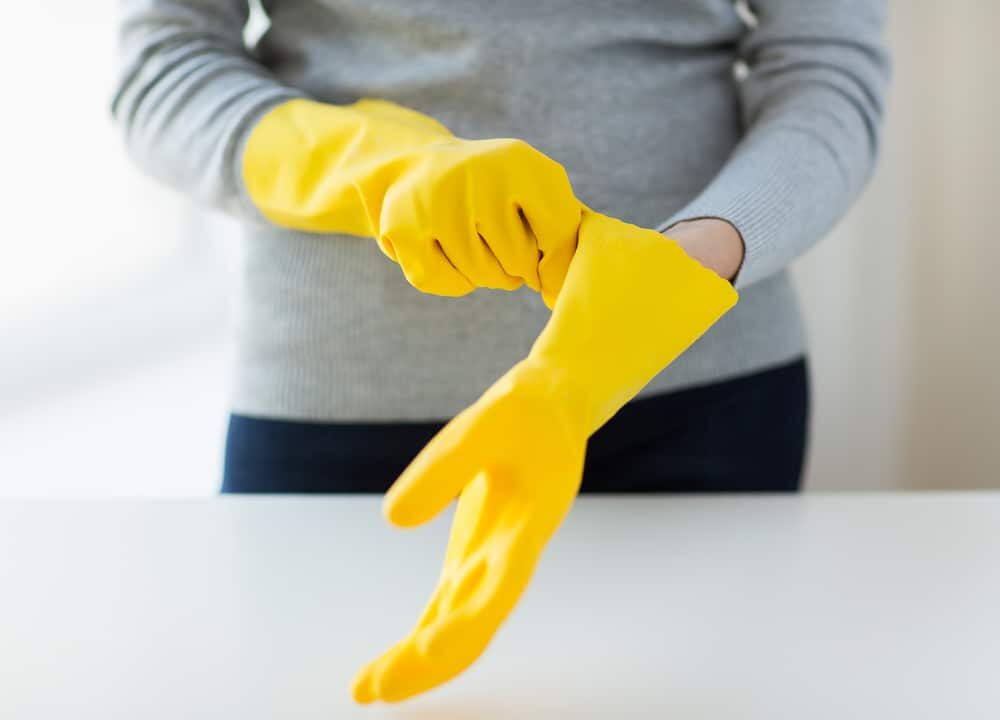
Conclusion: Preparing for Success
Preparing wood floors sanding is a crucial step in the floor refinishing process. By taking the time to adequately clear, clean, inspect, repair, and protect your floors, you can ensure a smoother sanding process and a better end result. Remember, a well-prepared floor is the foundation of a successful sanding project. By following these steps, you can help ensure your wood floors look their best for years to come.Some Useful Links:
- Floor Sanding Services
- School Floor Sanding
- Wood Floor Restorations
- Wood Floor Repairs
- Wood Floor Polishing
More from our Blog:
Hand Scraped and Distressed Hardwood Floors: Adding Character to Your Home Advantages of Engineered Hardwood Floors: A Detailed Guide Maintaining and Caring for Hardwood Floors Guide to Wood Floor Sanding & Treatment in London Wood Floor Sanding: Which System Is Best For You

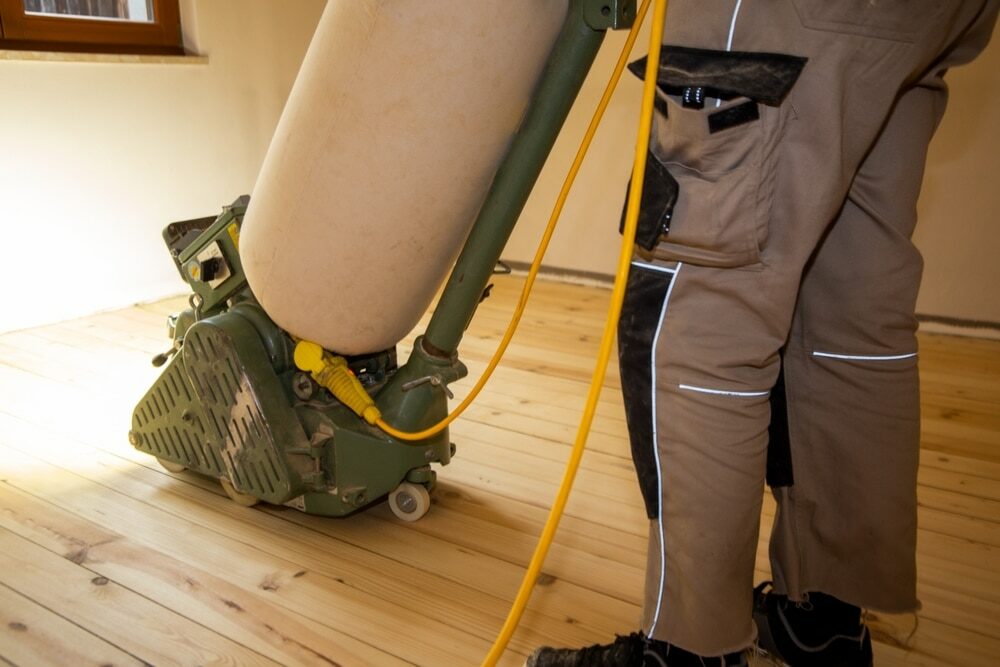
Sanding
We provide virtually dust-free sanding with our continuous belt machinery with mobile extraction units, giving you a safer environment for your family.
Oiling
This organic finish not only adds beauty to your home but also has exceptional water-repellent characteristics, making it easier to clean and maintain.
Waxing
This natural floor finish offers the softest and most mellow appearance – and leaves your floor able to breath.
Buffing
Using soft buffing machines (and hand-polishing where required) will bring a wonderful sheen to your newly-finished floor.
Repairs
We offer a full assessment of your wooden floors to determine what repairs are needed to provide the perfect working surface for the later stages of sanding, staining and sealing.
Restoration
We offer a comprehensive restoration process designed to address floors that are improperly fitted or damaged over time through wear and tear.
Request a fixed price quote for your wood floor restoration now
Simply enter your postcode below to get started.
Services
Wood Floor Sanding Wood Floor Restoration Wood Floor Scratch Repair Squeaky Wood Floor Repair Parquet Floor Sanding Parquet Floor Restoration Commercial Floor Sanding Church Floor Sanding Community Centre Floor Sanding School Floor Sanding Gap Filling Gap Filling with ResinCopyright © Mr Sander®
Privacy & Cookies Terms & Conditions Complaints Procedure Cancellation Rights Sitemap

Get An Instant Price Estimate Before You Go…
Simply enter the rooms you need sanded and we’ll provide you with a price estimate instantly! Try our price calculator now.
Get a Price Estimate NowLocal Floor Sanding Experts
Over 500 5-Star Reviews
Safe, Dust Free Sanding
Operating Since 1994