London:
Nationwide:
25,000+
Floors Restored
27 Years Experience
Wood Flooring Association Certified
Unleash Your Floor’s Potential: Wood Floor Sanding, Staining and Restoration Guide
Posted on May 6, 2023
Floor Sanding News
Comprehensive Guide to Wood Floor Sanding, Staining and Restoration
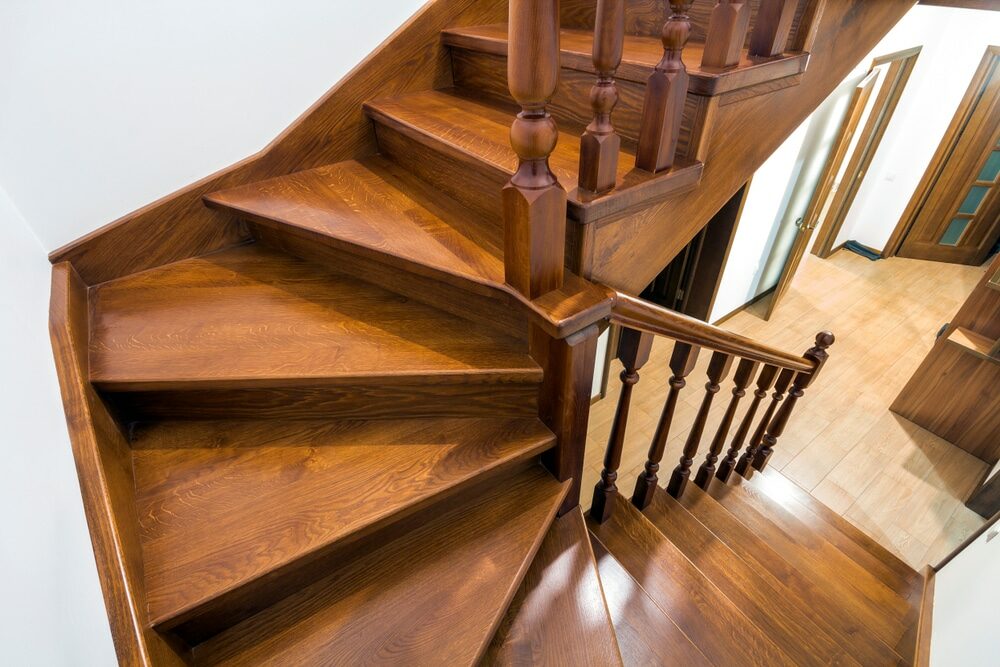
Wooden floors have an undeniable charm that adds warmth and elegance to any home. However, over time, their surfaces can become scuffed, stained, and dull. The good news is that restoring them to their former glory is not only possible, but it can also be a rewarding DIY project. This comprehensive 3000-word guide will walk you through the steps of sanding, staining, and restoring your wooden floors.
Understanding the Restoration Process
Wood floor restoration involves three main steps: sanding, staining, and finishing. Sanding removes the old finish and smoothens the surface; staining gives the wood a new colour; and finishing protects the wood and gives it a shiny appearance. This process can transform an old, worn-out wooden floor into a beautiful and durable surface.
The Preparatory Phase
Before you start the actual restoration process, you should prepare the room and gather all the necessary tools and materials. Clear the room of furniture, rugs, and other items. You’ll need a drum sander or an orbital sander, sandpaper of various grits, a vacuum cleaner, wood stain, polyurethane finish, a high-quality brush, and protective gear like gloves, safety glasses, and a dust mask.
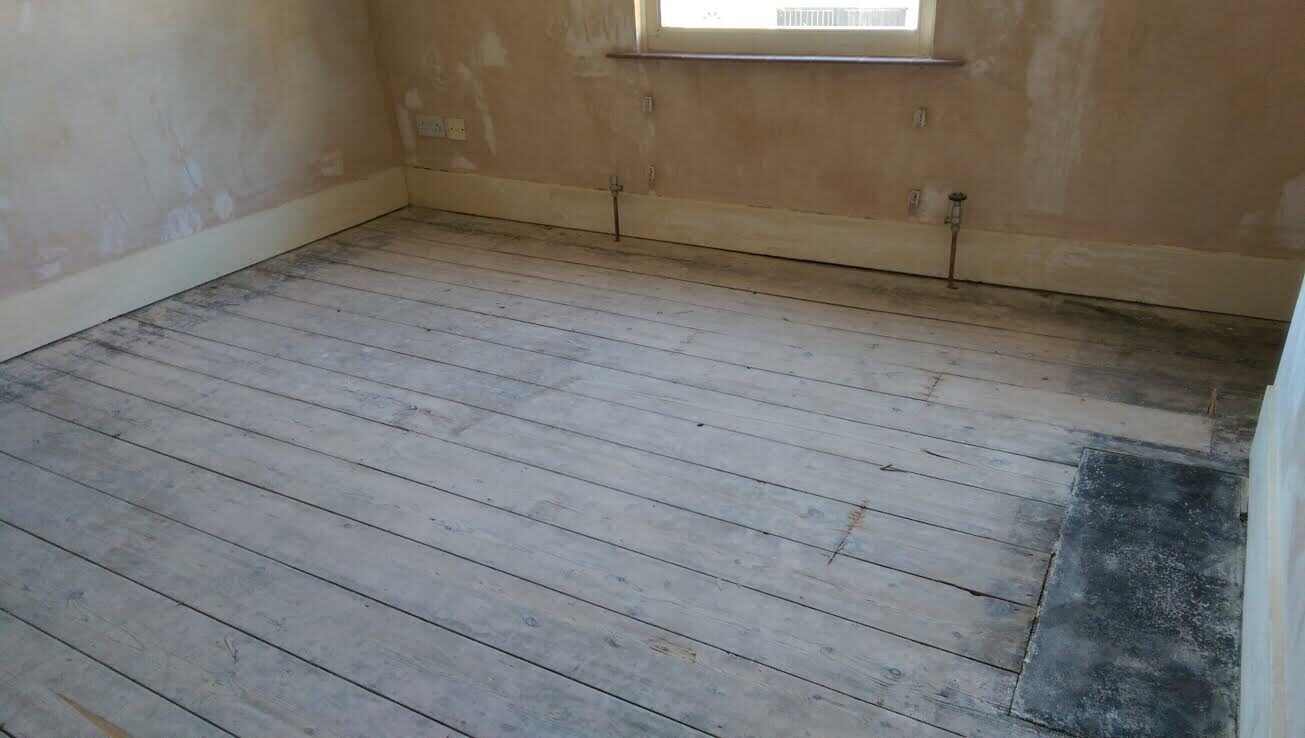
Sanding your wooden floors
Sanding is a critical step in the restoration process as it removes the old finish and any surface stains, revealing a fresh layer of wood.
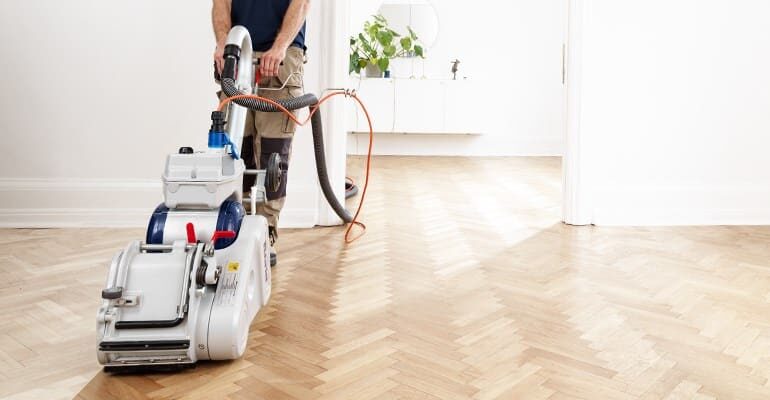
Step 1: Sanding the Surface
Start by fitting your sander with coarse-grit sandpaper. Sand the entire floor, moving along the grain of the wood, not against it. Be sure to keep the sander moving to avoid creating divots in the wood.
Step 2: Cleaning Up
After the initial sanding, vacuum or sweep the floor to remove all the dust. This is important because any dust left on the floor can get caught in the finish.
Step 3: Finer Sanding
Repeat the process with medium-grit sandpaper to remove any scratches left by the coarse-grit paper. Follow this up with a fine-grit paper to ensure a smooth surface.
Staining your wooden floors
Staining your floor can enhance the natural beauty of the wood and complement the décor of your room.
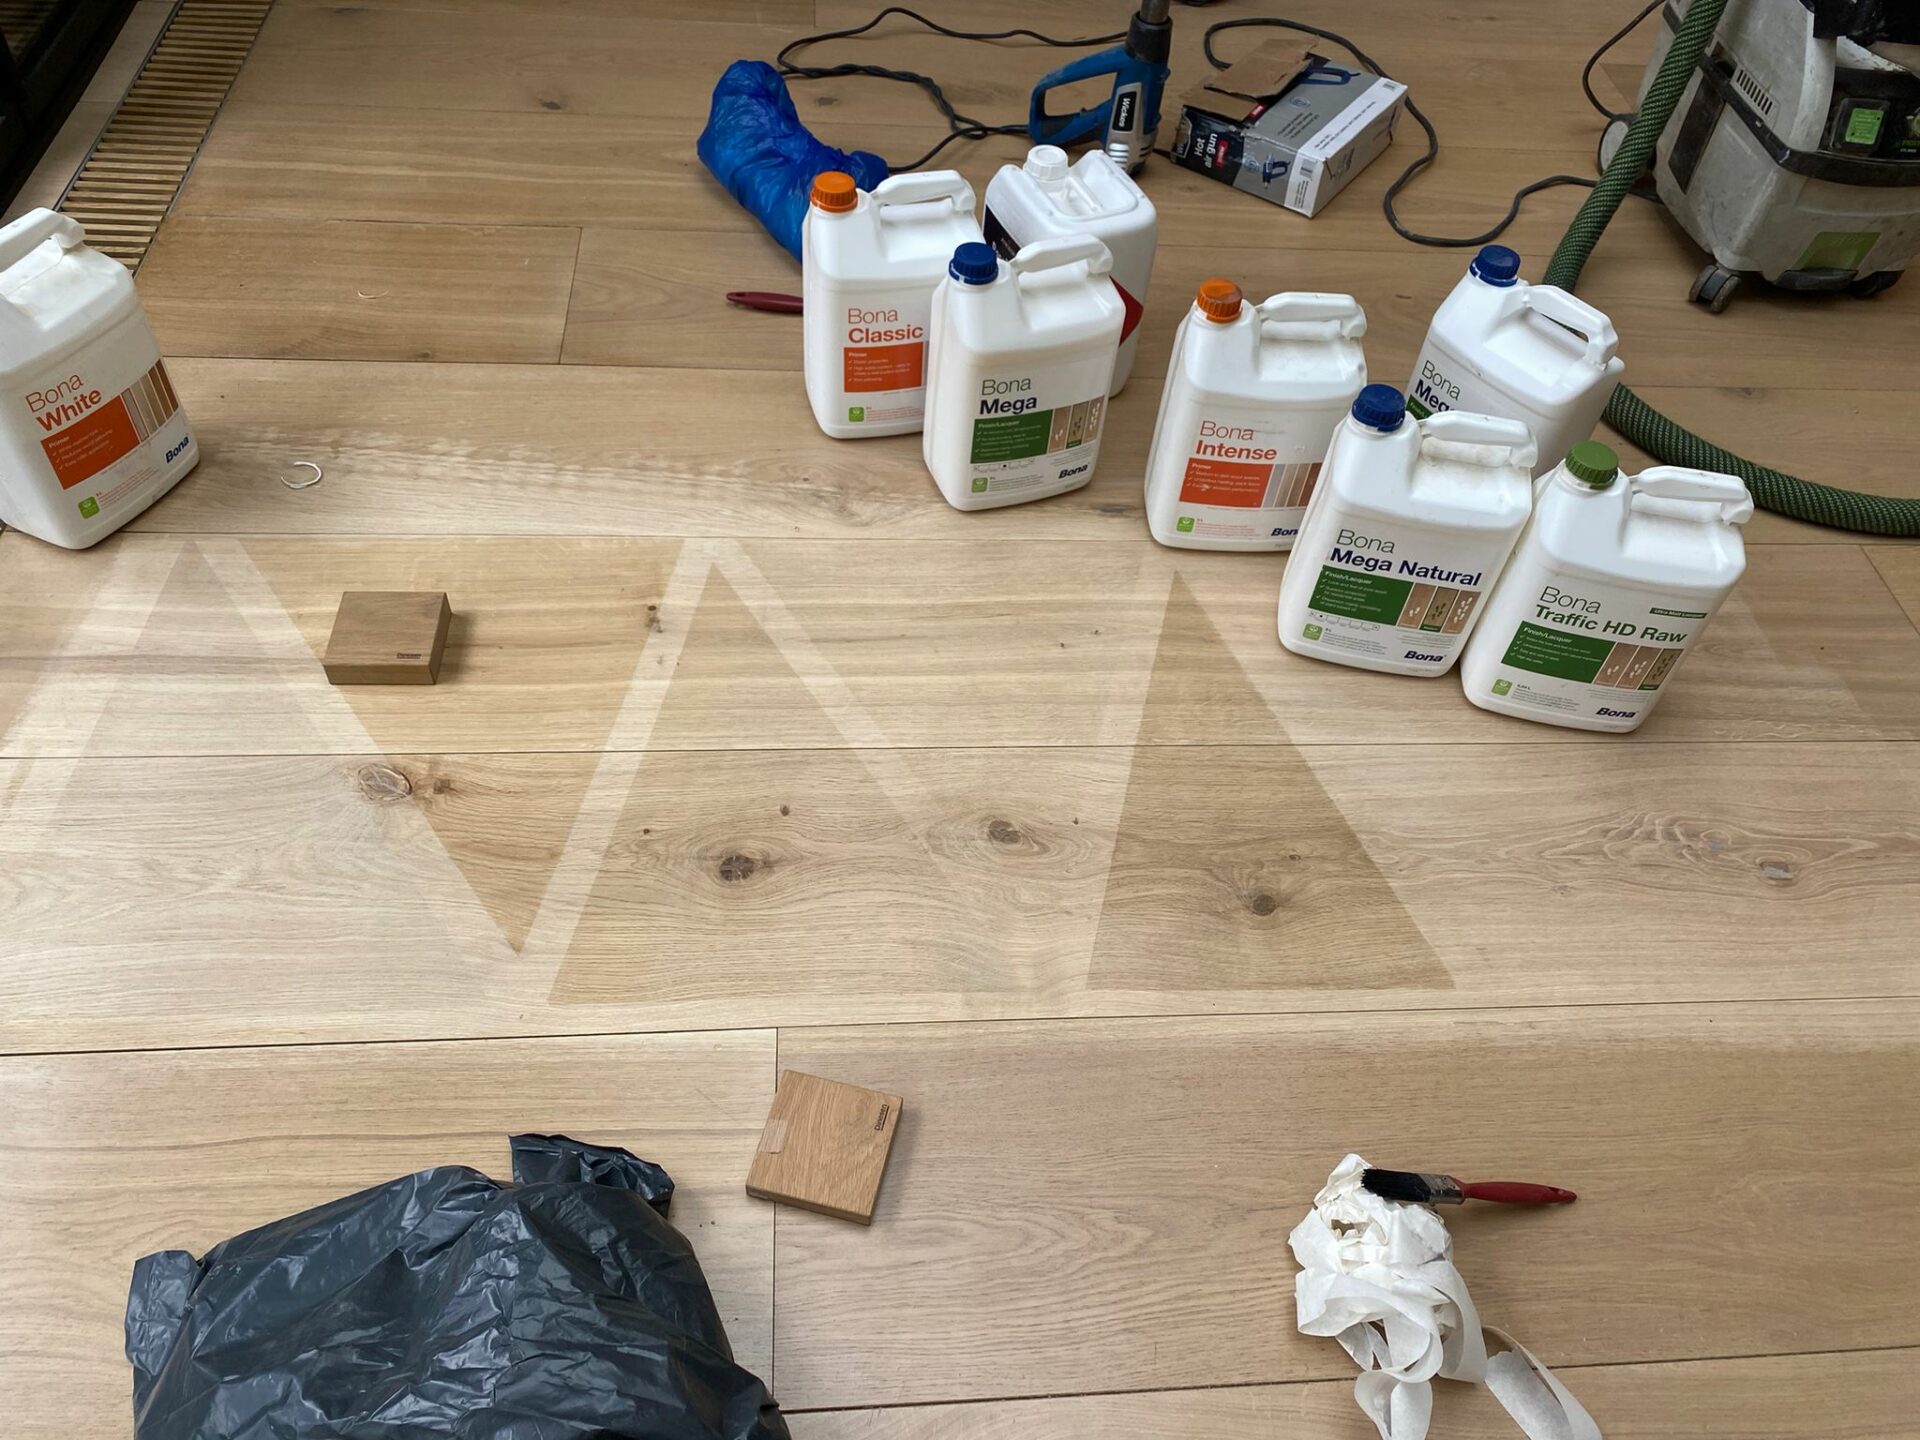
Step 1: Choosing Your Stain
When choosing a stain, consider the type of wood and the desired colour effect. It’s a good idea to test the stain on a small, inconspicuous area of the floor or on a piece of scrap wood of the same type to make sure you’re happy with the colour.
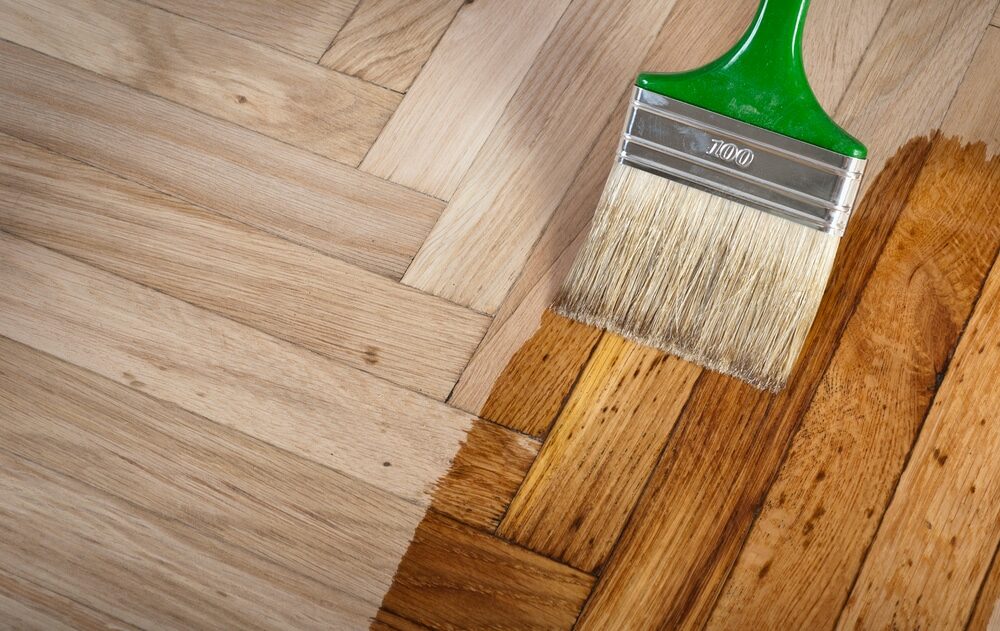
Step 2: Applying the Stain
Apply the stain with a rag or a brush, working in manageable sections. Apply it liberally, let it soak in for a few minutes, and then wipe off the excess with a clean rag. Remember to follow the grain of the wood. Let the stain dry completely before moving on to the next step.
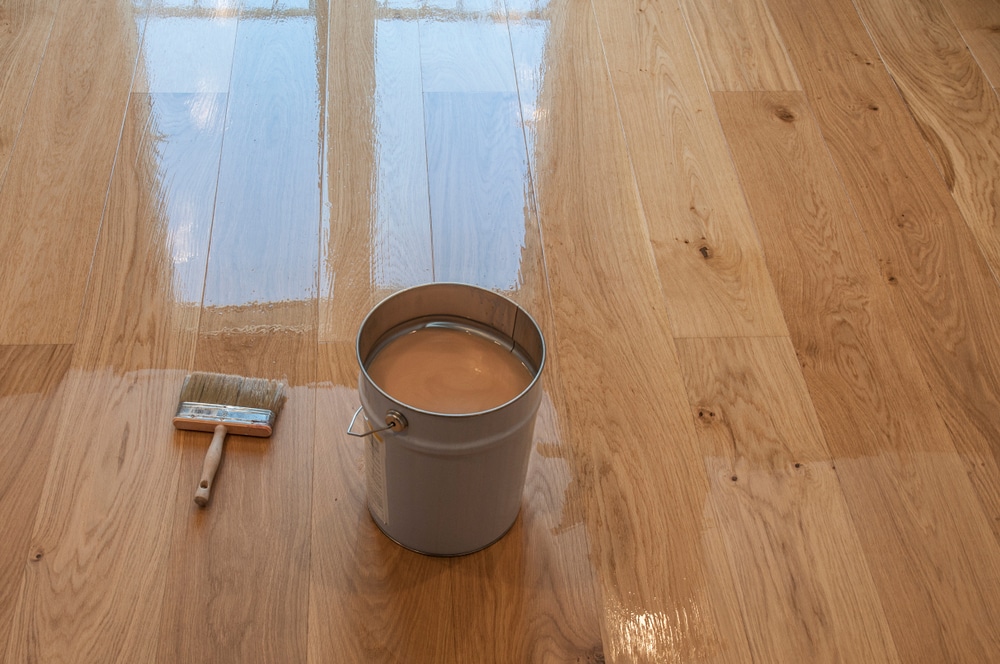
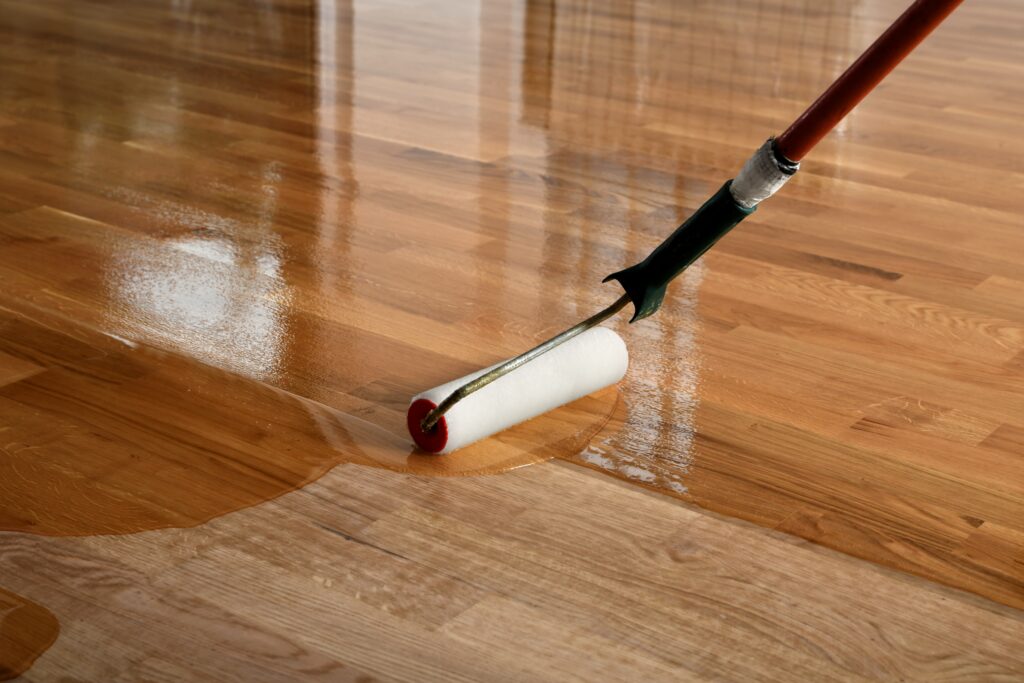
Finishing Your Wooden Floors
The finishing process seals the stain and protects the wood from damage. Polyurethane is a popular choice for a finish due to its durability and clear appearance.
Step 1: Applying the Finish
Using a high-quality brush, apply a thin coat of finish along the grain of the wood. Allow it to dry completely.
Step 2: Light sanding
After the first coat is dry, lightly sand the floor with fine-grit paper to ensure a smooth final coat. Clean up any dust before applying the next coat.
Step 3: Applying the Final Coat
Apply the final coat of finish and let it dry. Your restored wooden floor should now shine with renewed beauty.
Essential Tips for a Successful Restoration
- Safety First: Always use protective gear when working with sanders, stains, and finishes. This includes safety glasses, gloves, and a dust mask or respirator to protect against dust and fumes.
- Take your time. Don’t rush the process. Each step needs adequate time for completion, especially when it comes to letting the stain and finish dry.
- Maintain Consistency: When applying the stain and finish, aim for a consistent coat. This will help you avoid blotchy or uneven results.
- Keep it Clean: Ensure the floor is thoroughly cleaned between each step to prevent dust particles from settling into the stain or finish.
- Ventilation is Key: Proper ventilation is crucial when staining and finishing floors to dissipate fumes and expedite drying.
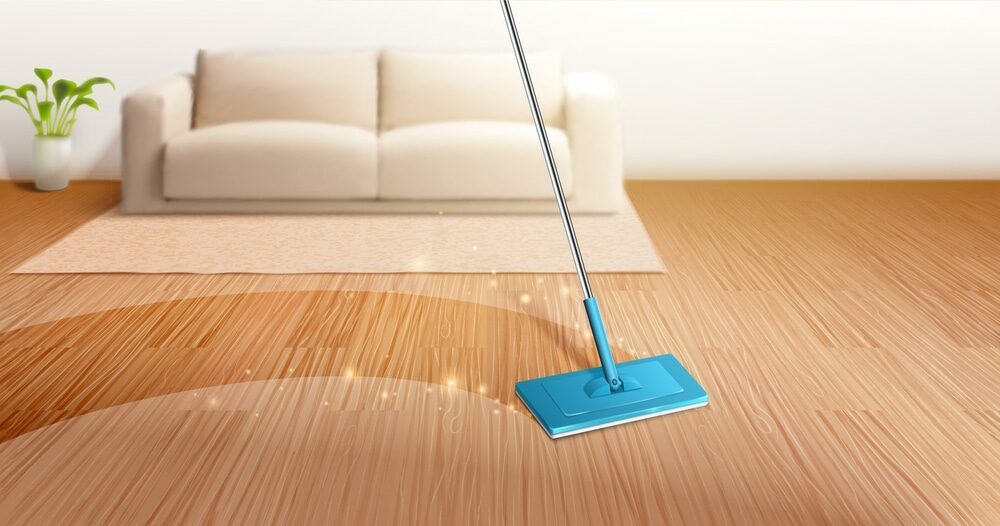
Maintenance Tips for Your Restored Wooden Floors
Once your wooden floors are restored, you’ll want to keep them looking beautiful. Here’s how:
- Regular Cleaning: Regularly sweep or vacuum your floors to remove dirt and debris that can scratch the wood.
- Use the Right Cleaners: Avoid using harsh chemicals or excessive water when cleaning your wooden floors. There are cleaners specifically designed for wooden floors that will clean without causing damage.
- Protect your floors: Use felt pads under furniture legs to avoid scratches. Avoid walking on your wooden floors with high heels or sports shoes with spikes.
- Deal with Spills: Clean up any spills immediately to prevent water from seeping into the wood and causing damage.
- Recoat when necessary: Over time, the finish on your wooden floors might wear off. When this happens, you can recoat the floor with a fresh layer of finish.
Wrapping Up
Restoring your wooden floors can be a satisfying project that breathes new life into your home. With the right tools, materials, and a bit of patience, you can transform your worn-out wooden floors into a beautiful and durable part of your home. It’s not only a cost-effective way to improve your home, but it also allows you to preserve the character and charm of your old wooden floors.
Remember, every wooden floor tells a story. It’s a testament to the life it has witnessed over the years. By sanding, staining, and restoring your wooden floors, you’re not just reviving a surface; you’re rekindling the stories and memories etched in every grain and groove. So, roll up your sleeves and get ready to write the next chapter of your home’s story.


Sanding
We provide virtually dust-free sanding with our continuous belt machinery with mobile extraction units, giving you a safer environment for your family.
Oiling
This organic finish not only adds beauty to your home but also has exceptional water-repellent characteristics, making it easier to clean and maintain.
Waxing
This natural floor finish offers the softest and most mellow appearance – and leaves your floor able to breath.
Buffing
Using soft buffing machines (and hand-polishing where required) will bring a wonderful sheen to your newly-finished floor.
Repairs
We offer a full assessment of your wooden floors to determine what repairs are needed to provide the perfect working surface for the later stages of sanding, staining and sealing.
Restoration
We offer a comprehensive restoration process designed to address floors that are improperly fitted or damaged over time through wear and tear.
Request a fixed price quote for your wood floor restoration now
Simply enter your postcode below to get started.
Services
Wood Floor Sanding Wood Floor Restoration Wood Floor Scratch Repair Squeaky Wood Floor Repair Parquet Floor Sanding Parquet Floor Restoration Commercial Floor Sanding Church Floor Sanding Community Centre Floor Sanding School Floor Sanding Gap Filling Gap Filling with ResinCopyright © Mr Sander®
Privacy & Cookies Terms & Conditions Complaints Procedure Cancellation Rights Sitemap

Get An Instant Price Estimate Before You Go…
Simply enter the rooms you need sanded and we’ll provide you with a price estimate instantly! Try our price calculator now.
Get a Price Estimate NowLocal Floor Sanding Experts
Over 500 5-Star Reviews
Safe, Dust Free Sanding
Operating Since 1994