London:
Nationwide:
25,000+
Floors Restored
27 Years Experience
Wood Flooring Association Certified
Best Way to Rebuild a Real Wood Floor
Posted on July 19, 2023
Floor Sanding News
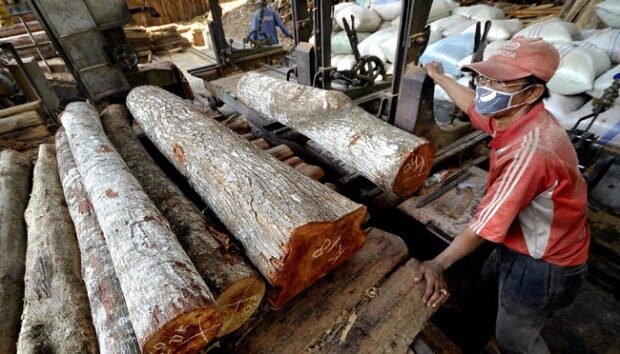
The Best Way to Rebuild a Real Wood Floor: A Comprehensive Guide
Real wood floors are beloved for their timeless appeal and long-lasting durability. However, there may come a time when your floor needs more than just a simple refinishing; it may need a complete rebuild. Whether you’re dealing with severe damage or just looking to update your space, this guide will walk you through the best way to rebuild your real wood floor.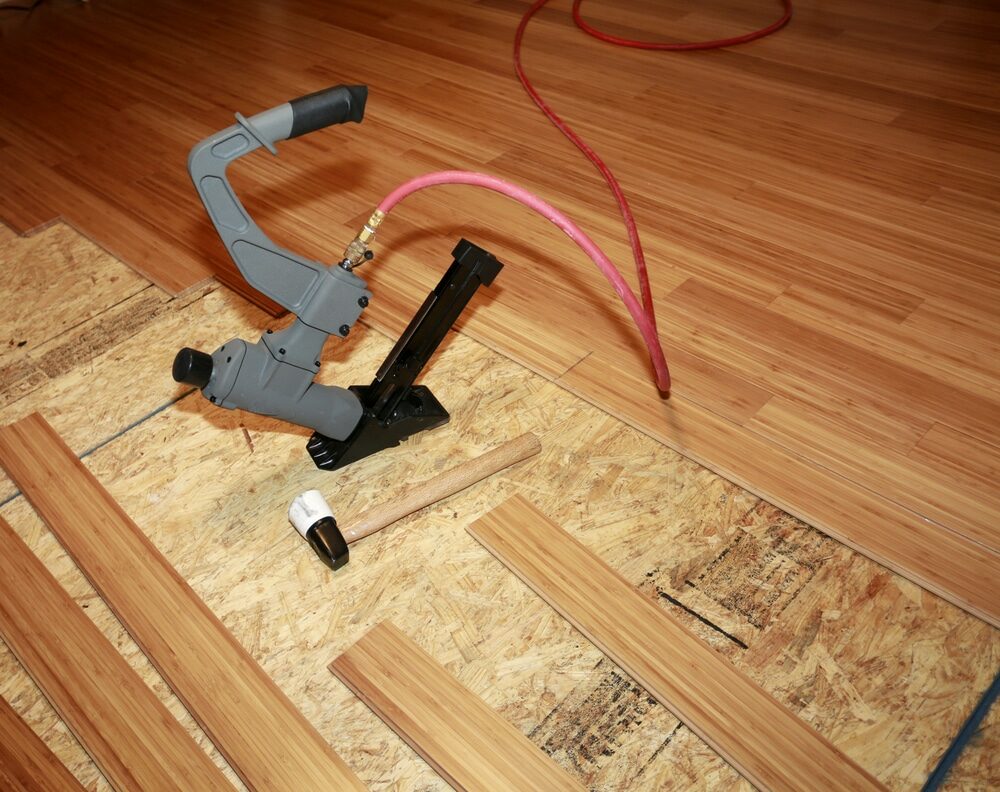
Why Rebuild a Real Wood Floor?
Before diving into the process, it’s important to understand when and why a wood floor might need rebuilding. The most common reasons include:- Severe Damage: Large areas of the floor are damaged beyond repair due to rot, pests, or water damage.
- Subfloor Issues: Problems like moisture or structural issues require replacing the entire floor to rectify them.
- Aesthetic Change: You wish to change the species of wood, plank width, or orientation for a different look.
Preparing for the Rebuilding Process
Like any major renovation project, rebuilding a real wood floor requires careful planning and preparation.Choose Your New Wood
Consider factors like hardness, grain pattern, colour, and cost when choosing your new wood. Each species of wood has its own unique characteristics that can significantly impact the look and feel of your space.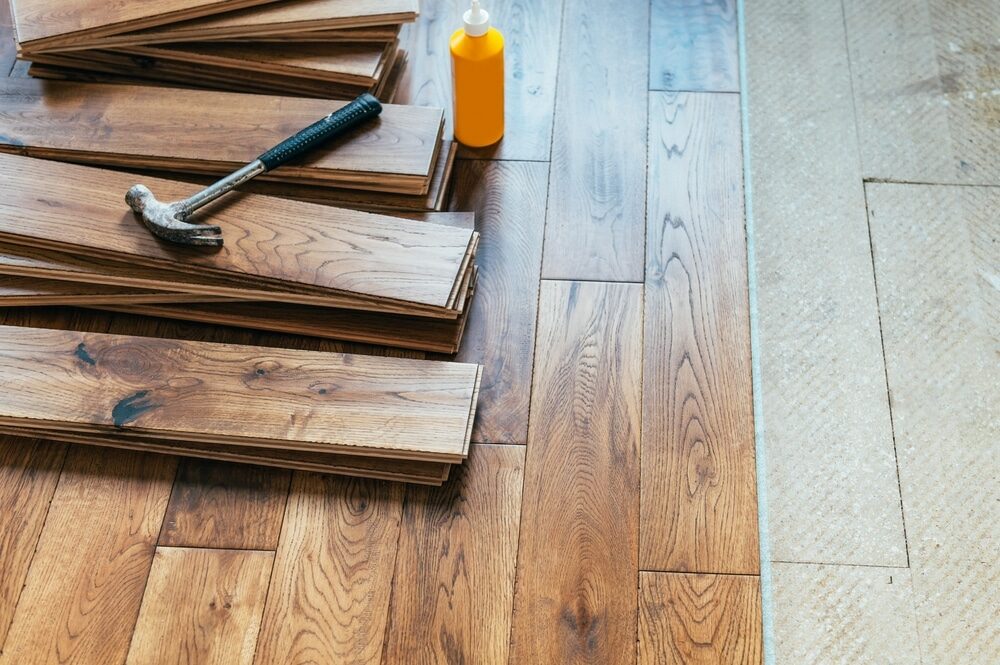
Gather Materials and tools.
To rebuild your real wood floor, you’ll need:- The new wood flooring
- Nails or a floor stapler
- Table saw or circular saw
- Pry bar
- Hammer
- Measuring tape
- Knee pads
- Safety glasses and gloves
Rebuilding Your Real Wood Floor: Step-by-Step
With your materials ready, you can now embark on the process of rebuilding your real wood floor.Step 1: Remove the Old Floor
Start by removing the old wood flooring. Use a pry bar and hammer to carefully lift the planks without damaging the subfloor.Step 2: Prepare the Subfloor
Once the old floor is removed, inspect and prepare the subfloor. This might involve cleaning, levelling, or making necessary repairs to ensure a stable base for your new floor.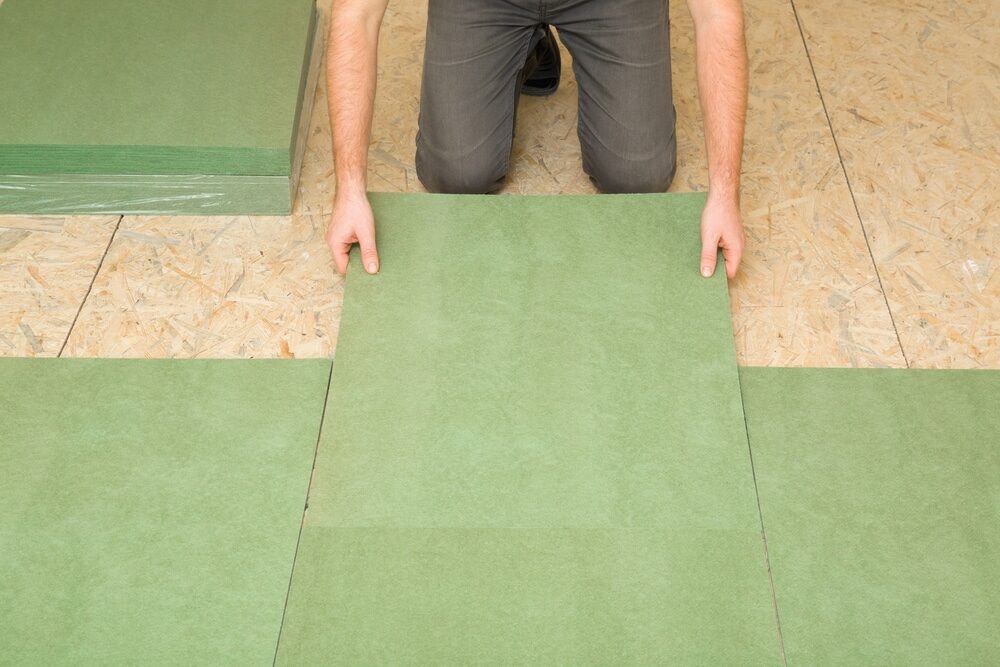
Step 3: Plan Your Layout
Before installation, plan out the layout of your new floor. Remember, wood floor planks should run perpendicular to the floor joists for maximum stability.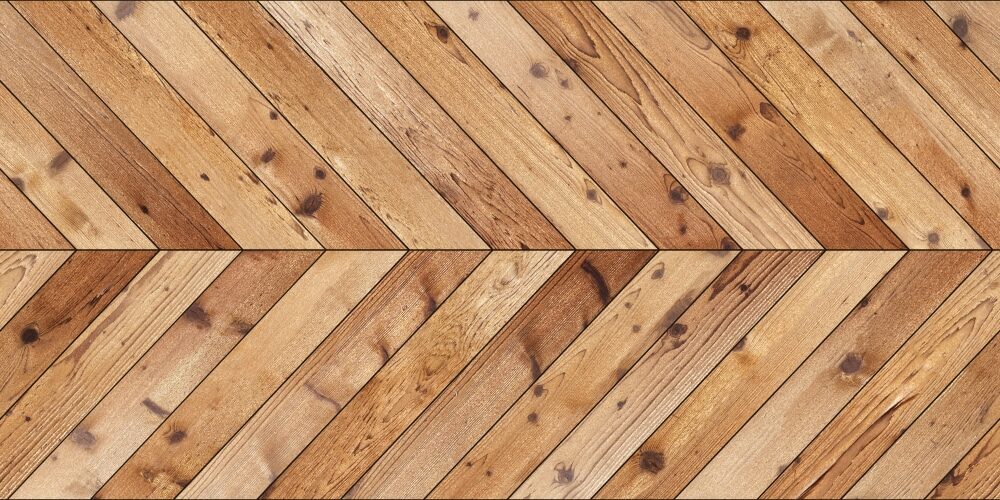
Step 4: Install the New Floor
Start at one end of the room and work your way across, using a floor stapler or nails to secure each plank to the subfloor. Remember to leave expansion gaps around the perimeter of the room to allow for wood movement.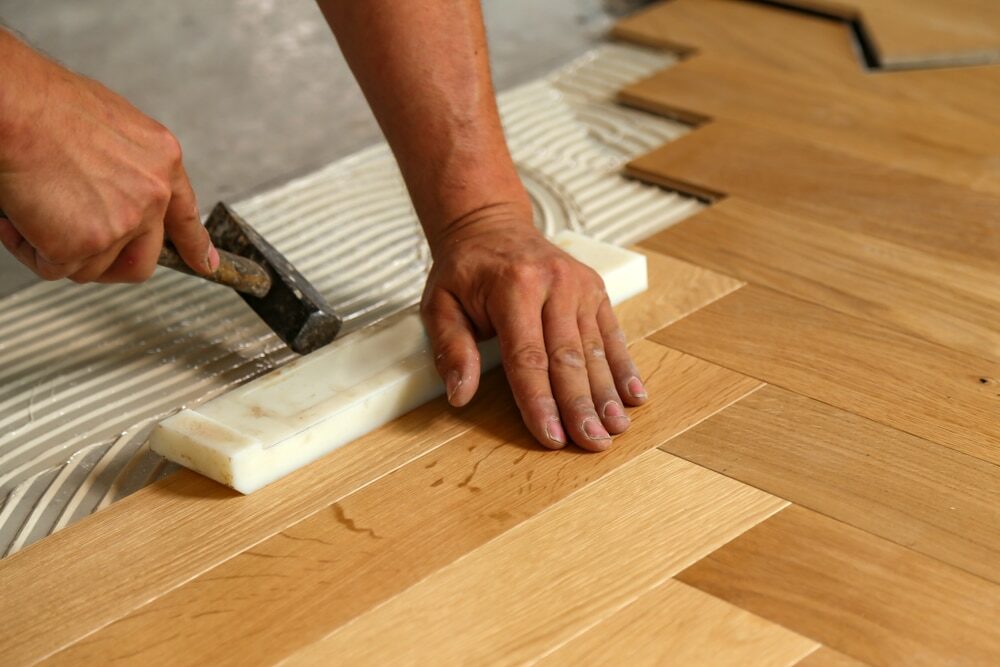
Step 5: Cut and Fit the Final row.
When you reach the final row, you may need to cut the planks lengthwise to fit. Once the final row is installed, you should have a completely rebuilt real wood floor!Finishing Your Rebuilt Floor
Once your floor is installed, you’ll need to add the finishing touches. This typically includes sanding the floor to smooth any uneven areas, staining the wood to achieve your desired colour, and sealing the floor with a top coat to protect it from damage.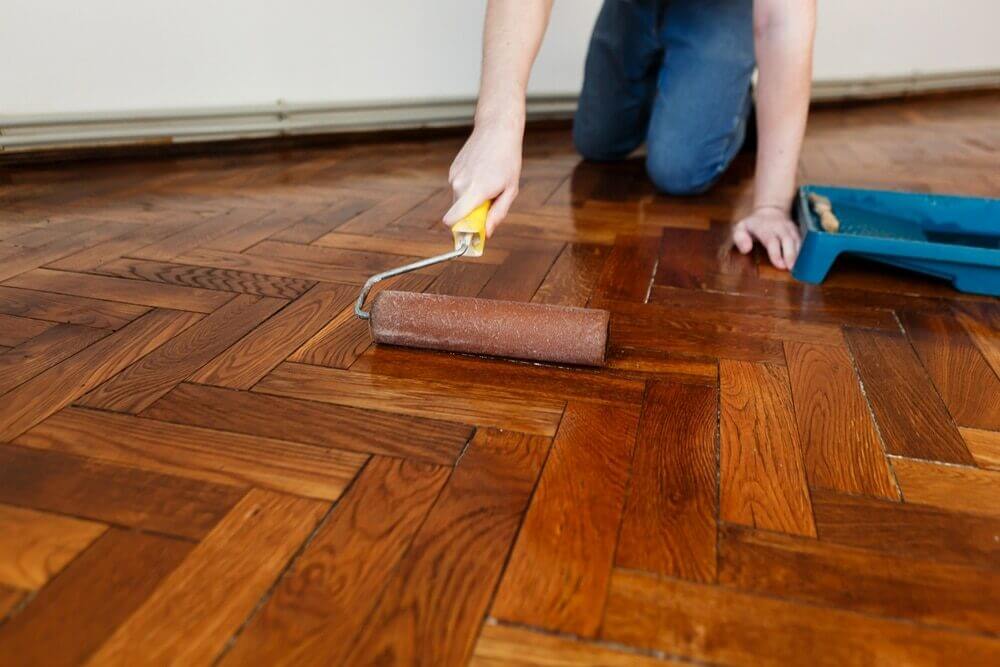
Maintaining Your Rebuilt Wood Floor
After investing time and effort into rebuilding your real wood floor, it’s essential to maintain it properly. This involves regular cleaning, immediate attention to spills to prevent water damage, and occasional refinishing to keep your floor looking its best.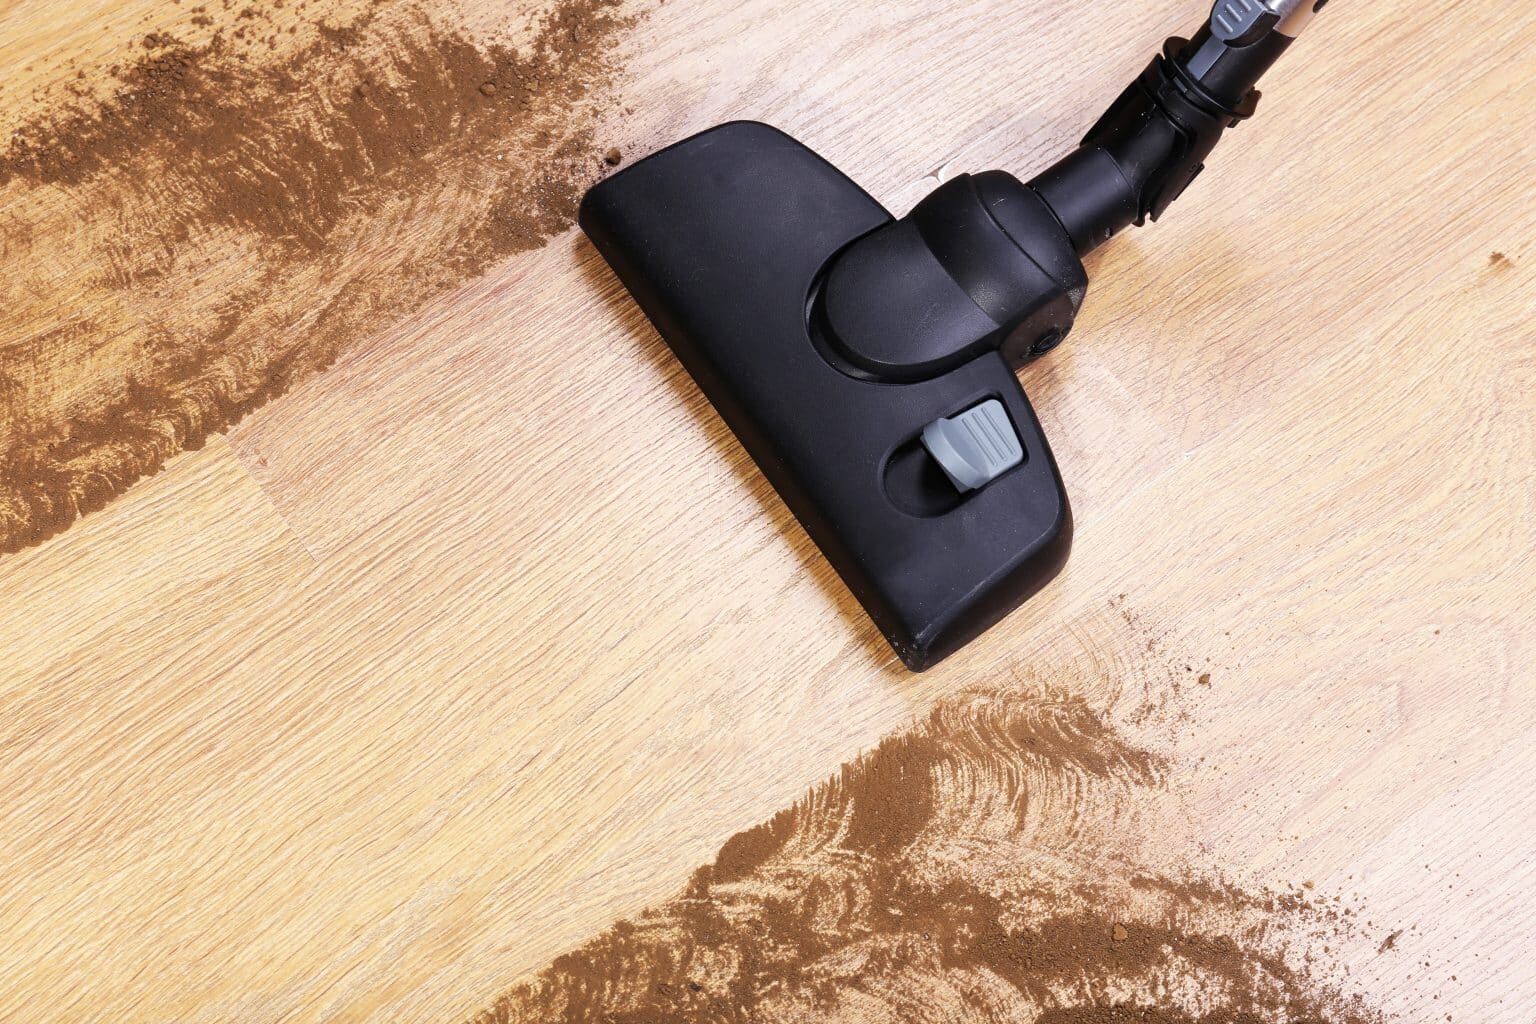
Conclusion
Rebuilding a real wood floor is no small task, but with the right preparation and a step-by-step approach, it’s a project that can completely transform a room. Whether you’re a seasoned DIY enthusiast or planning to hire a professional, understanding the process will help ensure that your new floor is built to last and will look stunning for years to come.Some Useful Links:
- Floor Sanding Services
- School Floor Sanding
- Wood Floor Restorations
- Wood Floor Repairs
- Wood Floor Polishing
More from our Blog:
Refurbishing a Pinewood Floor Lime-Washing Solid Wood Floors: The Ultimate Guide Hardwood vs Softwood Flooring: Detailed Comparison Guide Floor Sanding Basics Part 2 | How to Sand A Floor Combat Noisy Neighbours with Acoustic Soundproofing Under Pine Floorboards

Sanding
We provide virtually dust-free sanding with our continuous belt machinery with mobile extraction units, giving you a safer environment for your family.
Oiling
This organic finish not only adds beauty to your home but also has exceptional water-repellent characteristics, making it easier to clean and maintain.
Waxing
This natural floor finish offers the softest and most mellow appearance – and leaves your floor able to breath.
Buffing
Using soft buffing machines (and hand-polishing where required) will bring a wonderful sheen to your newly-finished floor.
Repairs
We offer a full assessment of your wooden floors to determine what repairs are needed to provide the perfect working surface for the later stages of sanding, staining and sealing.
Restoration
We offer a comprehensive restoration process designed to address floors that are improperly fitted or damaged over time through wear and tear.
Request a fixed price quote for your wood floor restoration now
Simply enter your postcode below to get started.
Services
Wood Floor Sanding Wood Floor Restoration Wood Floor Scratch Repair Squeaky Wood Floor Repair Parquet Floor Sanding Parquet Floor Restoration Commercial Floor Sanding Church Floor Sanding Community Centre Floor Sanding School Floor Sanding Gap Filling Gap Filling with ResinCopyright © Mr Sander®
Privacy & Cookies Terms & Conditions Complaints Procedure Cancellation Rights Sitemap

Get An Instant Price Estimate Before You Go…
Simply enter the rooms you need sanded and we’ll provide you with a price estimate instantly! Try our price calculator now.
Get a Price Estimate NowLocal Floor Sanding Experts
Over 500 5-Star Reviews
Safe, Dust Free Sanding
Operating Since 1994