London:
Nationwide:
25,000+
Floors Restored
27 Years Experience
Wood Flooring Association Certified
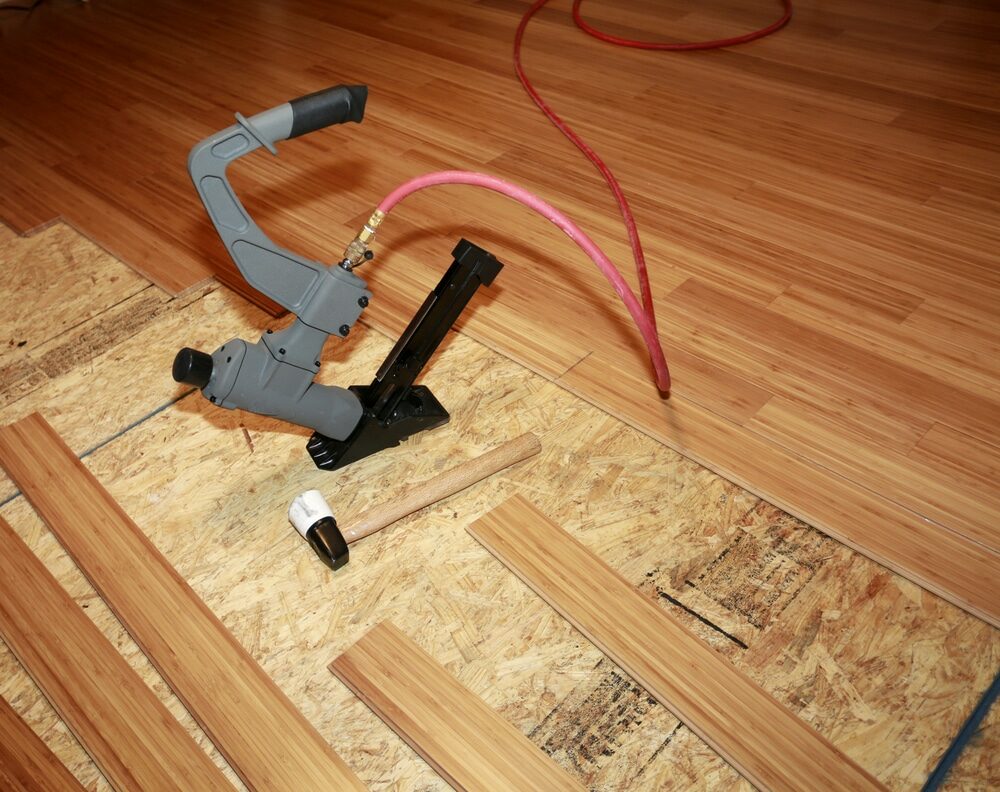
Refurbishing a Pinewood Floor
Posted on July 19, 2023
Articles
Refurbishing a Pinewood Floor: A Comprehensive Guide
Pine wood floors hold a certain timeless charm, evoking a warm and inviting atmosphere that only natural wood can provide. However, over time, these beautiful surfaces can become scratched, stained, or worn down. That’s where refurbishing comes in, and it’s an excellent way to bring your pinewood floor back to life. Refurbishing a pinewood floor can seem like a daunting task. Yet, with the right tools, a bit of patience, and our comprehensive guide, you can undertake this project with confidence.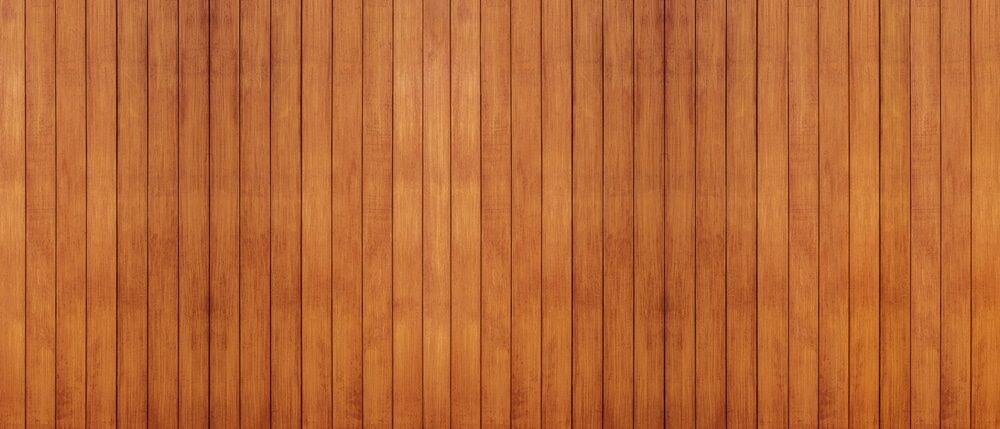
Understanding Pine Wood
Pine is a softwood, which means it’s less resistant to scratches and dents compared to hardwoods like oak or maple. Despite this, pine floors are loved for their unique knots, grain, and warm colors that range from pale yellow to rich golden brown. Pinewood also takes stains and finishes well, which makes it ideal for refurbishing.Why Refurbish Your Pine Wood Floor?
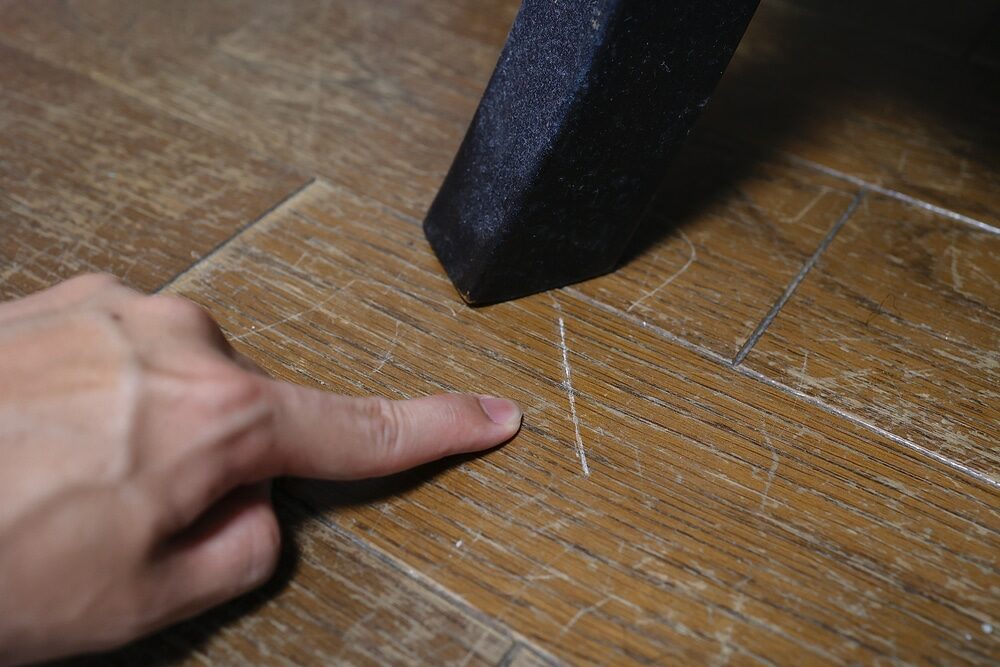
Over time, pine wood floors can lose their shine and become dull due to daily wear and tear. Refurbishing can:- Enhance the aesthetic appeal of your floor.
- Remove any scratches, dents, or stains.
- Extend the life of your floor.
- Increase the value of your property.
- Customise the colour and finish to suit your taste.
Preparing for Refurbishing
To start the refurbishing process, you’ll need to prepare the floor and gather the necessary materials.Cleaning
Begin by thoroughly cleaning the floor to remove any dust, dirt, or grime. This helps ensure a smooth refurbishing process.Gathering Materials
Some essential materials for refurbishing your pine wood floor include:- Drum or orbital sander
- Sandpaper in various grits
- Wood filler (if needed)
- Stain or paint (optional)
- Sealant or varnish
- Brushes or rollers
- Protective gear (gloves, goggles, and mask)
Refurbishing Your Pine Wood Floor: Step-by-Step
Let’s dive into the steps to refurbish your pine wood floor.Step 1: Sanding
Start by sanding the floor using a drum or orbital sander. Begin with coarse-grit sandpaper to remove the old finish and any imperfections. Remember to sand along the grain of the wood to avoid scratches. Once the old finish is removed, gradually move to finer grits to smooth the surface.Step 2: Filling
After sanding, check the floor for any gaps or cracks. If present, use a wood filler that matches the colour of your pine wood to fill these in. Allow the filler to dry completely before proceeding.Step 3: Final Sanding
After filling, perform a final sanding with fine-grit sandpaper. This ensures a perfectly smooth surface for the finish to adhere to.Step 4: Staining (Optional)
If you want to change the colour of your floor or enhance the natural grain of the pine, apply a wood stain. Use a brush or rag to apply the stain, working in the direction of the wood grain. Wipe off any excess stain and allow it to dry thoroughly.Step 5: Sealing
The final step is to apply a sealant or varnish. This will protect your floor from damage and give it a beautiful shine. Apply the sealant with a brush or roller, following the direction of the wood grain. Allow it to dry completely before walking on it.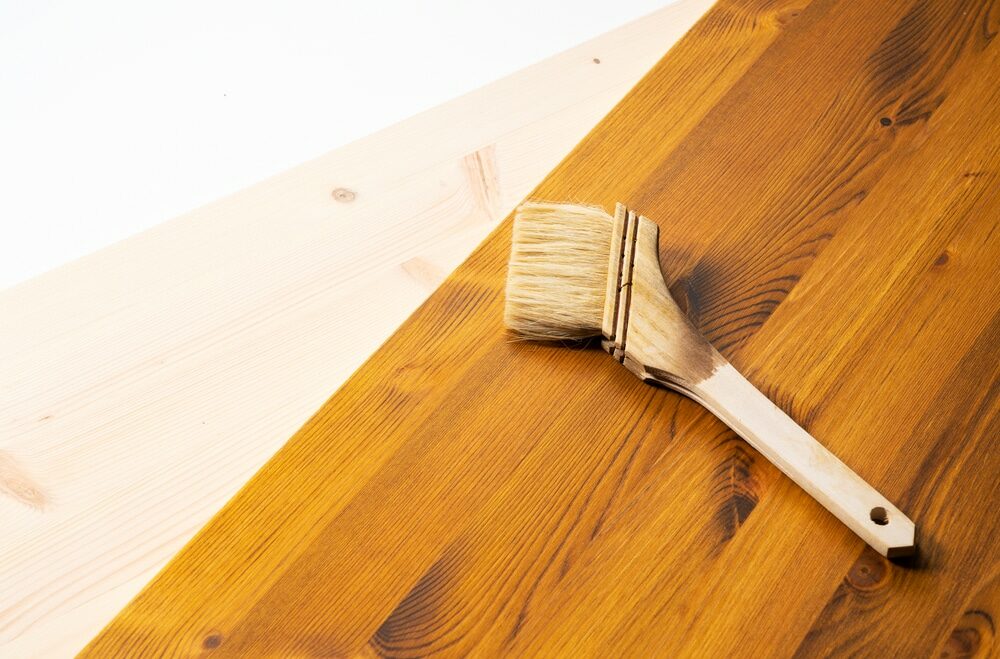
Caring for Your Refurbished Pine Wood Floor
Proper care will keep your refurbished floor looking its best for years to come. Regularly sweep or vacuum to remove dirt and dust. Clean spills immediately to prevent stains, and use protective pads under furniture to avoid scratches. Periodic resealing may also be necessary to maintain its shine and protect the wood.Conclusion
Refurbishing a pine wood floor can breathe new life into your space, highlighting the unique beauty of the wood while providing a fresh, updated look. By following these steps, you can ensure a successful refurbishment project. Remember, the process requires patience and meticulousness, but the result—a beautiful, durable pine wood floor—is well worth the effort.Some Useful Links:
- Floor Sanding Services
- School Floor Sanding
- Wood Floor Restorations
- Wood Floor Repairs
- Wood Floor Polishing
More from our Blog:
Lime-Washing Solid Wood Floors: The Ultimate Guide Hardwood vs Softwood Flooring: Detailed Comparison Guide Floor Sanding Basics Part 2 | How to Sand A Floor Combat Noisy Neighbours with Acoustic Soundproofing Under Pine Floorboards The Positive Floor: Immersive Flooring Innovation at Milan Design Week
Sanding
We provide virtually dust-free sanding with our continuous belt machinery with mobile extraction units, giving you a safer environment for your family.
Oiling
This organic finish not only adds beauty to your home but also has exceptional water-repellent characteristics, making it easier to clean and maintain.
Waxing
This natural floor finish offers the softest and most mellow appearance – and leaves your floor able to breath.
Buffing
Using soft buffing machines (and hand-polishing where required) will bring a wonderful sheen to your newly-finished floor.
Repairs
We offer a full assessment of your wooden floors to determine what repairs are needed to provide the perfect working surface for the later stages of sanding, staining and sealing.
Restoration
We offer a comprehensive restoration process designed to address floors that are improperly fitted or damaged over time through wear and tear.
Request a fixed price quote for your wood floor restoration now
Simply enter your postcode below to get started.
Services
Wood Floor Sanding Wood Floor Restoration Wood Floor Scratch Repair Squeaky Wood Floor Repair Parquet Floor Sanding Parquet Floor Restoration Commercial Floor Sanding Church Floor Sanding Community Centre Floor Sanding School Floor Sanding Gap Filling Gap Filling with ResinCopyright © Mr Sander®
Privacy & Cookies Terms & Conditions Complaints Procedure Cancellation Rights Sitemap

Get An Instant Price Estimate Before You Go…
Simply enter the rooms you need sanded and we’ll provide you with a price estimate instantly! Try our price calculator now.
Get a Price Estimate NowLocal Floor Sanding Experts
Over 500 5-Star Reviews
Safe, Dust Free Sanding
Operating Since 1994