London:
Nationwide:
25,000+
Floors Restored
27 Years Experience
Wood Flooring Association Certified
Floor Sanding Basics Part 2 | How to Sand A Floor
Posted on July 19, 2023
Floor Sanding Services News
Comprehensive Guide to Sanding Wood Floors – Part 2
Sanding a wooden floor can seem like a daunting task, but with the right knowledge and tools, it can be a satisfying DIY project that saves you time and money. In Part 1, we discussed the preparation and importance of a dust-free space, safety measures, and the selection of the right sanding tools. Here, in Part 2, we dive into the actual process of sanding a floor, step by step.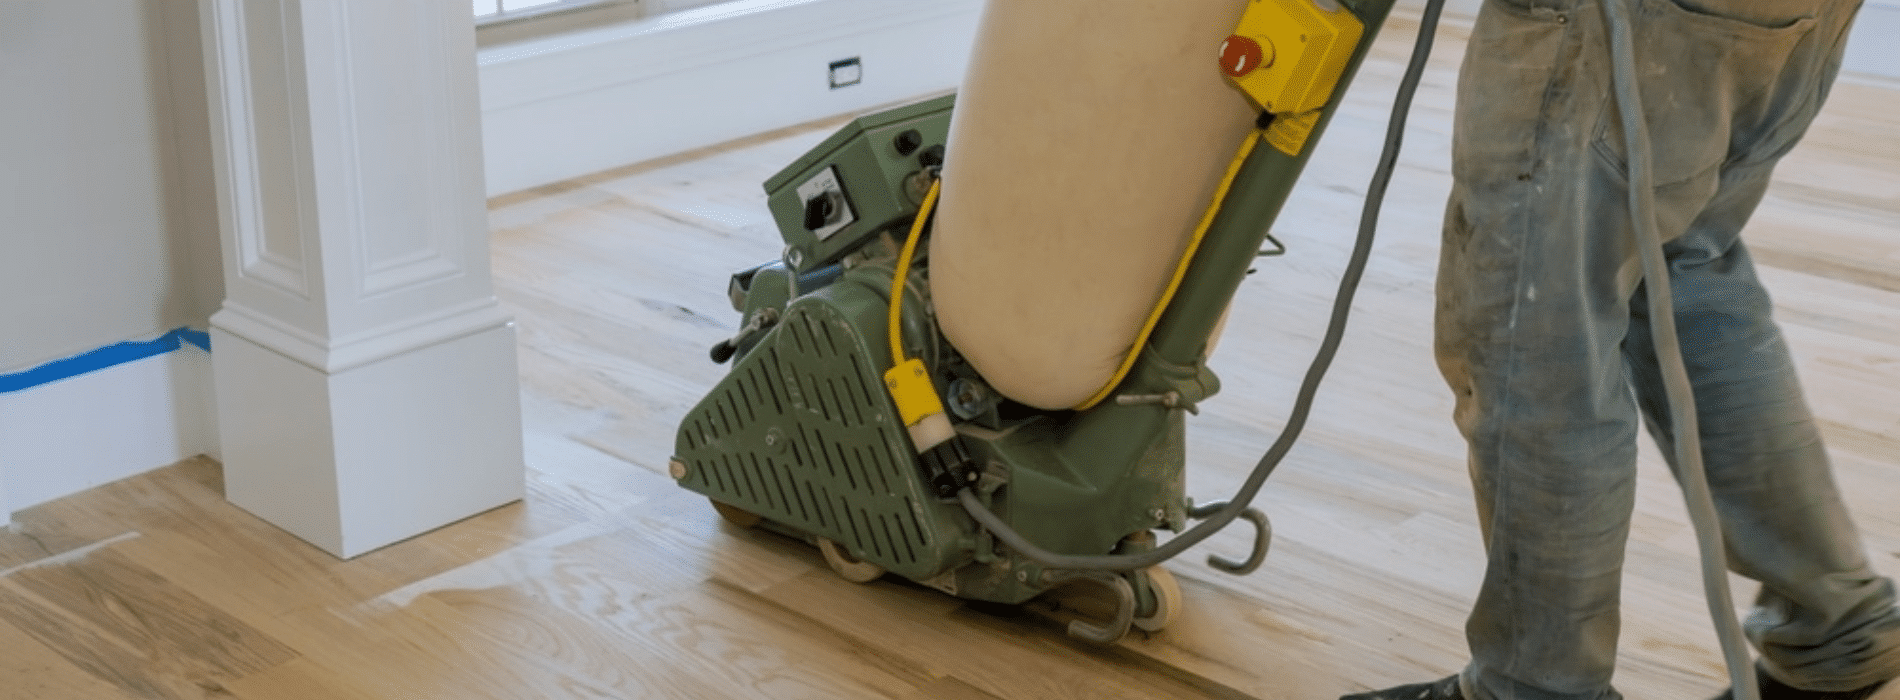
Understanding the Sanding Process
Before we begin, it’s crucial to understand that the sanding process comprises three primary stages: rough, medium, and fine sanding. Each of these stages is intended to gradually reduce the surface roughness of the floor, leading to a smooth finish that’s ready for staining or sealing.Rough Sanding
This initial phase is about removing old finishes, surface stains, scratches, and levelling the floor. We use coarse-grit sandpaper, usually between 24 and 36 grit, depending on the condition of the floor.Medium Sanding
In the medium phase, we aim to remove the scratch marks left by the coarse-grit paper. We switch to medium-grit paper, typically 50–60 grit.Fine Sanding
In the final sanding phase, the objective is to smooth out the surface as much as possible. Here, we use a fine-grit paper, commonly 80–100 grit, to achieve a polished, smooth finish.Step 1: Beginning with Rough Sanding
The first step in the actual sanding process is rough sanding.Choosing the Right Sandpaper
Choose a coarse-grit sandpaper that best fits your needs. If the floor is severely damaged or has a thick layer of finish or paint, 24-grit sandpaper is a good choice. If the floor is in better condition, you may start with 36-grit paper.Sanding Techniques
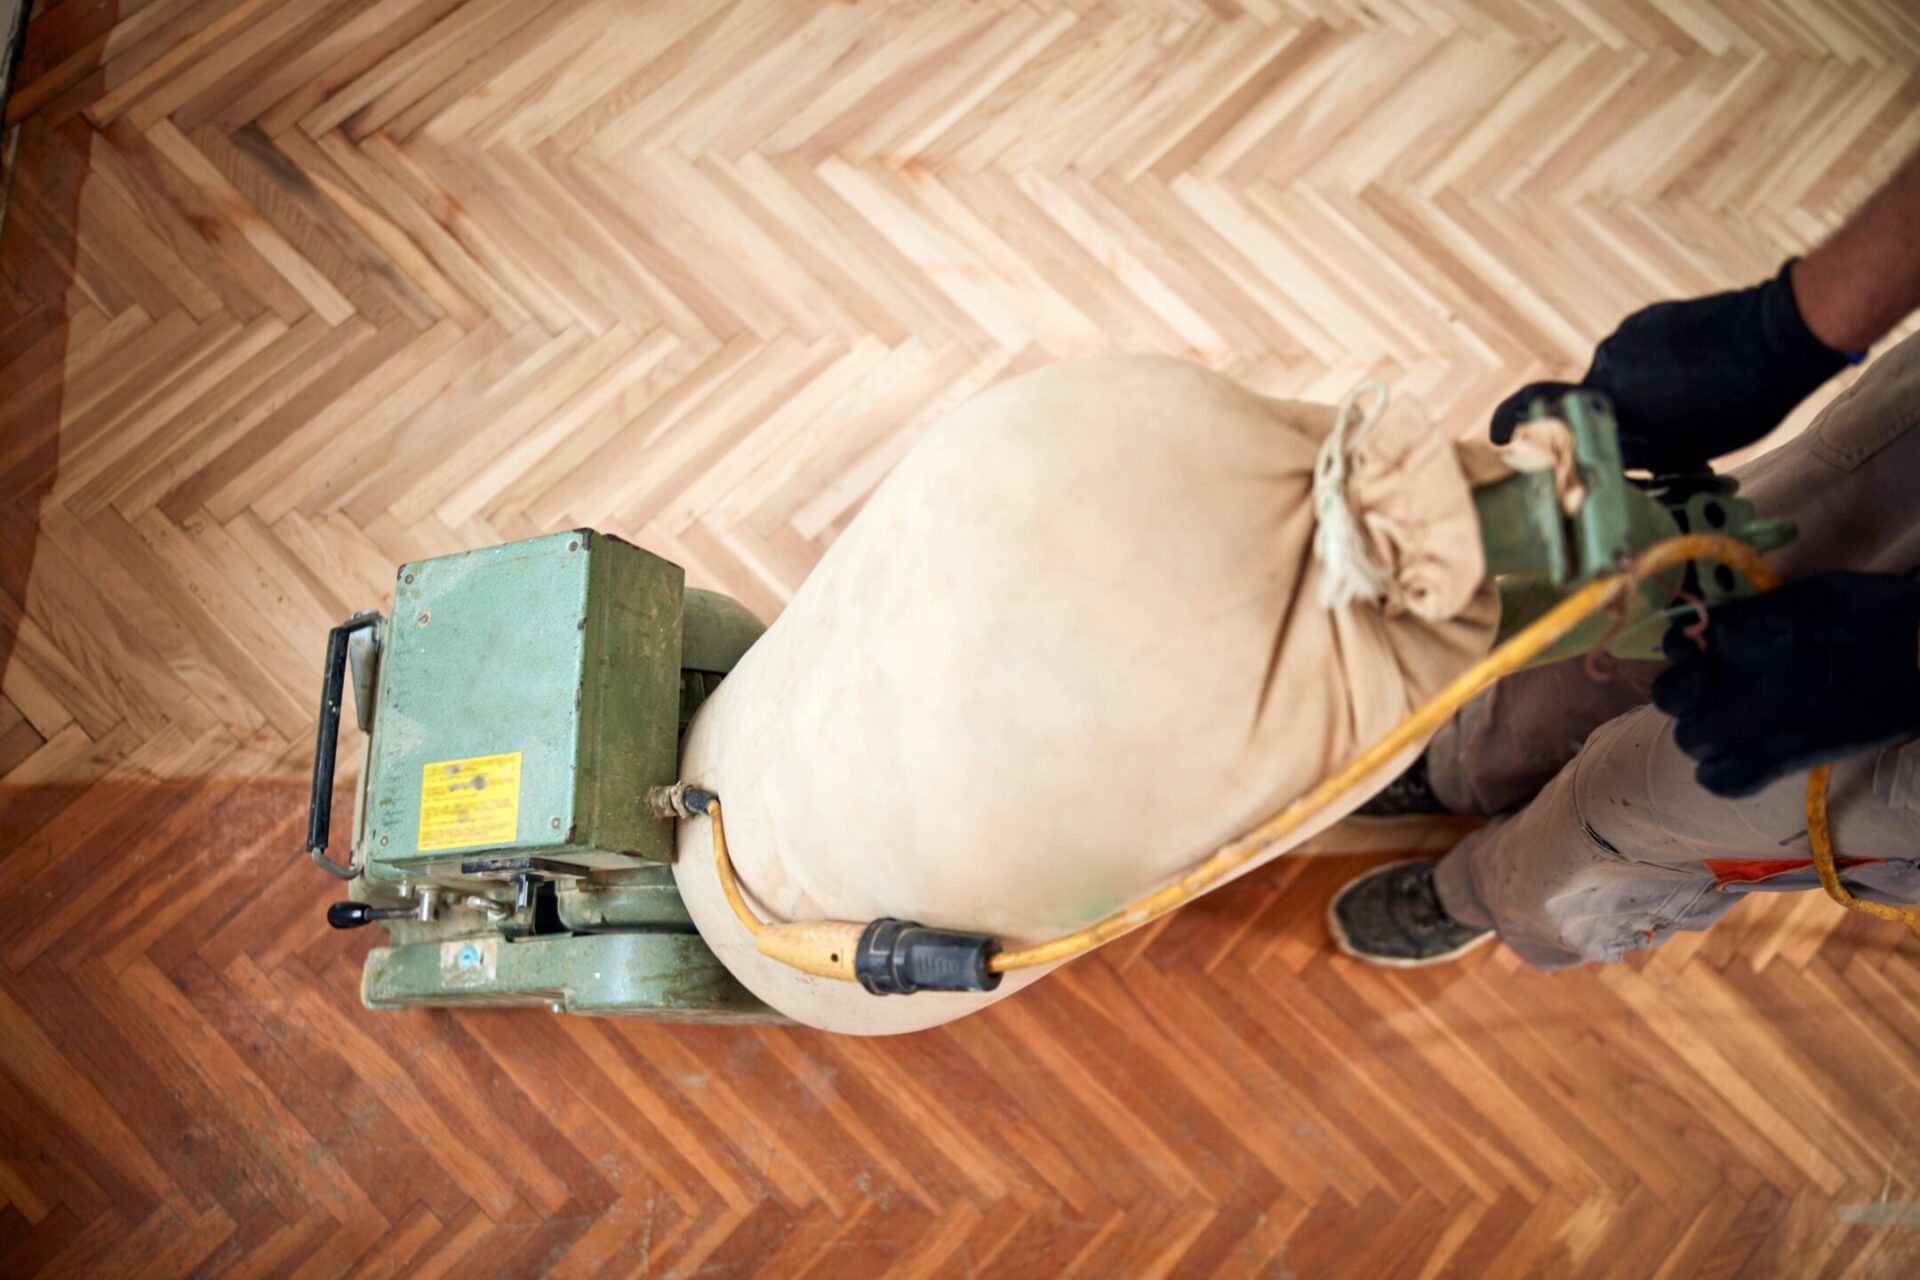
Ensure the drum sander is turned on before it comes into contact with the floor. Starting at one end of the room, sand along the grain of the wood, not against it. Move the sander steadily and never let it sit idle on one spot, as it can cause depressions in the floor.Inspecting Your Progress
After completing the first pass, inspect the floor carefully. You should see a noticeable difference where the sander has passed. Repeat the process if necessary, but remember that over-sanding can thin your floor and potentially damage it.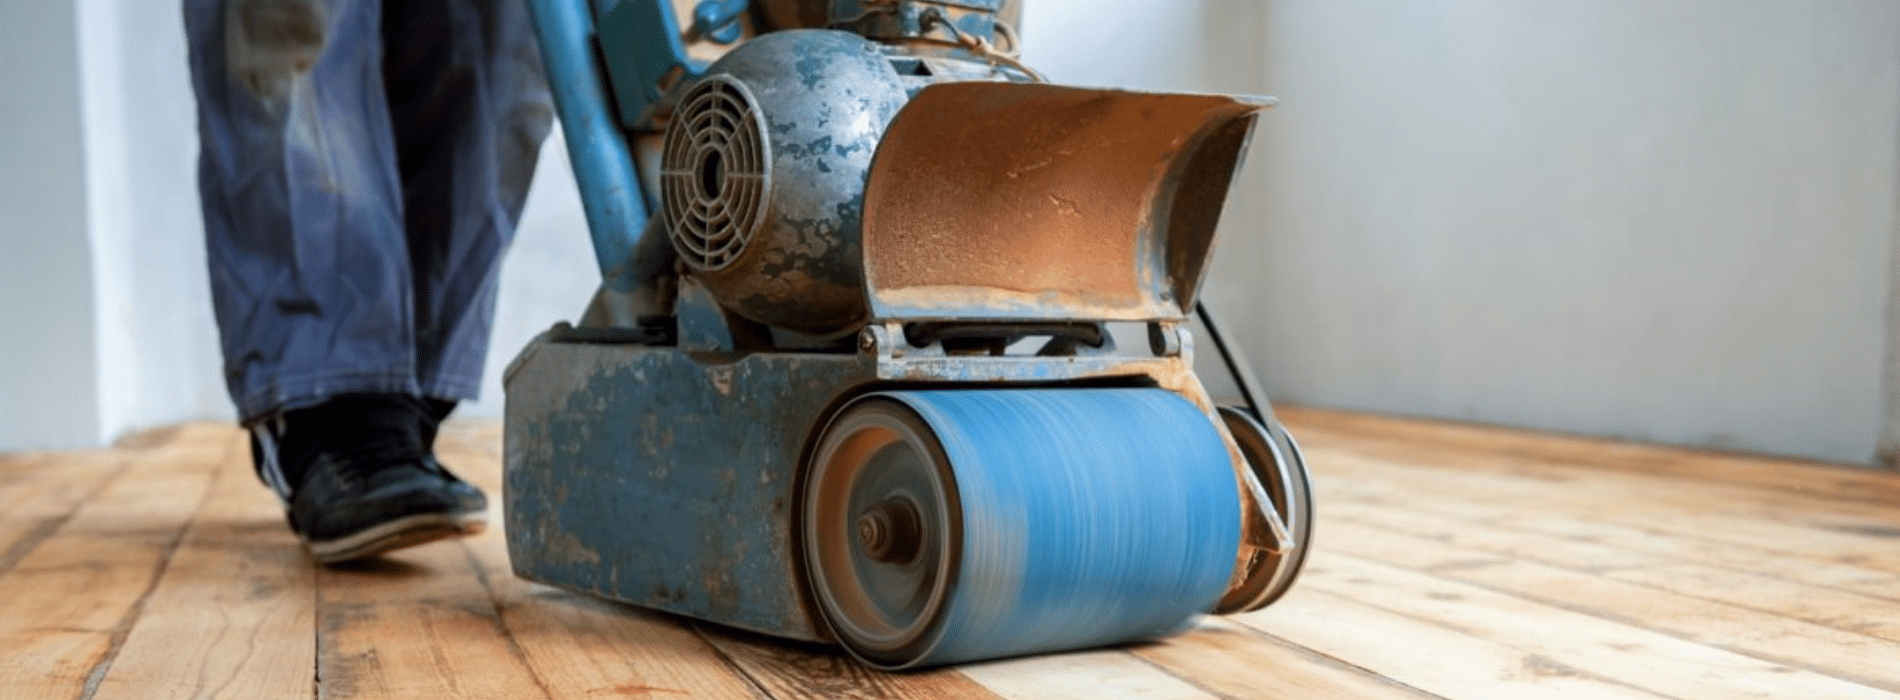
Step 2: Transitioning to Medium Sanding
Once you’re satisfied with the results of the rough sanding, it’s time to switch to medium-grit sandpaper.Switching Sandpaper
Now, replace your coarse-grit sandpaper with medium-grit paper. This is a crucial step, as this grit will effectively remove the scratches left by the initial coarse-grit paper.Follow the Same technique.
Continue to sand the floor using the same technique as before, maintaining steady, even movements. Check your progress frequently and ensure you’re not missing any spots.
Step 3: Concluding with Fine Sanding
The final phase of the sanding process is the fine sanding, which will give the floor its smooth finish.Time for Fine Grit
Replace your medium-grit paper with fine-grit paper. This will polish the floor, smoothing out any remaining irregularities and providing a finish that’s ready for staining or sealing.The Final Sanding Run
Make the final sanding pass over the entire floor, maintaining the same steady, even motion. At this stage, the floor should become notably smoother.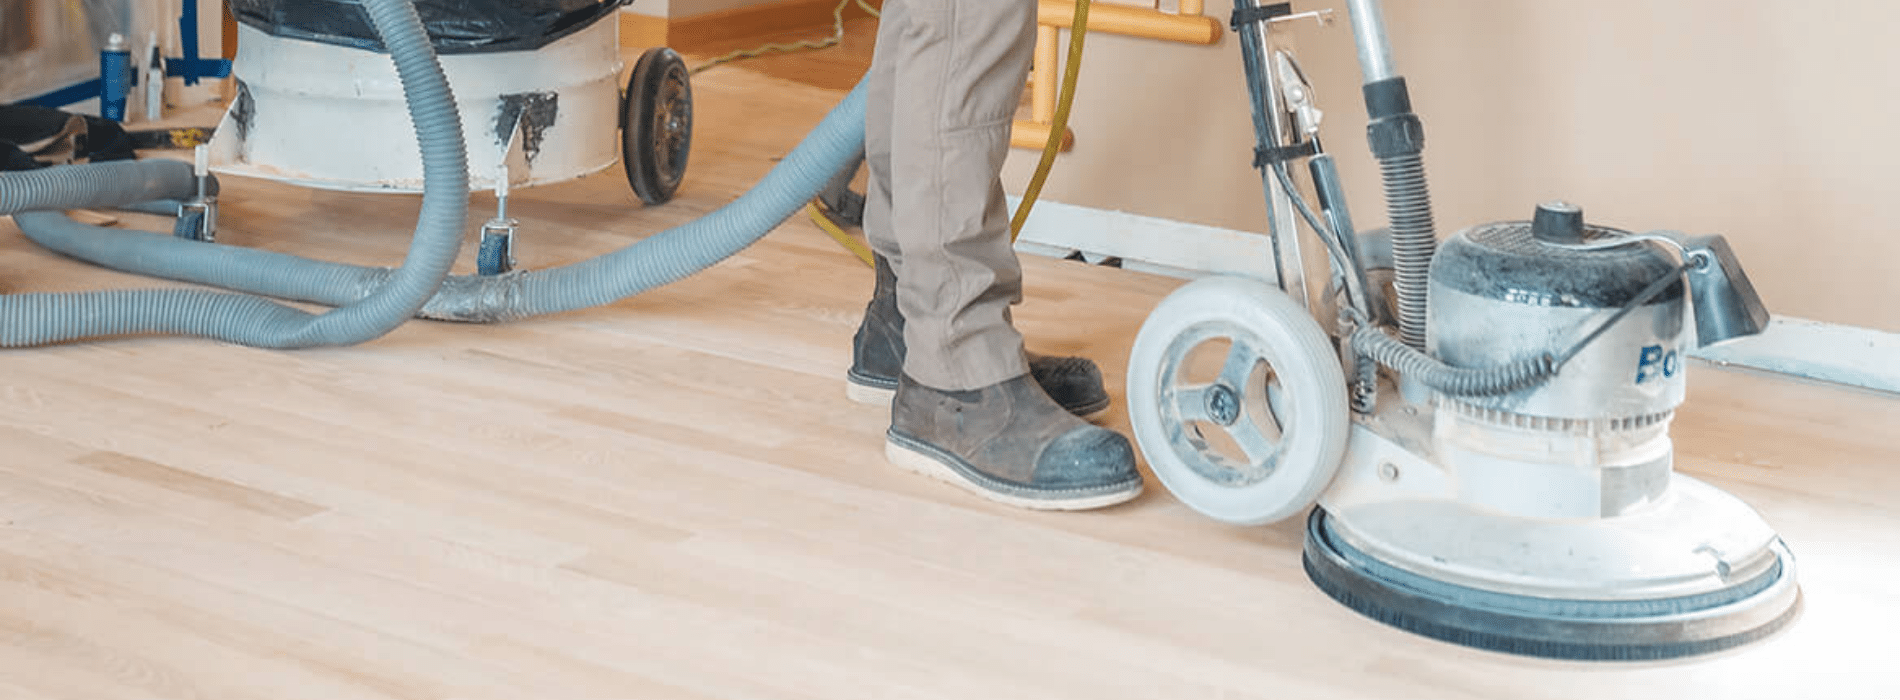
Step 4: Corner and Edge Sanding
Remember, the drum sander can’t reach the corners and edges of your room. For this, you will need an edge sander or a handheld orbital sander.Careful Sanding
Sand the edges and corners carefully, following the same grit sequence as with the rest of the floor. Be careful not to dig into the wood, as these machines can be quite powerful.Step 5: Clean and Inspect
After the sanding process is complete, thoroughly clean the floor. Then, inspect it carefully under good light for any missed spots or imperfections. If you find any, you might need to spot-sand these areas.Step 6: Prepare for Finishing
Now that your floor is sanded and smooth, it’s ready for finishing. In the next part of this series, we’ll discuss choosing the right finish and how to apply it for a stunning result. Sanding a wood floor can be a long, laborious process, but the end result—a beautifully smooth, revitalised wooden floor—makes all that effort worthwhile. With the steps detailed above, you should be well-equipped to tackle your wood floor sanding project. Remember, the key is patience, careful technique, and the right tools. Good luck!
Some Useful Links:
- Floor Sanding Services
- School Floor Sanding
- Wood Floor Restorations
- Wood Floor Repairs
- Wood Floor Polishing
More from our Blog:
Combat Noisy Neighbours with Acoustic Soundproofing Under Pine Floorboards The Positive Floor: Immersive Flooring Innovation at Milan Design Week Hardwood Floor Company Makes Millions | Mohawk Industries’ Remarkable Q4 2010 Performance Filling the Gaps: Choosing the Right Method for Your Victorian or Georgian Floorboards Choosing Hardwood Floors for a Lifetime: Durability, Care, and Maintenance

Sanding
We provide virtually dust-free sanding with our continuous belt machinery with mobile extraction units, giving you a safer environment for your family.
Oiling
This organic finish not only adds beauty to your home but also has exceptional water-repellent characteristics, making it easier to clean and maintain.
Waxing
This natural floor finish offers the softest and most mellow appearance – and leaves your floor able to breath.
Buffing
Using soft buffing machines (and hand-polishing where required) will bring a wonderful sheen to your newly-finished floor.
Repairs
We offer a full assessment of your wooden floors to determine what repairs are needed to provide the perfect working surface for the later stages of sanding, staining and sealing.
Restoration
We offer a comprehensive restoration process designed to address floors that are improperly fitted or damaged over time through wear and tear.
Request a fixed price quote for your wood floor restoration now
Simply enter your postcode below to get started.
Services
Wood Floor Sanding Wood Floor Restoration Wood Floor Scratch Repair Squeaky Wood Floor Repair Parquet Floor Sanding Parquet Floor Restoration Commercial Floor Sanding Church Floor Sanding Community Centre Floor Sanding School Floor Sanding Gap Filling Gap Filling with ResinCopyright © Mr Sander®
Privacy & Cookies Terms & Conditions Complaints Procedure Cancellation Rights Sitemap

Get An Instant Price Estimate Before You Go…
Simply enter the rooms you need sanded and we’ll provide you with a price estimate instantly! Try our price calculator now.
Get a Price Estimate NowLocal Floor Sanding Experts
Over 500 5-Star Reviews
Safe, Dust Free Sanding
Operating Since 1994