London:
Nationwide:
25,000+
Floors Restored
27 Years Experience
Wood Flooring Association Certified
Lime-Washing Solid Wood Floors: The Ultimate Guide
Posted on July 19, 2023
Blog
Lime-Washing Solid Wood Floors: An In-Depth Guide
Lime-washing is a wood finishing technique that has been used for centuries. It offers an aged, whitewashed look that brings a unique and rustic charm to any space. This technique is especially popular for solid wood floors due to the beautiful grain and texture it reveals. If you’re considering lime-washing your solid wood floors, this comprehensive guide will provide you with the knowledge and steps to achieve the desired results.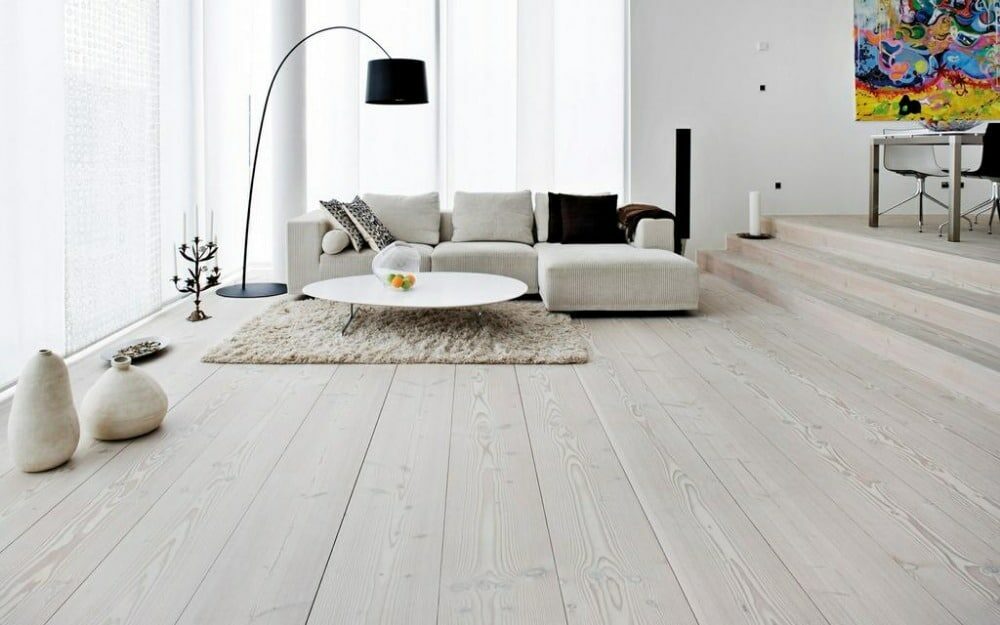
Understanding Lime-Washing
Before delving into the process, it’s important to understand what limewashing entails. Essentially, lime-washing, also known as whitewashing, is a method of staining wood to achieve a light, semi-transparent finish. This technique highlights the wood’s natural grain and creates a gentle, calming aesthetic. Lime-washing is an ideal option for those wanting to lighten their floors without entirely concealing the wood’s natural beauty.Why Lime-Wash Solid Wood Floors?
Aesthetic Appeal
Lime-washing enhances the aesthetic appeal of your wood floors. It lends a warm, rustic charm and a sense of age and history, even to newly installed floors.Highlight Wood Grain
The process of lime-washing allows the natural grain of the wood to shine through, showcasing the texture and depth of your solid wood floors.Brighten Up spaces.
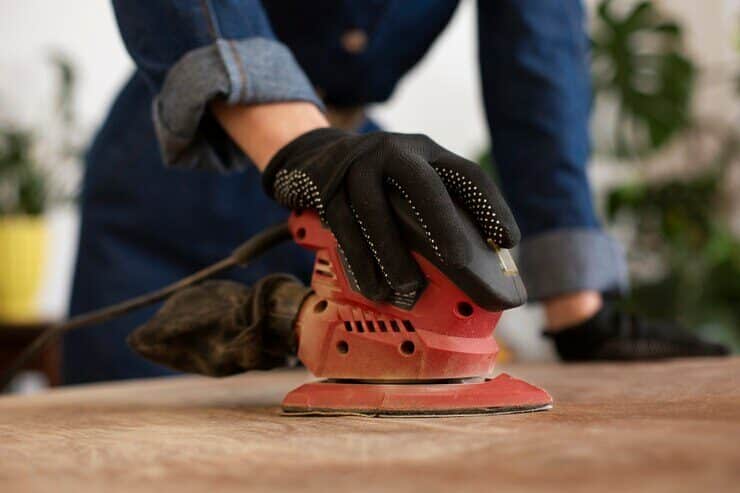
Lime-washed floors reflect light well, helping to brighten up spaces. This can make smaller rooms appear more spacious.Preparing for Lime-Washing
Before starting the lime-washing process, ensure your solid wood floors are thoroughly clean and free of dust, dirt, and grime. If your floors have a previous finish, you’ll need to sand them down. This ensures the limewash adheres properly.Gather Materials
The materials you will need for limewashing include:- Lime-wash
- Paintbrush or paint roller
- Clean rags
- Protective gear (gloves, goggles, and a mask)
- Paint trays
- Clear sealant (optional)
The Lime-Washing Process
Now, let’s get into the step-by-step process of lime-washing your solid wood floors.Step 1: Apply the lime wash.
Begin by stirring your limewash to ensure the pigment is evenly distributed. Pour some limewash into your paint tray, then, using a paintbrush or roller, apply the limewash to your floor. Work in small sections to maintain control and ensure an even application. Remember, limewash dries quickly!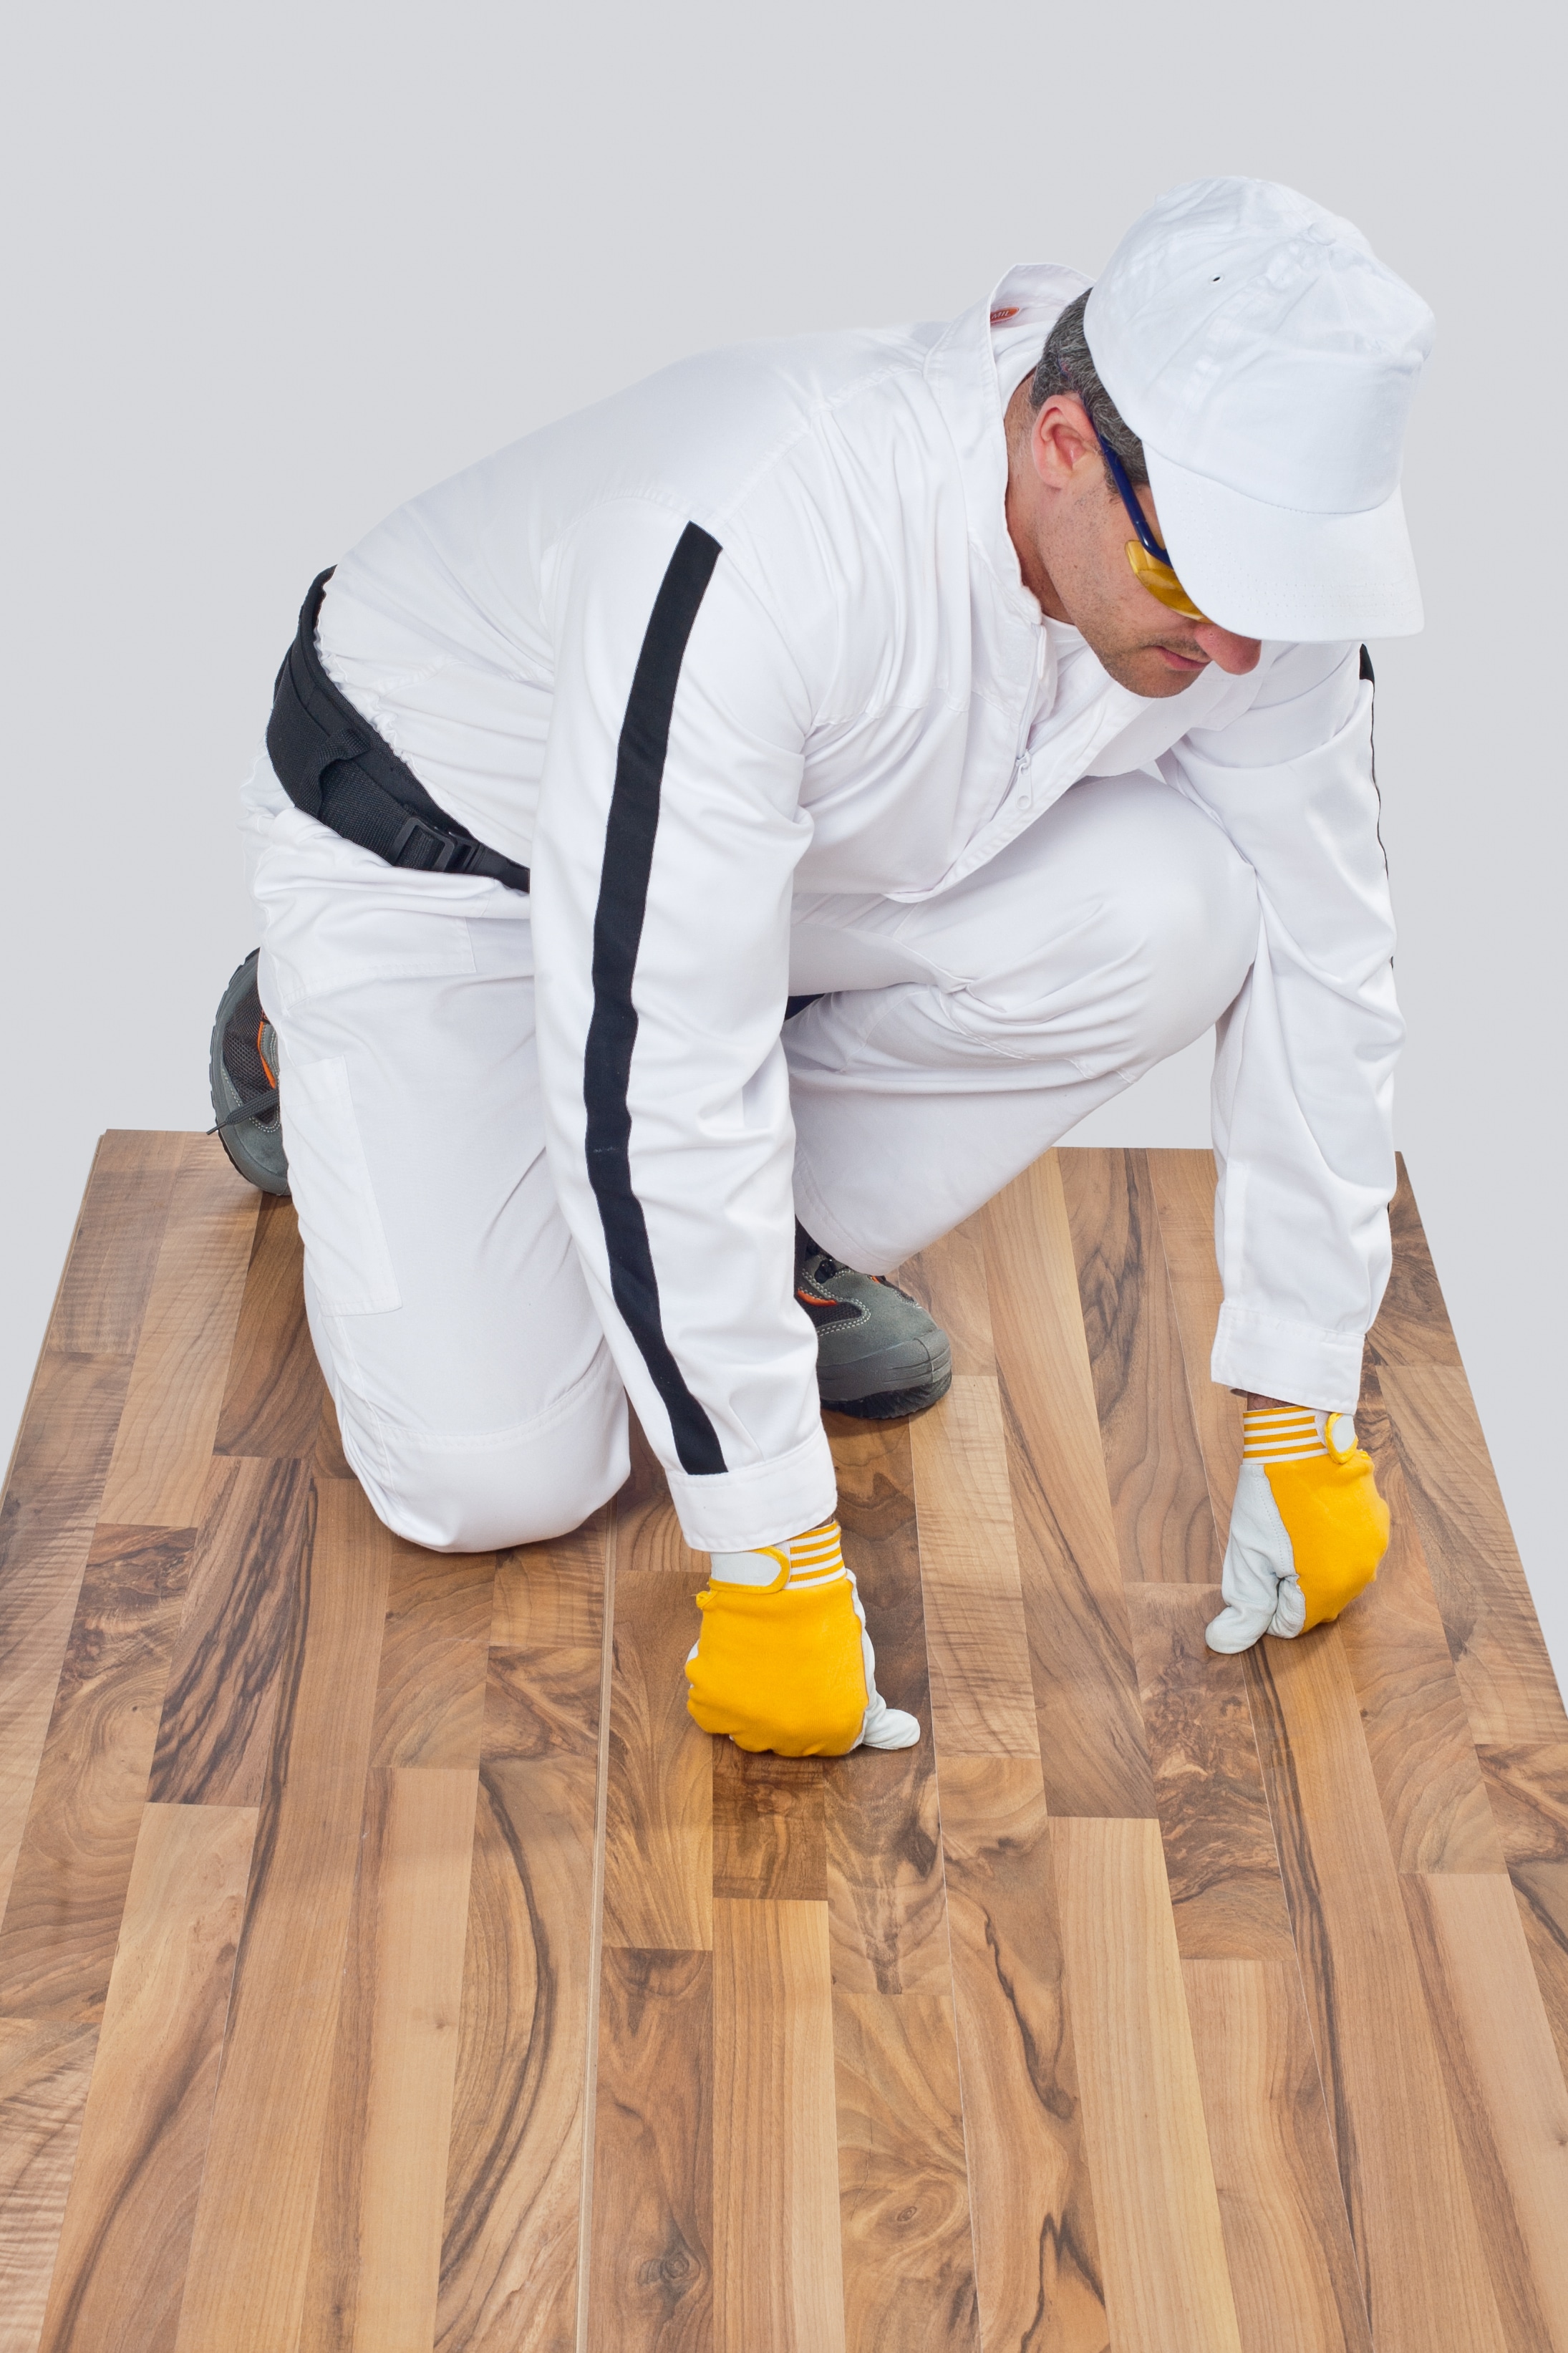
Step 2: Wipe Off Excess Lime-Wash
Once you’ve applied the limewash to a section of your floor, use a clean rag to wipe off the excess. This step allows the wood grain to show through. The more limewash you wipe off, the more of the wood grain will be visible.Step 3: Continue the Process
Repeat steps 1 and 2 until your entire floor is lime-washed. Ensure consistency in your application and wiping technique for a uniform look. Remember to work quickly and efficiently, as limewash dries fast. Step 4: Second Coat For a more opaque finish, you may opt for a second coat. Simply repeat the process once the first coat has dried completely. Step 5: Apply a Clear Sealant Once the limewash is completely dry, you may choose to apply a clear sealant. While this step is optional, a sealant can provide added protection to your floors, making them more durable and easier to clean.
Caring for Lime-Washed Floors
Lime-washed floors are relatively low-maintenance. Regular sweeping or vacuuming will help keep them clean. For deeper cleaning, a damp mop with a mild detergent should suffice. Avoid using harsh cleaners, as they can damage the limewash finish.The Charm of Lime-Washed Floors
Lime-washing is a wonderful technique to bring a touch of antiquity and warmth to your space. This timeless technique not only enhances the natural beauty of your solid wood floors but also imparts a unique character that’s truly captivating. Remember, preparation and patience are the key to a successful limewashing project. By taking the time to prepare your floors and carefully applying the limewash properly, you’re sure to create a beautiful, durable finish that will serve your home for years to come. Happy lime-washing!Some Useful Links:
- Floor Sanding Services
- School Floor Sanding
- Wood Floor Restorations
- Wood Floor Repairs
- Wood Floor Polishing
More from our Blog:
Hardwood vs Softwood Flooring: Detailed Comparison Guide Floor Sanding Basics Part 2 | How to Sand A Floor Combat Noisy Neighbours with Acoustic Soundproofing Under Pine Floorboards The Positive Floor: Immersive Flooring Innovation at Milan Design Week Hardwood Floor Company Makes Millions | Mohawk Industries’ Remarkable Q4 2010 Performance


Sanding
We provide virtually dust-free sanding with our continuous belt machinery with mobile extraction units, giving you a safer environment for your family.
Oiling
This organic finish not only adds beauty to your home but also has exceptional water-repellent characteristics, making it easier to clean and maintain.
Waxing
This natural floor finish offers the softest and most mellow appearance – and leaves your floor able to breath.
Buffing
Using soft buffing machines (and hand-polishing where required) will bring a wonderful sheen to your newly-finished floor.
Repairs
We offer a full assessment of your wooden floors to determine what repairs are needed to provide the perfect working surface for the later stages of sanding, staining and sealing.
Restoration
We offer a comprehensive restoration process designed to address floors that are improperly fitted or damaged over time through wear and tear.
Request a fixed price quote for your wood floor restoration now
Simply enter your postcode below to get started.
Services
Wood Floor Sanding Wood Floor Restoration Wood Floor Scratch Repair Squeaky Wood Floor Repair Parquet Floor Sanding Parquet Floor Restoration Commercial Floor Sanding Church Floor Sanding Community Centre Floor Sanding School Floor Sanding Gap Filling Gap Filling with ResinCopyright © Mr Sander®
Privacy & Cookies Terms & Conditions Complaints Procedure Cancellation Rights Sitemap

Get An Instant Price Estimate Before You Go…
Simply enter the rooms you need sanded and we’ll provide you with a price estimate instantly! Try our price calculator now.
Get a Price Estimate NowLocal Floor Sanding Experts
Over 500 5-Star Reviews
Safe, Dust Free Sanding
Operating Since 1994