London:
Nationwide:
25,000+
Floors Restored
27 Years Experience
Wood Flooring Association Certified
Belt Sanding Techniques for Staining Your Floors
Posted on September 12, 2023
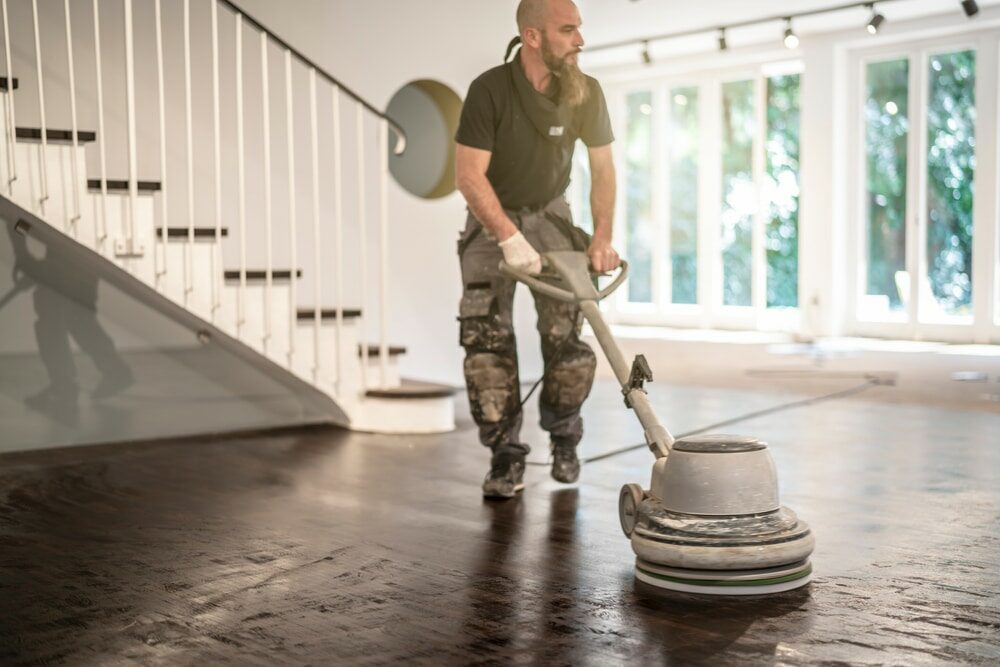
Belt sanding
Belt Sanding Techniques for Staining Your Floors: A Comprehensive Guide
If you’re on a quest to revitalise the grandeur of your wooden floors, the incorporation of belt sanding techniques before staining is a paramount consideration. Steeped in tradition and precise craftsmanship, the art of belt sanding requires an acute attention to detail and understanding, to bestow upon your floors a pristine finish, worthy of admiration. Allow us to walk you hand in hand through an in-depth exploration of belt sanding techniques, which will aid in achieving a stained floor that echoes timelessness and refinement.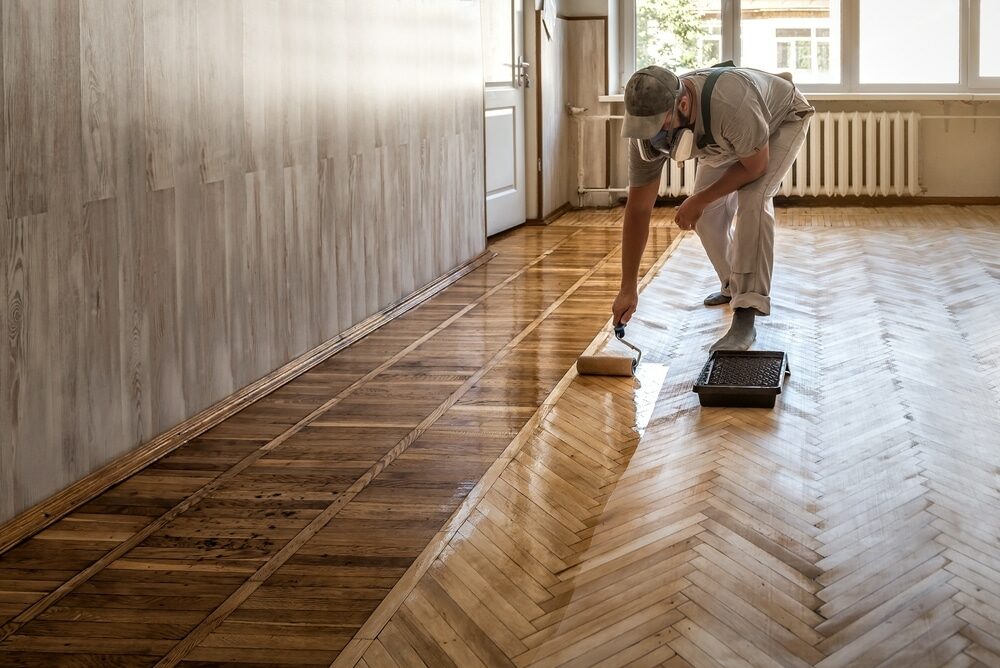
Introduction: A Prelude to Excellence
The quaint charm of wooden floors is something that never goes out of fashion. The rich, earthy tones coupled with a natural grainy texture can bring unparalleled warmth and rustic grace to any space. However, as time marches on, these floors may lose their lustre, calling for a much-needed rejuvenation. This is where the traditional yet highly effective method of belt sanding steps in, preparing your floor for a vibrant and fresh layer of stain. Let’s dive into this intricately detailed guide to belt sanding techniques, specifically crafted to aid you in your floor staining venture.Chapter 1: The Art of Preparation
Before embarking on this journey, it is imperative to be armed with the necessary knowledge and tools. The act of preparation, although seemingly mundane, holds a pivotal role in determining the final outcome.1.1 Understanding Your Floor
First and foremost, take a moment to understand the nature of your floor. Different woods react differently to sanding and staining. Take note of any inconsistencies, blemishes, or stains that might require special attention.1.2 Gathering the Right Tools
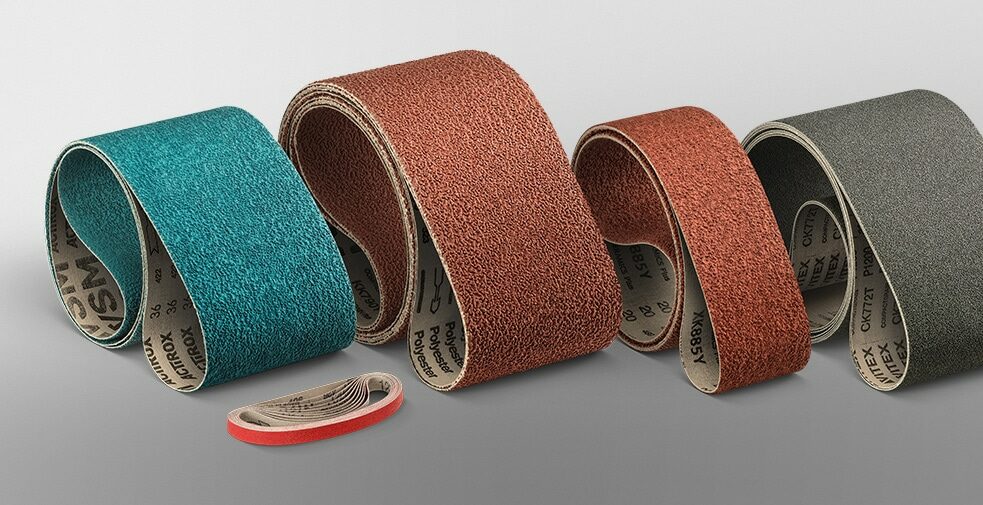
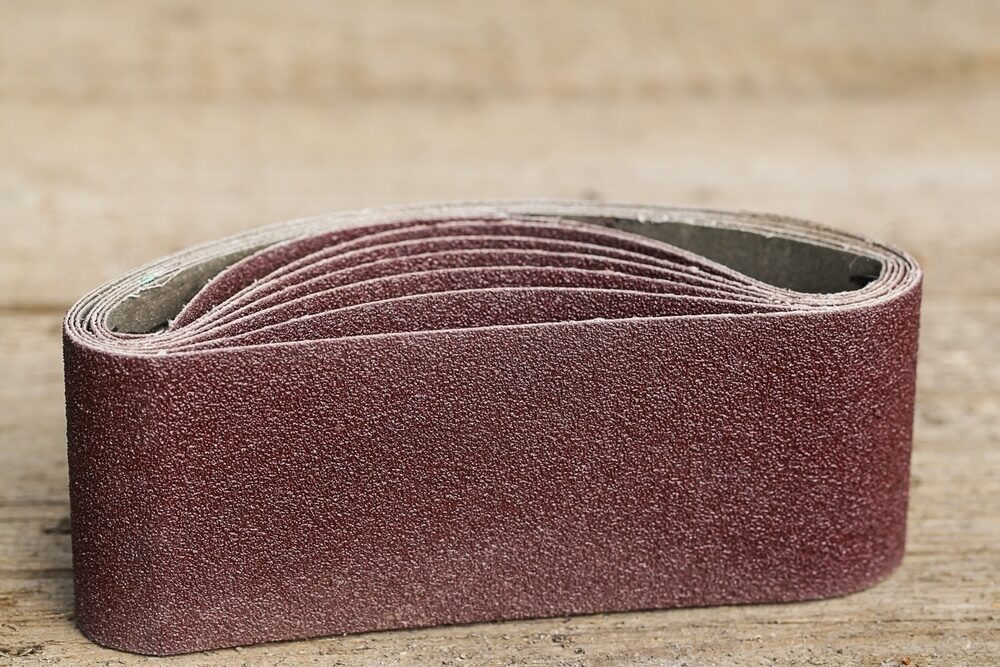
An essential aspect of any project is having the correct tools at your disposal. Ensure to have a reliable belt sander along with a range of sandpaper grits to cater to the different stages of the sanding process.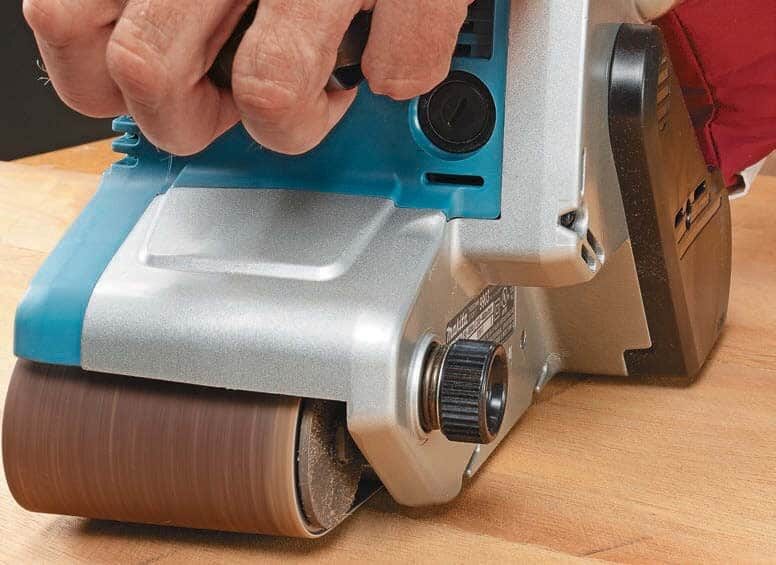
1.3 Safety First
Do not overlook the importance of safety. Equip yourself with safety glasses, ear protection, and a dust mask to safeguard against potential hazards.Chapter 2: Commencing the Belt Sanding Process
As we venture further, we approach the heart of the process, where skill meets action. Let us navigate through the various stages that comprise the belt sanding process.2.1 Starting with Coarse Grit
Initiate the process with coarse-grit sandpaper, typically ranging between 40 and 60 grit. This initial phase is instrumental in removing the old finish and levelling the surface.2.2 Midway: Transition to Medium Grit
Once the initial phase is complete, transition to medium-grit sandpaper, ideally in the range of 80–100 grit. This phase aids in smoothing out the roughness created during the initial sanding.2.3 The Finishing Touch: Fine Grit Sanding
For the final sanding phase, switch to a fine-grit sandpaper, between 120 and 150 grit, to achieve a smooth and polished surface that’s ready to absorb the stain uniformly.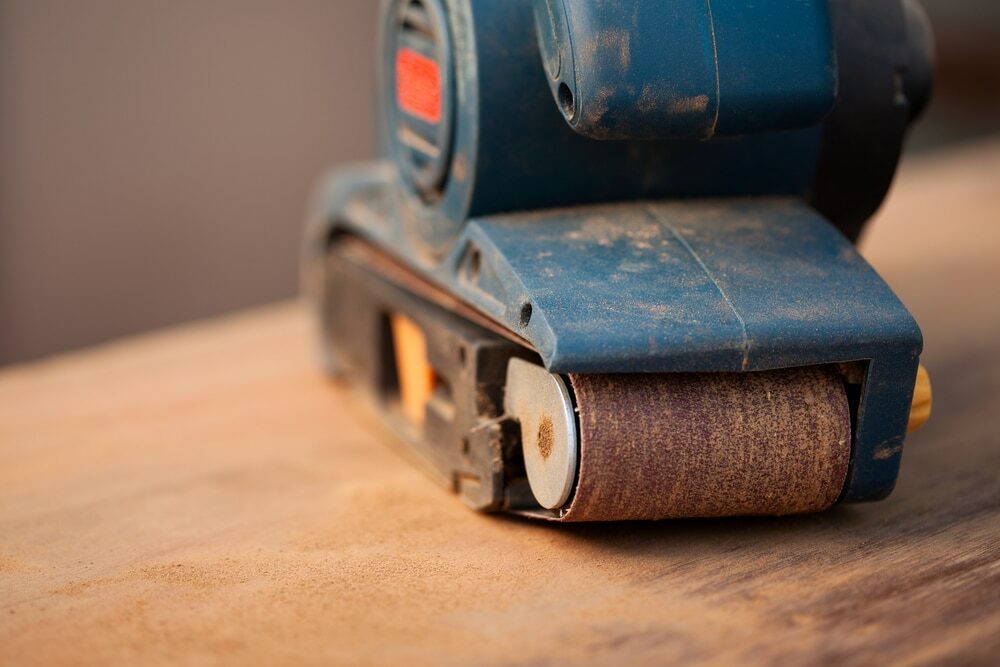
Chapter 3: The Technique of Belt Sanding
Here, we delve into the techniques of belt sanding, a critical component that distinguishes an average outcome from a masterful finish.3.1 Maintaining a Steady Pace
It is of utmost importance to maintain a steady pace while sanding. A rushed job can lead to uneven surfaces and a less-than-perfect finish.3.2 Sanding Along the Grain
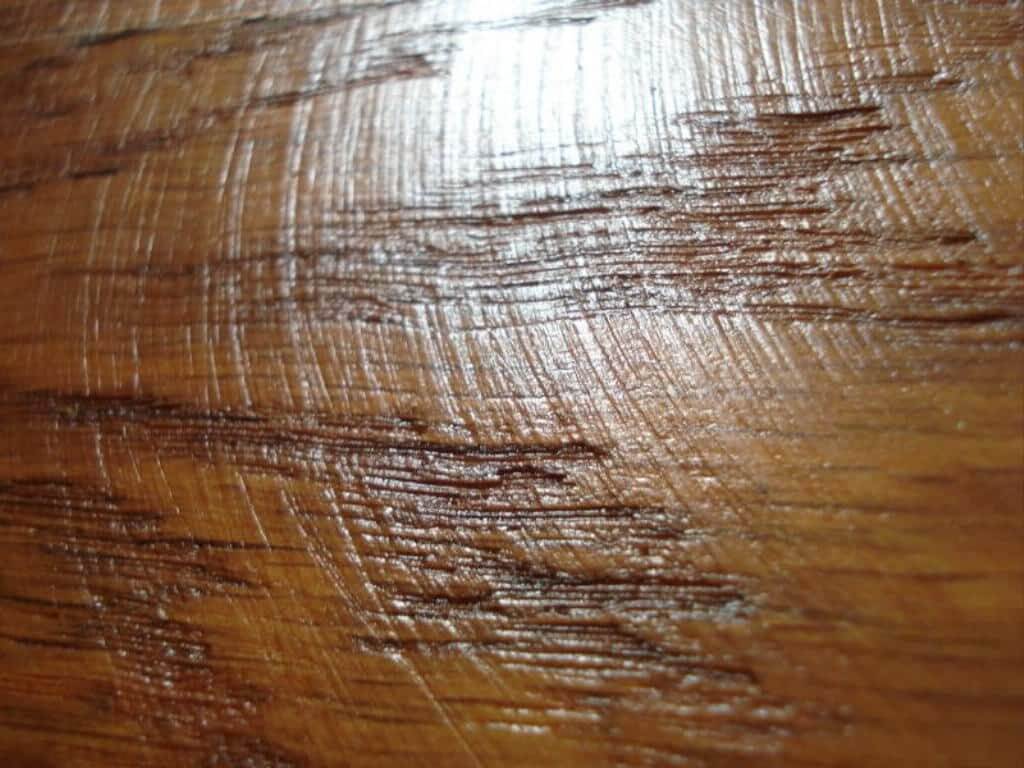
Ensure to sand along the grain of the wood to avoid scratches and maintain the natural beauty and texture of the wood.3.3 Periodic Sandpaper Change
To maintain efficiency and achieve the desired results, remember to change the sandpaper periodically, as it tends to wear out with use.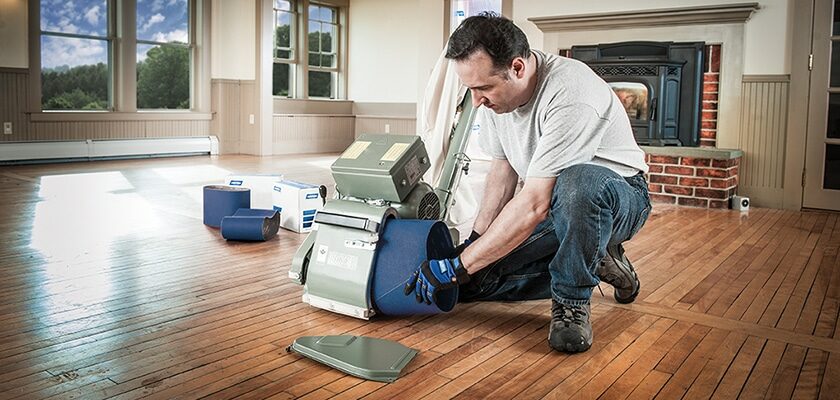
Chapter 4: The Grand Finale: Preparing for Staining
As we approach the grand finale of our project, the floor is prepared to embrace a fresh coat of stain, promising a new lease on life.4.1 Dust Removal
Post-sanding, it is crucial to remove all the dust and debris from the surface. A clean surface ensures even absorption of the stain.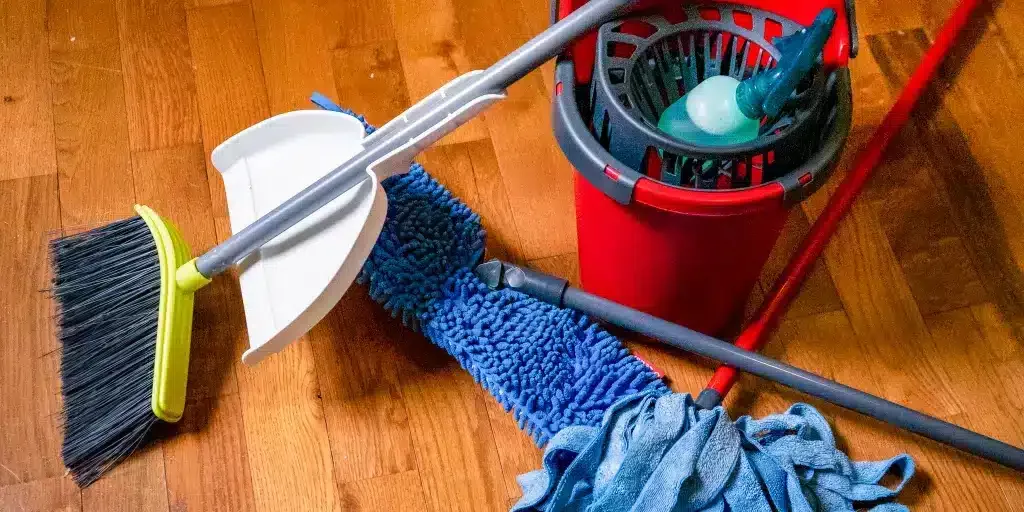
4.2 Testing the Stain
Before committing to staining the entire floor, conduct a patch test in a less noticeable corner to ensure the chosen stain complements your floor.4.3 Applying the Stain
With a well-prepared surface at hand, proceed to apply the stain, working in small sections and maintaining a wet edge to avoid lap marks.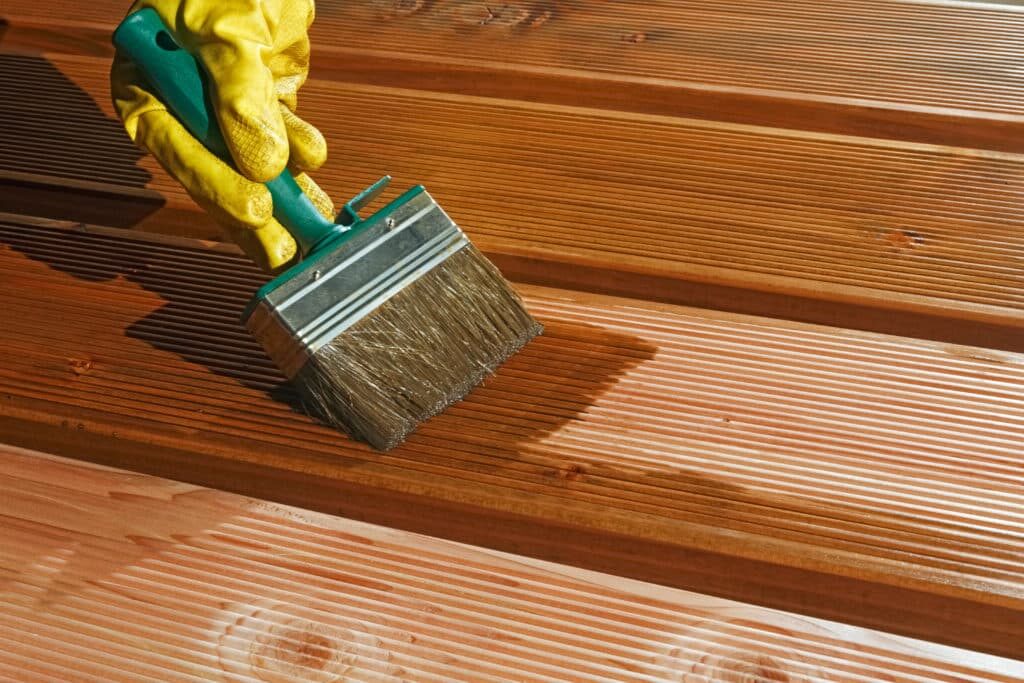
Chapter 5: The Culmination: Admiring Your Handiwork
After investing time and effort, step back to admire your handiwork, a testament to diligence and the fine craftsmanship that belt sanding embodies.5.1 Applying a Protective Seal
To safeguard your efforts and enhance the longevity of your floor, apply a protective sealant, bestowing upon it a gleaming finish that promises durability.5.2 The Final Reveal
Once the sealant has dried, it’s time for the grand reveal. Revel in the fresh, vibrant, and inviting ambiance that your newly stained floor brings to your living space.Conclusion: A Journey of Transformation
As we draw the curtains on this enlightening journey through the world of belt sanding and floor staining, one can’t help but appreciate the transformation that has unfolded before us. A process steeped in tradition and precision, belt sanding serves as a gateway to breathing new life into wooden floors, promising an outcome that resonates with grace and timelessness. The act of reviving a floor through diligent sanding and staining not only rejuvenates the physical space but also brings with it a sense of satisfaction and accomplishment, knowing that you have played a vital role in preserving a piece of history and adding your chapter to its ongoing narrative. So, as you step onto your newly stained floor, take a moment to appreciate the fine grains, the vibrant hues, and the smooth texture underfoot, a result of meticulous craftsmanship and a deep respect for the material at hand. A journey that began with raw, weary boards now culminates in a floor that stands as a symbol of beauty, resilience, and excellence, ready to grace your home with warmth and elegance for years to come. Indeed, belt sanding is more than just a technique; it is an art form, a celebration of wood in its most beautiful avatar, a tribute to the craftsmen of yore, and a gift to future generations, who will walk upon these floors, sharing stories, creating memories, and adding to the rich tapestry of life. Remember, in the grand scheme of home rejuvenation, belt sanding serves as a cornerstone, facilitating a harmonious blend of the old with the new, the rugged with the refined, and the ordinary with the extraordinary. So, let’s raise a toast to beautiful floors, to craftsmanship, and to the many joys and comforts of home. As we bid adieu, we leave you with a space that resonates with life, a floor that echoes the symphonies of time, bearing witness to the cycles of life, standing as a silent custodian of tales untold, ready to embrace the footsteps of the future with grace and poise. Thank you for embarking on this journey with us, a journey that transcends the realms of home improvement, venturing into the world of artistry and craftsmanship.Some Useful Links:
- Stairs Sanding & Refinishing
- Floor Sanding Services
- School Floor Sanding
- Wood Floor Restorations
- Wood Floor Repairs
- Wood Floor Polishing
More from our Blog:
How to Repair Damaged Floors with Belt Sanding Step-by-Step Guide to Belt Sanding Your Floors Innovative Techniques for Using Belt Sanders in Floor Refinishing How to Achieve a Perfectly Flat Surface with Belt Sanding for Floor Refinishing Common Belt Sanding Tools and Accessories for Floor Refinishing The Role of Belt Sanding in Achieving a Professional Finish on Your Floors Belt Sanding vs. Drum Sanding for Floor Refinishing How to Safely Use a Belt Sander for Floor Sanding

Sanding
We provide virtually dust-free sanding with our continuous belt machinery with mobile extraction units, giving you a safer environment for your family.
Oiling
This organic finish not only adds beauty to your home but also has exceptional water-repellent characteristics, making it easier to clean and maintain.
Waxing
This natural floor finish offers the softest and most mellow appearance – and leaves your floor able to breath.
Buffing
Using soft buffing machines (and hand-polishing where required) will bring a wonderful sheen to your newly-finished floor.
Repairs
We offer a full assessment of your wooden floors to determine what repairs are needed to provide the perfect working surface for the later stages of sanding, staining and sealing.
Restoration
We offer a comprehensive restoration process designed to address floors that are improperly fitted or damaged over time through wear and tear.
Request a fixed price quote for your wood floor restoration now
Simply enter your postcode below to get started.
Services
Wood Floor Sanding Wood Floor Restoration Wood Floor Scratch Repair Squeaky Wood Floor Repair Parquet Floor Sanding Parquet Floor Restoration Commercial Floor Sanding Church Floor Sanding Community Centre Floor Sanding School Floor Sanding Gap Filling Gap Filling with ResinCopyright © Mr Sander®
Privacy & Cookies Terms & Conditions Complaints Procedure Cancellation Rights Sitemap

Get An Instant Price Estimate Before You Go…
Simply enter the rooms you need sanded and we’ll provide you with a price estimate instantly! Try our price calculator now.
Get a Price Estimate NowLocal Floor Sanding Experts
Over 500 5-Star Reviews
Safe, Dust Free Sanding
Operating Since 1994