London:
Nationwide:
25,000+
Floors Restored
27 Years Experience
Wood Flooring Association Certified
How to Use an Orbital Sander on Stairs
Posted on August 27, 2023
Floor sanding techniques
Mastering the Orbital Sander: A Step-by-Step Guide to Restoring Your Stairs
Ah, the art of restoration—of bringing out the grace and lustre of timeworn wooden stairs. It’s like brushing the hair of a Victorian-era painting and finding a portrait of youth underneath. The tool for such artistry, quite unexpectedly, is the humble orbital sander. If you’ve ever trod upon a creaky staircase in a historical home and wondered how to restore its grandeur, this piece will guide you with the elegance of a British butler and the creative panache of, well, Jeff Goodby.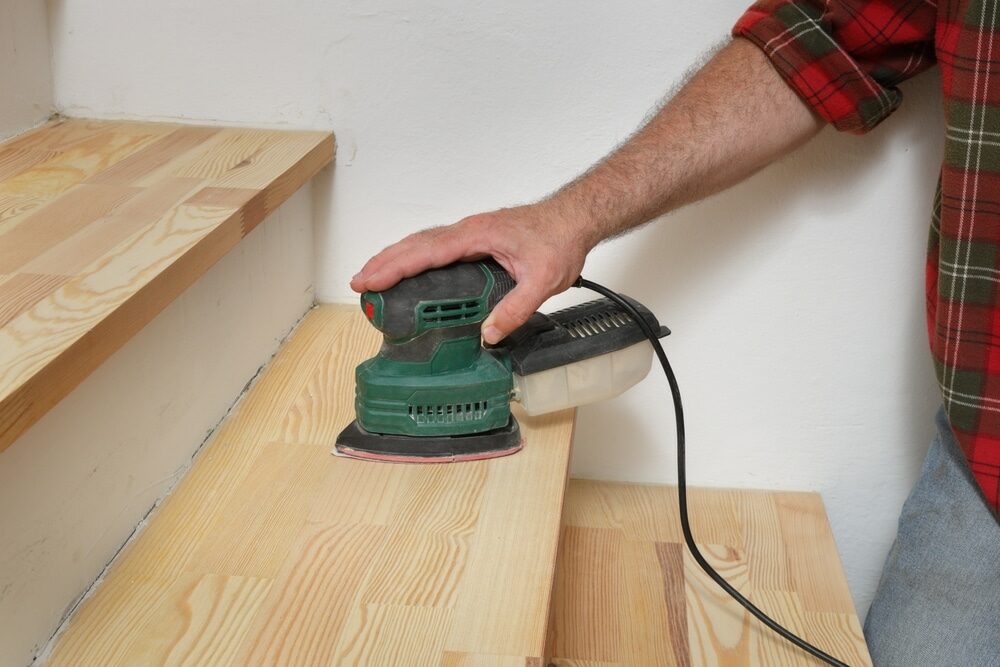 1. Setting the Stage: Preparation is the Key
Before you set your heart on the dance of the orbital sander, one must get to know the staircase in question. Begin by clearing it of any rugs, paraphernalia, or, God forbid, the odd stray toy left by the little ones.
1. Setting the Stage: Preparation is the Key
Before you set your heart on the dance of the orbital sander, one must get to know the staircase in question. Begin by clearing it of any rugs, paraphernalia, or, God forbid, the odd stray toy left by the little ones.
- Safety First: Ensure you’re dressed as if attending a very practical party – goggles for your peepers, ear protection, and a dust mask. One wouldn’t want to inhale the past.
- Clean up: Use a stiff brush to remove any dust or debris. Like preparing a canvas, you must start with a clean slate.
2. Choose Your Dance Partner: Selecting the Orbital Sander
When selecting your sander, be not swayed solely by aesthetics. Look for functionality. An orbital sander with variable speed options provides the control one needs for such a nuanced job. Remember, stairs are not mere platforms; they’re an architectural narrative, with each step a chapter.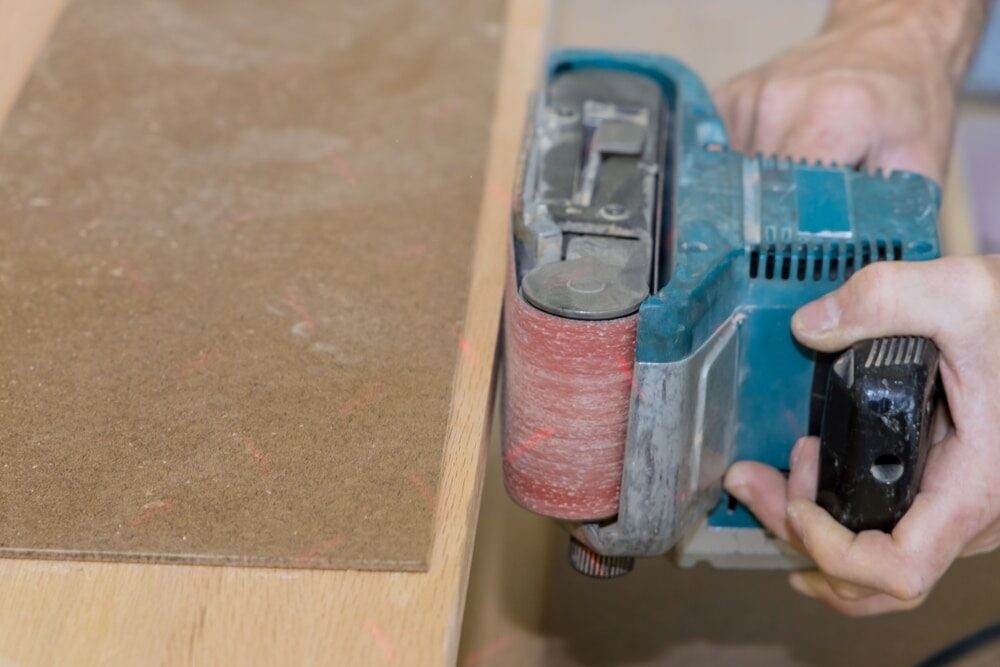
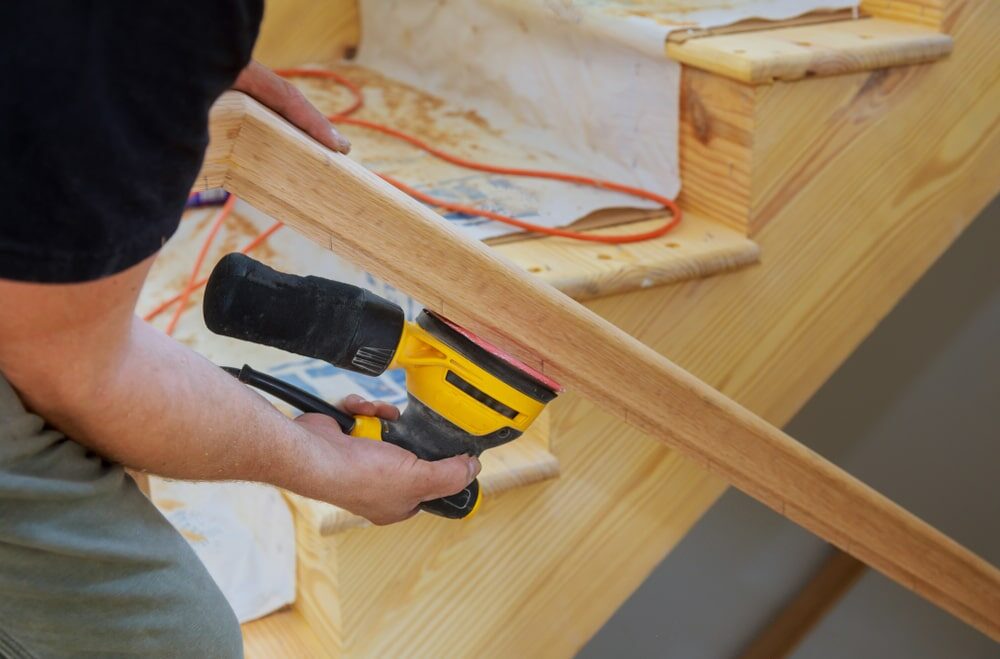
3. The Waltz of Sanding: Technique
- Starting Smoothly: Start with a coarser grit—think 40- or 60-grit sandpaper. This will deal with any unsightly scratches or dents, much like how a good concealer hides the after-effects of a raucous night out.
- Refining the Move: Once you’ve rid the steps of the major blemishes, it’s time to move onto a finer grit. A 120- or 150-grit paper will smooth things over, preparing the wood for the final finish.
- Finishing Flourish: Conclude with an even finer 220-grit paper. It’s akin to adding the final touches to a masterful painting.
- Corners and edges: These can be a tad tricky, much like the elusive edges of a puzzle. For these, you might consider a detail sander or, dare I say, some delicate hand sanding.
4. Clean Up: After the Dance
Post-sanding waltz, there will be a residue, a bit like the confetti after a grand ball. Use a vacuum to clear away the bulk of the sawdust. For any residual dust, a tack cloth (or a damp rag) should suffice.5. Sealing the Deal: Finishing Touches
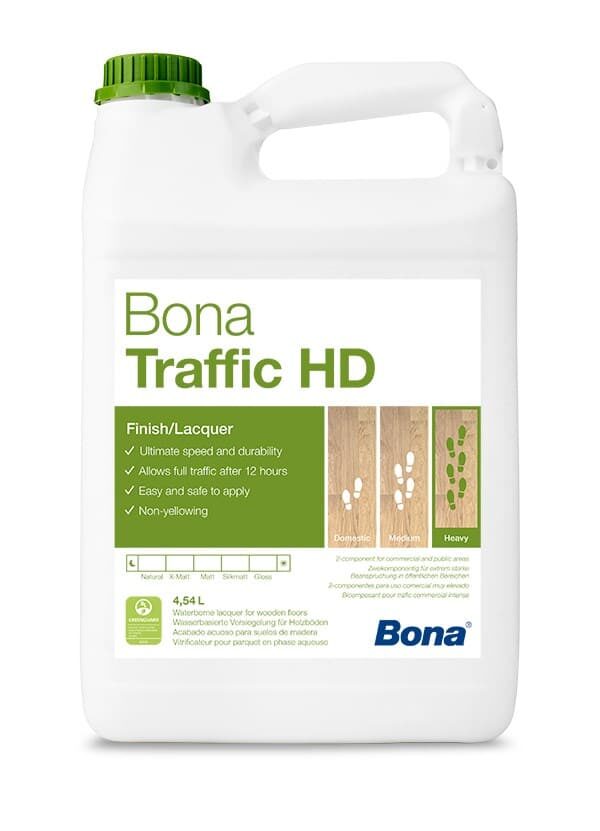
Once your stairs are sanded to perfection, the final step (pun intended) is to treat them. Choose a wood finish or stain that complements the rest of your home’s aesthetic. Apply with care and attention, ensuring even coverage. If your staircase is a high-traffic area (as most are), consider a durable sealant to protect your hard work. After all, much like a story, you’d want your stairs to stand the test of time.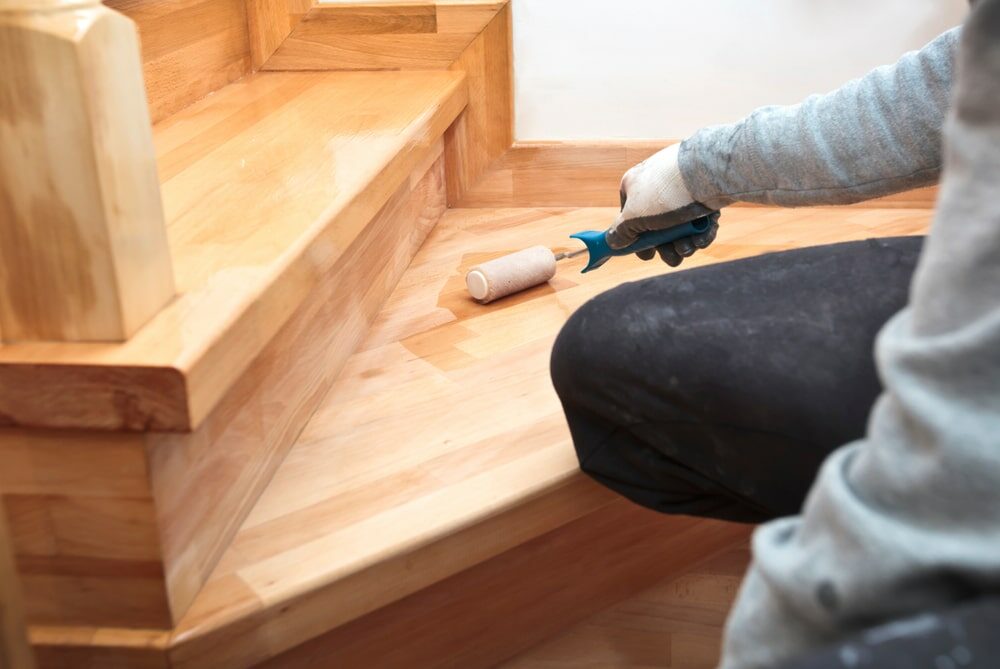
6. The Nuances: Understanding the Wood’s Character
Before we elegantly swerve towards our conclusion, it’s worth taking a pause. In our hasty world, it’s easy to overlook the innate character of wood. Stairs, particularly those that have borne the tread of many feet, have a uniqueness, a personality, if you will.- Wood Grain Gaze: Each type of wood has its own distinct grain. Oak, with its strong, pronounced grain, might require a slightly different touch than the subtle and straight grain of maple. Adjust your sanding pressure and pace accordingly.
- Knots and nicks: Sometimes, the little imperfections in wood—knots, nicks, and tiny cracks—can lend it an aged charm. Decide if you want to smooth these out entirely or let them add to the narrative of the staircase.
- Old Finishes: If your staircase had been previously varnished or painted, there might be remnants that the sander can’t quite shift. A good wood solvent or stripper may be needed. But tread cautiously; older finishes, especially in historic homes, may contain lead.
7. A Note on Environment and Well-Being
- Eco-conscious Endeavours: The world’s forests are its lungs. When sourcing sandpaper or wood finishes, look for eco-friendly products. It’s a small nod to sustainability, but every bit counts.
- Taking Breaks: The process can be both invigorating and exhaustive. Do take breaks. Perhaps sip on a cup of Earl Grey as you admire your handiwork. After all, even in DIY, one mustn’t forget the quintessentially British tea breaks.
8. On maintenance and upkeep
While the act of sanding and refinishing your staircase is a grand project, the smaller, regular acts of care will ensure its lustre endures.- Regular Dusting: A simple dusting routine prevents grit and dirt from scratching the wood. Consider it a brief, daily ritual to honour your staircase’s grandeur.
- Gentle Cleaners: For the inevitable spills and stains, use gentle wood cleaners. Harsh chemicals can strip the wood of its natural oils and sheen.
- Avoiding the Sun: While a staircase basked in sunlight can look picturesque, prolonged exposure can lead to discoloration. If your stairs are near a window, consider drapes or UV-protective films.
Conclusion
The act of using an orbital sander on stairs is not just about restoration; it’s about reverence. It’s about paying homage to the trees that gave their essence to your home and the craftsmen who shaped them. As you ascend your newly polished staircase, take a moment to appreciate the journey—both the restoration and the history beneath your feet. Remember, every step has a story, and every grain holds a memory. In the world of DIY, it’s not just about the end result but the dance along the way. So, here’s to the art, the history, and the joy of creation. Cheers!Some Useful Links:
- Stairs Sanding & Refinishing
- Floor Sanding Services
- School Floor Sanding
- Wood Floor Restorations
- Wood Floor Repairs
- Wood Floor Polishing
More from our Blog:
The Pros and Cons of DIY Orbital Sanding for Floor Restoration How to Refinish Parquet Floors with Orbital Sanding Orbital Sanding Techniques for Pine Floors How to Achieve a Matte Finish with Orbital Sanding The Differences Between Orbital and Drum Sanding for Floors How to Prep Your Space for Orbital Sanding Advanced Techniques for Orbital Sanding on Wood Floors The Science Behind Orbital Sanding for Floor Restoration Orbital Sanding for Hardwood Floors: Techniques and Tips
Sanding
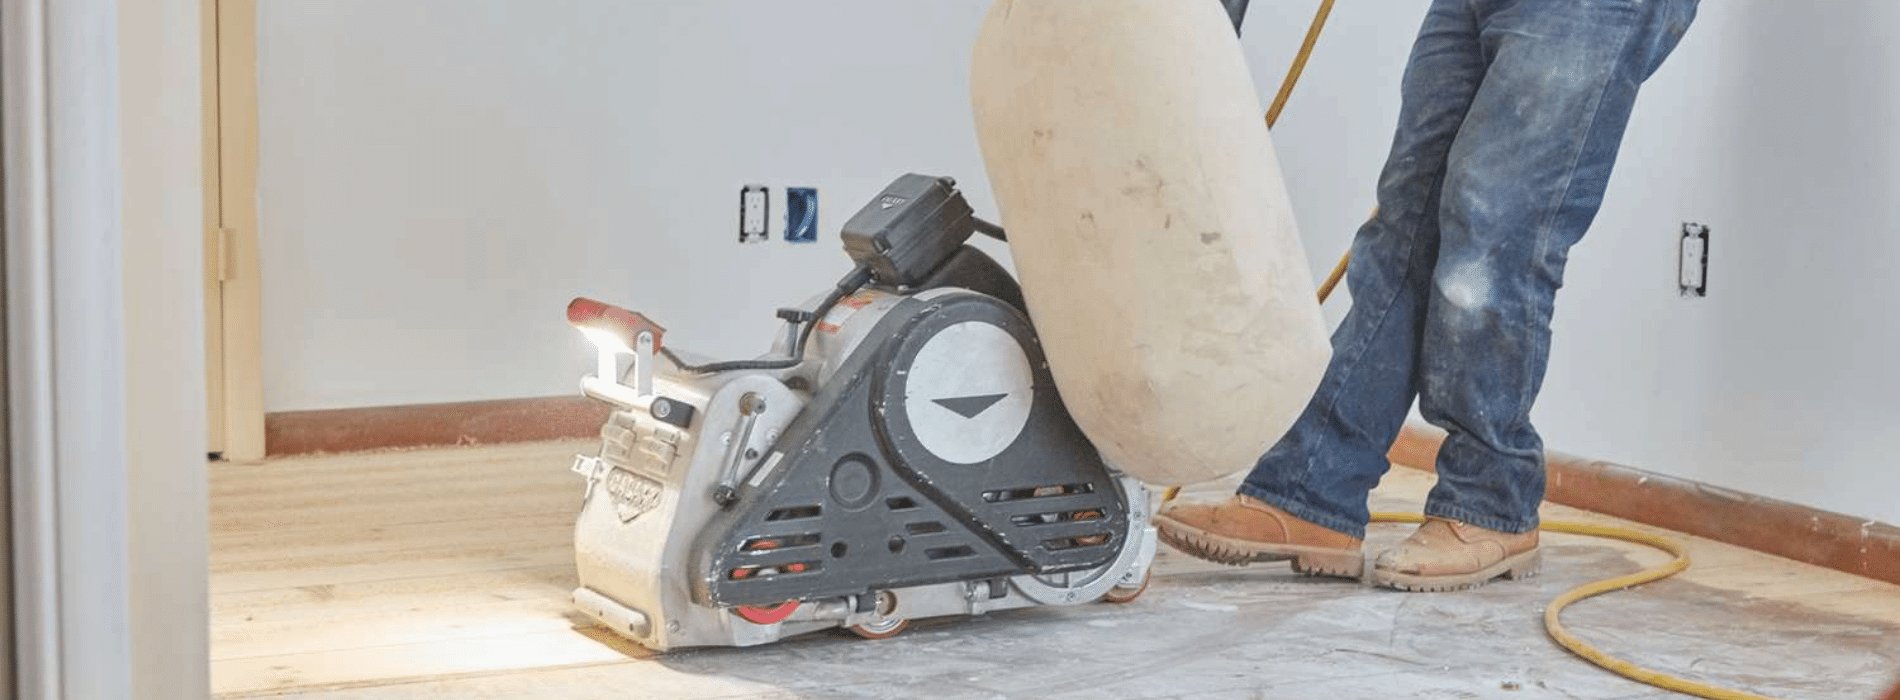
We provide virtually dust-free sanding with our continuous belt machinery with mobile extraction units, giving you a safer environment for your family.
Oiling
This organic finish not only adds beauty to your home but also has exceptional water-repellent characteristics, making it easier to clean and maintain.
Waxing
This natural floor finish offers the softest and most mellow appearance – and leaves your floor able to breath.
Buffing
Using soft buffing machines (and hand-polishing where required) will bring a wonderful sheen to your newly-finished floor.
Repairs
We offer a full assessment of your wooden floors to determine what repairs are needed to provide the perfect working surface for the later stages of sanding, staining and sealing.
Restoration
We offer a comprehensive restoration process designed to address floors that are improperly fitted or damaged over time through wear and tear.
Request a fixed price quote for your wood floor restoration now
Simply enter your postcode below to get started.
Services
Wood Floor Sanding Wood Floor Restoration Wood Floor Scratch Repair Squeaky Wood Floor Repair Parquet Floor Sanding Parquet Floor Restoration Commercial Floor Sanding Church Floor Sanding Community Centre Floor Sanding School Floor Sanding Gap Filling Gap Filling with ResinCopyright © Mr Sander®
Privacy & Cookies Terms & Conditions Complaints Procedure Cancellation Rights Sitemap

Get An Instant Price Estimate Before You Go…
Simply enter the rooms you need sanded and we’ll provide you with a price estimate instantly! Try our price calculator now.
Get a Price Estimate NowLocal Floor Sanding Experts
Over 500 5-Star Reviews
Safe, Dust Free Sanding
Operating Since 1994