London:
Nationwide:
25,000+
Floors Restored
27 Years Experience
Wood Flooring Association Certified
Orbital Sanding for Hardwood Floors: Techniques and Tips
Posted on August 26, 2023
Floor sanding techniques
Reviving the Grandeur of Hardwood: Orbital Sanding Techniques & Tips
Hardwood floors undoubtedly stand as a timeless classic in the tapestry of home improvement. Their regal bearing has graced both modest homes and grand mansions for centuries. Yet, as with all enduring beauties, time and use can mar their elegance. Fret not, dear reader, for there lies a solution in the form of orbital sanding—a technique that brings forth rejuvenation.
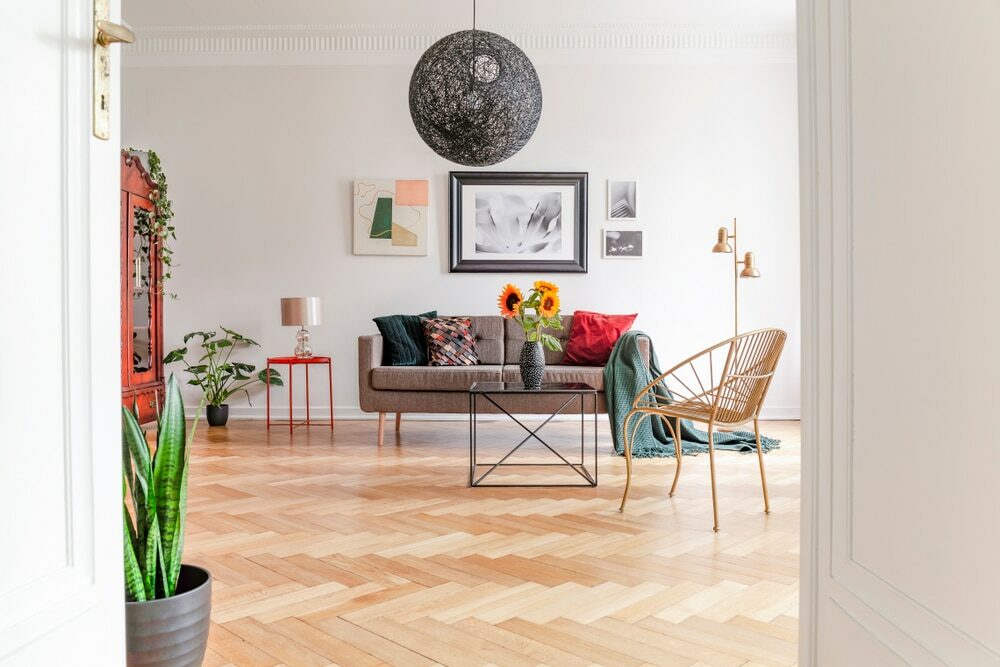
The Majesty of Hardwood
Before we delve into the craft, it’s crucial to appreciate the glory of hardwood. Aesthetically pleasing, sturdy, and sustainable, hardwood floors have adorned our homes for generations. Their organic nuances of grain and hue whisper stories of eras past, offering both warmth and nobility to any interior.
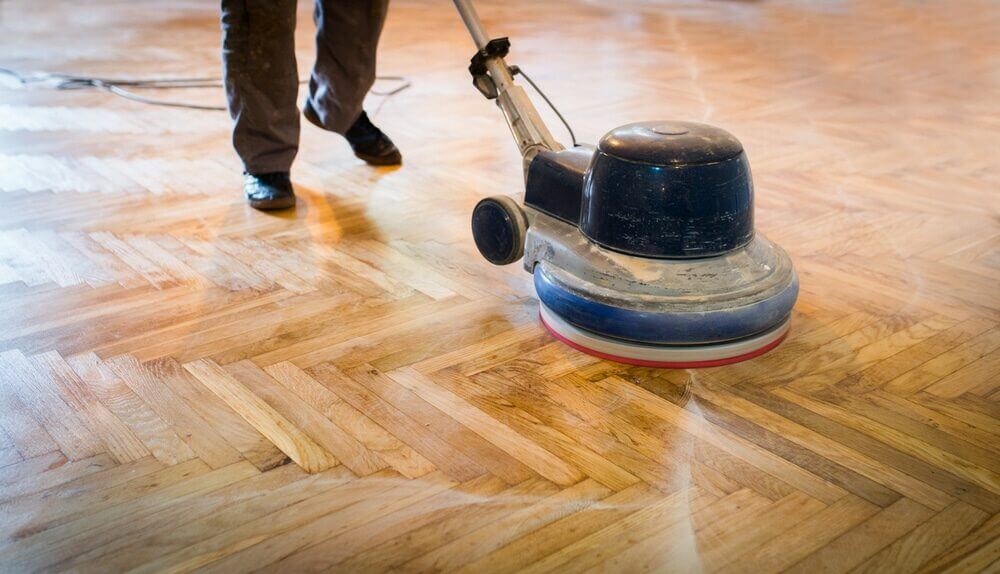
Why orbital sanding?
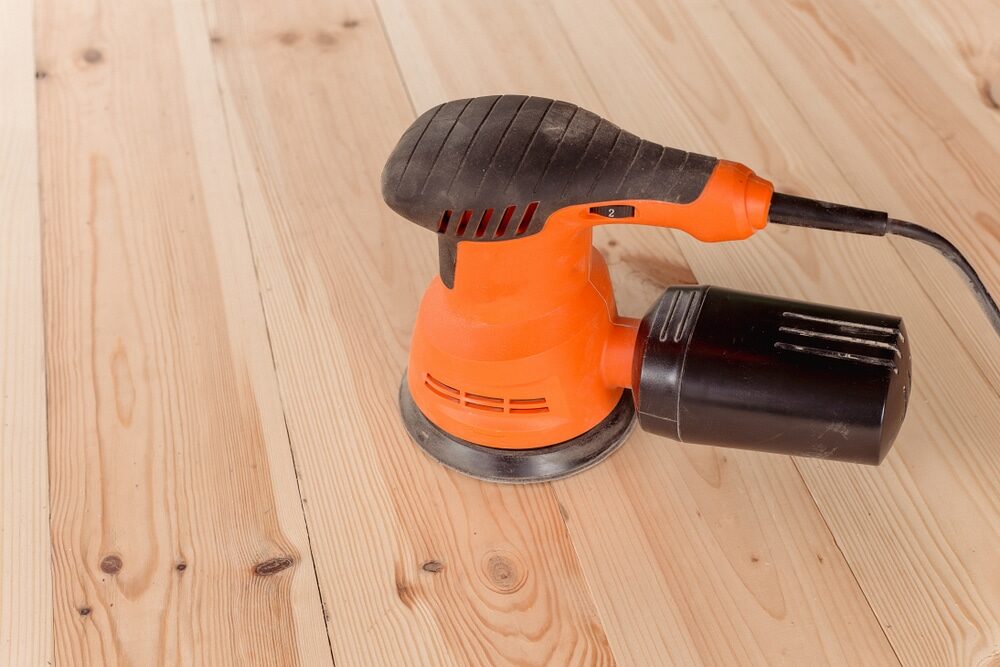
As our beloved floors bear the weight of years and feet, scratches, dings, and a general lacklustre appearance can emerge. While other forms of sanding equipment can be overly aggressive, an orbital sander—a tool that moves in tiny circles, or “orbits”—is gentle yet effective, ensuring that your floor isn’t overly stripped or damaged.

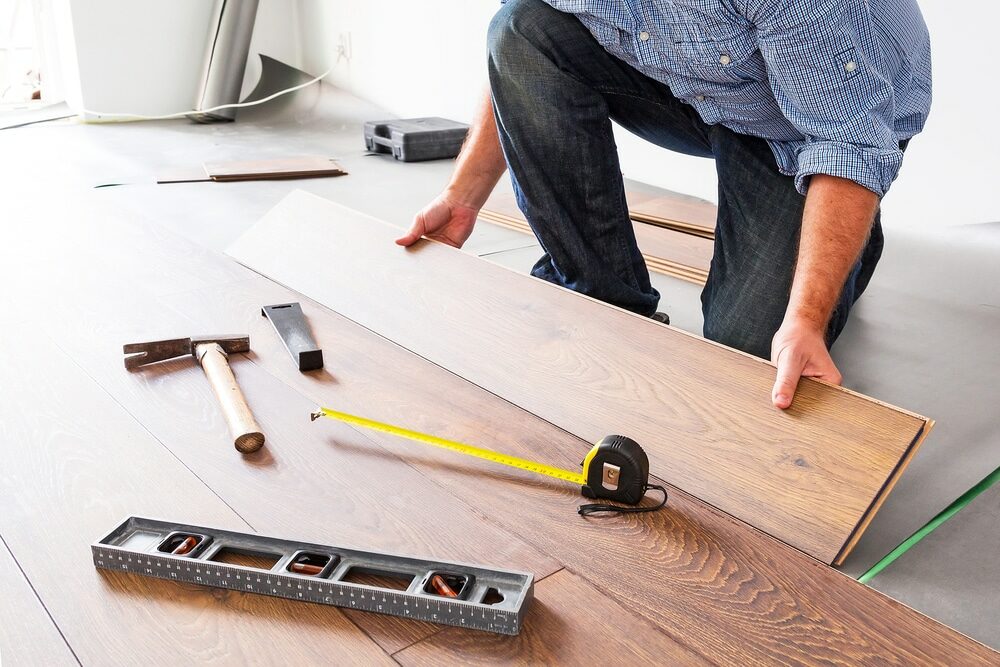
Tools of the Trade
- Orbital Sander: A quality sander is paramount. Features to look for include variable speed settings and dust collection systems.
- Sandpaper: A progression is key—start with a coarser grit (60 or 80) and transition to finer grits (100, 120, then 150 or 180) as you proceed.
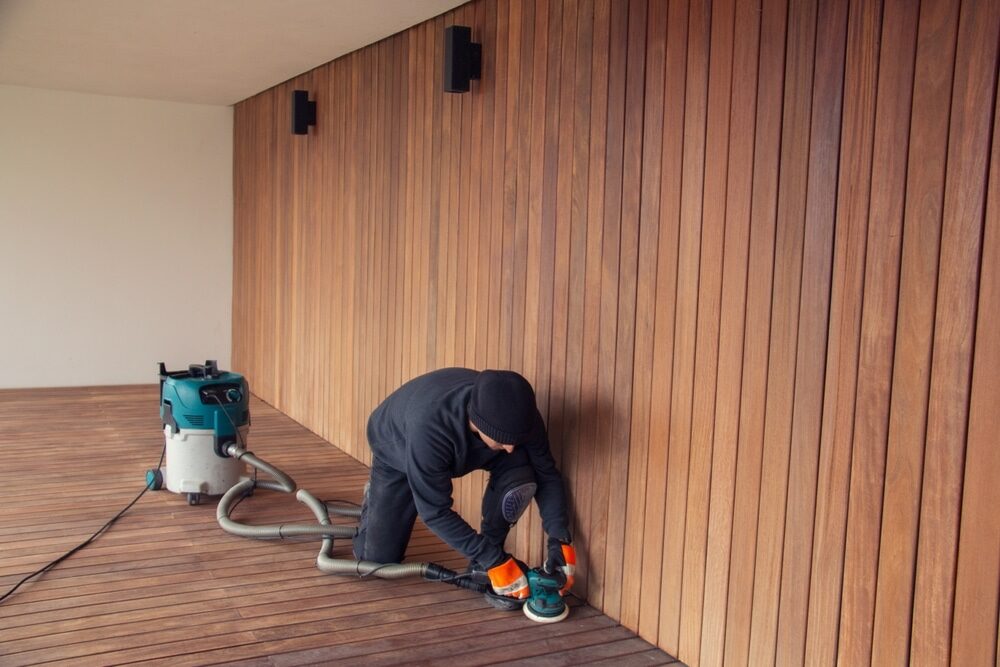
- Safety Gear: Do not dismiss the importance of safety goggles, ear protection, and a dust mask.
- Vacuum or broom: Keep your workspace clean. After each sanding phase, clear away any residual dust.
- Lacquer or sealant: After sanding, you must seal the floor to protect your handiwork.
The Dance of the Orbital Sander
1. Preparing the Stage: Begin by ensuring the floor is free from furniture, nails, or staples. The smallest protrusion can lead to gouges. A thorough sweep and cleaning set the stage for your sanding ballet.
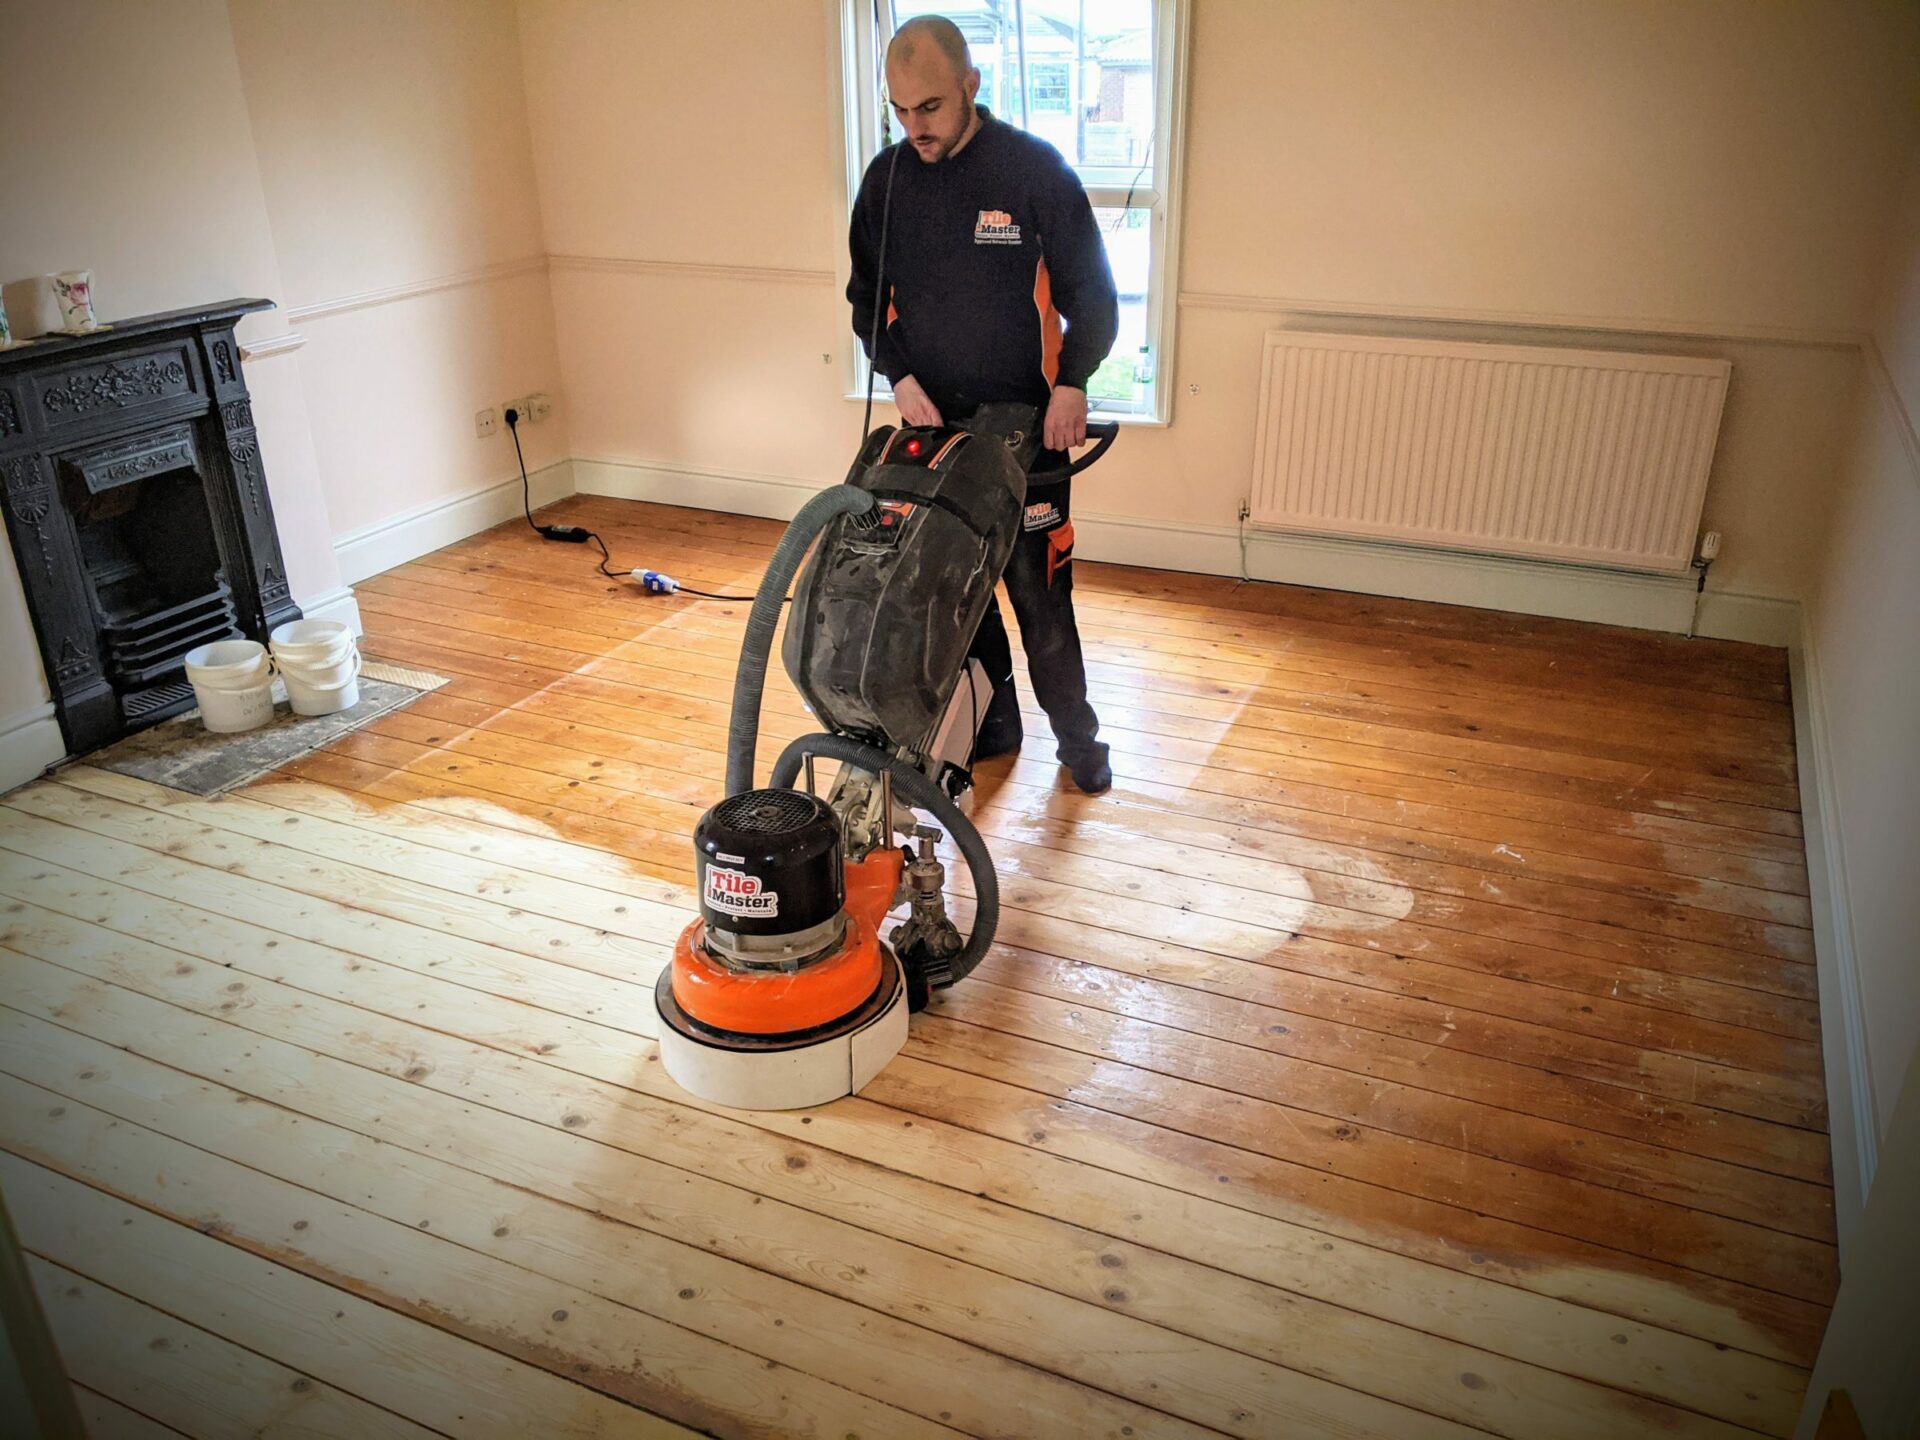
2. Starting Slowly: With your coarser-grit sandpaper affixed, commence sanding. Keep the sander moving, ensuring you don’t linger too long in one spot. Like a waltz, it’s about rhythm and movement.
3. The Progression: As aforementioned, start coarse, but gradually switch to finer grits. This not only eradicates deeper imperfections but also polishes the wood, preparing it for sealing.
4. Corners and edges: These tricky spots might be resistant to the broad embrace of your sander. Fear not—a smaller hand sander or even sanding blocks can assist here.
5. Dusting Between Dances: After each grit transition, vacuum or sweep up the accumulated dust. This prevents unwanted scratches during subsequent sanding stages.
6. The Final Flourish: With your floor sanded and smooth, apply your chosen lacquer or sealant. This step seals in the beauty and offers protection against future wear.
A Few Words of Wisdom
- Patience is a virtue. Rushing the sanding process can lead to uneven floors or lingering marks. Take your time, and remember—it’s about quality, not speed.
- Always sand with the grain: This is not just tradition—it prevents unsightly marks and maintains the wood’s natural beauty.
- Test Your Sealant: Before committing, test your chosen finish on a small, inconspicuous patch. Ensure it dries to your satisfaction, both in texture and hue.
- Maintenance is key. Once sanded and sealed, treat your floor with kindness. Regular cleaning and the occasional touch-up can keep them looking splendid for years to come.
Nuances of the Technique
Understanding the wood: Each type of hardwood possesses its own unique character. From sturdy oak to elegant maple, it’s vital to understand the wood you’re working with. Some woods are harder, necessitating more time with coarser grits, while softer woods might require a gentler touch.
Room Temperature Matters: When sanding, the ambient temperature can influence the wood’s responsiveness. A moderately cool room is ideal—too much heat can make the wood pliable and susceptible to damage, while extreme cold might cause brittleness.
A Light Touch: It’s tempting to press down hard, especially when faced with a stubborn mark. However, the orbital sander’s design favours a lighter touch. By allowing the machine to do the majority of the work, you ensure a more even and smooth finish.
The Aftercare
Post-Sanding Cleaning: After the dust has settled and been cleared, a gentle mop with a slightly damp cloth can help pick up any residual dust. This ensures a pristine base for sealing.
Choosing the Right Sealant: Beyond just testing the sealant, it’s worth researching and finding one that matches both the aesthetic you’re aiming for and the wood type. Some sealants offer a matte finish, while others gleam with a high gloss. Moreover, there are eco-friendly sealants available for the environmentally conscious homeowner.
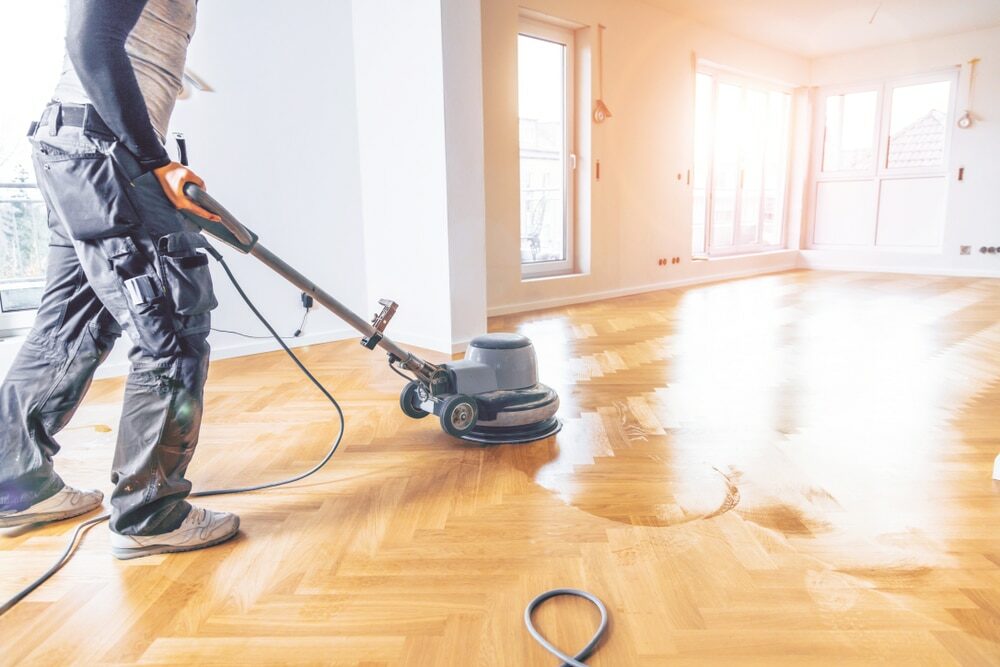
The Beauty of Buffing: A week after sealing, consider using a buffer to give your floors an extra sheen. This step isn’t mandatory but can provide a polished, professional look that truly makes your floors stand out.

Periodic Maintenance
Warding off scratches: Consider felt pads under furniture legs, especially heavy pieces or those moved frequently. This simple step can drastically reduce the appearance of scratches over time.
Routine Cleaning: A weekly sweep or vacuum keeps dust and debris from scratching the floor’s surface. Additionally, a monthly damp mop using a cleanser specified for hardwood floors can maintain the lustre and cleanliness.
In conclusion, orbital sanding is a brilliant method to revive and restore the opulence of hardwood floors. When approached with respect, patience, and care, this process can transform a weary floor into a dazzling expanse worthy of admiration.
May your floors ever gleam, and may your homes always echo with the stories only hardwood can tell. Remember, dear reader, that in the world of home renovation—as in life—it is the careful blend of technique, tools, and tenacity that yields true brilliance. Happy sanding!
Some Useful Links:
- Stairs Sanding & Refinishing
- Floor Sanding Services
- School Floor Sanding
- Wood Floor Restorations
- Wood Floor Repairs
- Wood Floor Polishing
More from our Blog:
Orbital Sanding vs. Other Floor Sanding Techniques: Which is Best? Common Mistakes to Avoid in Orbital Sanding for Floors Tips for Achieving Smooth Finishes with Orbital Sanding The Importance of Dust Extraction in Orbital Sanding The Role of Sandpaper in Orbital Sanding for Floors Best Practices for Orbital Sanding Techniques How to Choose the Right Orbital Sander for Floor Sanding The Pros and Cons of Orbital Sanding for Floor Restoration
Sanding
We provide virtually dust-free sanding with our continuous belt machinery with mobile extraction units, giving you a safer environment for your family.
Oiling
This organic finish not only adds beauty to your home but also has exceptional water-repellent characteristics, making it easier to clean and maintain.
Waxing
This natural floor finish offers the softest and most mellow appearance – and leaves your floor able to breath.
Buffing
Using soft buffing machines (and hand-polishing where required) will bring a wonderful sheen to your newly-finished floor.
Repairs
We offer a full assessment of your wooden floors to determine what repairs are needed to provide the perfect working surface for the later stages of sanding, staining and sealing.
Restoration
We offer a comprehensive restoration process designed to address floors that are improperly fitted or damaged over time through wear and tear.
Request a fixed price quote for your wood floor restoration now
Simply enter your postcode below to get started.
Services
Wood Floor Sanding Wood Floor Restoration Wood Floor Scratch Repair Squeaky Wood Floor Repair Parquet Floor Sanding Parquet Floor Restoration Commercial Floor Sanding Church Floor Sanding Community Centre Floor Sanding School Floor Sanding Gap Filling Gap Filling with ResinCopyright © Mr Sander®
Privacy & Cookies Terms & Conditions Complaints Procedure Cancellation Rights Sitemap

Get An Instant Price Estimate Before You Go…
Simply enter the rooms you need sanded and we’ll provide you with a price estimate instantly! Try our price calculator now.
Get a Price Estimate NowLocal Floor Sanding Experts
Over 500 5-Star Reviews
Safe, Dust Free Sanding
Operating Since 1994