London:
Nationwide:
25,000+
Floors Restored
27 Years Experience
Wood Flooring Association Certified
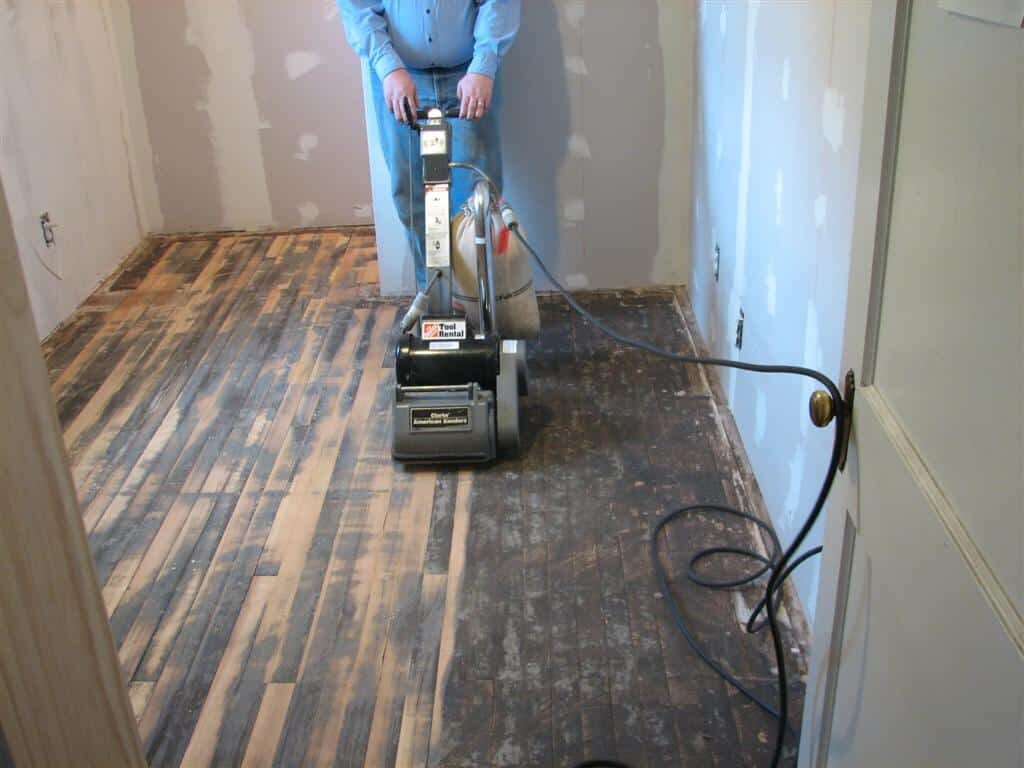
How to Refinish Parquet Floors with Orbital Sanding
Posted on August 27, 2023
Floor sanding techniques
Refinishing Parquet Floors: The Art of Orbital Sanding
There’s a certain timelessness to parquet flooring. Its rich history, hailing from the grand châteaux of France, resonates within the very timber grains that form its elaborate patterns. Such floors, while perpetually elegant, occasionally demand a bit of love and refurbishment. Today, dear reader, we’ll traipse down the avenues of refinishing these masterpieces with the aid of orbital sanding.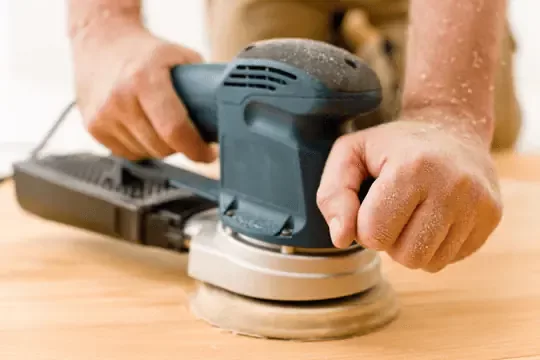
1. Preparation is King
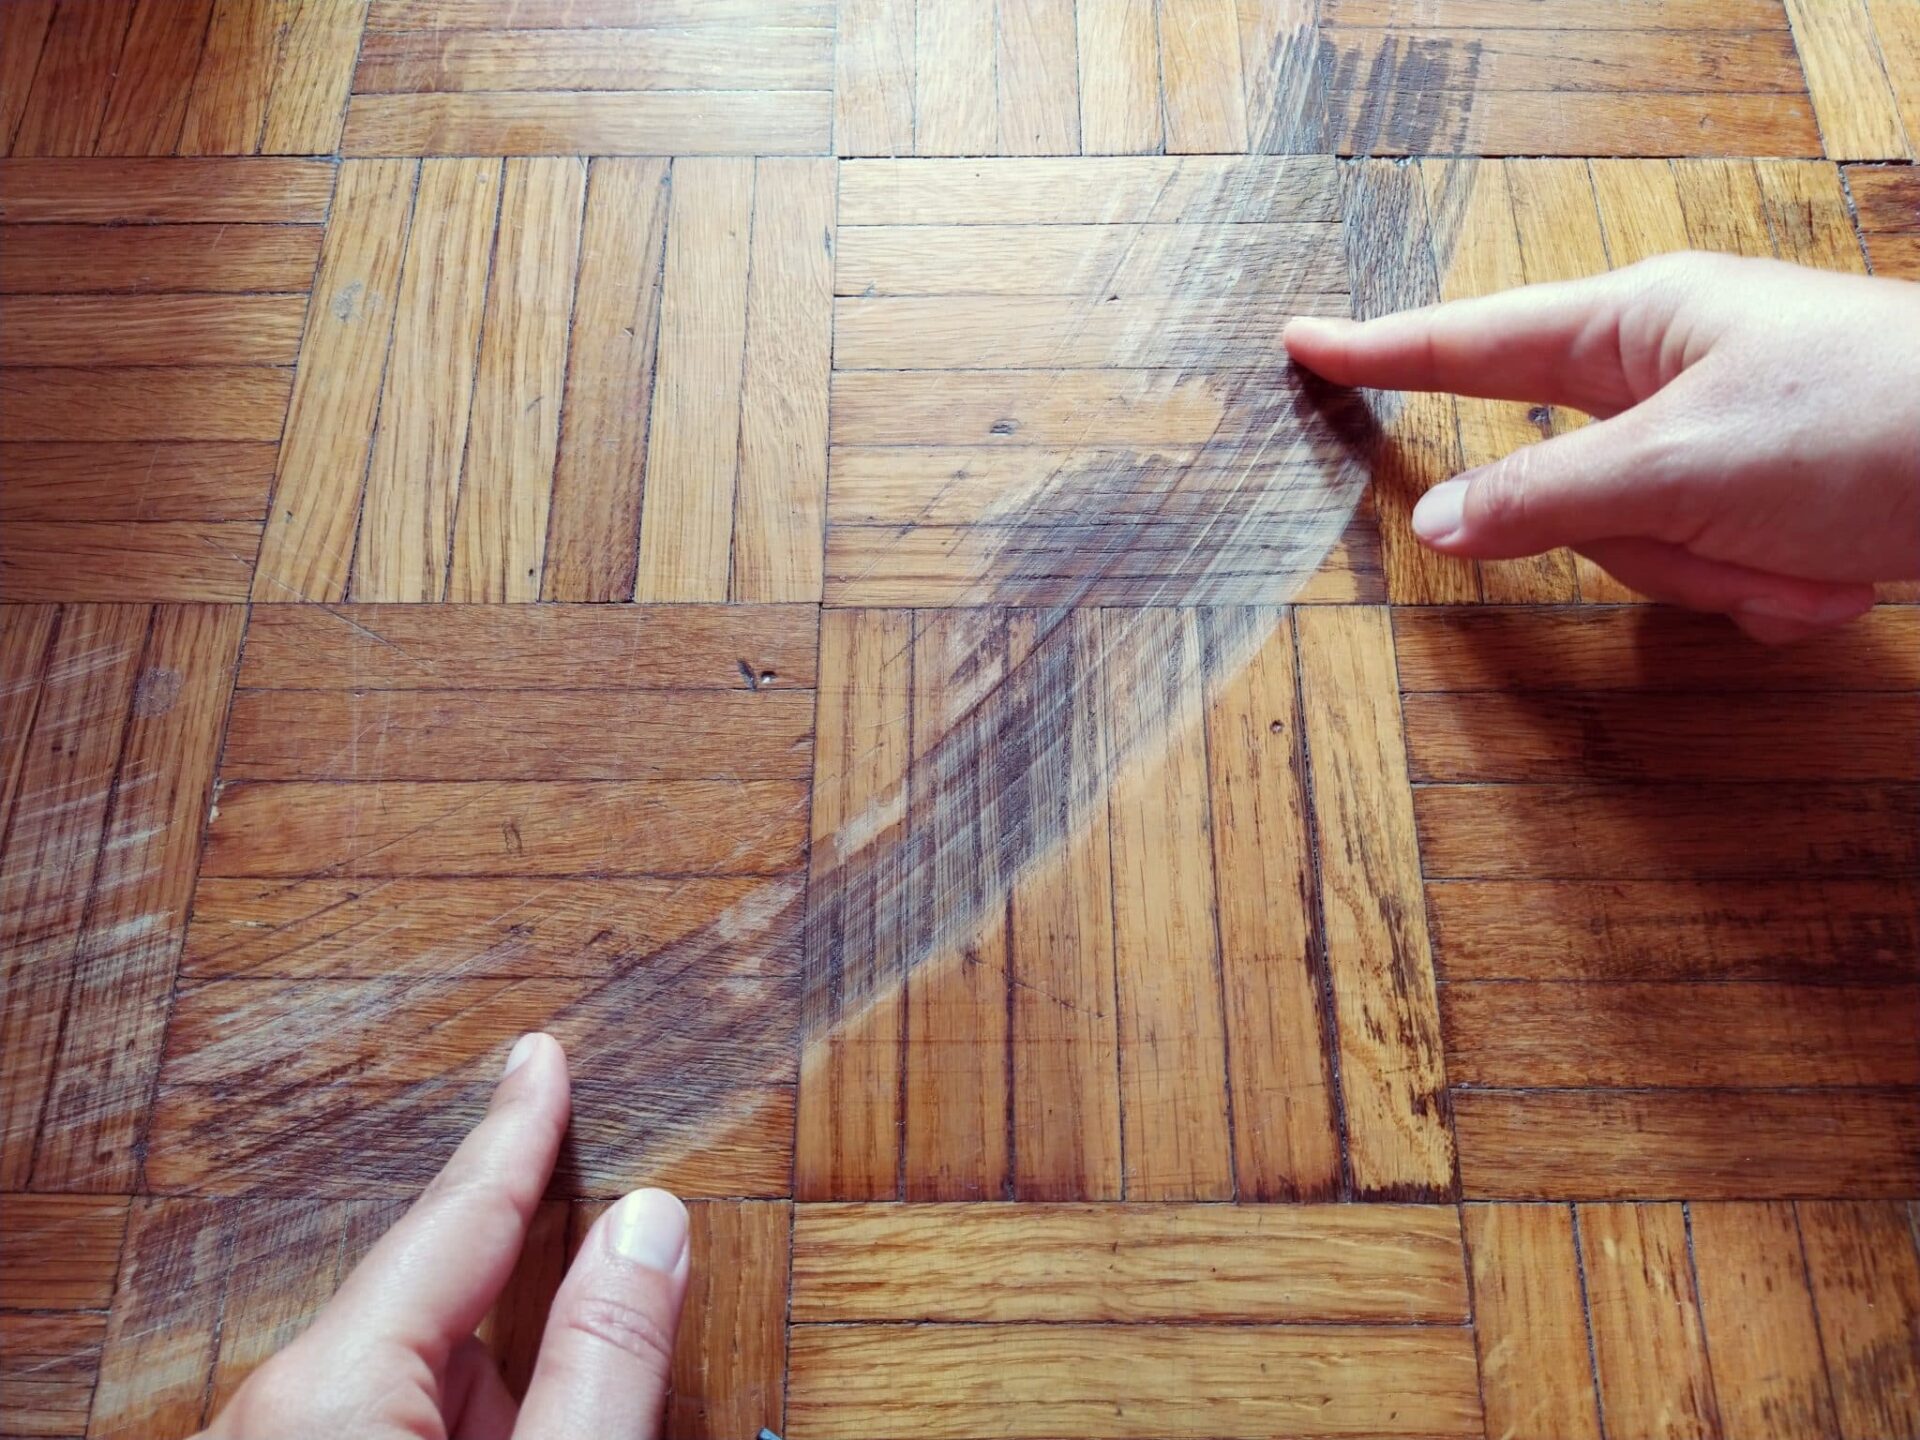
Parquet floors, as with all the finer things in life, require a gentle touch. Before we immerse ourselves in the sanding ballet, one must ensure the stage is set.- Empty the room: Begin by relocating all furniture, rugs, and other items, revealing the full expanse of your floor.
- Inspect for damages: Examine the floor for any protruding nails or loose blocks. Any rogue elements can be rather unsporting and wreak havoc on your sanding pads. Secure any loose pieces back in place and ensure a smooth surface.
- Clean with Care: Armed with a soft broom or vacuum cleaner, rid your parquet of all dust, dirt, and detritus. This shall ensure your sander glides as gracefully as a swan upon the Thames.
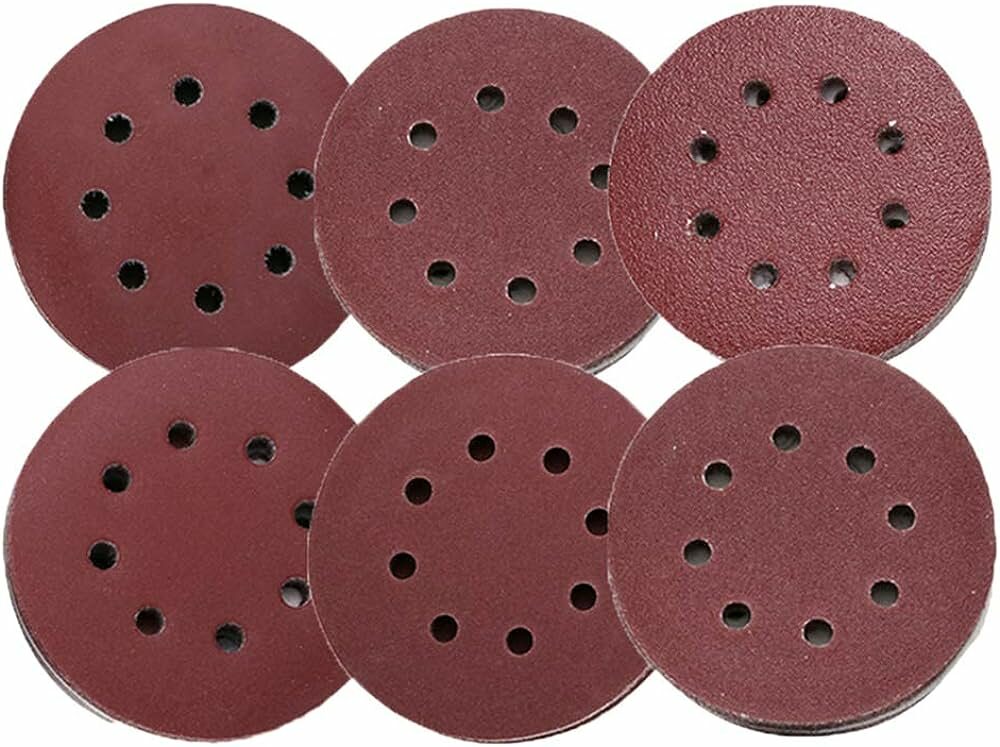
2. Select your sandpaper.
When it comes to orbital sanders, the sandpaper is tantamount to the brush strokes of an artist. Too coarse, and you risk marring the delicate inlays; too fine, and your efforts may be for naught.- Start with moderate grit—something in the vicinity of 60 should suffice for initial endeavours.
- For subsequent passes, graduate to a finer grit, say 80 to 100, to smooth any scratches and bestow a polished surface upon your floor.
3. The Dance of the Orbital Sander
Ah, the main event. Picture yourself as the conductor of an orchestra, guiding your instrument—the orbital sander—across the parquet expanse.- Begin at the Borders Initiate your sanding journey around the room’s edges. While the orbital sander is adept at handling most areas, some nooks may necessitate a hand-held detail sander.
- Adopt a steady pace: glide the sander evenly, ensuring that you don’t dwell too long on any singular spot. The beauty of the orbital sander is its gentle nature, which is perfect for the intricate wood grain patterns of parquet.
- Follow the Grain: Parquet is a tapestry of wood blocks arranged in a geometric mosaic. Endeavour to sand in the direction of the wood grain of each individual block.
4. Dust and clean
After the symphony of sanding, you’ll be greeted with a fine layer of sawdust. This, while a testament to your hard work, needs bidding adieu before the next steps.- Vacuum the floor thoroughly. A brush attachment is particularly adept at ensuring no remnants cling to the crevices.
- Wipe down the surface with a damp (not wet) cloth to capture any lingering dust particles.
5. Finishing Flourishes
Your parquet floor, now smooth and rejuvenated, is ripe for its crowning glory – the finish. Be it a stain for a deeper hue or a clear sealant to showcase its natural splendour, this final layer protects your floor and accentuates its charm.- Opt for Quality: Splurge a tad on high-quality finishes. The parquet, akin to a vintage Rolls Royce, deserves nothing but the best.
- Apply Evenly: Utilise a fine-bristled brush or a lamb’s wool applicator. Ensure that your strokes follow the grain of the wood.
- Patience, Dear Reader: Allow ample time for the finish to dry. A couple of days away from the room shall ensure a flawless result, allowing the finish to set and the odours to dissipate.
6. Choosing the Right Sealant
Before the final bow, let us delve into the world of sealants, the unsung protectors of your parquet masterpiece.- Oil-Based Polyurethane: A classic choice, this gives a warm, amber glow to your flooring. It’s robust against wear and tear, though it takes its sweet time to dry.
- Water-Based Polyurethane: If you fancy a quicker drying time and a clear finish, this is your champion. It’s less odorous and offers the added benefit of being environmentally friendly.
- Natural Oils: For those of a more traditional disposition, natural oils such as tung or linseed oil might appeal. These soak into the wood, enriching its grain patterns and offering a natural, matte finish.
- Wax: Ah, the age-old charm of waxed floors. Wax gives your parquet a subtle sheen, making the floor feel as soft as an English rose petal. Reapplications are required from time to time, but the result is undoubtedly resplendent.

7. Navigating the World of Stains
If you’ve pondered altering the hue of your parquet, stains are your answer.- Test First: It’s prudent to test your chosen stain on an inconspicuous spot. Parquet, with its medley of grains, might react to stains differently than you anticipate.
- Tinted Sealers: An alternative to traditional staining, these are sealants with a hint of colour. They serve the dual purpose of altering the hue while also providing protection.
- Application: When applying your chosen stain, use a soft cloth or a brush. Ensure that you wipe away any excess promptly to avoid unsightly patches. Let the stain sit as per the manufacturer’s instructions before proceeding with the sealant.
8. Celebrate the details
As the adage goes, the devil is in the details. And so is the divine.- Grain Emphasis: Post-sanding, the intricate grain of each wooden block in your parquet will be prominently visible. Before sealing, take a moment to appreciate this natural artwork. Some choose to accentuate this using grain fillers, which give a smoother finish but can diminish the grain’s prominence.
- Retro Patterns: If you have an old parquet floor, it might have patterns and designs typical of a bygone era. This is the time to either restore them to their original grandeur or give them a modern twist. A delicate hand and a keen eye will serve you well here.
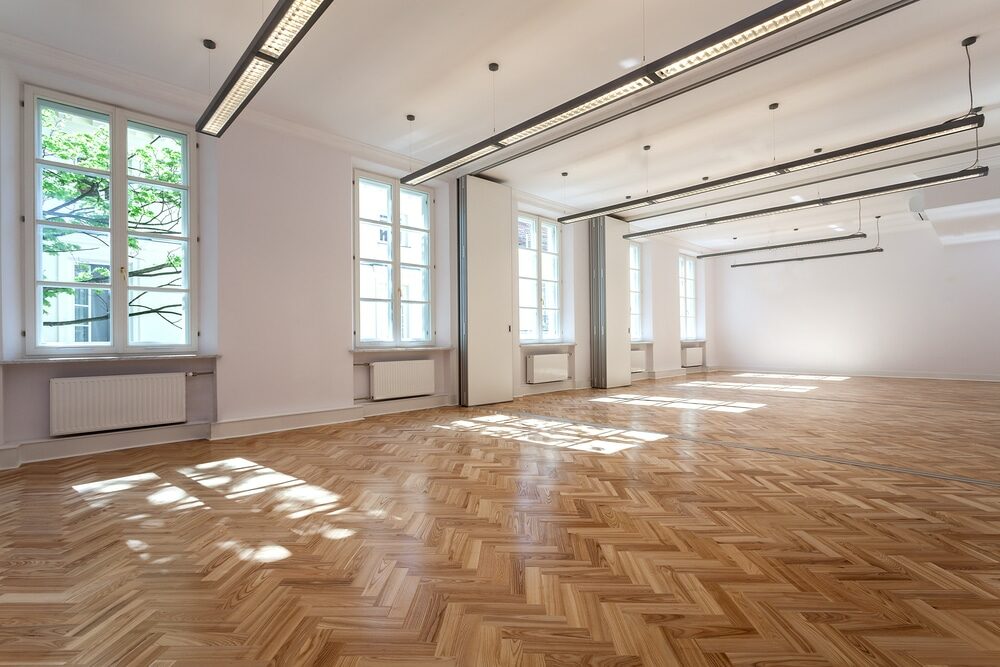
In Conclusion
Refinishing parquet floors, while an endeavour of patience and care, is a most rewarding pursuit. The gleam of freshly sanded and finished parquet is not merely a reflection of light but of history, craftsmanship, and your dedication. So, the next time you find yourself in the embrace of a patchwork of sunlight filtering through lace curtains onto your parquet, take a moment. Revel in the knowledge that beneath your feet lies not just wood but art—art that you, with a little orbital sanding, have restored to its former glory.Some Useful Links:
- Stairs Sanding & Refinishing
- Floor Sanding Services
- School Floor Sanding
- Wood Floor Restorations
- Wood Floor Repairs
- Wood Floor Polishing
More from our Blog:
Orbital Sanding Techniques for Pine Floors How to Achieve a Matte Finish with Orbital Sanding The Differences Between Orbital and Drum Sanding for Floors How to Prep Your Space for Orbital Sanding Advanced Techniques for Orbital Sanding on Wood Floors The Science Behind Orbital Sanding for Floor Restoration Orbital Sanding for Hardwood Floors: Techniques and Tips Orbital Sanding vs. Other Floor Sanding Techniques: Which is Best? Common Mistakes to Avoid in Orbital Sanding for Floors

Sanding
We provide virtually dust-free sanding with our continuous belt machinery with mobile extraction units, giving you a safer environment for your family.
Oiling
This organic finish not only adds beauty to your home but also has exceptional water-repellent characteristics, making it easier to clean and maintain.
Waxing
This natural floor finish offers the softest and most mellow appearance – and leaves your floor able to breath.
Buffing
Using soft buffing machines (and hand-polishing where required) will bring a wonderful sheen to your newly-finished floor.
Repairs
We offer a full assessment of your wooden floors to determine what repairs are needed to provide the perfect working surface for the later stages of sanding, staining and sealing.
Restoration
We offer a comprehensive restoration process designed to address floors that are improperly fitted or damaged over time through wear and tear.
Request a fixed price quote for your wood floor restoration now
Simply enter your postcode below to get started.
Services
Wood Floor Sanding Wood Floor Restoration Wood Floor Scratch Repair Squeaky Wood Floor Repair Parquet Floor Sanding Parquet Floor Restoration Commercial Floor Sanding Church Floor Sanding Community Centre Floor Sanding School Floor Sanding Gap Filling Gap Filling with ResinCopyright © Mr Sander®
Privacy & Cookies Terms & Conditions Complaints Procedure Cancellation Rights Sitemap

Get An Instant Price Estimate Before You Go…
Simply enter the rooms you need sanded and we’ll provide you with a price estimate instantly! Try our price calculator now.
Get a Price Estimate NowLocal Floor Sanding Experts
Over 500 5-Star Reviews
Safe, Dust Free Sanding
Operating Since 1994