London:
Nationwide:
25,000+
Floors Restored
27 Years Experience
Wood Flooring Association Certified
How to Determine the Grit Size for Orbital Sanding
Posted on August 26, 2023
Floor sanding techniques
Mastering the Art of Orbital Sanding: Choosing the Right Grit Size
In the world of woodworking, carpentry, and DIY, sanding is as essential as the wood itself. The right sandpaper can transform a piece from a rough and ragged state to a smooth, ready-to-showcase masterpiece. However, with a multitude of grit sizes available, how does one determine the right size for the job? More specifically, how do we choose the right grit for orbital sanding? Firstly, let’s set the stage. Orbital sanders, for those unacquainted, are hand-held devices that move sandpaper in a circular motion. They are typically used to smooth surfaces before painting or finishing, making the process swifter and more efficient than manual sanding. But with efficiency comes the responsibility of choice.
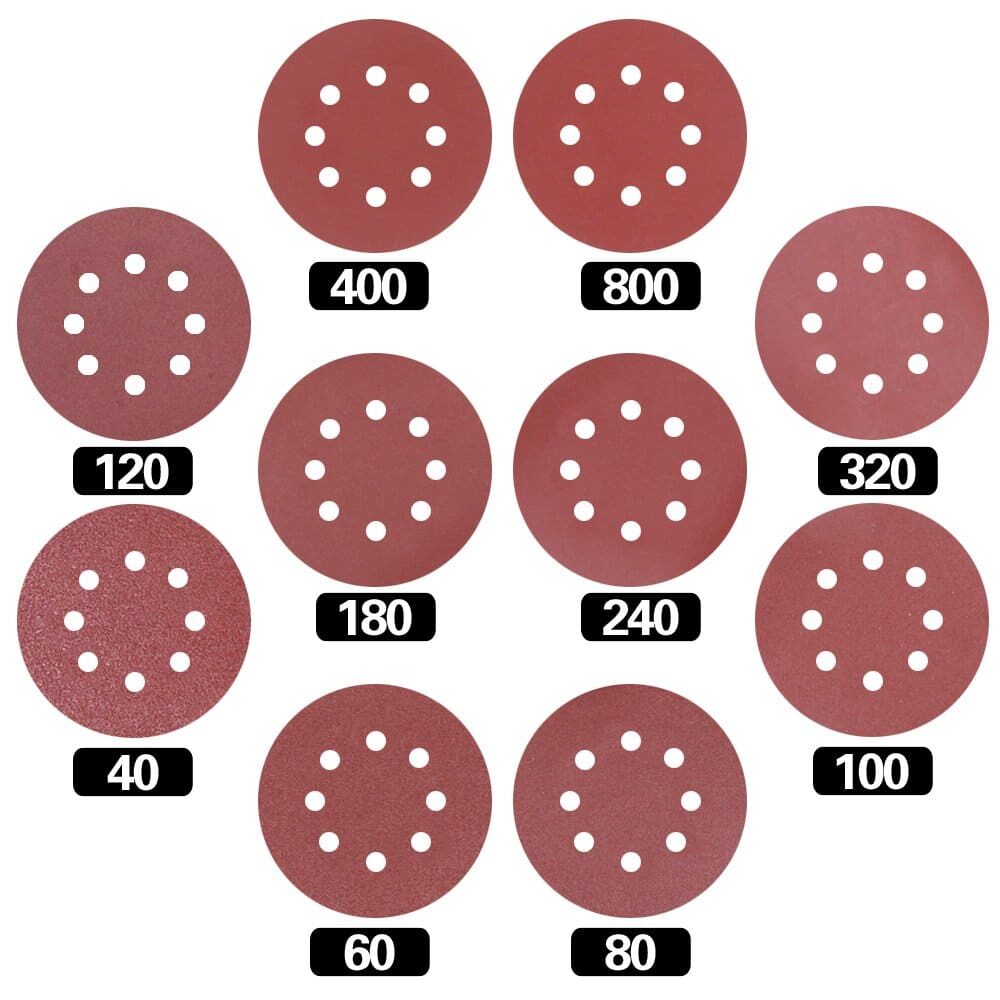
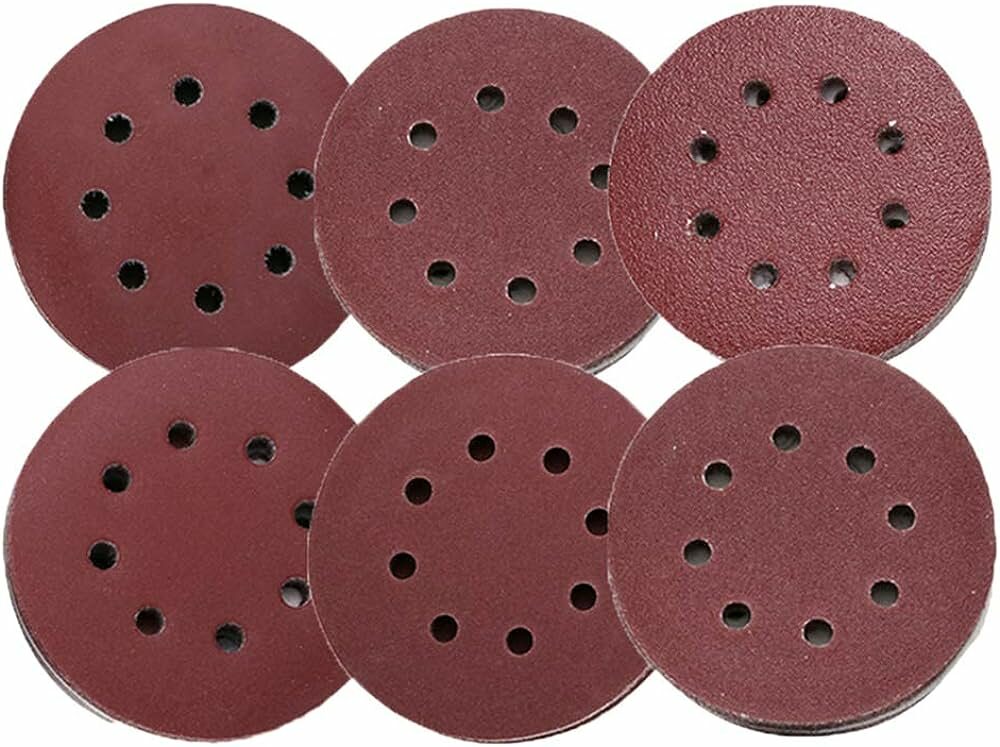
Understanding Sandpaper and Grit Size
Sandpaper isn’t just paper. It’s a medium through which we refine, polish, and prepare surfaces. The ‘grit’ of the sandpaper refers to the size of the particles on its surface. As the grit number increases, the particles get finer, which translates to a smoother finish on your workpiece.- Coarse grit (40–60 grit): Perfect for stripping off old paint or smoothing out very rough surfaces. It’s your first step when dealing with a piece that’s more rugged than refined.
- Medium grit (80–120 grit): This is your middle ground. Ideal for moderate smoothing tasks or for wood that’s already somewhat refined but still requires smoothing before finishing.
- Fine grit (150–180 grit): The next step up, fine grit sandpapers are used for light sanding between coats of paint or finish. They’re your go-to for the finer touches.
- Very fine grit (220+ grit): When you’re close to the end and aiming for that flawless finish, this is your ally. For woodworking aficionados, this is the grit that provides that silky smooth touch.
Choosing the right grit for orbital sanding
Now that we understand the range, the question still lingers: which is right for your task? Here’s a step-by-step guide to making that decision:- Analyse your starting point: Before you even touch the sander, evaluate the wood. Does it feel rugged and coarse? If so, starting with a coarser grit (40–60) would be wise.
- Think about your end goal: Envision the final piece. For a furniture piece that will be painted, a medium-grit finish might suffice. For a stained wooden artefact where the wood’s natural grain will be the star, a very fine-grit finish is imperative.
- Always progress sequentially. Jumping from a very coarse grit to a super fine one isn’t a shortcut; it’s a recipe for inconsistency. If you start coarse, progress through the grits in order. This ensures a consistent, even finish.
- Test on a scrap: If in doubt, test! Before applying it to your main piece, give the sander a whirl on a scrap piece of the same wood. It will give you an idea of the result without jeopardising the main project.
- Remember the role of the sander: an orbital sander is great for smoothing large areas quickly. For corners, edges, or intricate details, you might still need to rely on manual sanding.
Delving Deeper: Understanding Orbital Sanding Techniques
Having comprehended the significance of grit, let’s turn our focus briefly to mastering the art of using an orbital sander efficiently. After all, it’s not just about the sandpaper; it’s also about how you wield the tool.- Keep it moving: One fundamental rule of orbital sanding is to keep the sander in motion. If you keep it in one spot too long, you risk creating an uneven surface or, worse, a gouge that’s tough to rectify.
- The 50% rule: When sanding, move your sander over the surface in such a way that each pass overlaps the previous one by about 50%. This ensures that you get consistent coverage without missing spots.
- Dust it off: Sanding generates sawdust, and that can build up on your piece, obscuring your view of your progress. Periodically wipe away this dust with a soft cloth or use a shop vacuum to keep your workspace clean. This not only helps you see better but also extends the life of your sandpaper by preventing clogging.
- Speed Matters: Modern orbital sanders come with variable speed settings. Starting at a lower speed gives you more control, especially when you’re new to the tool or are working on delicate sections. As you become more adept and are working on broader surfaces, you can increase the speed.
- Secure your workpiece. There’s nothing more frustrating than chasing your workpiece around because it’s not properly secured. Before you start, ensure it’s clamped down or secured in a vice.
- Hand finishing: After you’ve sanded with the orbital sander, especially with fine grits, it can be beneficial to give your piece a quick once-over by hand. This helps catch any small areas the sander may have missed and ensures the grain of the wood is all running in the same direction.
- Safety first: Though this might seem obvious, always wear safety goggles to protect your eyes from dust and debris. A dust mask is also a good idea, especially if you’re working in a confined space or sanding for extended periods.
Common mistakes and how to avoid them
- Over-sanding: With the efficiency of the orbital sander, it’s easy to overdo it. Keep checking your progress to avoid removing more material than intended.
- Skipping grits: As earlier emphasised, don’t jump from 40 grit to 220 grit. It’s tempting, but you’ll likely miss spots and end up with an uneven surface.
- Pressing too hard: Let the sander do the work. Applying excessive pressure can lead to gouges and an inconsistent finish.
Conclusion
Determining the right grit for orbital sanding isn’t just about numbers; it’s about understanding your material, your tools, and your desired outcome. In the words of any true craftsman, the devil is in the details. And in this case, it’s in the grit of your sandpaper. Choose wisely, progress methodically, and watch as your piece transforms under your hands. In the grand theatre of woodworking, sandpaper may be a mere supporting act, but without it, the lead performer (your wooden masterpiece) wouldn’t shine quite as bright.Some Useful Links:
- Stairs Sanding & Refinishing
- Floor Sanding Services
- School Floor Sanding
- Wood Floor Restorations
- Wood Floor Repairs
- Wood Floor Polishing
More from our Blog:
Orbital Sanding for Hardwood Floors: Techniques and Tips Orbital Sanding vs. Other Floor Sanding Techniques: Which is Best? Common Mistakes to Avoid in Orbital Sanding for Floors Tips for Achieving Smooth Finishes with Orbital Sanding The Importance of Dust Extraction in Orbital Sanding The Role of Sandpaper in Orbital Sanding for Floors Best Practices for Orbital Sanding Techniques How to Choose the Right Orbital Sander for Floor Sanding The Pros and Cons of Orbital Sanding for Floor Restoration
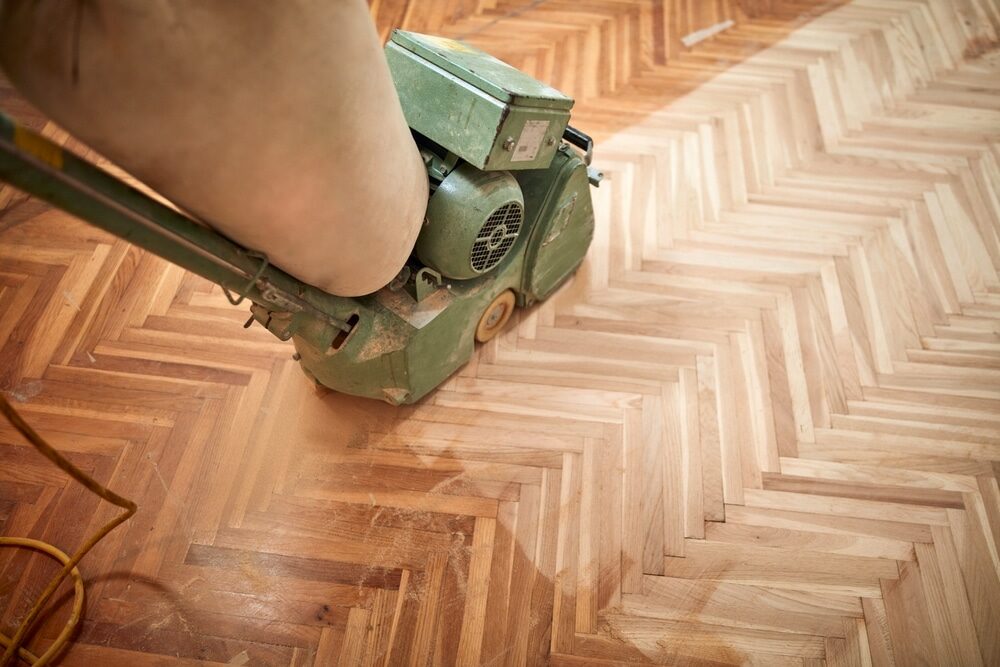

Sanding
We provide virtually dust-free sanding with our continuous belt machinery with mobile extraction units, giving you a safer environment for your family.
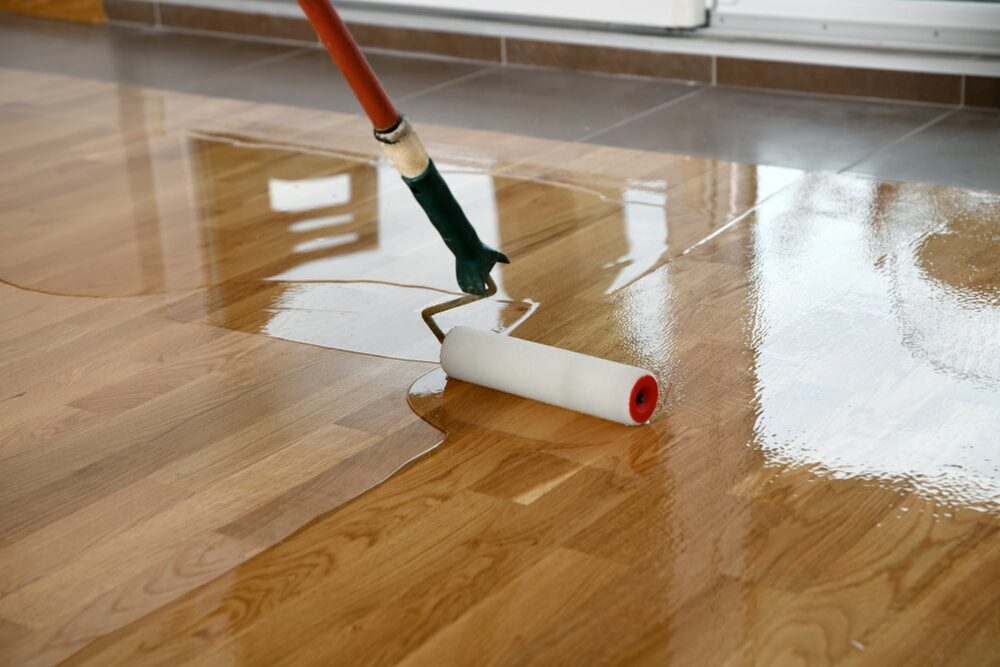
Oiling
This organic finish not only adds beauty to your home but also has exceptional water-repellent characteristics, making it easier to clean and maintain.
Waxing
This natural floor finish offers the softest and most mellow appearance – and leaves your floor able to breath.
Buffing
Using soft buffing machines (and hand-polishing where required) will bring a wonderful sheen to your newly-finished floor.
Repairs
We offer a full assessment of your wooden floors to determine what repairs are needed to provide the perfect working surface for the later stages of sanding, staining and sealing.
Restoration
We offer a comprehensive restoration process designed to address floors that are improperly fitted or damaged over time through wear and tear.
Request a fixed price quote for your wood floor restoration now
Simply enter your postcode below to get started.
Services
Wood Floor Sanding Wood Floor Restoration Wood Floor Scratch Repair Squeaky Wood Floor Repair Parquet Floor Sanding Parquet Floor Restoration Commercial Floor Sanding Church Floor Sanding Community Centre Floor Sanding School Floor Sanding Gap Filling Gap Filling with ResinCopyright © Mr Sander®
Privacy & Cookies Terms & Conditions Complaints Procedure Cancellation Rights Sitemap

Get An Instant Price Estimate Before You Go…
Simply enter the rooms you need sanded and we’ll provide you with a price estimate instantly! Try our price calculator now.
Get a Price Estimate NowLocal Floor Sanding Experts
Over 500 5-Star Reviews
Safe, Dust Free Sanding
Operating Since 1994