London:
Nationwide:
25,000+
Floors Restored
27 Years Experience
Wood Flooring Association Certified
How to Avoid Over-Sanding with a Drum Sander
Posted on August 22, 2023
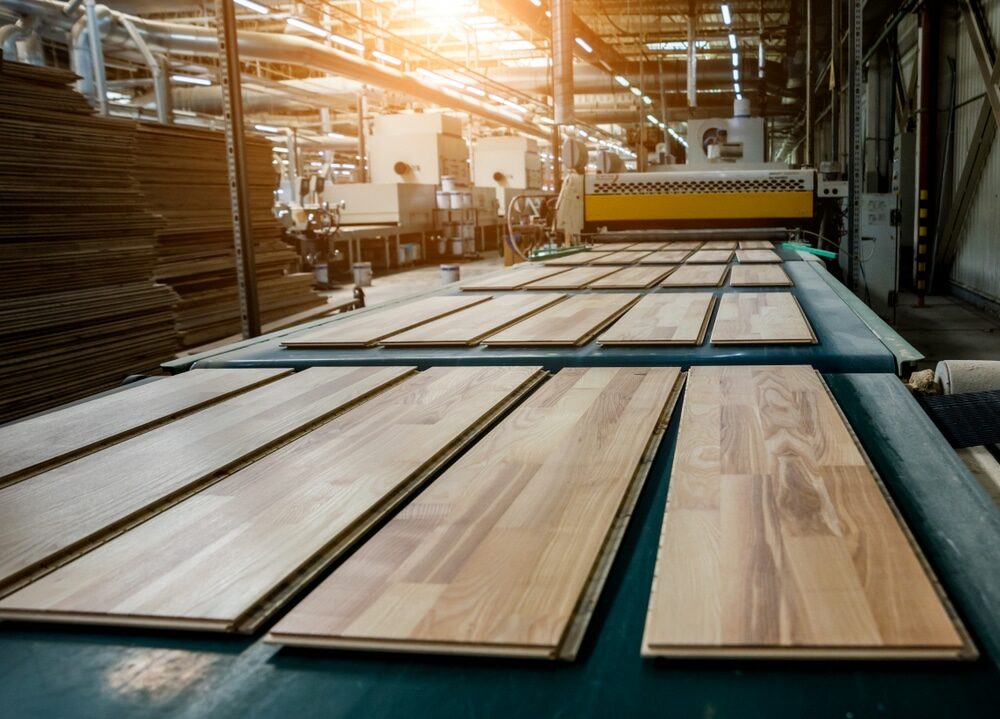
Drum sanding
Mastering the Drum Sander: Tips to Prevent Over-Sanding
If you’ve ever worked with wood, you’re likely familiar with the importance of achieving a perfectly smooth finish. Drum sanders, undoubtedly one of the most essential tools in the woodworker’s arsenal, play a pivotal role in this. However, like every power tool, there’s a fine line between using it to its potential and overusing it. Over-sanding is a common pitfall, and it not only wastes material but also jeopardises the quality of the project. Let’s delve into the nuances of avoiding oversanding when using a drum sander.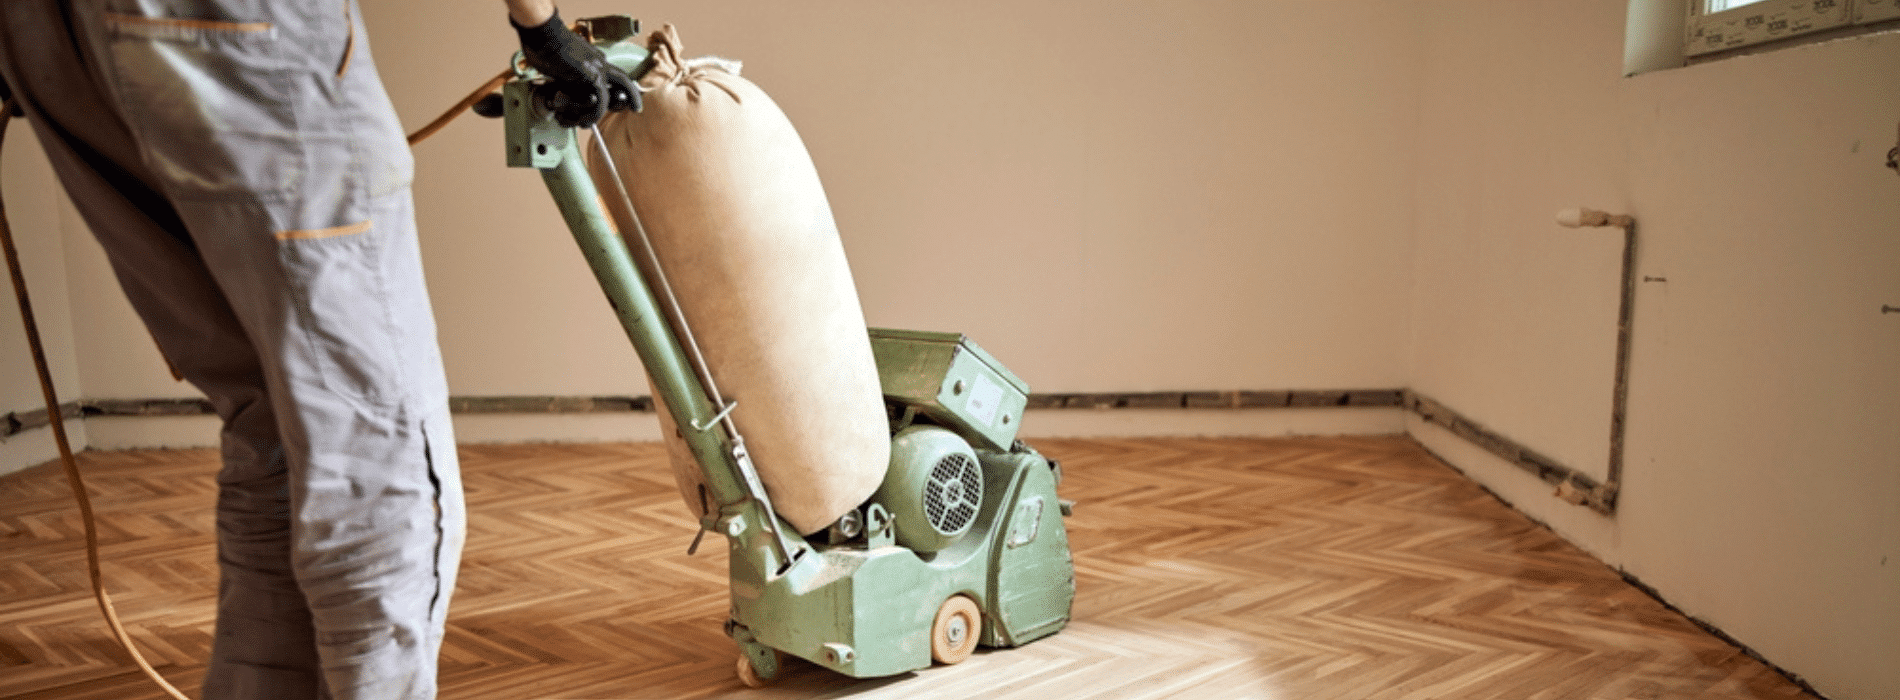
1. Understand the Basics of Drum Sanders
Before embarking on the journey to avoid oversanding, it’s essential to understand what a drum sander is. Unlike orbital sanders or belt sanders, drum sanders are stationary tools. They consist of a spinning cylinder, or ‘drum, wrapped with sandpaper. The wood piece is passed under this spinning drum to achieve a smooth finish.2. Choosing the Right Grit
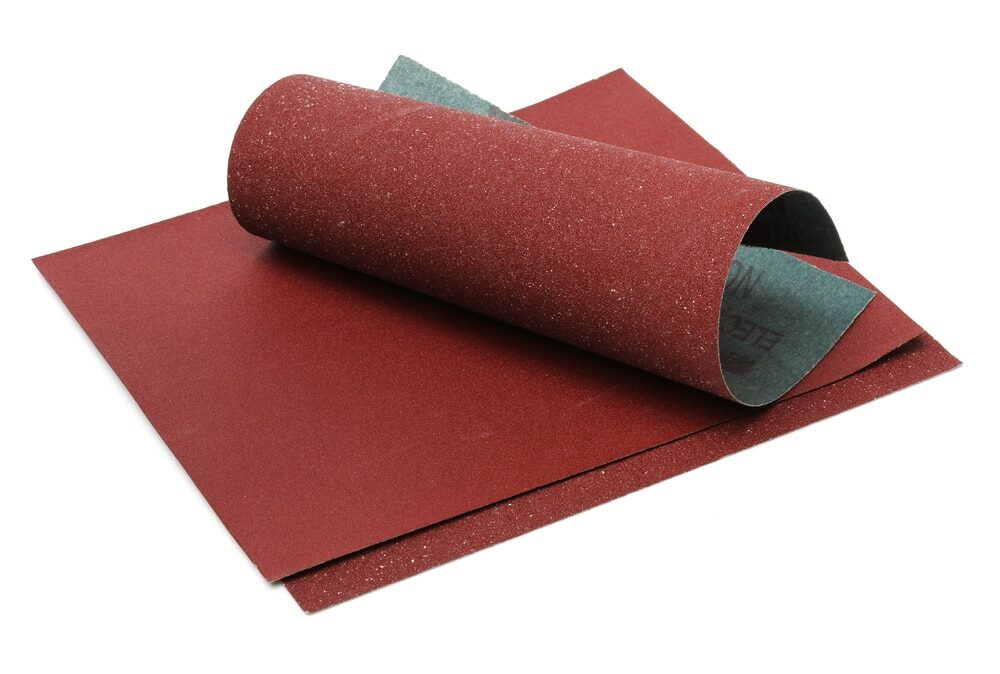
The coarseness of the sandpaper, or its ‘grit’, can significantly influence the outcome. Starting with too coarse a grit can aggressively remove material, while too fine a grit might not be effective and can lead to overheating.- Coarse grit (e.g., 36–50): For quickly removing stock or addressing uneven thickness.
- Medium grit (e.g., 60–100): For smoothing the surface after using coarse grit.
- Fine grit (e.g., 120–220): For final finishes or preparing for staining.
3. Monitoring Feed Rate
The feed rate is the speed at which wood is passed through the sander. A fast feed rate can result in uneven sanding, while a slow rate can cause over-sanding and burn marks. Adjusting and adhering to a steady feed rate that complements the grit and type of wood is crucial.4. Even pressure is the key.
Using inconsistent or excessive pressure can lead to oversanding. Always ensure the wood is flat against the table when passing it through. Avoid pressing down too hard, as the drum sander’s weight and rotation are typically enough to do the job.5. Cleanliness Matters
Ensure that both the sandpaper and the wood are clean. Debris on the wood or clogged sandpaper can create uneven sanding patterns and even gouges. Regularly check and clean the sandpaper, replacing it when it becomes too worn.
6. Keep an eye on the temperature.
Over-sanding can generate excessive heat. Not only does this risk burning the wood, but it can also lead to premature wear and tear on the sandpaper. If you find the drum or wood getting too hot, pause and let things cool down.7. Know your wood
Different wood species respond differently to sanding. Softwoods, like pine, can be sanded down quickly, leading to potential oversanding if not monitored. Hardwoods, like oak or maple, require more patience. Familiarise yourself with the wood you’re working with and adjust your approach accordingly.8. Limit repeat passes.
Every pass removes a layer of wood. Continuously passing the wood under the drum, hoping for a smoother finish, can lead to diminishing returns and oversanding. If you’ve used the correct grit and maintained a steady feed rate, multiple passes shouldn’t be necessary.9. Use a finishing sander.
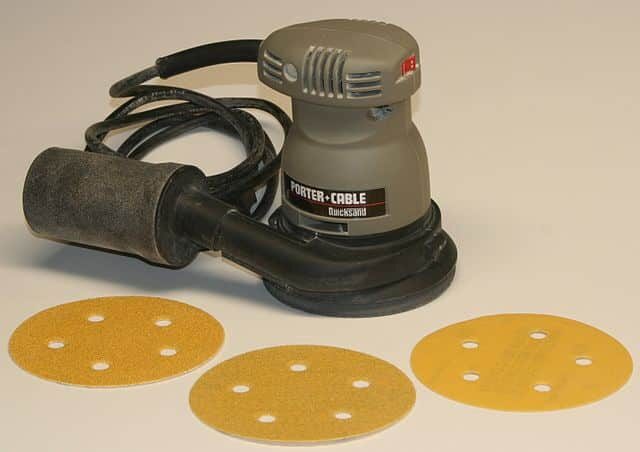
After using a drum sander, consider using a finishing sander for the final touches. Orbital sanders or hand sanding can help achieve a flawlessly smooth surface without risking oversanding.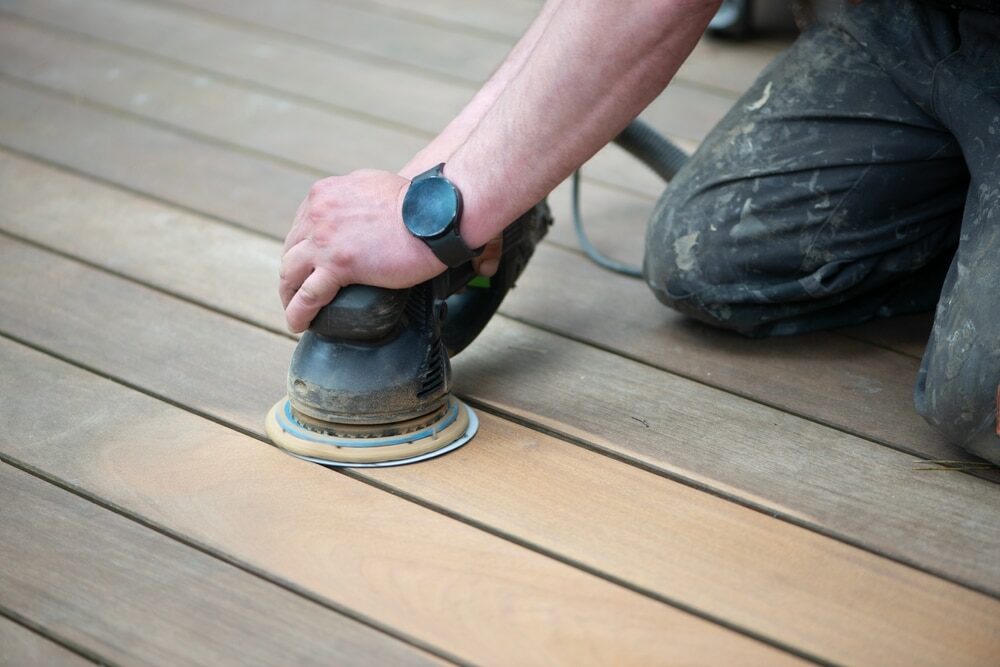
10. Regular Maintenance
Like any tool, a well-maintained drum sander is more effective and less prone to causing errors like oversanding. Regularly check for wear and tear, ensuring all parts are functioning smoothly.Advanced Drum Sanding Techniques and Considerations
Know the thickness tolerance.
Before starting, determine the thickness tolerance of your project. If your woodwork requires precise thickness, measure the wood before and after a pass. This practise ensures you’re within the desired range and helps avoid unnecessary material removal.Master the art of dust management.
A clean workspace is not just aesthetically pleasing but also crucial for achieving the best sanding results. A good dust collection system minimises airborne particles, preventing them from settling back onto the wood and potentially causing imperfections during the sanding process.Technique Variations for Veneered Woods
If you’re sanding veneered wood, it’s imperative to be even more cautious. Veneers have a thin layer of premium wood on the surface, and oversanding can easily wear through this layer, ruining the piece. Always use a finer grit and a slower feed rate when working with veneers.Monitor sandpaper wear.
A common oversight is using sandpaper past its prime. As sandpaper wears out, it becomes less effective, leading one to unknowingly apply more pressure or make multiple passes. Frequently inspect the sandpaper for signs of wear and replace it as necessary.Learn from mistakes
If you do end up oversanding, don’t despair. Instead, assess what went wrong. Was the feed rate too slow? Did you use an overly coarse grit? By evaluating your mistakes, you can refine your technique for future projects.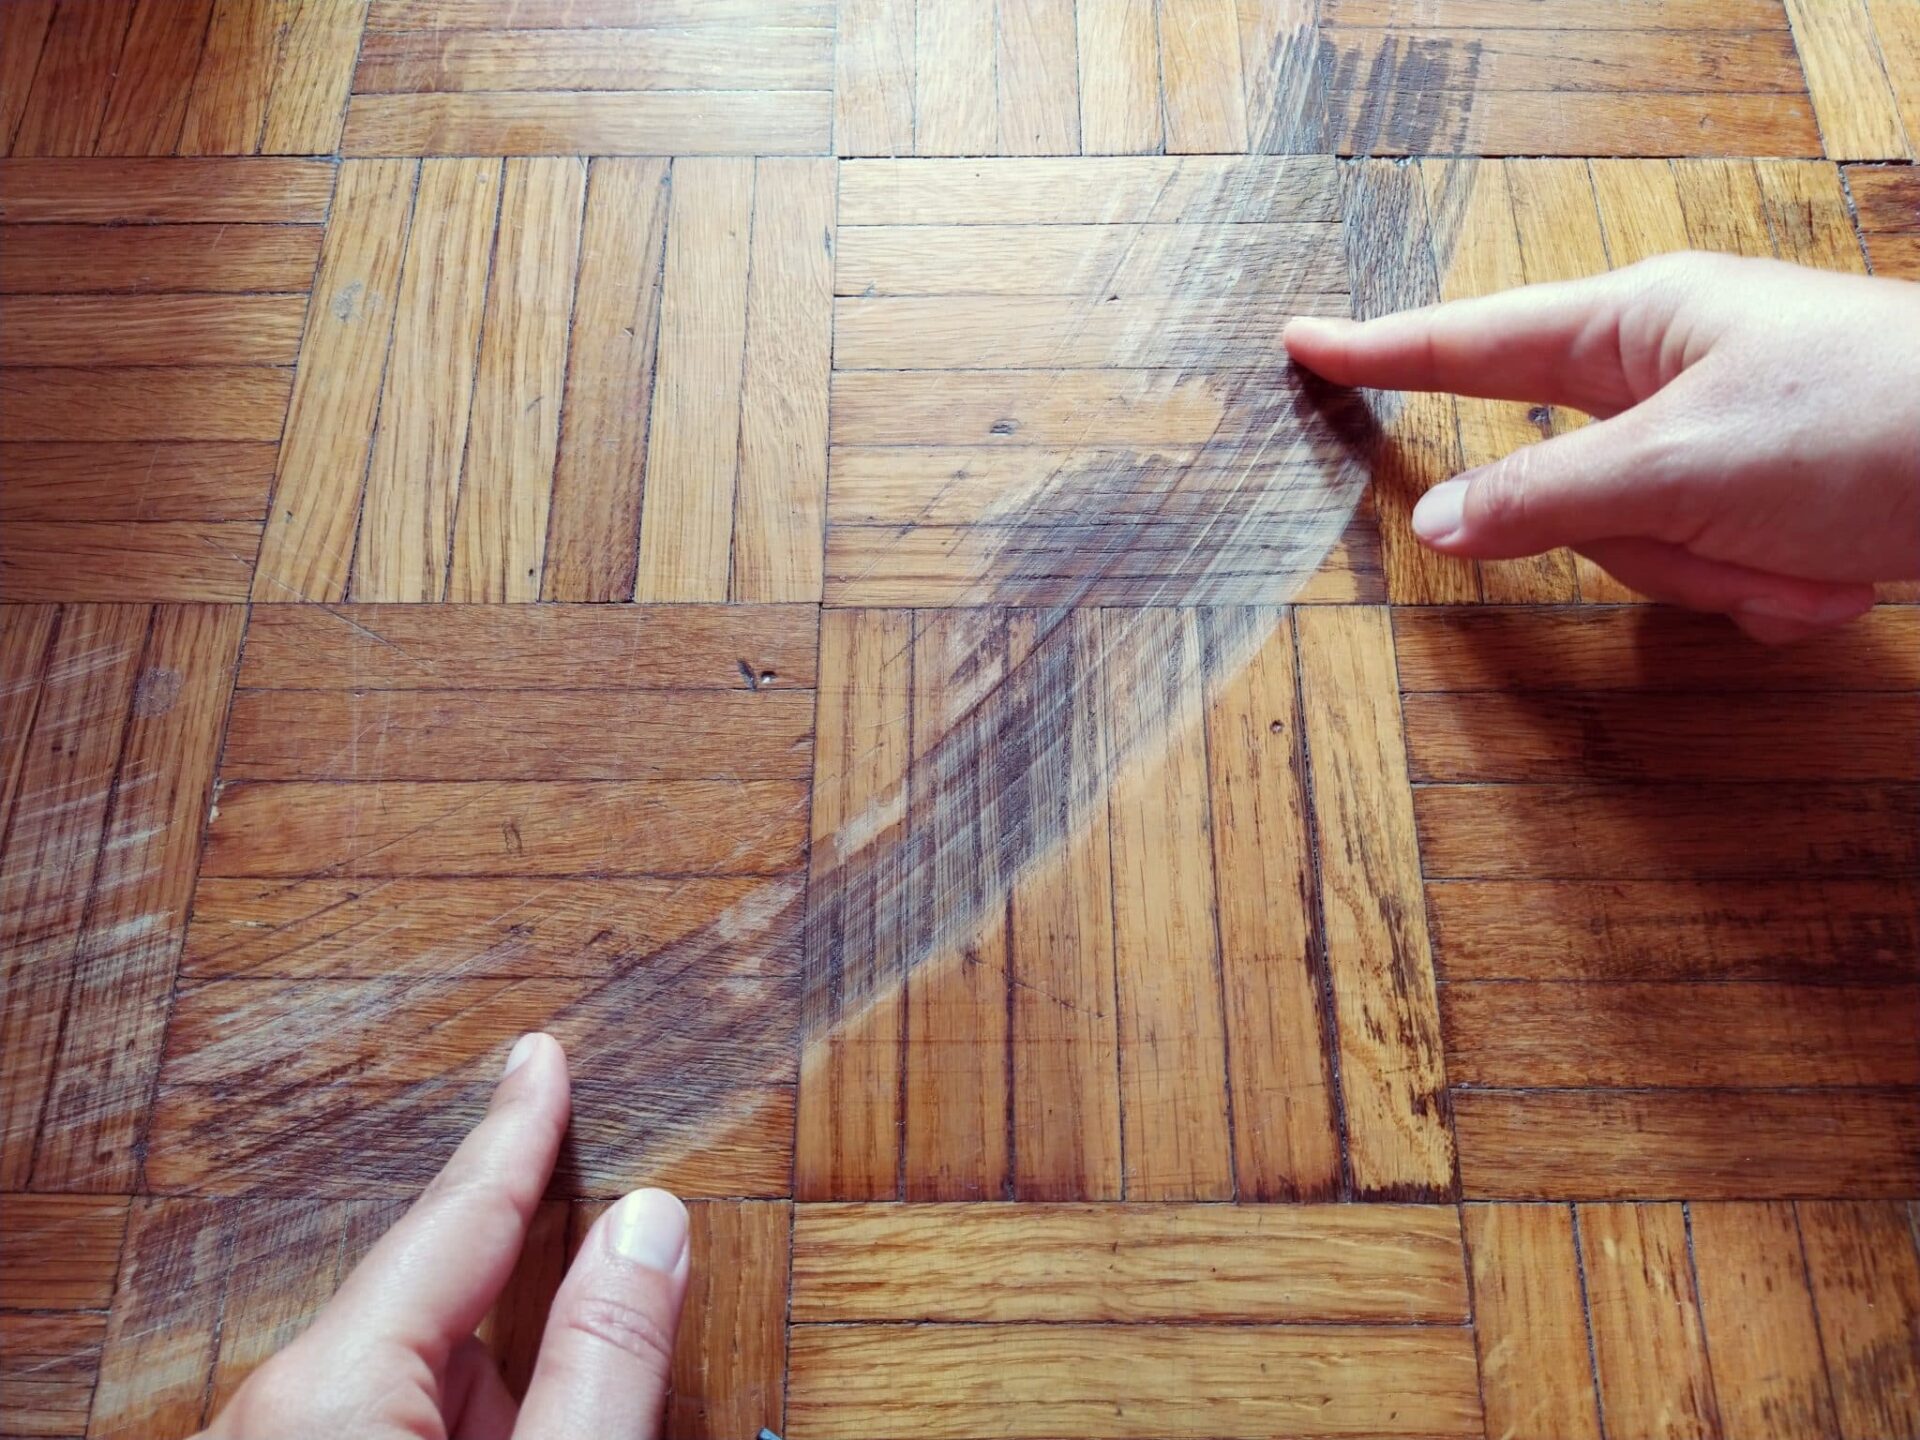
Engage with the Woodworking Community
Join woodworking forums, attend workshops, or engage with local woodworking communities. Sharing experiences and tips with fellow enthusiasts can provide invaluable insights. It’s often in these discussions that you’ll discover niche tricks of the trade.Consider integrating technology.
With the advancement of technology, there are now digital callipers and depth gauges that can provide accurate measurements of your wood’s thickness. Such tools can be especially helpful for projects where precision is paramount.Periodic Test Runs
If you’re working with a large batch of wood or a particularly valuable piece, consider doing test runs with scrap wood or less valuable material. This trial allows you to perfect your technique before moving on to the main project.Stay updated with product upgrades.
Manufacturers continually improve their products based on user feedback and technological advancements. Keeping an eye on upgrades or enhancements for your drum sander might offer features that help reduce oversanding and achieve more consistent results.
Conclusion
Achieving the perfect finish with a drum sander is as much an art as it is a skill. It requires a deep understanding of both the tool and the material you’re working with. By taking heed of the above points, you can ensure that you use your drum sander to its fullest potential without the pitfalls of over-sanding. Remember, patience is a virtue in woodworking. The journey, with its meticulous attention to detail, is as rewarding as the beautifully finished product. So, the next time you switch on that drum sander, keep in mind these tips and achieve that impeccable finish you’ve always desired.Some Useful Links:
- Stairs Sanding & Refinishing
- Floor Sanding Services
- School Floor Sanding
- Wood Floor Restorations
- Wood Floor Repairs
- Wood Floor Polishing
More from our Blog:
How to Sand and Refinish Wooden Floors with a Drum Sander Drum Sanding Techniques for Removing Old Stains and Finishes The Most Common Mistakes in Drum Sanding Wooden Floors The Best Drum Sander Brands for Professional Floor Sanding The Pros and Cons of Drum Sanding versus Orbital Sanding DIY Tips for Successful Drum Sanding of Wooden Floors

Sanding
We provide virtually dust-free sanding with our continuous belt machinery with mobile extraction units, giving you a safer environment for your family.
Oiling
This organic finish not only adds beauty to your home but also has exceptional water-repellent characteristics, making it easier to clean and maintain.
Waxing
This natural floor finish offers the softest and most mellow appearance – and leaves your floor able to breath.
Buffing
Using soft buffing machines (and hand-polishing where required) will bring a wonderful sheen to your newly-finished floor.
Repairs
We offer a full assessment of your wooden floors to determine what repairs are needed to provide the perfect working surface for the later stages of sanding, staining and sealing.
Restoration
We offer a comprehensive restoration process designed to address floors that are improperly fitted or damaged over time through wear and tear.
Request a fixed price quote for your wood floor restoration now
Simply enter your postcode below to get started.
Services
Wood Floor Sanding Wood Floor Restoration Wood Floor Scratch Repair Squeaky Wood Floor Repair Parquet Floor Sanding Parquet Floor Restoration Commercial Floor Sanding Church Floor Sanding Community Centre Floor Sanding School Floor Sanding Gap Filling Gap Filling with ResinCopyright © Mr Sander®
Privacy & Cookies Terms & Conditions Complaints Procedure Cancellation Rights Sitemap

Get An Instant Price Estimate Before You Go…
Simply enter the rooms you need sanded and we’ll provide you with a price estimate instantly! Try our price calculator now.
Get a Price Estimate NowLocal Floor Sanding Experts
Over 500 5-Star Reviews
Safe, Dust Free Sanding
Operating Since 1994