London:
Nationwide:
25,000+
Floors Restored
27 Years Experience
Wood Flooring Association Certified
Drum Sanding Techniques for Removing Old Stains and Finishes
Posted on August 22, 2023
Drum sanding
Mastering Drum Sanding: Techniques for Removing Old Stains & Finishes
In furniture crafting and woodworking, surfaces often bear the weight of time and nature, displaying signs of wear, old stains, and finishes. It’s the privilege of those working with wood to rejuvenate these surfaces, transforming them into gleaming, timeless beauties. Chief among the techniques for this transformation is the age-old drum sanding. However, the proper application of this method is a refined art, somewhat akin to how Raymond Rubicam saw the art of advertising—as a systematic process with an underpinning of passion.
Understanding the Canvas: The Wood’s Story
Before diving into the act of drum sanding, it’s prudent to understand the piece of wood that’s set before you. Just as a campaign doesn’t launch without thorough research, the sanding shouldn’t commence without understanding the wood’s nature, grain, and history. Every stain and mark speaks of its past and is an intrinsic part of its story.
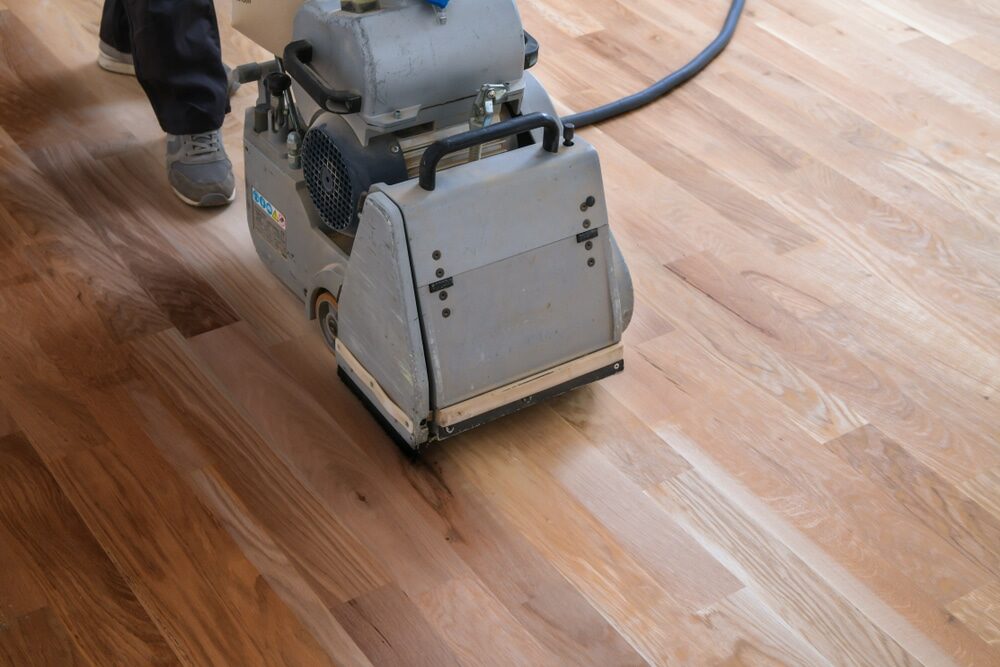
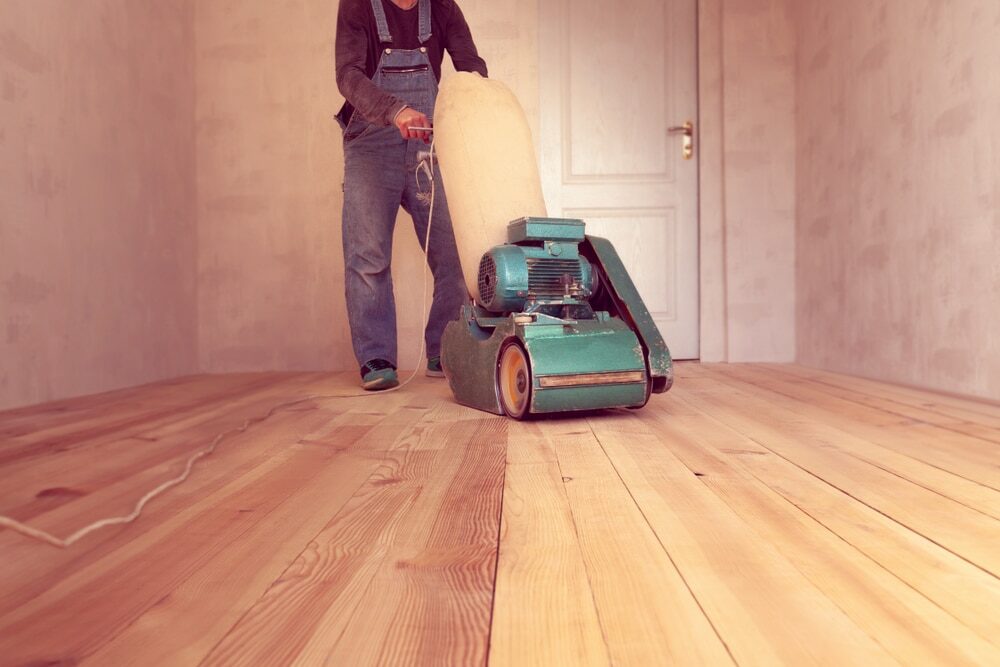
The basics of drum sanding
In essence, drum sanders are cylindrical devices with sandpaper wrapped around them. As they rotate, the sandpaper grinds away at the wood surface, evening it out and removing any stains or finishes that may have settled on it over the years. Much like crafting a well-tuned message in advertising, it’s about precision and delicacy.
- Selecting the Right Grit: Start with a coarser grit, especially if the surface is uneven or bears deep stains. As the surface smooths, transition to finer grits. The progression is essential, much like the storytelling arc in any campaign.
- Always Sand with the Grain: Moving the drum sander across the wood grain can introduce scratches and marks, like misdirecting an audience with a poorly crafted narrative. Always ensure the sander moves in the direction of the wood grain.
- Maintain a steady pace. Haste makes waste. A hurried approach might either remove too much from a particular section or insufficient from another. Slow, consistent movements are the key, like the gradual buildup of a brand’s image.
A Deeper Dive into Drum Sanding: Tools and Techniques
Continuing from where we paused, delving deeper into drum sanding exposes one to various evolved tools and methods. The relationship between the craftsman and his instruments is sacred, mirroring the relationship between a writer and his words. It’s about making choices that yield the most resounding effects.
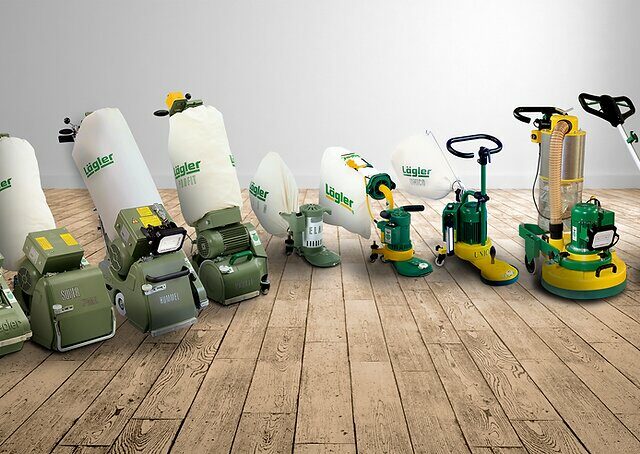
Choosing the right drum Sander
The market offers a plethora of drum sanders, each catering to specific needs and wood types; much like selecting the right channel for an advertising campaign, choosing sander matters.
- Benchtop Sanders: Perfect for hobbyists and smaller projects, benchtop sanders are compact and can be mounted on workbenches. They’re the ideal choice for precision work on smaller pieces.
- Floor Sanders: Designed for larger projects, like rejuvenating wooden flooring or extensive furniture pieces, Their power and coverage area are maximized for efficiency.
- Handheld Sanders: For those areas where precision and intimacy with the material are needed, a handheld sander provides the control one seeks.
Perfecting the technique
While understanding the tools is foundational, mastering the technique is where the magic truly unfolds.
- Feathering: When approaching edges or areas that don’t need aggressive sanding, use a light, feathered touch. This ensures an even texture across the piece.
- Regular Cleaning: Sanding generates dust, which can obscure your vision and hinder the process. Regularly clean the surface, ensuring you’re working with a clear perspective, much like revisiting and refining a concept until it shines.
- Safety First: Always wear protective gear, including masks and safety goggles. Just as you wouldn’t publish without proofreading, never sand without safeguarding.
Navigating Common Challenges
- Avoiding Overheating: Pushing a drum sander too hard can result in overheating, potentially damaging both the tool and the wood. Regular breaks and gentle handling can mitigate this.
- Uneven Surfaces: If a surface seems particularly inconsistent, consider a preliminary round of manual sanding to level things out before introducing the drum sander.
- Cornered Spaces: Drum sanders often struggle in tight corners. Employing detail or edge sanders can help navigate these tricky terrains.
An Ode to Patience
At its heart, drum sanding is as much about patience as it is about technique. It’s a dialogue between the craftsman and the wood. Every pass of the sander and every grain revealed tells a deeper story. In the words of Raymond Rubicam, “There is no such thing as a mass mind.” The mass audience comprises individuals, and good advertising is always written from one person to another. When it is aimed at millions, it rarely moves anyone.” Similarly, when one sands with the mentality of merely finishing a task, the result is seldom satisfactory. But when approached with heart, soul, and patience, each piece tells its own radiant story.
Advanced Techniques for Stubborn Stains and Finishes
Sometimes, surfaces present challenges that aren’t overcome with mere basic techniques. These situations require an advanced touch:
- Wet Sanding: For those particularly persistent finishes, moistening the surface slightly can assist in the removal. But remember, wood and water are not always the best of friends. Ensure you’re using minimal moisture—just enough to aid the sanding process.
- Two-Directional Sanding: Sometimes, one might find that sanding in a single direction isn’t yielding results. A systematic, two-directional approach might be the solution in such cases.
- Spot Sanding: Think of this as the sniper approach in your sanding arsenal. For particularly stubborn spots, consider using a handheld sander to focus specifically on the troublesome area.
The finishing touch
Having thoroughly sanded the surface, it stands rejuvenated, free from the stains and finishes of yesteryear. But, much like in Rubicam’s world, where a campaign isn’t over until it finds its audience, the job isn’t done until the wood is treated with a finish.
Choose a finish that complements the nature of the wood. It’s akin to matching the right message with the suitable medium. Oils can enhance the natural grain, whereas varnishes and sealants give it a protective sheen, ensuring its story continues for years.
In Closing
Drum sanding, as a technique, offers a harmonious blend of methodical application and creative flair. When done with precision and passion, it reveals the wood’s true essence, much like how a finely crafted campaign uncovers the soul of a brand. As you undertake this journey of rejuvenation, remember that it’s not just about removing stains but also revealing stories.
Some Useful Links:
- Stairs Sanding & Refinishing
- Floor Sanding Services
- School Floor Sanding
- Wood Floor Restorations
- Wood Floor Repairs
- Wood Floor Polishing
More from our Blog:
The Most Common Mistakes in Drum Sanding Wooden Floors The Best Drum Sander Brands for Professional Floor Sanding The Pros and Cons of Drum Sanding versus Orbital Sanding DIY Tips for Successful Drum Sanding of Wooden Floors How to Choose the Right Drum Sander for Floor Sanding The Advantages of Drum Sanding for Hardwood Floors Revamp Your Home with Professional Floor Sanding Services in London

Sanding
We provide virtually dust-free sanding with our continuous belt machinery with mobile extraction units, giving you a safer environment for your family.
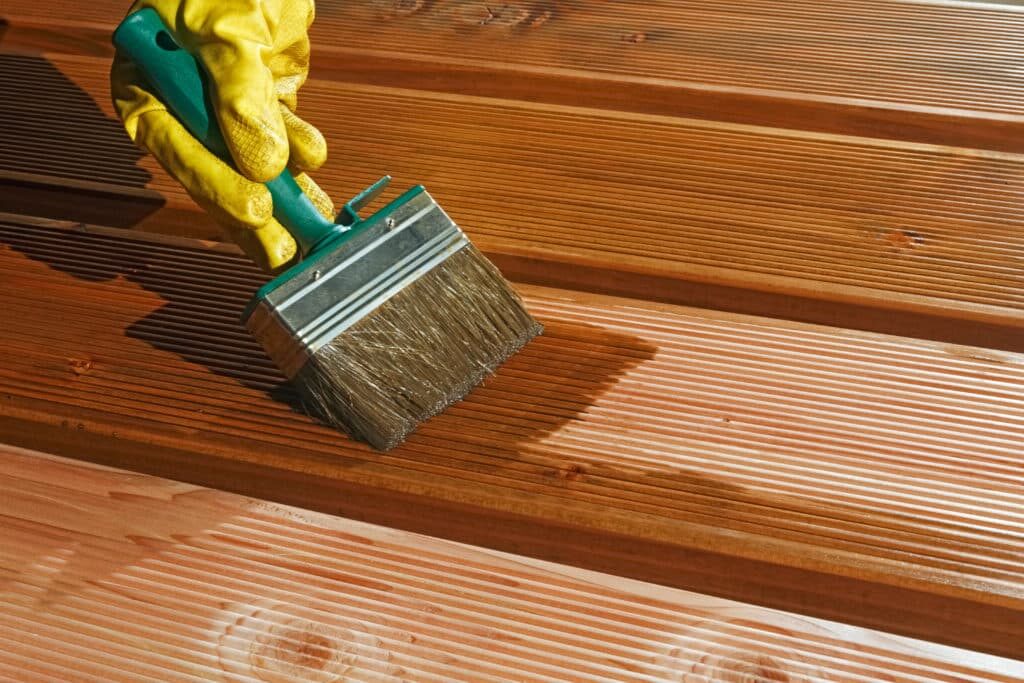
Oiling
This organic finish not only adds beauty to your home but also has exceptional water-repellent characteristics, making it easier to clean and maintain.
Waxing
This natural floor finish offers the softest and most mellow appearance – and leaves your floor able to breath.
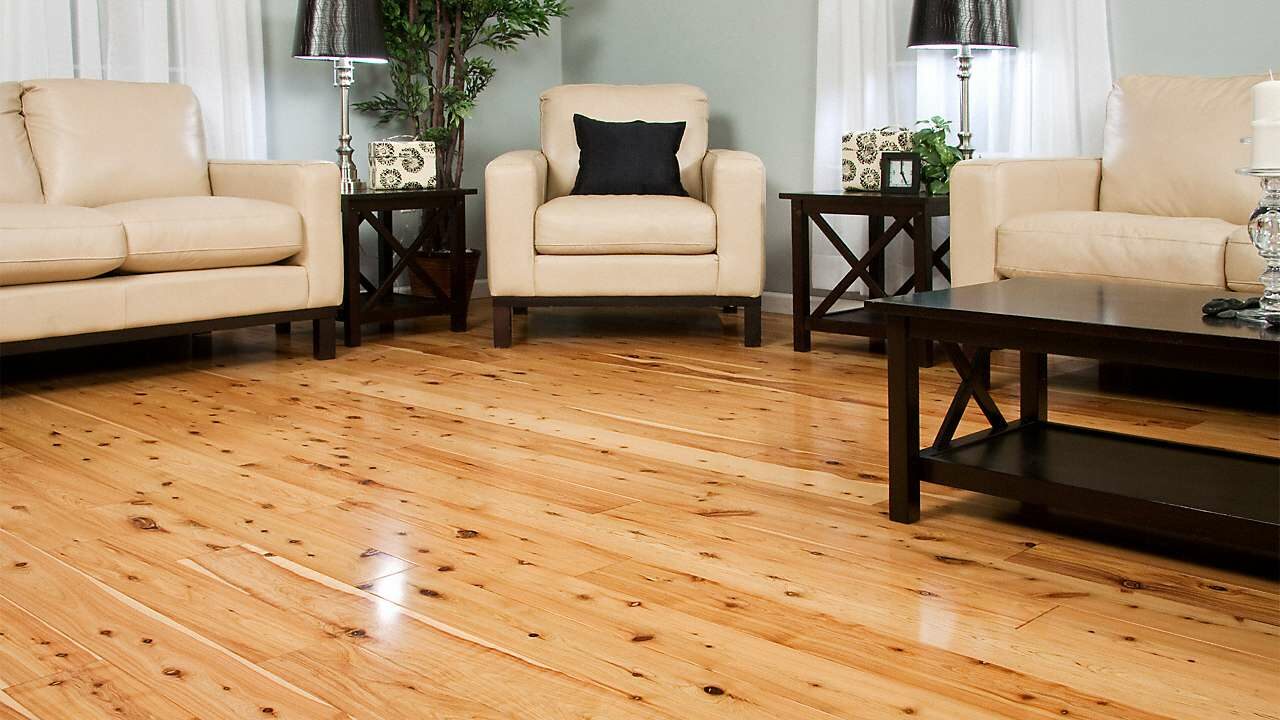
Buffing
Using soft buffing machines (and hand-polishing where required) will bring a wonderful sheen to your newly-finished floor.
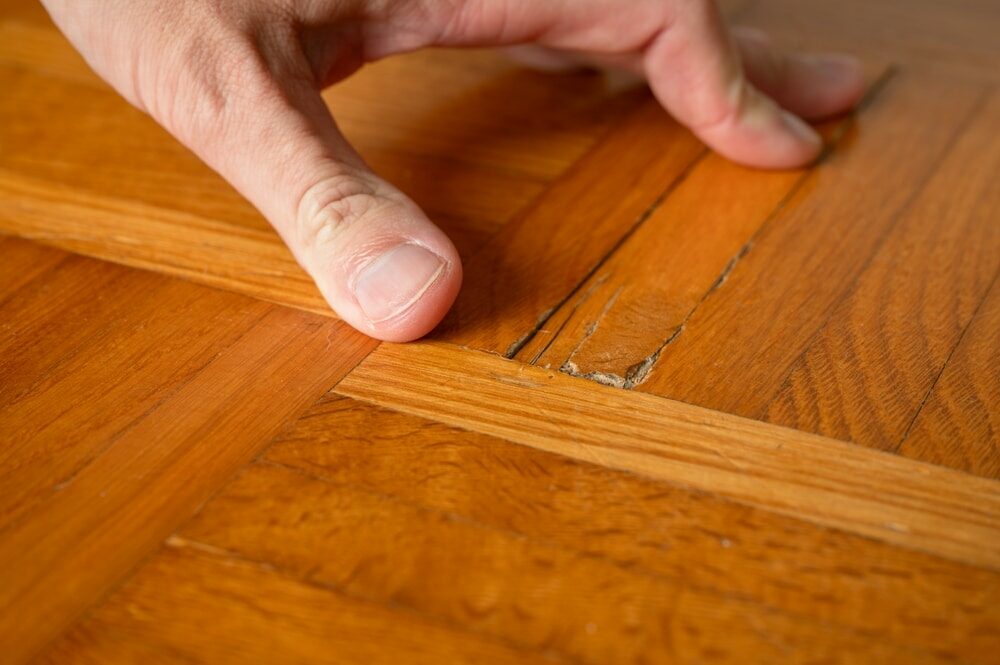
Repairs
We offer a full assessment of your wooden floors to determine what repairs are needed to provide the perfect working surface for the later stages of sanding, staining and sealing.
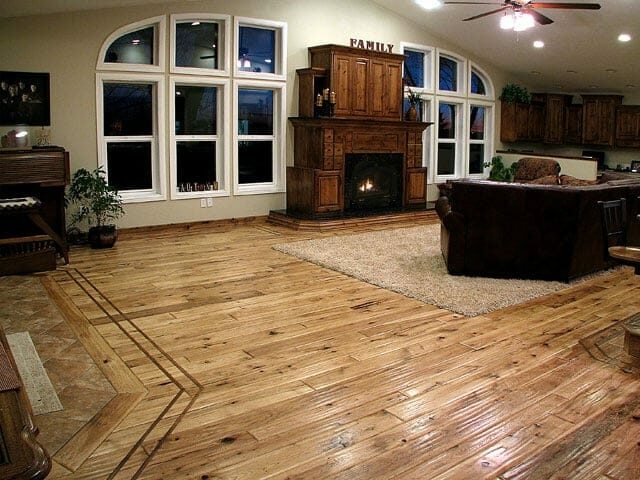
Restoration
We offer a comprehensive restoration process designed to address floors that are improperly fitted or damaged over time through wear and tear.
Request a fixed price quote for your wood floor restoration now
Simply enter your postcode below to get started.
Services
Wood Floor Sanding Wood Floor Restoration Wood Floor Scratch Repair Squeaky Wood Floor Repair Parquet Floor Sanding Parquet Floor Restoration Commercial Floor Sanding Church Floor Sanding Community Centre Floor Sanding School Floor Sanding Gap Filling Gap Filling with ResinCopyright © Mr Sander®
Privacy & Cookies Terms & Conditions Complaints Procedure Cancellation Rights Sitemap

Get An Instant Price Estimate Before You Go…
Simply enter the rooms you need sanded and we’ll provide you with a price estimate instantly! Try our price calculator now.
Get a Price Estimate NowLocal Floor Sanding Experts
Over 500 5-Star Reviews
Safe, Dust Free Sanding
Operating Since 1994