London:
Nationwide:
25,000+
Floors Restored
27 Years Experience
Wood Flooring Association Certified
DIY Tips for Successful Drum Sanding of Wooden Floors
Posted on August 21, 2023
Drum sanding
Mastering Drum Sanding: DIY Tips for Wooden Floors
The majesty of a wooden floor speaks of past times and is a testament to the intricate dance between nature’s finest creation and man’s endeavor to mold it for his domestic luxury. The ebb and flow of the wood’s grain, reflecting decades of growth, encounters, and evolution, find a new life under our feet. Yet, like all things aged and beautiful, it requires a touch of rejuvenation now and then. Enter the art of drum sanding. Let me share my wisdom with those brave enough to do this task themselves. Drum sanding can be an orchestra of perfection when conducted rightly or a cacophony of blunders if misunderstood. Here are some DIY tips to guide your symphony of sanding.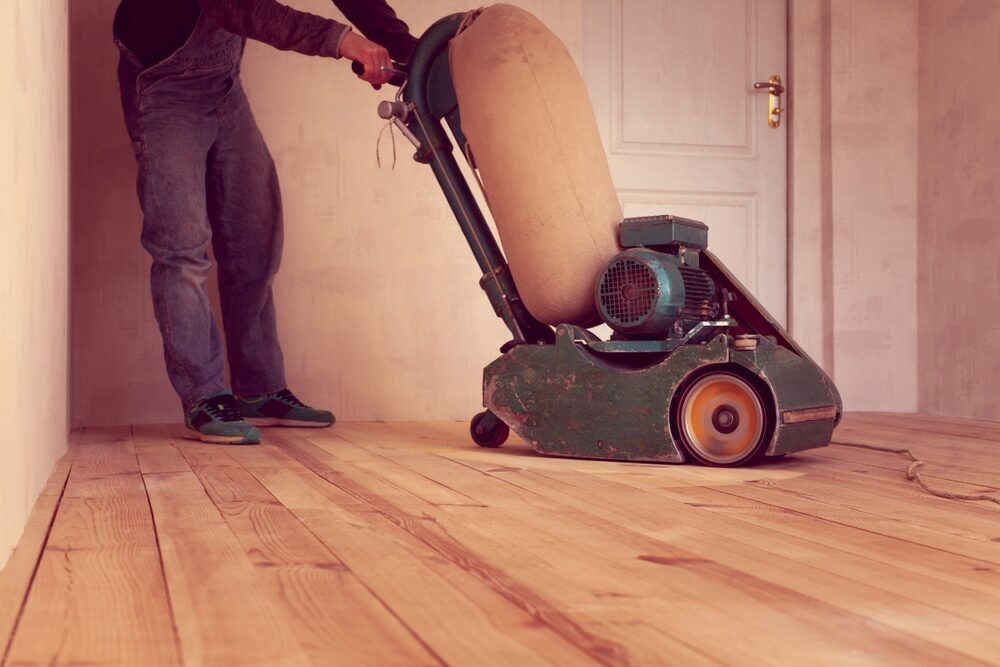
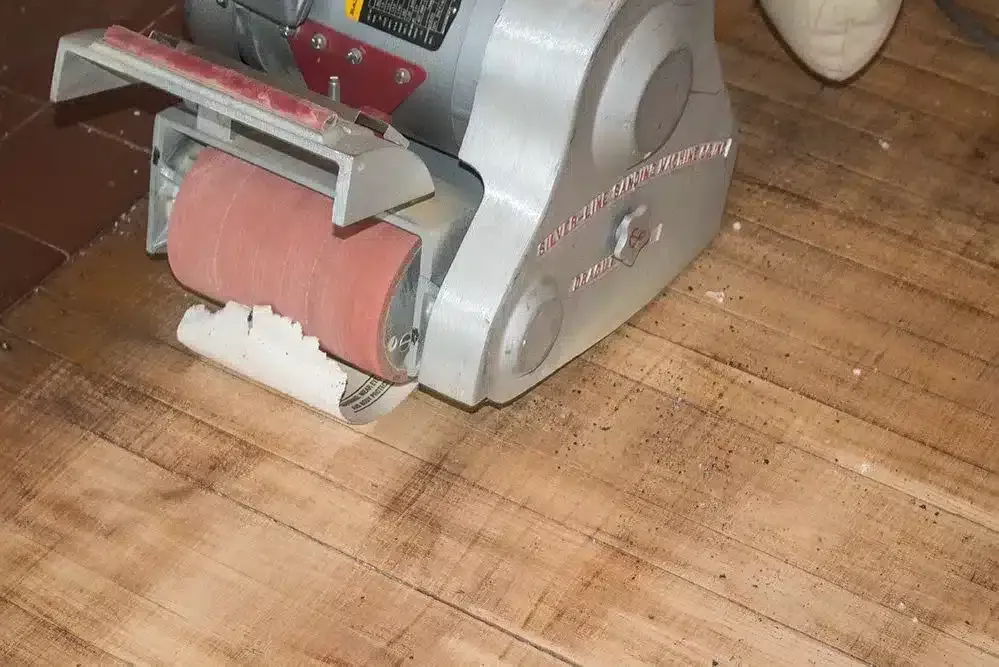
1. Know Thy Tool
Before embarking on this journey, one must familiarise oneself with the instrument, the drum sander. It’s a powerful machine that demands respect and understanding. Spend time familiarising yourself with its various components: the drum, the sandpaper, and the mechanism.2. Selection of sandpaper
The right sandpaper is essential, as one wouldn’t play Wagner with a tin whistle. Begin with a coarser grit, perhaps 36 or 40, to address imperfections and worn-out patches. Once this initial course is sailed, move to finer grits, around 60, then 80, and possibly even 100, to achieve the polished finesse of a ballroom floor.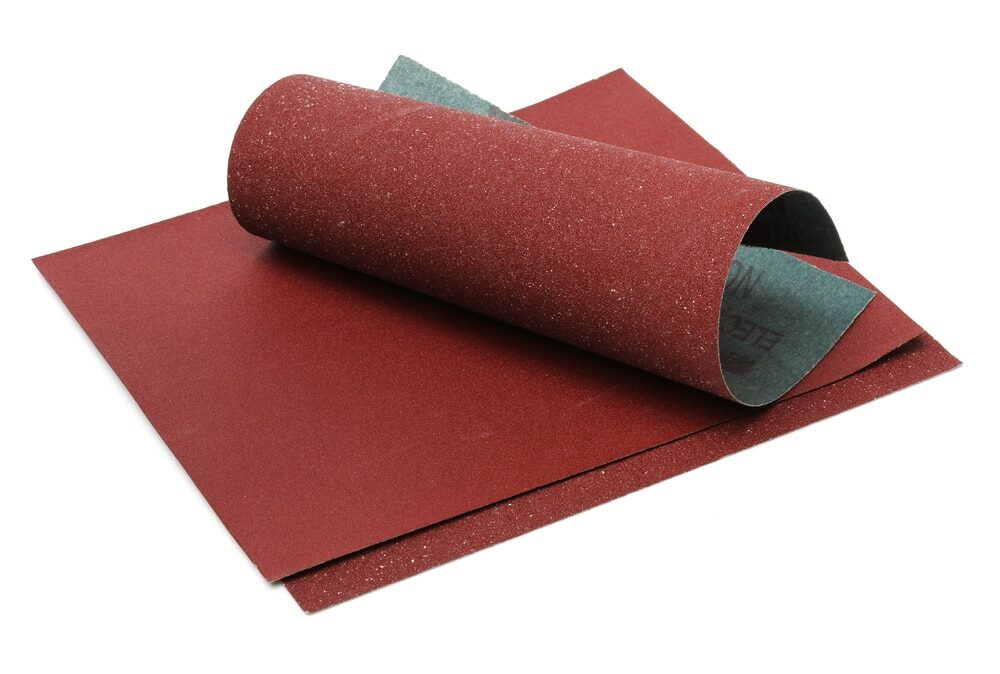
3. The Ballet of Movement
Sanding is a dance. It’s a harmonious movement between man and machine. Never be stationary with a running sander; always keep it moving. Push it forward at a moderate pace and pull it back at roughly the same speed. The rhythm is essential. Too fast and you risk skipping areas; too slow and you risk digging too deeply.4. The grain is your compass.
Wood has a direction, a grain, nurtured over its lifetime. It is imperative to follow this grain and glide along its paths. Sanding against it is akin to swimming against a tide—futile and potentially damaging.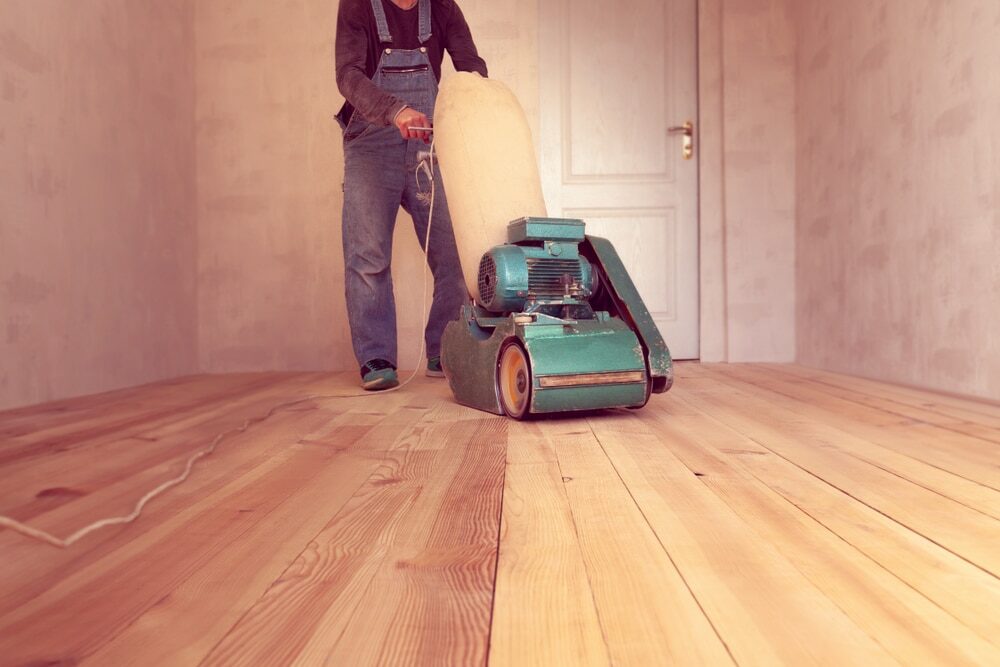
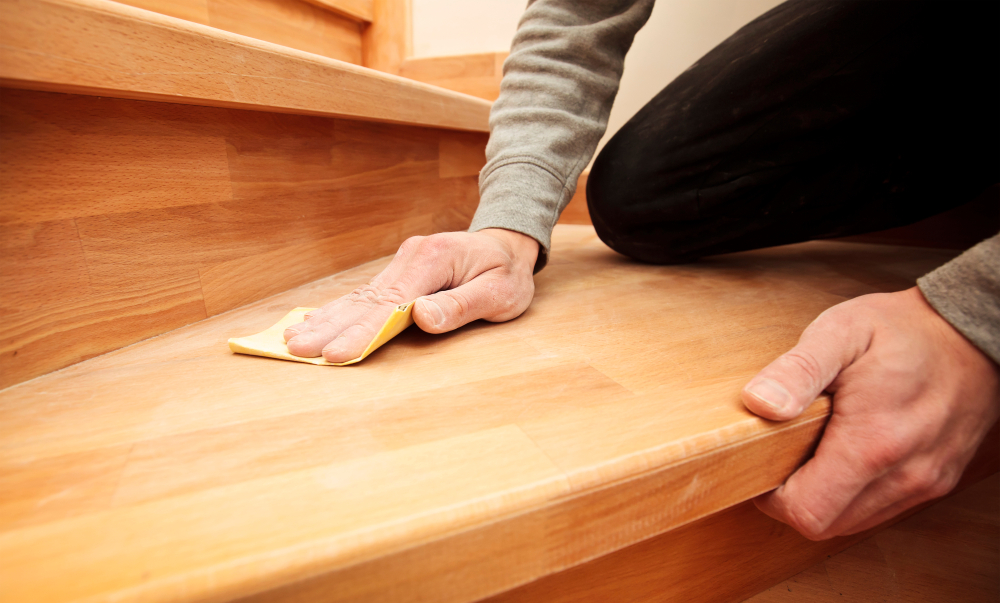
5. Mind the Edges
The middle of your floor may take well to the drum sander’s embrace, but the edges are more delicate, often requiring the tender touch of an edge sander. Overlapping your paths by a few inches ensures that no patches are left untouched by the hand of rejuvenation.6. The Art of Transition
When changing grits, one must ensure a seamless transition. This means overlapping your passes and ensuring no spot is left untouched by both nerves. It’s a delicate waltz between the coarse and the fine, guaranteeing the floor does not bear the brunt of an abrupt shift.7. The Clean Sweep
As you sculpt away the years from your floor, there will be a residue—sawdust, a byproduct of your efforts. Regularly sweeping or vacuuming ensures that your sander remains effective and prevents any unwanted mixing of old and new.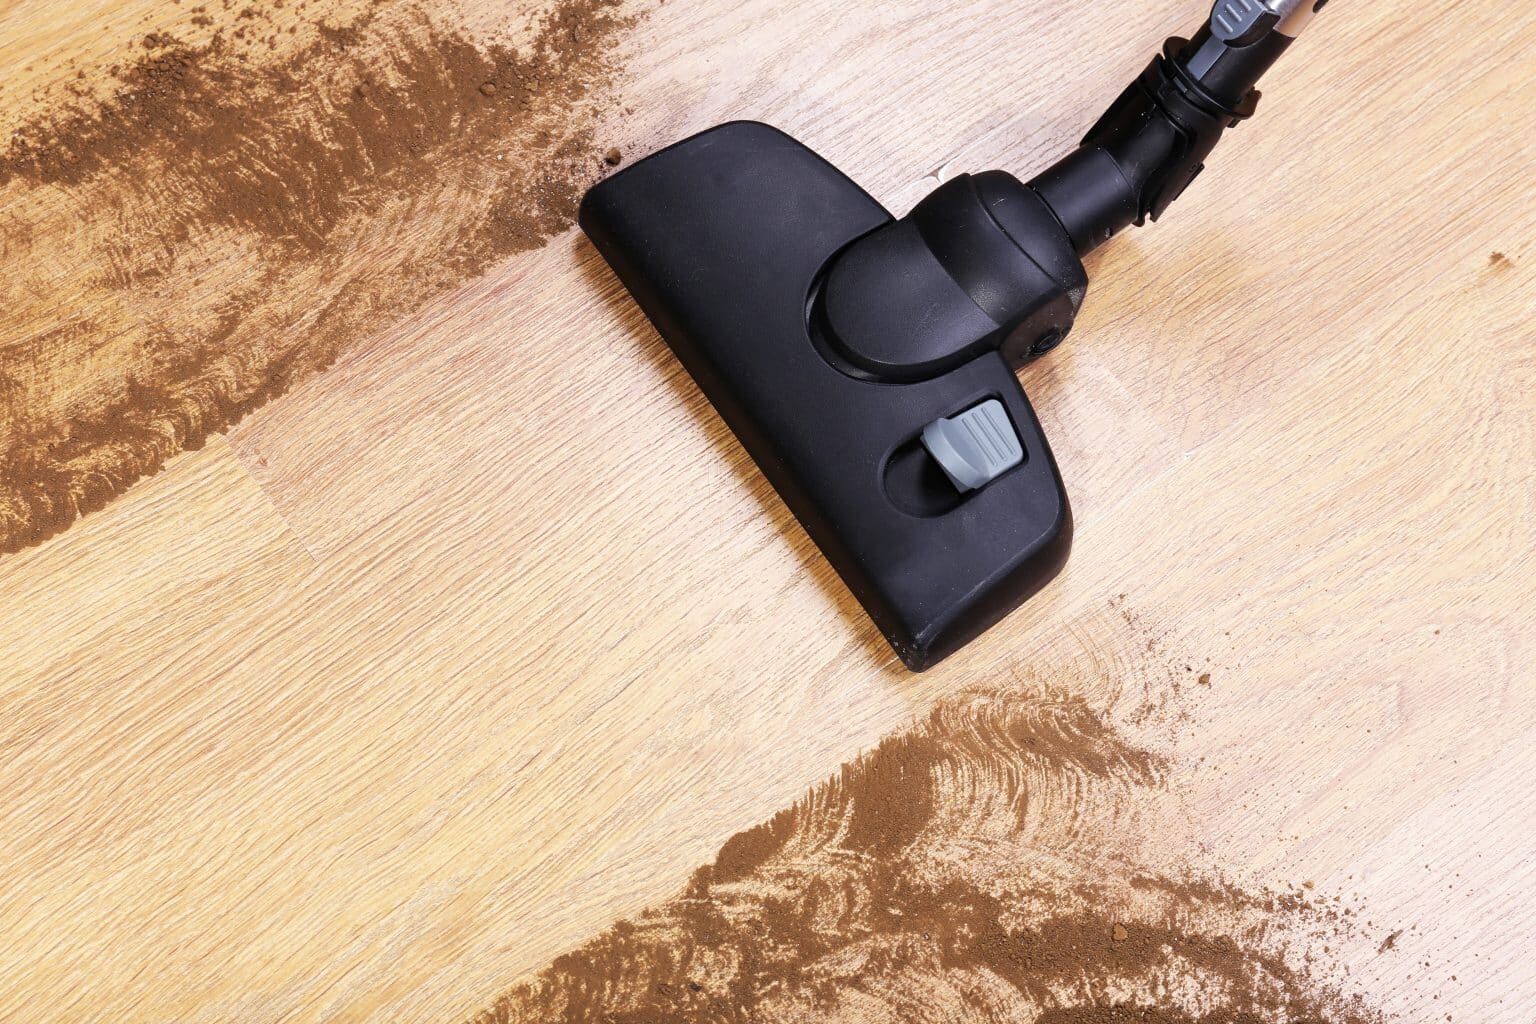
8. Safety, the Unsung Hero
In all things, safety must never be an afterthought. Goggles to protect your eyes, ear defenders to shield your ears, and a mask to guard against the fine dust are all essential companions in this endeavor. In the quest for beauty, one must not sacrifice well-being.9. Practise Before the Overture
If you’ve never danced with a drum sander, practice in an inconspicuous spot or on spare wood. Get the feel of the machine; understand its quirks and its demands. Only then can you venture onto the grand stage of your main floor?10. The Finale: Finishing Touches
Consider the sealing melody once the sanding has sung its last note and your floor is smooth and even. Be it oil, wax, or varnish, this final layer enhances the beauty and protects against future wear.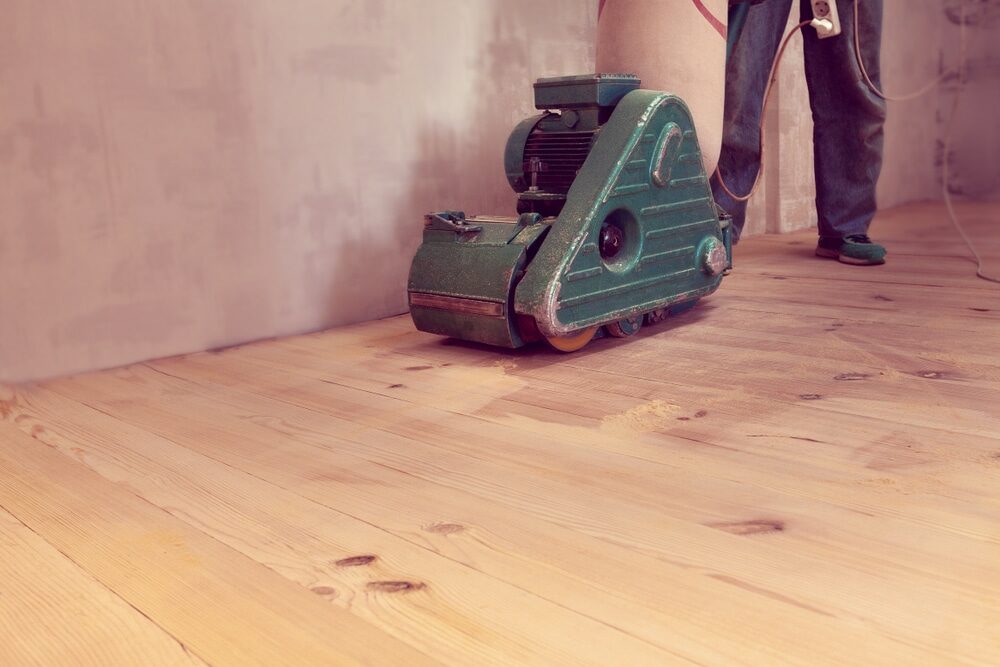
11. Room preparation is critical.
Before the first hum of the sander fills the air, room preparation is paramount. Remove all furniture, drapes, and décor. For, in this journey of rejuvenation, any obstacle can be a hindrance to both the task and the instrument. Seal off doorways with plastic sheeting to contain the dust and protect the rest of your abode.12. Maintenance of the Instrument
The drum sander, while a robust entity, craves attention and care. Check belts for wear and ensure the drum has no residual old sandpaper that might scratch your floor. A well-maintained machine functions at its optimum and provides the highest quality finish.13. Listen to the wood
The wood, aged and wise, often communicate. Listen for any creaks or loose boards as you sand. These might need securing or fixing. It’s not just about the surface; the song of the sander can reveal more profound tales that need addressing.14. Humidity and Environment
Wood is a living entity that is responsive to its environment. Ensure the room’s humidity is stable before, during, and after the sanding process. Extreme changes can cause the wood to expand or contract, affecting the quality of your work and the finish.15. Reflect and review
After each sanding pass, take a moment of quiet reflection. Use a handheld light at a low angle to inspect the floor for any inconsistencies, missed spots, or imperfections. This meticulous review ensures that each subsequent stage builds on perfection.Conclusion
To sand a wooden floor is to embark on a voyage through time, touching layers of history, nuance, and craftsmanship. It’s not just about revealing the beauty beneath years of wear but about forging a connection with the material that is a testament to nature’s grandeur. Every grain you uncover, every imperfection you smooth over, adds to the tale of the room. In the hands of the dedicated DIY enthusiast, a drum sander becomes more than a tool; it’s a maestro’s baton directing an orchestra of wood, grit, and determination. From preparation to reflection, the points laid out here are not mere guidelines but strokes in a grander painting of renewal and respect for the wood. As you step back and behold the rejuvenated expanse, take pride in the dance you’ve performed. For in those polished wooden boards, now gleaming with revived splendor, lies not just the spirit of the trees from whence they came but also the echo of your dedication and craftsmanship. May every room you touch with this artistry resonate with stories—old ones whispered by the wood and new ones that you, the artisan, will write with every step.Some Useful Links:
- Stairs Sanding & Refinishing
- Floor Sanding Services
- School Floor Sanding
- Wood Floor Restorations
- Wood Floor Repairs
- Wood Floor Polishing
More from our Blog:
How to Choose the Right Drum Sander for Floor Sanding The Advantages of Drum Sanding for Hardwood Floors Revamp Your Home with Professional Floor Sanding Services in London DIY Wood Floor Installation: Step-by-Step Guide for Homeowners Wood Floors | How to Maintain Your Wooden Flooring

Sanding
We provide virtually dust-free sanding with our continuous belt machinery with mobile extraction units, giving you a safer environment for your family.
Oiling
This organic finish not only adds beauty to your home but also has exceptional water-repellent characteristics, making it easier to clean and maintain.
Waxing
This natural floor finish offers the softest and most mellow appearance – and leaves your floor able to breath.
Buffing
Using soft buffing machines (and hand-polishing where required) will bring a wonderful sheen to your newly-finished floor.
Repairs
We offer a full assessment of your wooden floors to determine what repairs are needed to provide the perfect working surface for the later stages of sanding, staining and sealing.
Restoration
We offer a comprehensive restoration process designed to address floors that are improperly fitted or damaged over time through wear and tear.
Request a fixed price quote for your wood floor restoration now
Simply enter your postcode below to get started.
Services
Wood Floor Sanding Wood Floor Restoration Wood Floor Scratch Repair Squeaky Wood Floor Repair Parquet Floor Sanding Parquet Floor Restoration Commercial Floor Sanding Church Floor Sanding Community Centre Floor Sanding School Floor Sanding Gap Filling Gap Filling with ResinCopyright © Mr Sander®
Privacy & Cookies Terms & Conditions Complaints Procedure Cancellation Rights Sitemap

Get An Instant Price Estimate Before You Go…
Simply enter the rooms you need sanded and we’ll provide you with a price estimate instantly! Try our price calculator now.
Get a Price Estimate NowLocal Floor Sanding Experts
Over 500 5-Star Reviews
Safe, Dust Free Sanding
Operating Since 1994