London:
Nationwide:
25,000+
Floors Restored
27 Years Experience
Wood Flooring Association Certified
Tips for Edge Sanding Wide Plank Flooring
Posted on September 7, 2023
Edge sanding
Tips for Edge Sanding Wide Plank Flooring – Unlocking the Beauty within the Grains
Imagine for a moment standing amidst a room that houses a magnificent wide plank floor, with every individual plank narrating a distinct tale from its grain. There is something unquestionably regal about finely crafted wide plank flooring—something that evokes an authentic, rustic vibe. Yet, in order to fully unlock this rustic charm, one has to master the art of edge sanding. This isn’t simply a renovation project; it’s more akin to sculpting a masterpiece.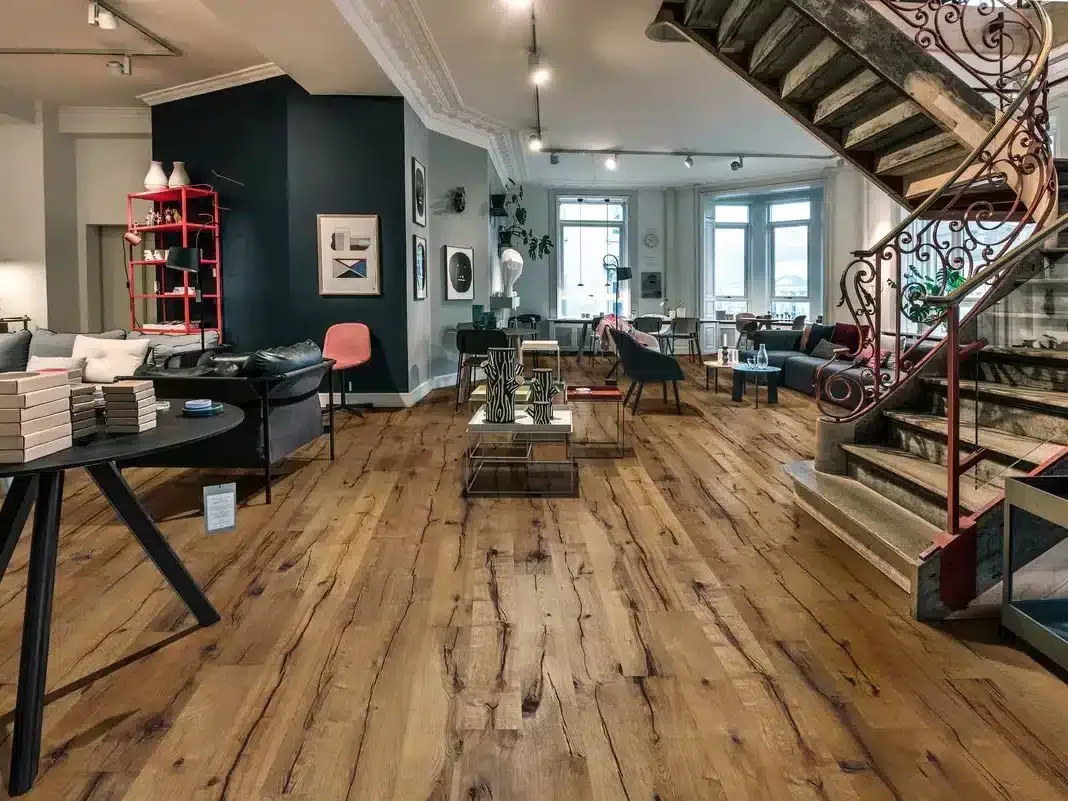
The Landscape of Planks: An Overview
Wide plank flooring can be likened to a canvas where every stroke and every hue reveals a distinct personality. These planks, often crafted from oak, pine, or walnut, command a space with their grandeur and rustic appeal. Yet, to bring out the true grandeur of these wide planks, a meticulous approach to edge sanding is required. It isn’t just about renewing a surface; it’s about enriching the depth of each grain, bringing forth an artwork that has been etched by time itself. Before embarking on this adventure, let’s understand what edge sanding is. This is the meticulous process of sanding the edges of the planks, often where the drum sander can’t reach. This requires precision, an appreciation for the minute details, and a bit of old-fashioned elbow grease. It’s like setting the stage for a play that’s written in the grains of the wood, a narrative that deserves to be told with finesse. Let’s delve into some tips that will guide you in achieving a smooth, seamless, and aesthetically pleasing finish with edge sanding.Preparing the Stage: Tools and Materials
To successfully conduct edge sanding, one requires an arsenal of proper tools and materials. In a manner of speaking, these tools are your brush and palette in this artistic endeavour. Here’s what you would need:- Edge Sander: This is your primary tool, adept at reaching corners and edges where the drum sander cannot.
- Sanding Discs: These come in various grits, each suited for different stages of sanding.
- Hammer and Nail Set: To secure any protruding nails that could damage the sander.
- Vacuuming is essential for keeping the area clean and removing dust particles that may interfere with the process.
- Protective Gear: This includes masks, goggles, and gloves to protect yourself during the process.
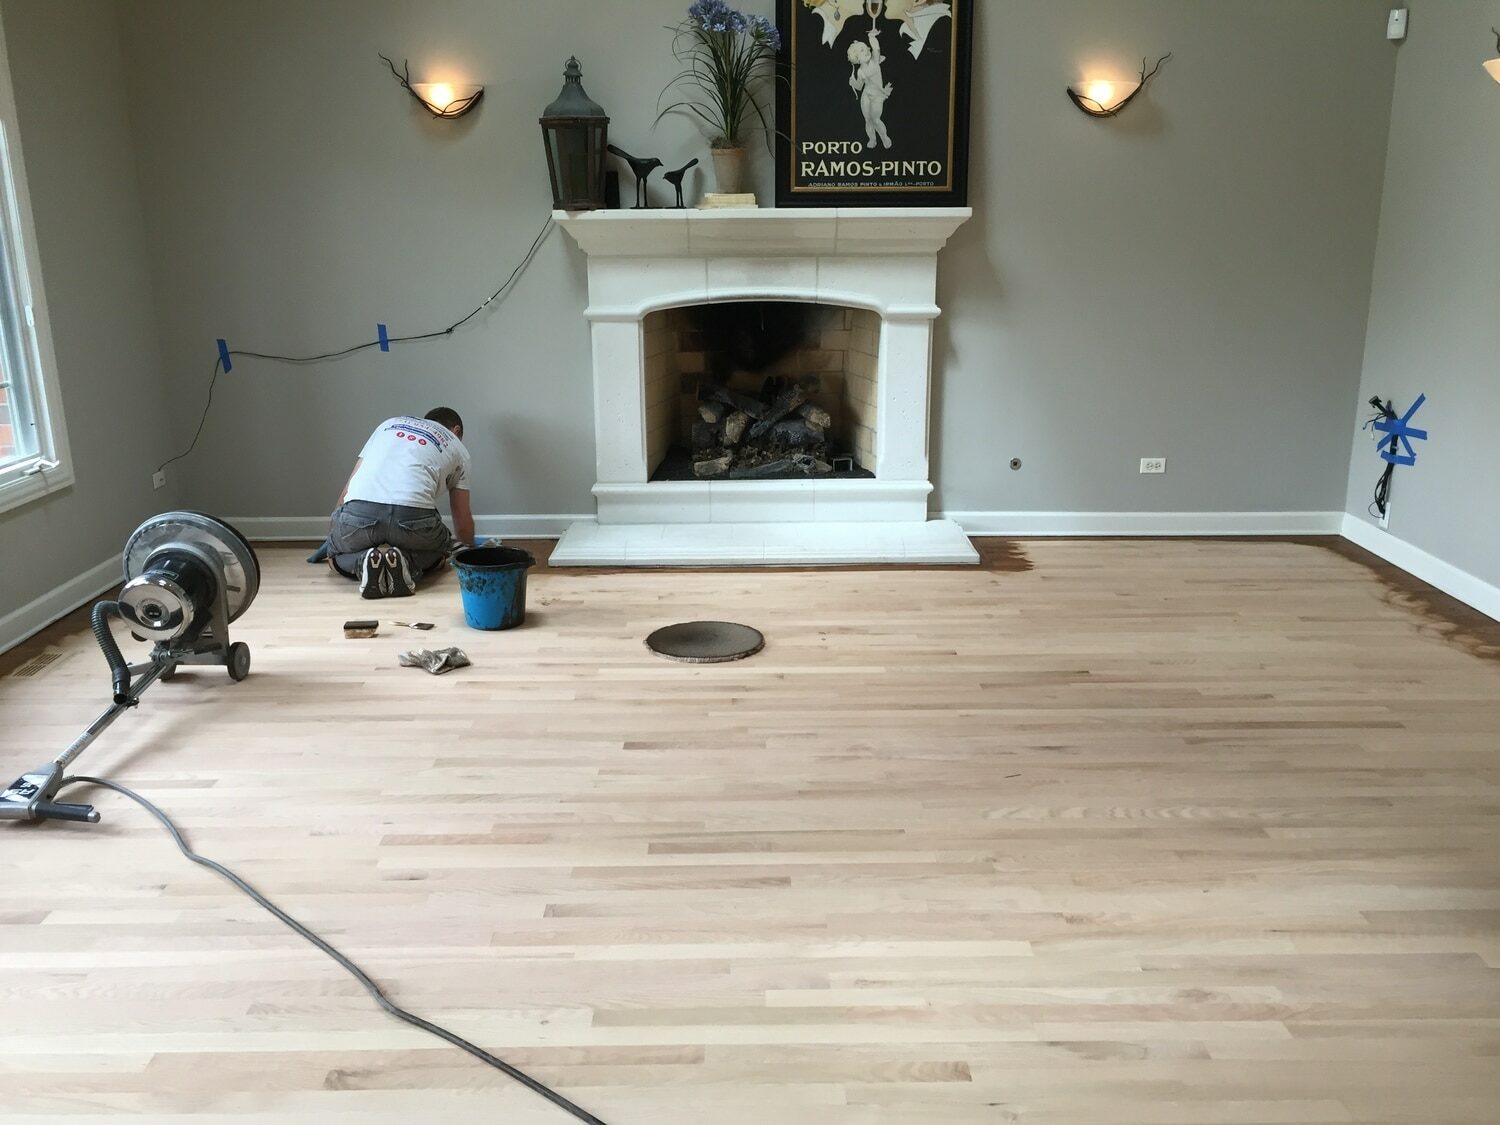
The Symphony of Sanding: A Step-by-Step Guide
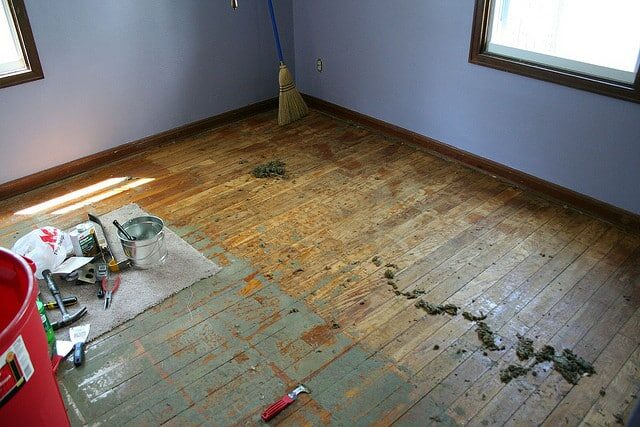
Step 1: Survey Your Canvas
Before you venture forth, take a moment to survey the area. Identify any nails that are protruding and set them in place using the hammer and nail set. This not only protects your sander but also ensures a smoother finish.Step 2: The Preliminary Brush Strokes—Coarse Sanding
Begin with the coarsest sanding disc, usually 36 or 40 grit, to remove the old finish and level the floor. This stage is akin to sketching the outlines of a painting, where you set the stage for finer details to come forth. It is advisable to sand along the grain to prevent any cross-grain scratches, which can be unsightly.Step 3: The Artistry of Fine Sanding
As you proceed, gradually shift to finer grits, moving to 60, 80, and finally 100 grit discs. This transition is like adding finer brush strokes to your painting, where the true nuances of the wood start to come alive. The subtleties of the grains begin to emerge, creating a rich tapestry that beckons one to explore further.Step 4: The Finishing Touches: Hand Sanding
Once the mechanical sanding is completed, it’s time for hand sanding. This is where the true artisan comes into play, working meticulously to bring out the finer details. Using a fine-grit hand sanding block, smooth out any areas that may have been missed by the edge sander. This step is akin to adding the final details to a masterpiece, where every stroke adds a new dimension to the artwork.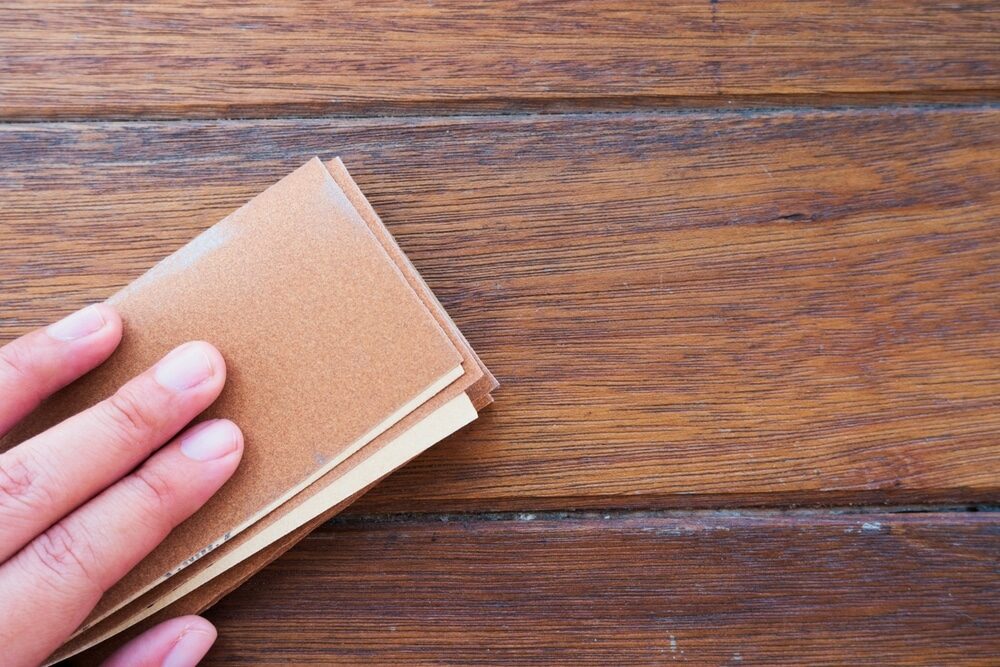
Step 5: The Grand Reveal: Vacuuming and Cleaning
Before unveiling the grandeur of your efforts, ensure a thorough cleaning to remove any dust and debris. The vacuuming process is akin to removing the veil from a masterpiece, revealing the pristine beauty underneath. Once this is done, you stand amidst a canvas that speaks volumes through its grains, a narrative that is rich, deep, and evocative.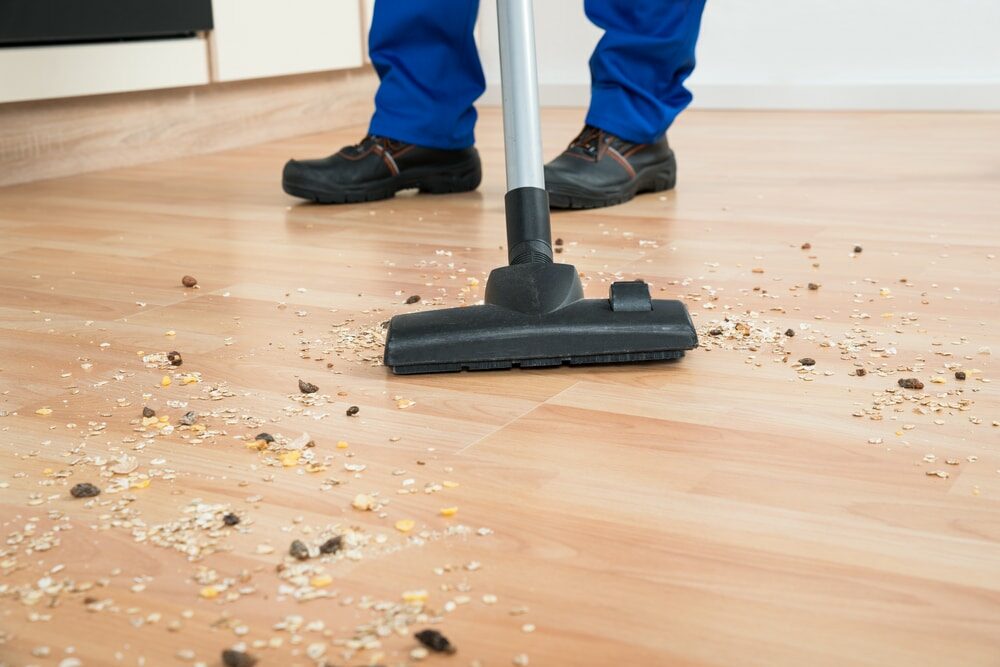
Beyond Sanding: Adding Layers of Protection
The process doesn’t end with sanding. To protect and enhance the beauty that has been unveiled, one must choose the right finishing products. Be it oil-based or water-based finishes, each adds a different hue to your canvas, enhancing the natural beauty of the wood. Here’s where your artistic judgement comes into play: choosing a finish that complements the character of the wood creates a harmonious blend of aesthetics and protection.Scribing Nature’s Narrative: Tips and Techniques
Understanding the grain
Each plank has a grain, a natural pattern that is the hallmark of its identity. Understanding this grain is pivotal, as it guides your sanding direction. Always sand along the grain to preserve its natural beauty and prevent undesirable scratches and gouges that can mar its pristine surface. This is akin to understanding the nuances of a narrative before penning down a story, maintaining a fluidity that resonates with the audience.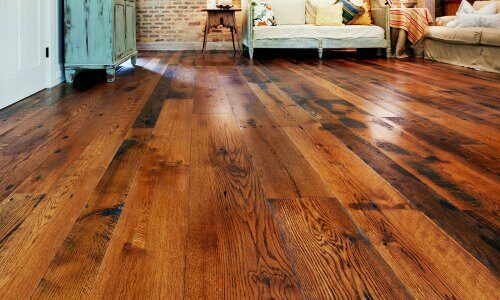
Befriending the edge sander
The edge sander, your companion in this journey, demands a certain level of expertise and finesse. Getting to know your sander, understanding its rhythm, and being able to manoeuvre it with grace can make a substantial difference in the outcome. Like mastering the strokes in painting, knowing when to exert pressure and when to glide gently can transform your sanding project into an artwork.Corner Crafting: A Delicate Dance
The corners of a room are where true craftsmanship is tested. These often overlooked areas demand a delicate dance with the sander, where precision meets artistry. A nuanced approach here, with gentle, controlled movements, can ensure that the corners blend seamlessly with the rest of the flooring, maintaining a uniform, cohesive appearance that speaks volumes about your attention to detail.The Echoes of the Past: Unveiling Hidden Gems
Often, in the process of sanding, you might uncover hidden gems—areas of the wood that tell a deeper story, perhaps an imprint of history or an echo of the past. These could be unique markings, a rich hue of age-old stains, or an intricately patterned grain that whispers tales of yesteryear. Embrace these discoveries and work to enhance them, making them a focal point of your floor’s unique narrative.The Harmonious Ballet of Sanding and Refinishing
The Preludes of Preparation
Before embarking upon this revitalising journey, it’s critical to prepare the workspace adequately. This includes masking any adjoining areas that are not to be sanded, thus preventing dust and debris from settling onto adjacent surfaces. This preparation phase is akin to setting up the canvas for a masterpiece, ensuring that every subsequent stroke adds to the emerging beauty.The Crescendo of Craftsmanship
As you progress, you will find yourself immersed in a harmonious ballet where sanding and refinishing come together in a crescendo of craftsmanship. This stage is where your skill meets the character of the wood, weaving a tapestry that is rich, textured, and deeply evocative.The Ode to Patience
Patience is a virtue in the world of edge sanding. The transformation doesn’t happen in the blink of an eye. Instead, it unfolds gradually, revealing itself layer by layer, much like peeling back the layers of time. Each pass of the sander, each layer of finish, adds to the unfolding saga that is taking shape before your eyes. By now, your journey through the world of edge sanding has transformed you into a curator of history, an artist that unveils the beauty hidden within the grains, and a craftsman that respects and honours the material at hand. As you stand on the cusp of completing this project, take a moment to appreciate the journey, the learnings, and the transformation that have unfolded, both in the woods and within yourself.The Artist’s Reflection: Conclusion
As we stand back to admire the results of meticulous edge sanding, it’s akin to witnessing the birth of an artwork. An artwork that resides in the very fibres of the wood, a narrative that spans across grains, knots, and hues. Through this process, we don’t just restore a floor; we unlock a narrative that has been etched by time, revealing stories that reside within the grains. It’s an experience that transcends the mundane, offering a glimpse into the rich tapestry that nature has woven through the wide planks. The mastery of edge sanding is thus not just a skill but an art form, a journey that beckons one to delve deeper and explore the intricacies that reside within the landscape of wide plank flooring. It’s a journey that reminds us of the beauty that resides in the details, urging us to approach it with the finesse and craftsmanship of an artist. It’s an invitation to not just witness but to become a part of a narrative that is as rich, deep, and evocative as the grains that adorn the wide planks. So, as you venture forth into the realm of edge sanding, remember that you are not just renewing a floor but unveiling a masterpiece that lies within the grains. It’s a journey that beckons you with the promise of discovery, a journey that offers an insight into the beautiful narratives that lie hidden within the wide planks. May your journey be one of discovery, one that unlocks the beauty within the grains, revealing a tapestry that is as rich, vibrant, and inviting as the wide plank flooring itself.Some Useful Links:
- Stairs Sanding & Refinishing
- Floor Sanding Services
- School Floor Sanding
- Wood Floor Restorations
- Wood Floor Repairs
- Wood Floor Polishing
More from our Blog:
How to Avoid Common Mistakes in Edge Sanding Differences Between Edge Sanding and Drum Sanding Techniques for Edge Sanding Hard-to-Reach AreasChoosing the Right Sandpaper for Edge Sanding How to Achieve Professional Results with Edge Sanding The Importance of Edge Sanding in Floor Refinishing Hand Scraping for Parquet Floors: Enhancing the Beauty of Geometric Designs The Versatility of Hand Scraping Floors: From Modern to Traditional Design Sanding and Hand Scraping Combination Techniques for Custom Wood Floors

Sanding
We provide virtually dust-free sanding with our continuous belt machinery with mobile extraction units, giving you a safer environment for your family.
Oiling
This organic finish not only adds beauty to your home but also has exceptional water-repellent characteristics, making it easier to clean and maintain.
Waxing
This natural floor finish offers the softest and most mellow appearance – and leaves your floor able to breath.
Buffing
Using soft buffing machines (and hand-polishing where required) will bring a wonderful sheen to your newly-finished floor.
Repairs
We offer a full assessment of your wooden floors to determine what repairs are needed to provide the perfect working surface for the later stages of sanding, staining and sealing.
Restoration
We offer a comprehensive restoration process designed to address floors that are improperly fitted or damaged over time through wear and tear.
Request a fixed price quote for your wood floor restoration now
Simply enter your postcode below to get started.
Services
Wood Floor Sanding Wood Floor Restoration Wood Floor Scratch Repair Squeaky Wood Floor Repair Parquet Floor Sanding Parquet Floor Restoration Commercial Floor Sanding Church Floor Sanding Community Centre Floor Sanding School Floor Sanding Gap Filling Gap Filling with ResinCopyright © Mr Sander®
Privacy & Cookies Terms & Conditions Complaints Procedure Cancellation Rights Sitemap

Get An Instant Price Estimate Before You Go…
Simply enter the rooms you need sanded and we’ll provide you with a price estimate instantly! Try our price calculator now.
Get a Price Estimate NowLocal Floor Sanding Experts
Over 500 5-Star Reviews
Safe, Dust Free Sanding
Operating Since 1994