London:
Nationwide:
25,000+
Floors Restored
27 Years Experience
Wood Flooring Association Certified
Tips for Edge Sanding Around Floor Vents and Outlets
Posted on September 9, 2023
Edge sanding
The Fine Art of Floor Refinement: Expert Tips for Edge Sanding Around Floor Vents and Outlets
In the grand scheme of home renovation and design, the detailed task of edge sanding around the intricate areas of floor vents and outlets often presents a unique set of challenges. The margin for error is thin, requiring an expert touch to ensure both safety and aesthetic finesse. Allow us to guide you on a comprehensive journey where we divulge top-notch tips and techniques to master this fine art. Drawing parallels to the British craftsmanship ethos—measured attention to detail with a penchant for perfection—we will unearth the golden rules that govern the successful execution of edge sanding in these delicate zones of your living space.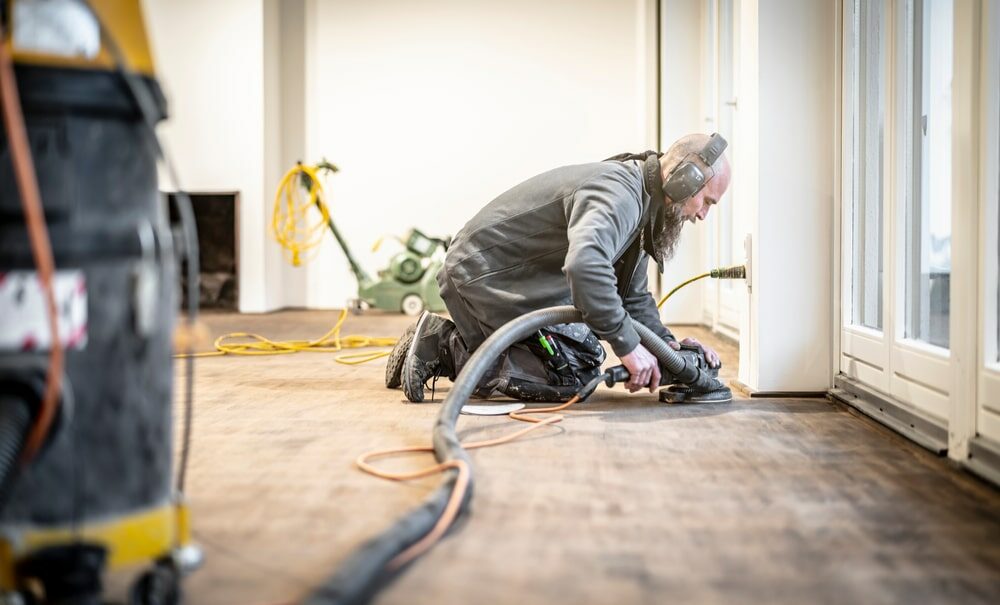
A Proper Introduction: Setting the Stage for Excellence
Before we set forth on this enlightening odyssey, it is prudent to understand the very essence of edge sanding, especially when navigating the complex territories of floor vents and electrical outlets. It’s a matter that demands not only technical prowess but also a discerning eye to bring about a harmonious blend of safety and aesthetics.A Study in Safety: Preparedness to Undertake
1. Survey the Territory
Before embarking upon this venture, conducting a thorough survey of the area is paramount. Identify the exact locations of the vents and outlets, marking them visibly to avoid mishaps during the sanding process.2. Unplug and isolate.
Safety first, always. Ensure that all power sources connected to the outlets in the vicinity are turned off to prevent any electrical mishaps.3. Removal of Vent Grates
Gently remove the grates from the floor vents. This not only facilitates easier sanding but also prevents any damage to the grates themselves.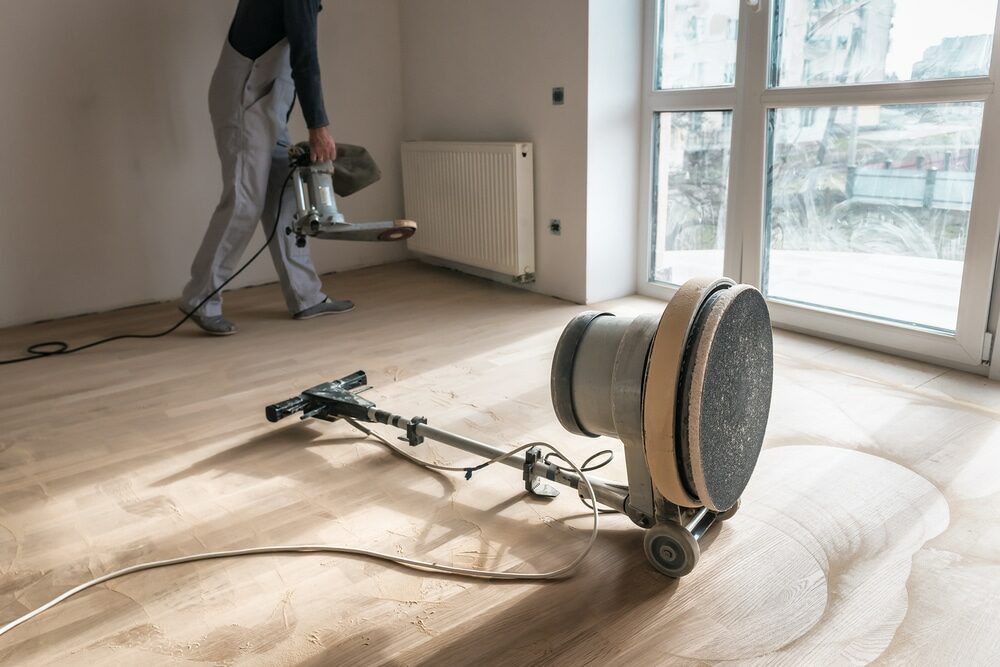
Acquiring the Right Tools: A British Craftsman’s Arsenal
1. The Right Sandpaper
Invest in sandpaper with the appropriate grit size. While coarser grits are excellent for removing old finishes, a finer grit will ensure a polished outcome worthy of a craftsman’s signature.2. Edge Sanders
Equip yourself with a reliable edge sander, a tool designed to reach the nooks and crannies that a regular floor sander cannot access.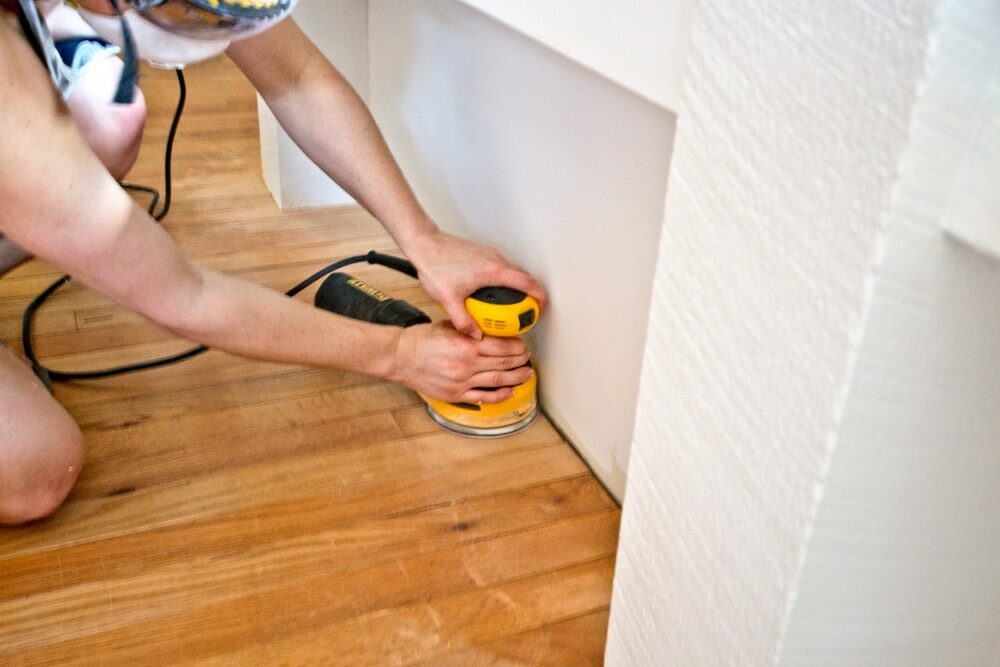
3. Protective Gear
Don’t forget to adorn yourself with the necessary protective gear, including goggles and dust masks. A true craftsman values safety as much as the craft itself.The Masterclass: A Step-by-Step Guide to Perfection
Now that we are well-prepared, let us venture forth into the meticulous process of edge sanding around floor vents and outlets. Herein lies the true test of skill and precision—a dance between man and wood, orchestrated to the tune of British excellence.1. The Initial Approach
With your edge sander at the ready, approach the designated area with calculated ease. The initial passes should be gentle, allowing you to gauge the wood’s response to the sanding process.2. Sanding with the grain
Always remember to sand in the direction of the wood grain. This golden rule ensures a smooth finish, preventing unsightly scratches that mar the wood’s natural beauty.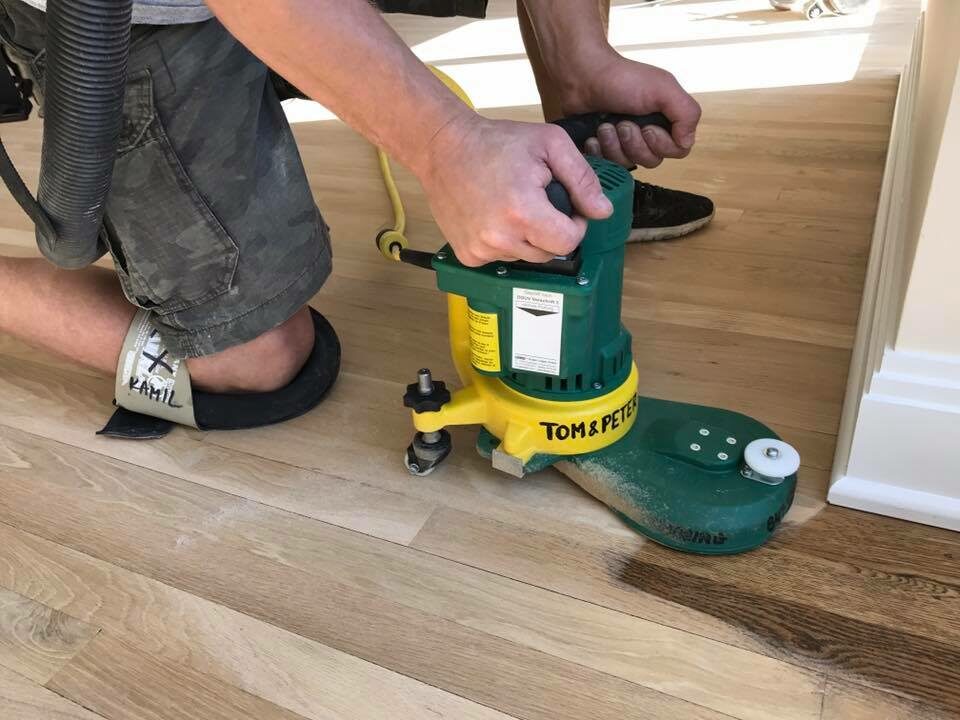
3. The Vent Areas
When sanding around the vents, manoeuvre your tool with a surgeon’s precision. A circular motion often yields the best results, blending the edges seamlessly with the surrounding floor.4. Navigating the Outlets
The area around outlets demands an even greater degree of precision. Employ a hand sanding block to smooth the peripheries, ensuring an even finish without risking damage to the outlets.5. The Final Touch
To culminate this process, a hand sanding session to smooth out any remaining rough patches is essential. A craftsman’s touch can identify and rectify any imperfections, bringing the project to a successful close.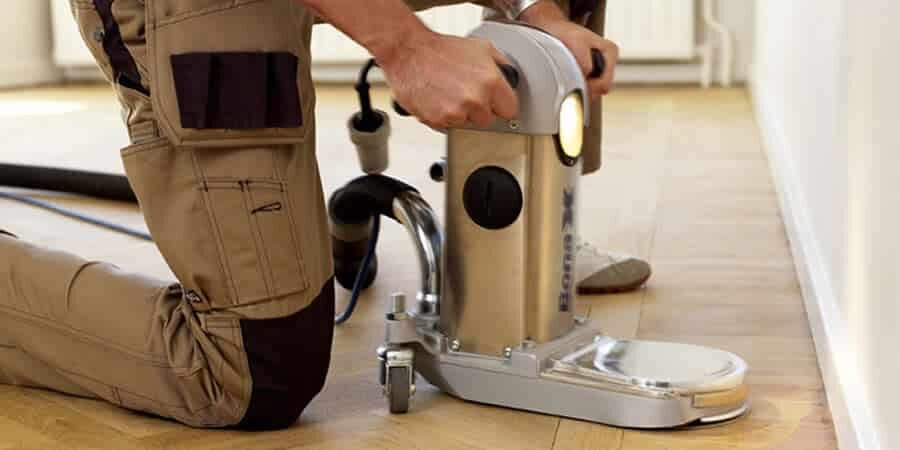
Bringing it All Together: The Final Flourish
After hours of painstaking labour, it is time to step back and admire your handiwork. But before you do so, a few final steps will seal the deal, granting your floor a finish that resonates with the highest standards of British craftsmanship.1. Cleaning the area
Using a soft cloth, clean the sanded areas meticulously, ensuring no dust or debris mars the pristine surface.2. Finishing
Apply a finishing coat of your choice, be it oil or lacquer, to bestow a lustrous sheen that highlights the wood’s natural grandeur.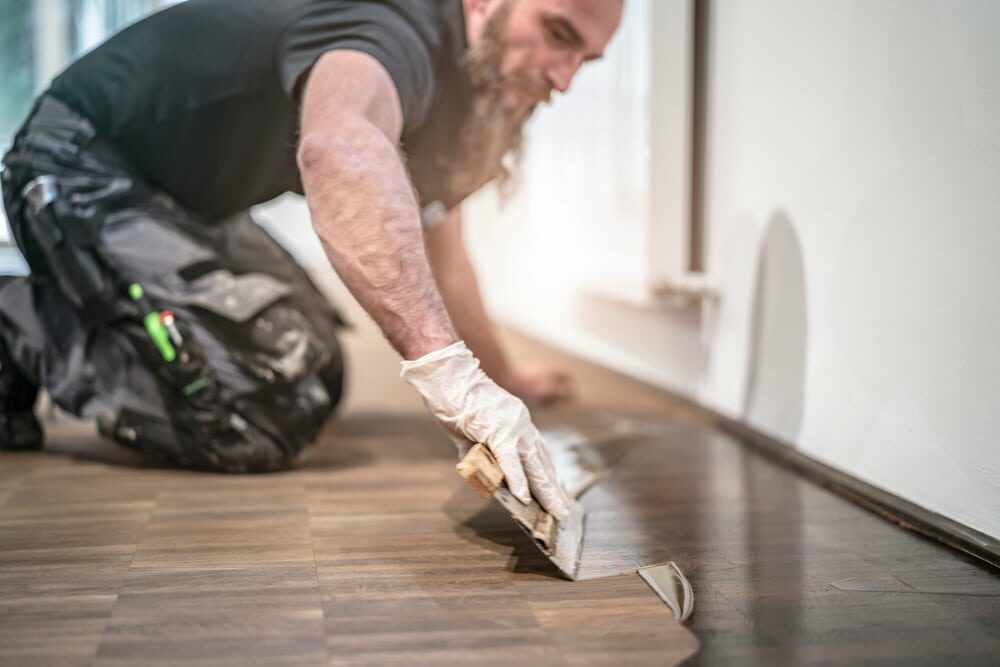
3. Restoration
Carefully restore the vent grates and outlet covers to their respective places, completing the transformation from rugged to refined.The Reward: A Floor Transformed
As you survey the freshly sanded floor, a sense of accomplishment floods in. The floor vents and outlets now blend seamlessly with the surrounding floor, a testament to your skill and the invaluable tips you’ve employed throughout the process.In Conclusion: A Nod to British Craftsmanship
In embarking on this journey of refinement and renewal, you have not only enhanced the aesthetics of your living space but have also paid homage to a deeply rooted British tradition of craftsmanship—a tradition that embraces precision, detail, and an unyielding quest for perfection. As you stand amidst a floor transformed, take a moment to appreciate the artistry that has unfolded—an artistry that marries functionality with aesthetic appeal, echoing the time-honoured British ethos of excellence in craftsmanship. You have now joined the ranks of artisans who, with skill and determination, breathe new life into wood, bestowing upon it a beauty that stands the test of time. A sojourn of 2500 words might seem like a lengthy venture, but when it comes to mastering the art of edge sanding, especially around the intricate areas of floor vents and outlets, every detail counts. So, as you stand back and admire your handiwork, remember that in the world of craftsmanship, excellence is not just a goal but a journey—a journey that you have successfully navigated with the grace and finesse of a true British craftsman. In this realm where skill meets creativity, you have not only learned the tricks of the trade but have also embraced the essence of what it means to be a craftsman—a title that comes with a promise of quality, durability, and an unyielding commitment to excellence. Thus, as we conclude this insightful journey, let us celebrate the wonderful world of woodworking, a world where every grain tells a story, a world that beckons with the promise of beauty and perfection, echoing the true spirit of British craftsmanship. So, here’s to the fine art of floor refinement, a craft that, much like the British spirit, stands tall, proud, and unyielding in its quest for perfection. Let your floors tell a story—a story of skill, determination, and an unwavering pursuit of excellence—resonating with the rich history and tradition that British craftsmanship embodies.Some Useful Links:
- Stairs Sanding & Refinishing
- Floor Sanding Services
- School Floor Sanding
- Wood Floor Restorations
- Wood Floor Repairs
- Wood Floor Polishing
More from our Blog:
How to Use Edge Sanding to Create a Uniform Surface The Importance of Consistent Pressure When Edge Sanding When to Use Edge Sanding vs. Hand Sanding Using Edge Sanding to Repair Scratches and Gouges How to Achieve Smooth Transitions with Edge Sanding How to Use Edge Sanding to Remove Stains and Discoloration The Effects of Edge Sanding on Different Wood Types Choosing the Right Edge Sanding Tool for Your Project


Sanding
We provide virtually dust-free sanding with our continuous belt machinery with mobile extraction units, giving you a safer environment for your family.
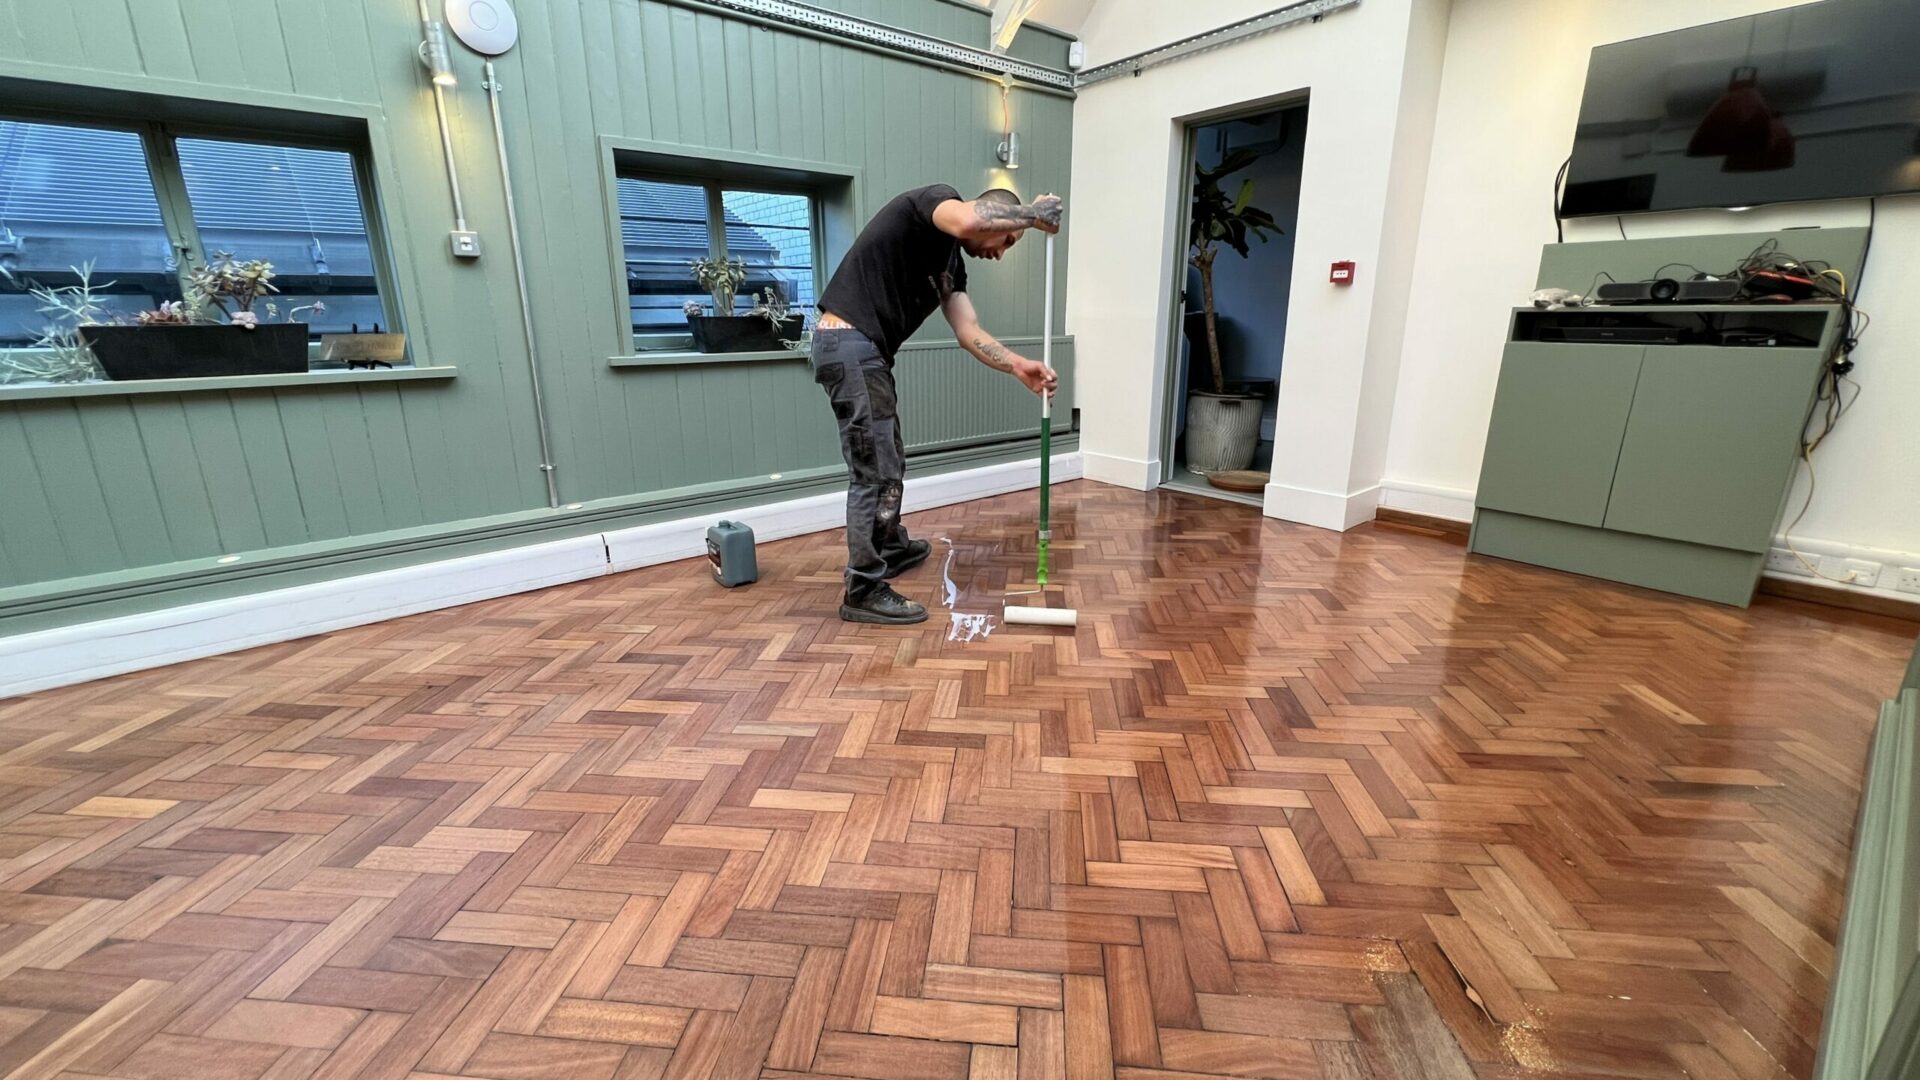
Oiling
This organic finish not only adds beauty to your home but also has exceptional water-repellent characteristics, making it easier to clean and maintain.
Waxing
This natural floor finish offers the softest and most mellow appearance – and leaves your floor able to breath.
Buffing
Using soft buffing machines (and hand-polishing where required) will bring a wonderful sheen to your newly-finished floor.
Repairs
We offer a full assessment of your wooden floors to determine what repairs are needed to provide the perfect working surface for the later stages of sanding, staining and sealing.
Restoration
We offer a comprehensive restoration process designed to address floors that are improperly fitted or damaged over time through wear and tear.
Request a fixed price quote for your wood floor restoration now
Simply enter your postcode below to get started.
Services
Wood Floor Sanding Wood Floor Restoration Wood Floor Scratch Repair Squeaky Wood Floor Repair Parquet Floor Sanding Parquet Floor Restoration Commercial Floor Sanding Church Floor Sanding Community Centre Floor Sanding School Floor Sanding Gap Filling Gap Filling with ResinCopyright © Mr Sander®
Privacy & Cookies Terms & Conditions Complaints Procedure Cancellation Rights Sitemap

Get An Instant Price Estimate Before You Go…
Simply enter the rooms you need sanded and we’ll provide you with a price estimate instantly! Try our price calculator now.
Get a Price Estimate NowLocal Floor Sanding Experts
Over 500 5-Star Reviews
Safe, Dust Free Sanding
Operating Since 1994