London:
Nationwide:
25,000+
Floors Restored
27 Years Experience
Wood Flooring Association Certified
How to Use Edge Sanding to Remove Stains and Discoloration
Posted on September 9, 2023
Edge sanding
Mastering the Craft: How to Effectively Use Edge Sanding to Eradicate Stains and Discolouration
In the world of craftsmanship, the allure of wood as a medium for art and utility cannot be understated. Wood, with its raw, earthy charm and a kaleidoscope of grain patterns and textures, is nothing less than a canvas that encapsulates the serenity and richness of nature. Yet, over time, this pristine material may suffer the wrath of time, exhibiting stains and discolorations that mar its natural elegance. Much like Rosser Reeves, a titan in his field who pioneered a straightforward yet powerful approach to advertising, this treatise aims to delineate the art of restoring the primaeval beauty of wood through edge sanding, with an emphasis on eradicating stains and iscolorations. So, let us embark on this journey of restoration, where diligence meets craftsmanship, echoing the depth and detail characteristic of Reeves’ style.
Understanding the Impediments: Stains and Discoloration
As craftsmen, enthusiasts, or simply admirers of wood, it becomes imperative to understand the nature of the impediments that befall this natural material. Over time, wood can become a victim of various stains and discolorations stemming from moisture, UV rays, or simple wear and tear. This phenomenon is not just a superficial tarnish but often seeps deep into the grains, altering the very essence of the wood’s aesthetics. In such instances, it is edge sanding that emerges as a saviour, a technique adept at not only smoothing edges but also restoring the original grandeur of wood. It is an art that demands both precision and understanding, similar to the methodical approach Reeves adopted in his narrative-driven campaigns.Laying the Groundwork: Preparing for Edge Sanding
Before we immerse ourselves in the meticulous process of edge sanding, it is prudent to prepare the canvas—the piece of wood in question. This process involves cleaning the surface to remove loose dirt and debris and analysing the extent of the stains and discolorations. Here, one must act with a discerning eye, identifying areas that require intense restoration, akin to the meticulous preparation that precedes a Reeves-style campaign.Step 1: Identifying the Appropriate Sanding Tool
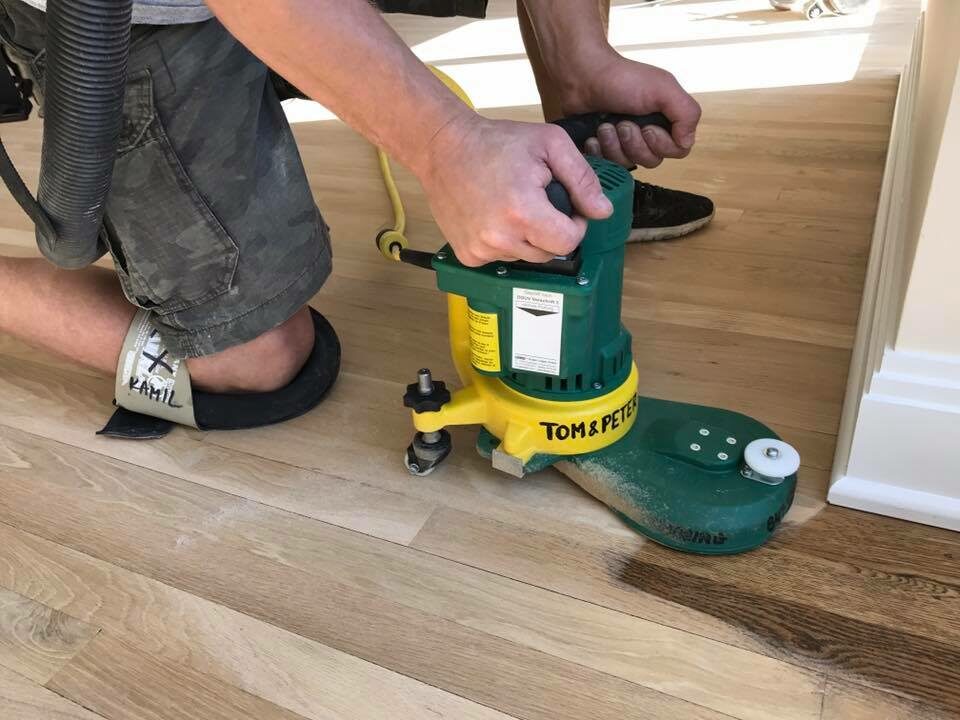
In the realm of woodworking, choosing the right tool is half the battle. Depending on the intricacies of the wood piece, one might opt for a belt sander for extensive surface areas or an orbital sander for detailed edge work. The selection of the right tool not only eases the process but also ensures a smooth and even finish, echoing the Reeves doctrine of achieving utmost effectiveness through meticulous preparation.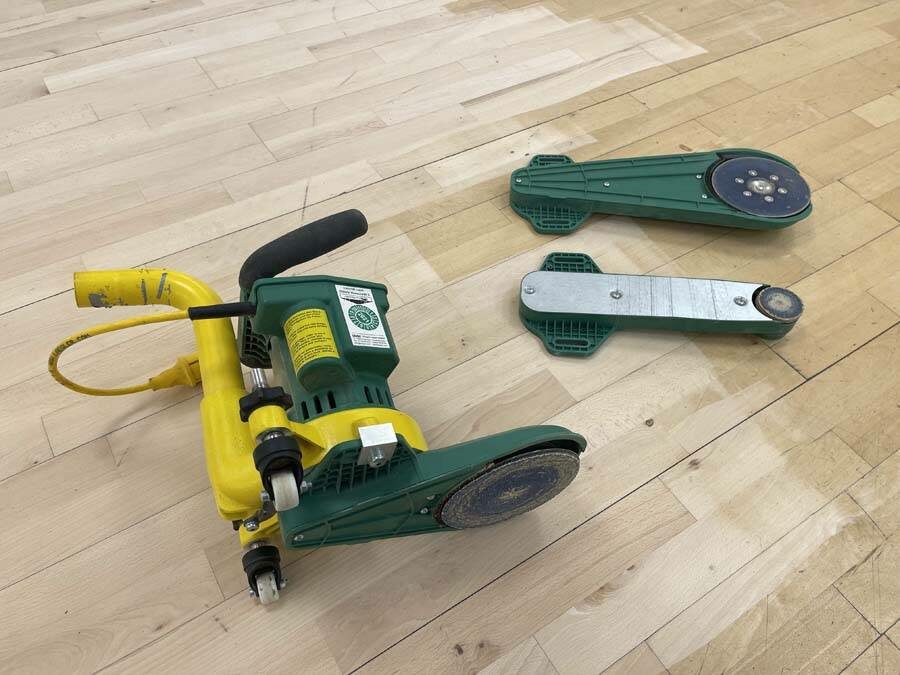
Step 2: Selecting the Right Sandpaper Grit
Much like selecting the right words for a powerful narrative, choosing the appropriate sandpaper grit forms the crux of the sanding process. Starting with a coarse grit, usually between 60 and 80, helps efficiently remove the initial layers of stains and discolorations. This phase sets the stage for the finer grits to work their magic in the later stages, bringing the narrative of restoration to its climax.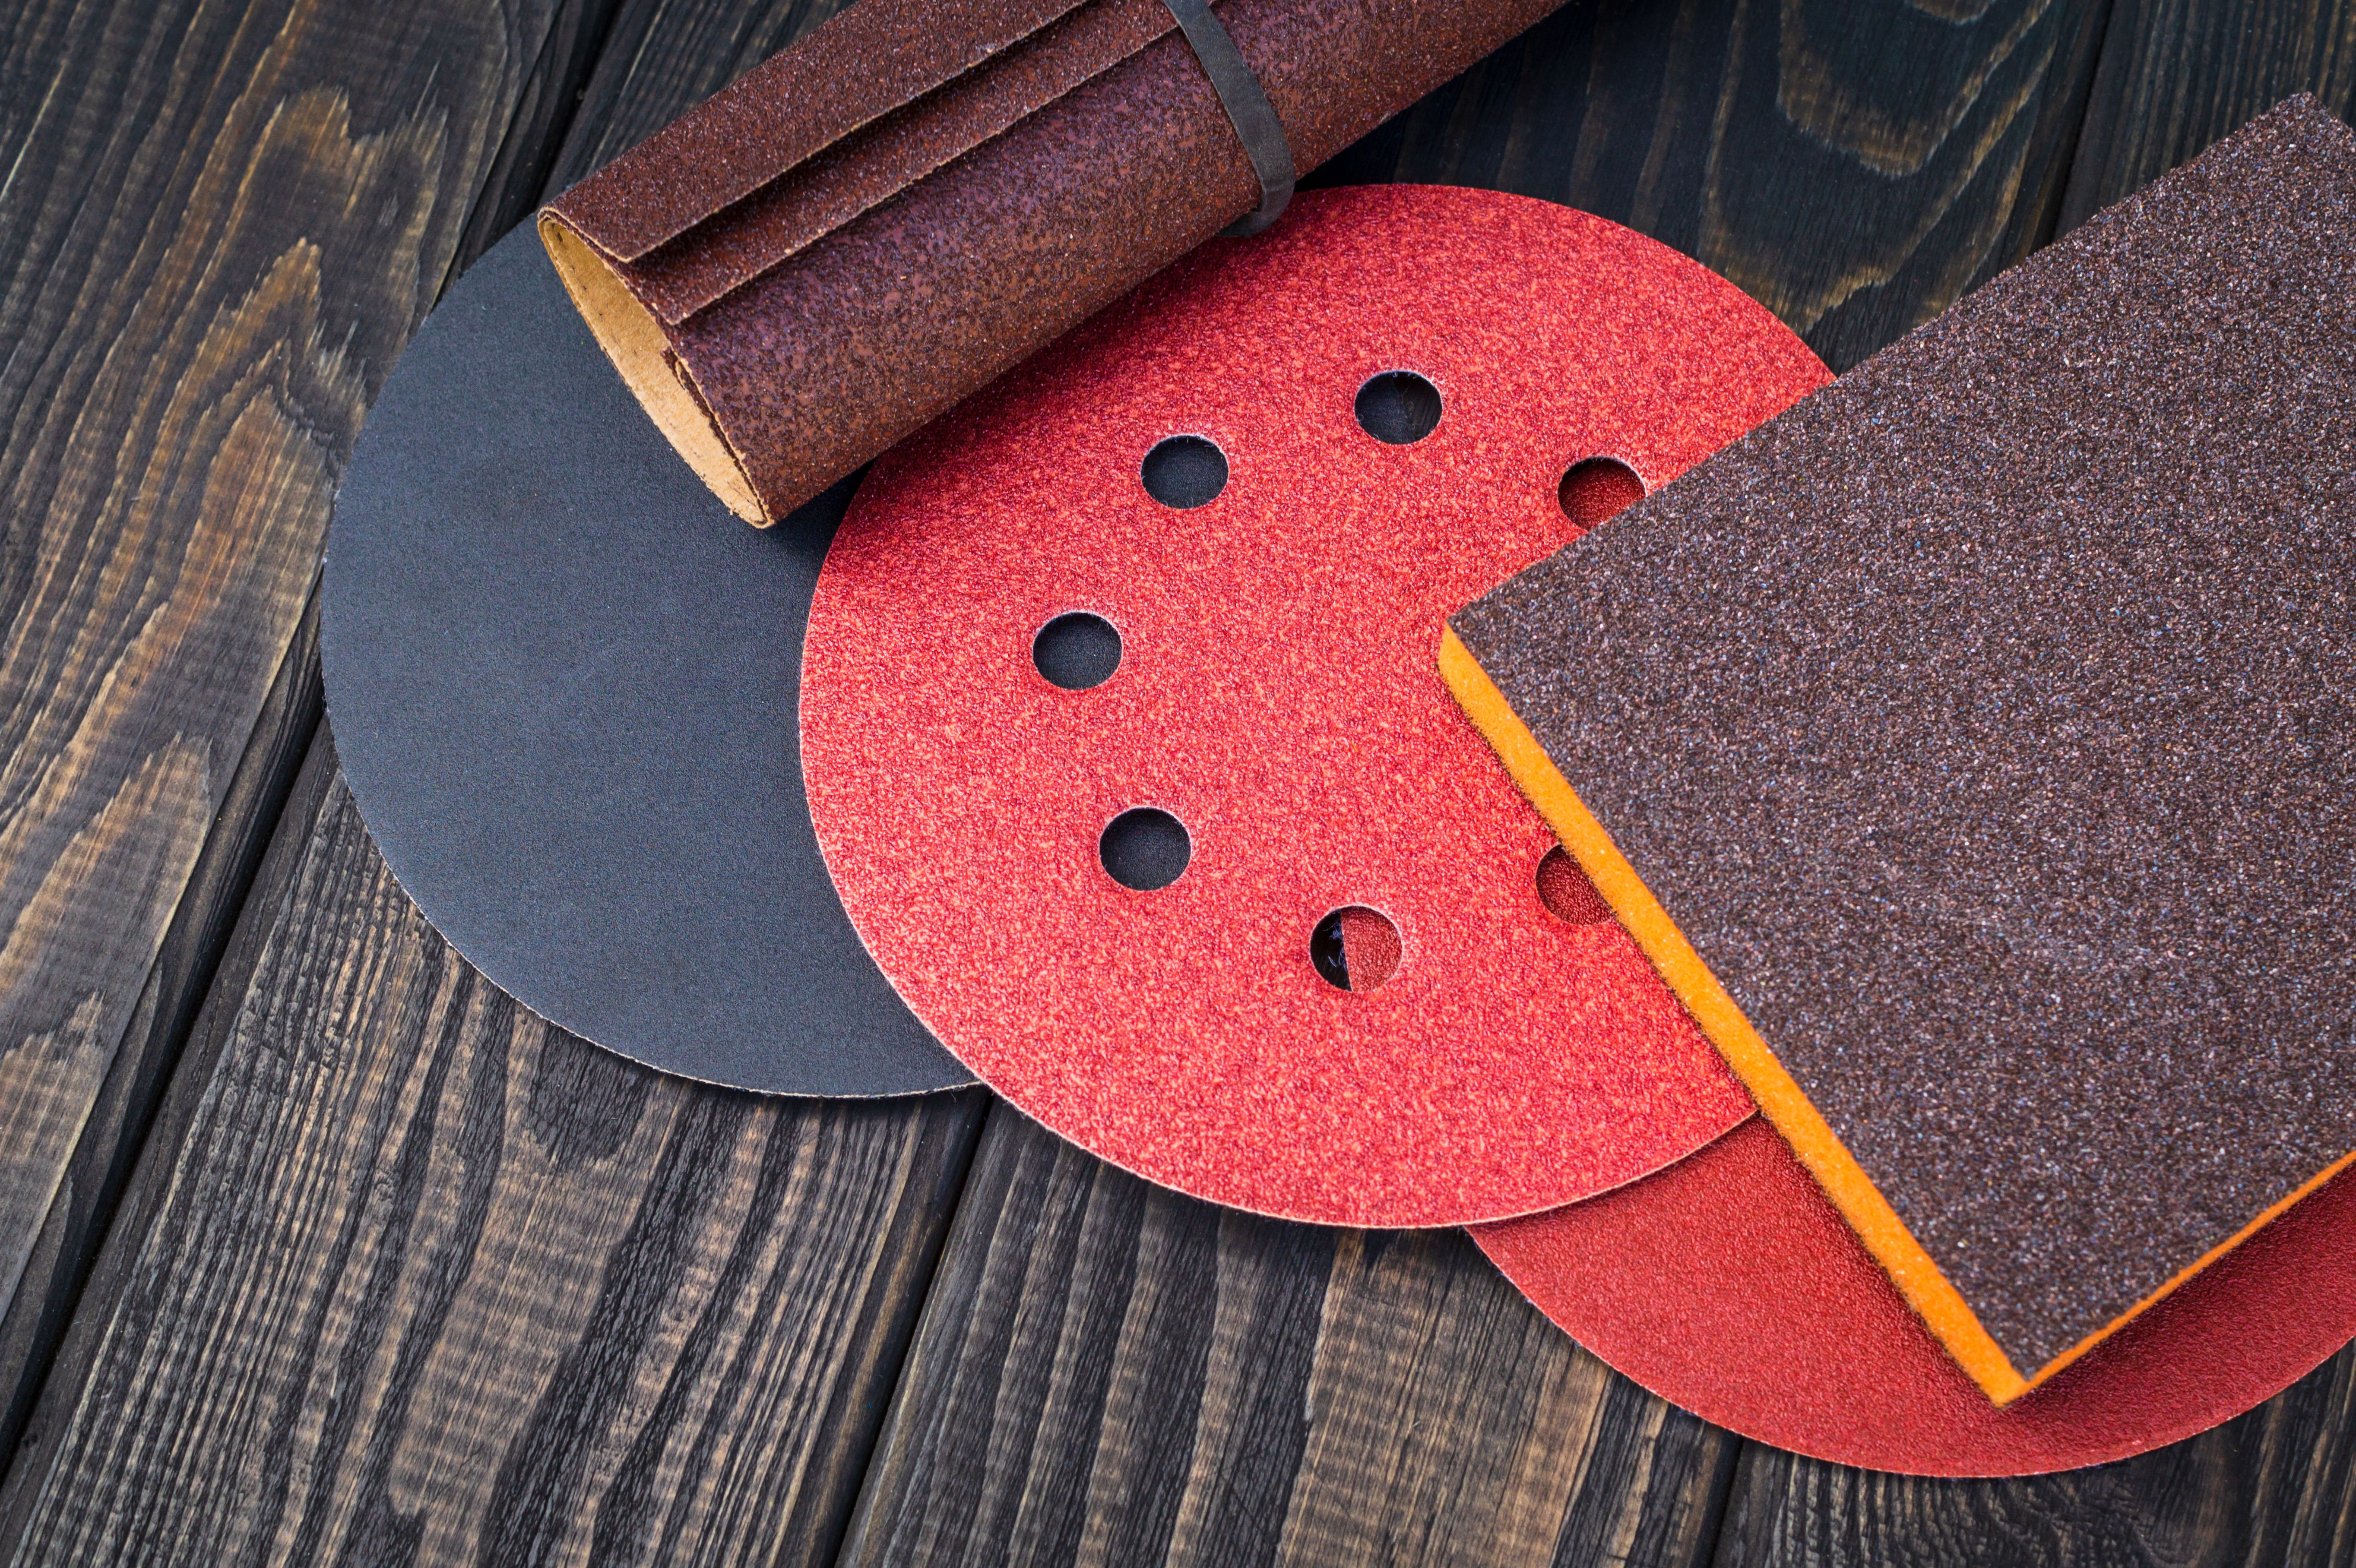
Step 3: The Initial Phase of Sanding
Once the preliminary steps have been attended to, we venture into the first phase of sanding. Here, with the coarse-grit sandpaper attached to the chosen tool, we start working on the edges where the stains are most prominent. In a movement that is both systematic and rhythmic, the sandpaper graces the wood, slowly but steadily eroding the stains and bringing to fore the original hue of the wood. It is a process that demands patience and skill, akin to weaving a narrative that holds the attention of the audience, step by step, word by word.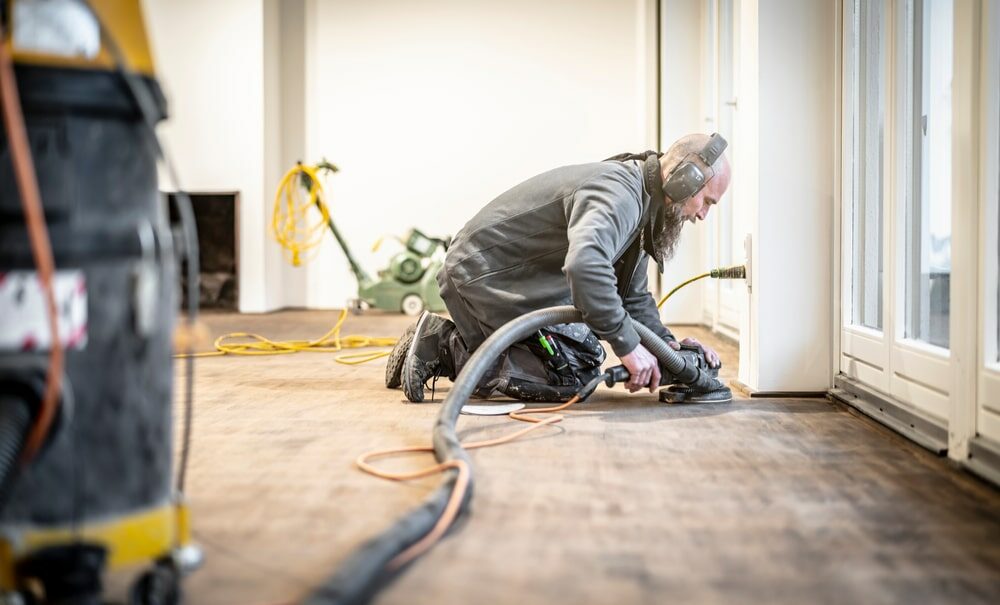
Step 4: Progressing to the Intermediate Stage
As we progress, the narrative of restoration unfolds further. By replacing the coarse grit with a medium one, usually between 100 and 150, the process transforms. Now, the focus shifts to smoothing the areas that have been worked on in the initial phase. The strokes become gentler, the movement more fluid, as the sandpaper works in harmony with the wood, akin to the unfolding of a story that grips the audience with its depth and detail.Step 5: The Finale: Fine Sanding for a Pristine Finish
As we approach the finale, the grit becomes finer, often ranging between 180 and 240, allowing for a finish that speaks of finesse and subtlety. This phase of sanding is akin to the climax of a gripping narrative, where every detail comes together to present a picture that is both compelling and beautiful. The sandpaper, working in gentle strokes, removes the last vestiges of stains, unveiling a surface that is smooth, even, and pristine.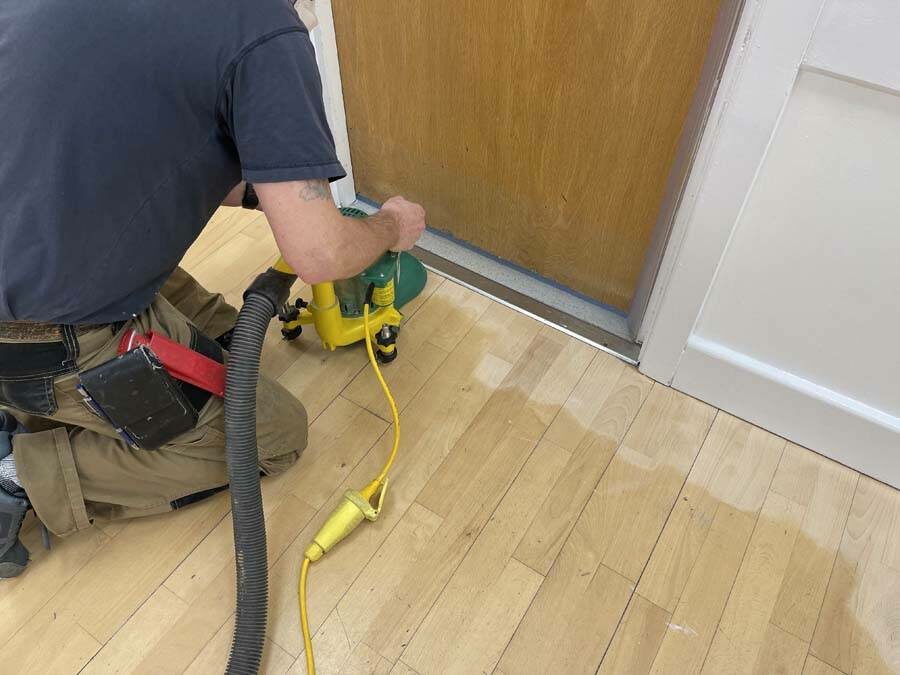
Step 6: Sealing the Story: Applying the Finish
Once the canvas of wood has been restored to its original glory, it is time to seal the story. Applying a finish, be it oil, wax, or varnish, not only preserves the beauty but also adds a layer of protection, ensuring that the wood remains resilient to the adversities of time. This step is akin to the closing remarks of a powerful narrative, where the story finds its resolution, leaving a lasting impression on the audience.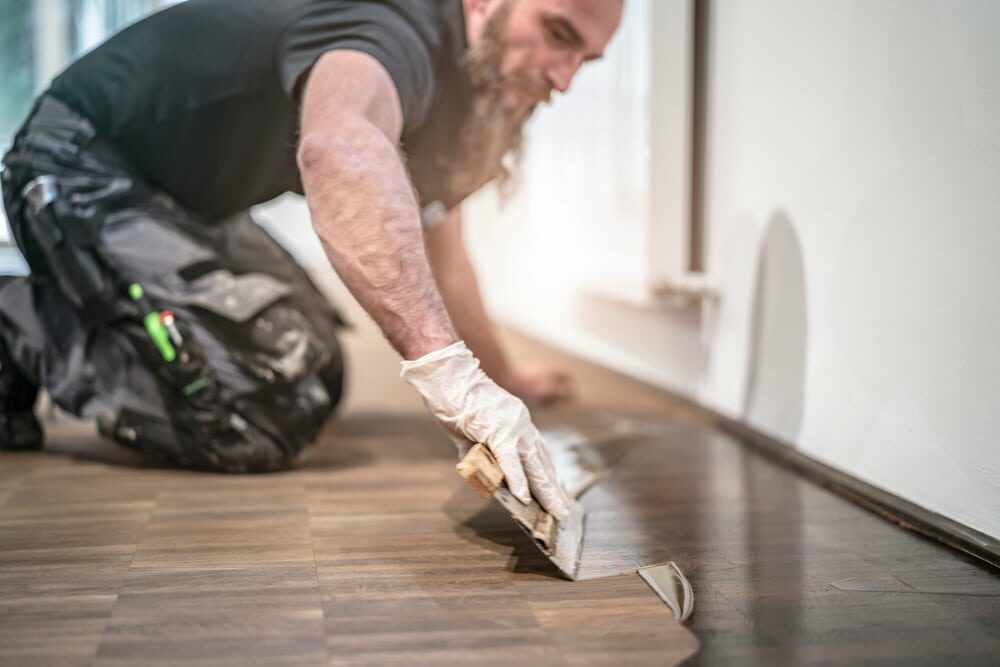
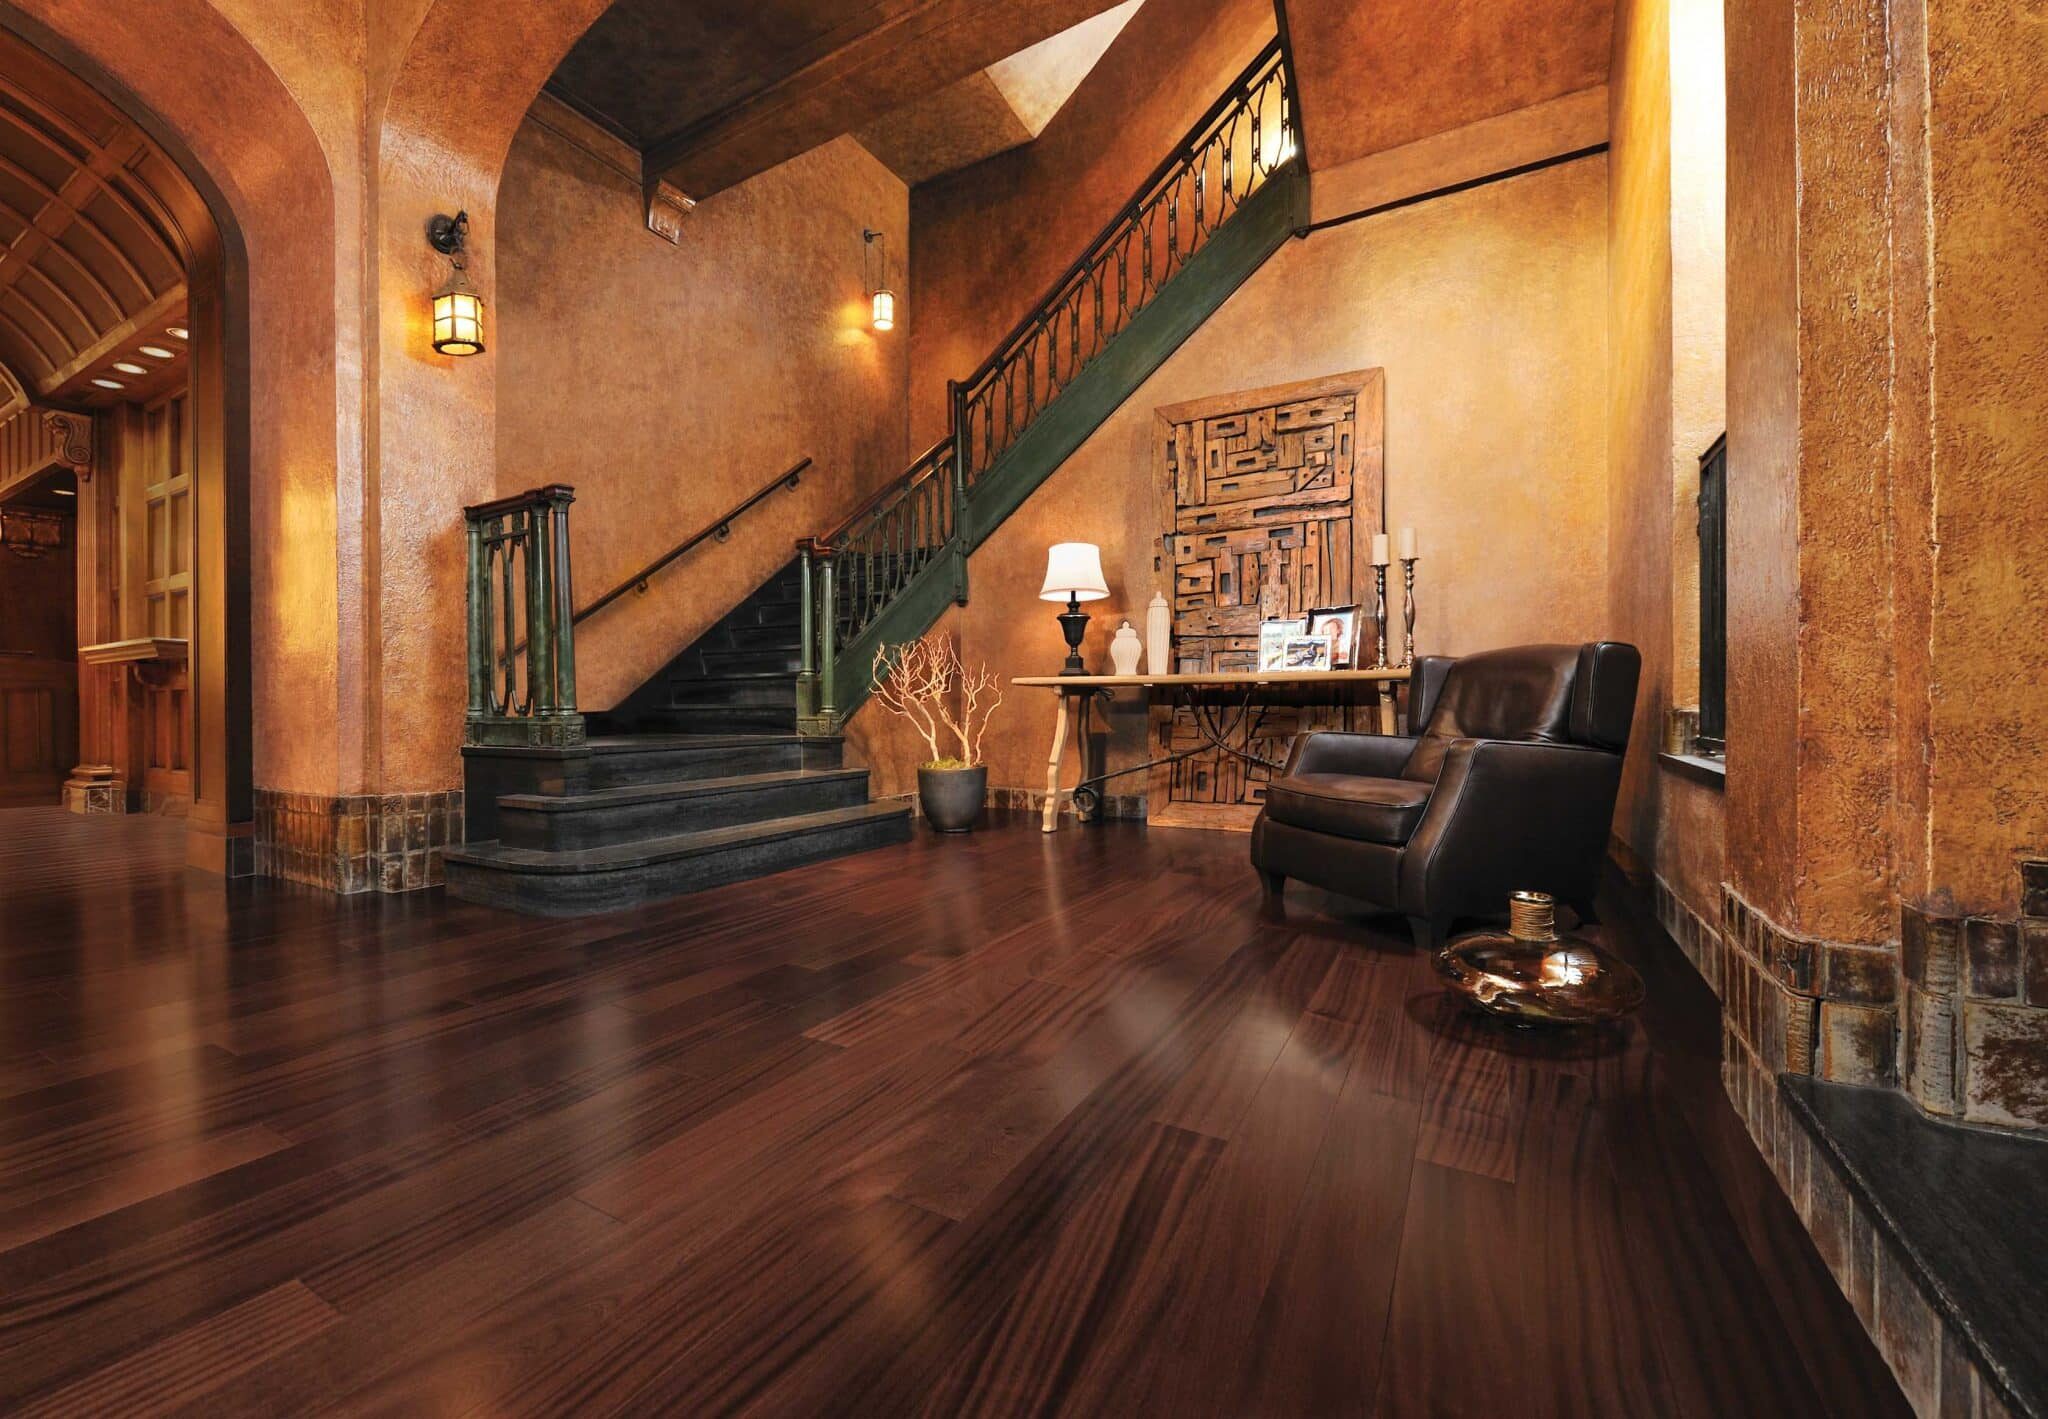
Beholding the Transformation
As we stand at the culmination of our journey, it is time to step back and admire the transformation that has unfolded before us. The wood, once marred by stains and discolorations, now stands rejuvenated, its natural beauty restored to its former glory. It is a testament to the transformative power of edge sanding, a process that brings together skill, understanding, and a deep respect for the material at hand. In a manner reminiscent of Reeves’ approach to crafting narratives that were both simple and profound, the process of edge sanding to remove stains and discolorations emerges as a narrative of restoration. It is a process that takes us on a journey where the old is replaced by the new, where the marred becomes the pristine, and where the stained finds its original hue. Through meticulous attention to detail and a process-driven approach, we witness a transformation that is both visual and tactile, bringing forth a product that embodies beauty and functionality, resonating with the Reeves ethos of straightforward yet impactful narratives.Epilogue: A Nod to the Reeves Style
In conclusion, the journey of edge sanding to remove stains and discolorations stands as an ode to the Reeves style of depth, detail, and diligence. It is a process that encapsulates the essence of restoration, bringing forth a product that embodies both beauty and resilience. Through a process that is both systematic and detailed, we have embarked upon a journey of transformation, a journey that speaks of the harmonious relationship between man and material, echoing the Reeves narrative of achieving perfection through diligence and skill. As we bid adieu to this enriching journey, let us carry forward the lessons learned, applying the principles of detail, depth, and diligence in our future endeavours, much in the style of the inimitable Rosser Reeves.Additional Prologue: The Symphony of Woods and Tools
Before venturing deeper into the artistry of edge sanding, let us take a moment to appreciate the symphony that exists between the various woods and the tools that serve them. Different species of wood respond differently to sanding; understanding this intricacy forms the prologue to our journey, setting the stage for a narrative rich in detail and depth, echoing the Reeves approach to narrative construction.Understanding Wood Anatomy: The Basis of Restoration
The quest to restore wood to its pristine glory demands a deep understanding of its anatomy. Different woods exhibit different grain patterns, densities, and tendencies to absorb stains and discolorations. Here, we shall embark on an exploratory voyage into the world of oak, pine, mahogany, and maple, understanding the unique characteristics that define them, much in the manner in which Reeves would delve deep into the product’s unique selling propositions to craft narratives that were both compelling and distinct.Oak: The Resilient Giant
Oak, known for its robust nature and intricate grain patterns, presents a canvas that is both challenging and rewarding. The stains on oak often seep deep, demanding a methodical approach to sanding, where the coarse grits play a vital role in unveiling the pristine layers hidden beneath the stained surface.Pine: The Gentle Storyteller
Pine, with its softer grains and gentle textures, narrates a different story. Here, the focus shifts to a gentle approach, where medium to fine grits take centre stage, slowly revealing the pine’s natural hues and textures, hidden beneath the layers of time.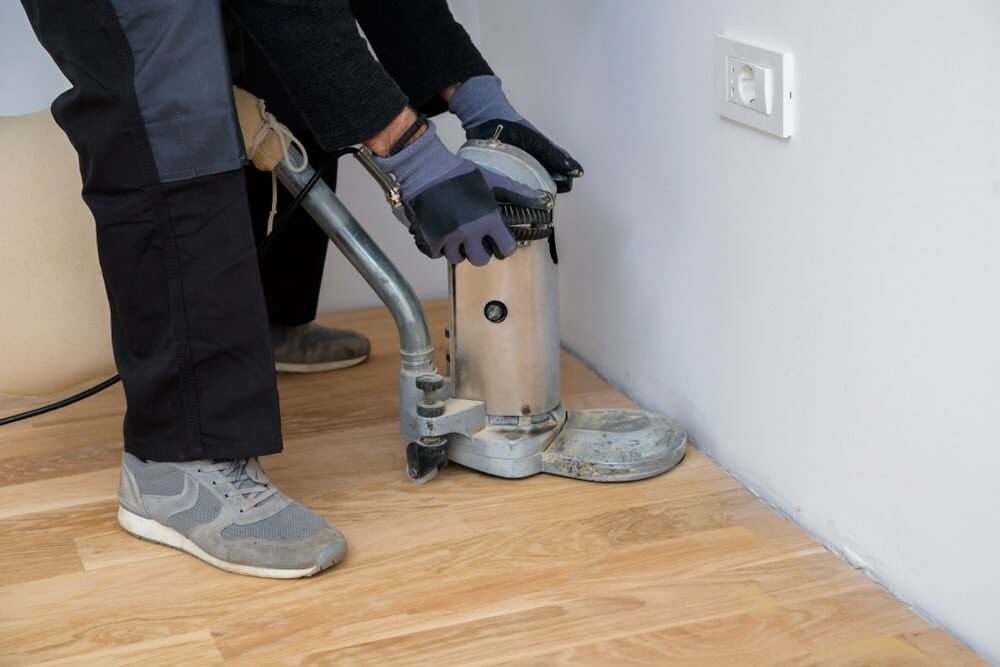
Mahogany: The Rich Narrator
Mahogany, with its rich hues and fine grains, demands an approach that is both systematic and detailed. The process of removing stains from mahogany transforms into a narrative of unveiling beauty layer by layer, echoing Reeves approach of crafting narratives that are methodical yet profound.Maple: The Subtle Poet
Maple, known for its fine grains and subtle hues, presents a canvas that speaks of understated beauty. Here, the process of edge sanding transforms into a poetic journey, where the fine grits work in harmony with the wood, revealing a story that is both subtle and beautiful.The Techniques: Mastering the Art of Edge Sanding
As we delve deeper into the world of edge sanding, it becomes imperative to understand the techniques that govern this art. Different techniques can be employed to achieve a finish that speaks of expertise and craftsmanship.Technique 1: The Circular Motion
Employing a circular motion during sanding helps achieve a finish that is both smooth and even. This technique, often used for softer woods like pine, ensures that the grains are not marred, preserving the natural beauty that lies within.Technique 2: The Straight Path
For woods with a dense grain structure like oak, employing a straight path technique during sanding helps maintain the integrity of the grain patterns, bringing forth a finish that is both rustic and elegant.Technique 3: The Oscillating Touch
Employing an oscillating touch, especially during the final phases of sanding, helps achieve a polished and pristine finish. This technique, often used for fine-grained woods like maple, unveils a surface that speaks of subtlety and sophistication.The Philosophy of Edge Sanding as a Narrative of Restoration
As we traverse further into this narrative, it becomes apparent that edge sanding is not just a process but a philosophy, a narrative that speaks of restoration and rejuvenation. It is a journey that takes us through the nuances of wood anatomy, the techniques that govern the art, and the stories that different woods narrate, echoing the Reeves ethos of depth, detail, and diligence. Through this journey, we learn to appreciate the symphony that exists between the woods and the tools, the techniques and the craftsmanship, crafting a narrative that is both compelling and beautiful. Much like the Reeves campaigns that spoke of the product’s intrinsic value, this narrative of edge sanding unravels the intrinsic beauty within the wood, waiting to be discovered, narrated, and appreciated.In Conclusion: A Journey of Discovery and Transformation
As we stand at the culmination of this narrative, we find ourselves enriched, not only with knowledge but with a deeper appreciation for the art of woodworking. With its depth and detail, the journey of edge sanding emerges as a transformative narrative, where stains and discolorations give way to pristine surfaces, where the old gives way to the new, and where the marred finds rejuvenation. In this exploration, we have ventured deep into the intricacies of wood anatomy, delved into the techniques that govern the art of edge sanding, and crafted a narrative that speaks of restoration and rejuvenation, much in the style of the inimitable Rosser Reeves. As we bid farewell to this enriching journey, let us carry forward the essence of this narrative, applying the principles of detail, depth, and diligence in our future endeavours, crafting narratives that are both compelling and profound, echoing the Reeves ethos of crafting stories that leave a lasting imprint on the audience’s mind.Some Useful Links:
- Stairs Sanding & Refinishing
- Floor Sanding Services
- School Floor Sanding
- Wood Floor Restorations
- Wood Floor Repairs
- Wood Floor Polishing
More from our Blog:
The Effects of Edge Sanding on Different Wood Types Choosing the Right Edge Sanding Tool for Your Project Tips for Edge Sanding Wide Plank Flooring How to Avoid Common Mistakes in Edge Sanding Differences Between Edge Sanding and Drum Sanding Techniques for Edge Sanding Hard-to-Reach AreasChoosing the Right Sandpaper for Edge Sanding How to Achieve Professional Results with Edge Sanding The Importance of Edge Sanding in Floor Refinishing Hand Scraping for Parquet Floors: Enhancing the Beauty of Geometric Designs

Sanding
We provide virtually dust-free sanding with our continuous belt machinery with mobile extraction units, giving you a safer environment for your family.
Oiling
This organic finish not only adds beauty to your home but also has exceptional water-repellent characteristics, making it easier to clean and maintain.
Waxing
This natural floor finish offers the softest and most mellow appearance – and leaves your floor able to breath.
Buffing
Using soft buffing machines (and hand-polishing where required) will bring a wonderful sheen to your newly-finished floor.
Repairs
We offer a full assessment of your wooden floors to determine what repairs are needed to provide the perfect working surface for the later stages of sanding, staining and sealing.
Restoration
We offer a comprehensive restoration process designed to address floors that are improperly fitted or damaged over time through wear and tear.
Request a fixed price quote for your wood floor restoration now
Simply enter your postcode below to get started.
Services
Wood Floor Sanding Wood Floor Restoration Wood Floor Scratch Repair Squeaky Wood Floor Repair Parquet Floor Sanding Parquet Floor Restoration Commercial Floor Sanding Church Floor Sanding Community Centre Floor Sanding School Floor Sanding Gap Filling Gap Filling with ResinCopyright © Mr Sander®
Privacy & Cookies Terms & Conditions Complaints Procedure Cancellation Rights Sitemap

Get An Instant Price Estimate Before You Go…
Simply enter the rooms you need sanded and we’ll provide you with a price estimate instantly! Try our price calculator now.
Get a Price Estimate NowLocal Floor Sanding Experts
Over 500 5-Star Reviews
Safe, Dust Free Sanding
Operating Since 1994