London:
Nationwide:
25,000+
Floors Restored
27 Years Experience
Wood Flooring Association Certified
DIY Buffing Techniques for Homeowners
Posted on October 21, 2023
Buffing
Mastering DIY Wood Floor Buffing Techniques for Homeowners
Wood floors are a timeless and elegant feature in any home, offering both aesthetic appeal and practical benefits. Over time, however, they can lose their shine and become scuffed and scratched, diminishing their beauty. The good news is that buffing your wood floors can restore their original luster and extend their lifespan. This guide is designed for homeowners who are looking to take on this task themselves, providing a comprehensive overview of DIY wood floor buffing techniques. Buffing your wood floors is a cost-effective alternative to professional refinishing, and it can be a rewarding DIY project. It requires some elbow grease and attention to detail, but the results are well worth the effort. This process involves cleaning the floor, sanding down any imperfections, and applying a new finish to protect the wood and bring out its natural beauty. With the right tools and a bit of patience, even beginners can achieve professional-looking results. Before diving into the buffing process, it’s important to understand the type of wood floor you have and the finish that’s currently on it, as this will determine the best approach to take. This guide will walk you through the necessary preparations, the materials and tools you’ll need, and the step-by-step process of buffing your wood floors. Whether your floors are solid hardwood, engineered wood, or a laminate, these DIY techniques will help you achieve a smooth, shiny finish that breathes new life into your space.
Safety Precautions
Taking on a DIY wood floor buffing project requires adherence to certain safety precautions to ensure that the task is completed without any accidents or injuries. Here’s a comprehensive list of safety measures to keep in mind:Personal Protective Equipment (PPE)
- Safety Goggles: Protect your eyes from dust and debris during the sanding and buffing process.
- Dust Mask or Respirator: This is crucial to prevent inhalation of dust particles. A respirator provides better protection, especially if you are working in a poorly ventilated space.
- Ear Protection: Buffing machines can be loud, and prolonged exposure to such noise could damage your hearing.
- Gloves: Wear gloves to protect your hands from splinters and to provide a better grip on the tools.
- Knee Pads: If your project is extensive, knee pads can provide comfort and protection when kneeling.

Proper Ventilation
- Ensure the room is well-ventilated to dissipate dust and fumes, especially if you are applying a finish or sealant. Open windows and use fans to improve air circulation.
Correct Use of Tools
- Read the user manual and understand the operation of the buffing machine before starting. Incorrect usage can damage the floor or cause injuries.
- Ensure all tools and equipment are in good working condition.
- Use the correct type of sandpaper and buffing pads for your floor type and condition.
Handling Chemicals Safely
- If you are using any chemical cleaners, strippers, or finishes, make sure to follow the manufacturer’s instructions for use, storage, and disposal.
- Work in small sections to ensure even application and avoid overexposure to fumes.
- Keep chemicals away from children and pets.
Keeping the Work Area Clean and Organized
- Keep the work area free of clutter to avoid tripping hazards.
- Regularly remove dust and debris to prevent it from becoming airborne or causing scratches on the floor.
- Keep all tools and materials organized and within reach.
Proper Lifting Techniques
- If you need to move furniture or heavy equipment, use proper lifting techniques to avoid back injuries. Lift with your legs, not your back, and ask for help with heavier items.
Fire Safety
- Be aware of the fire risk associated with sawdust and other wood debris, especially if you are using any electrical equipment. Keep a fire extinguisher nearby just in case.
Preparation Before Buffing
Proper preparation is crucial before starting the buffing process to ensure a smooth and successful outcome. Follow these steps to prepare your wood floor for buffing:1. Clear the Area:
- Remove all furniture, rugs, and any other items from the area to be buffed. This provides an unobstructed workspace and prevents any damage to your belongings.
- If any furniture is too heavy to move, cover it securely with a drop cloth or plastic sheeting to protect it from dust.
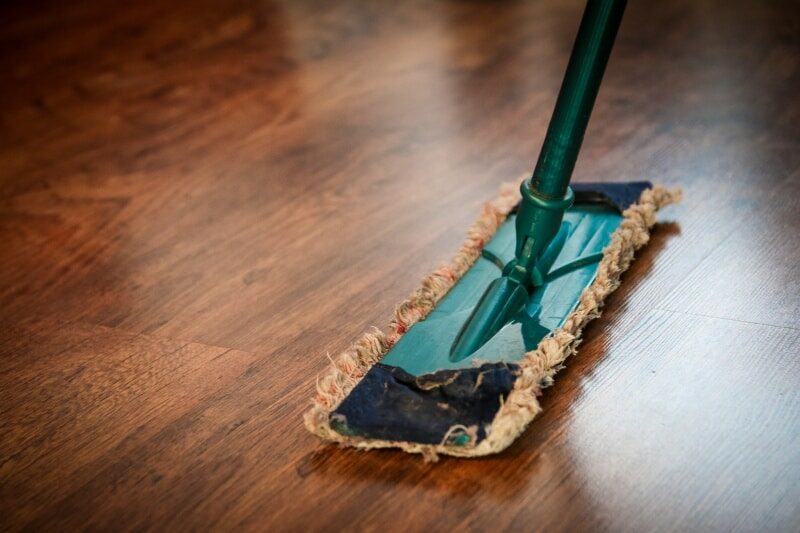
2. Clean the Floor:
- Sweep or vacuum the floor thoroughly to remove all dust, dirt, and debris. Pay special attention to corners and edges where dirt tends to accumulate.
- Mop the floor with a damp (not wet) mop to pick up any remaining dust. Use a hardwood floor cleaner if necessary, but avoid using excessive water or harsh chemicals.
3. Check for Damages and Make Repairs:
- Inspect the floor for any signs of damage such as deep scratches, dents, or warped boards.
- Make necessary repairs before proceeding. This may include filling in scratches with wood filler, replacing damaged boards, or addressing any moisture issues.
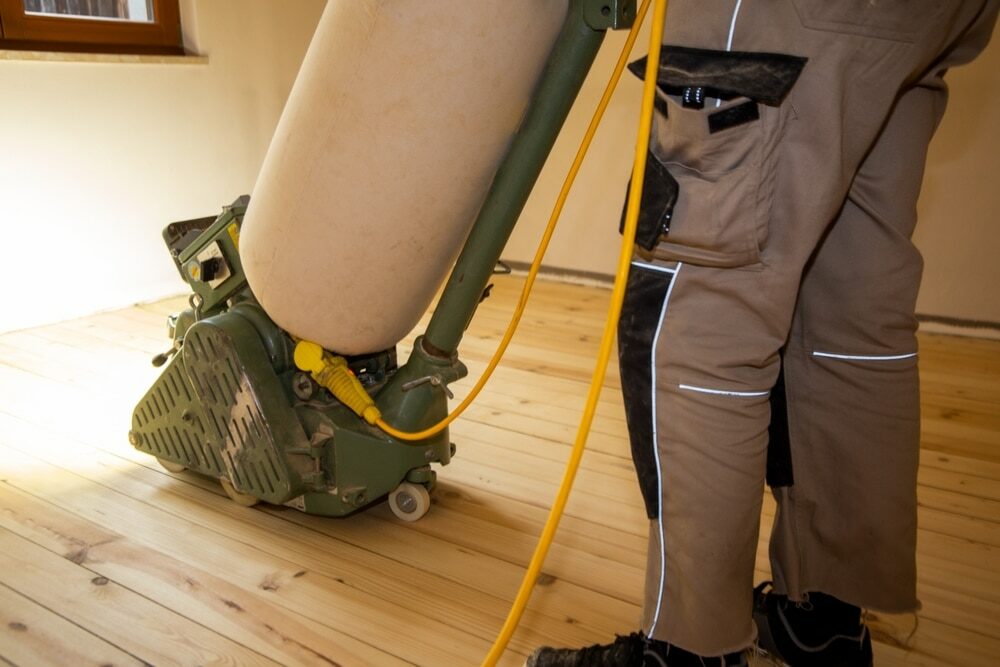
4. Sanding (If Necessary):
- If your floor has a layer of wax or an old, worn-out finish, you may need to sand it down before buffing. Use a fine-grit sandpaper and a hand sander or orbital sander for this task.
- Sanding should be done evenly across the floor, following the grain of the wood. Vacuum up the dust afterward.
5. Tape Off Areas:
- Use painter’s tape to tape off baseboards, vents, and any other areas that you want to protect from the buffing process.
6. Gather Your Materials and Tools:
- Ensure you have all the necessary materials and tools on hand before you start. This may include a buffing machine, buffing pads, sandpaper, wood floor cleaner, and floor finish.
7. Test the Process:
- Before buffing the entire floor, choose a small, inconspicuous area to test the process. This helps you get a feel for the buffing machine and ensures that the chosen products and techniques do not damage the floor.
8. Ensure Proper Ventilation:
- Open windows and use fans to ensure good airflow in the area. This is especially important if you will be using any products that emit fumes.
9. Wear Protective Gear:
- Don your safety goggles, dust mask, gloves, and any other necessary protective equipment before starting the process.
Buffing Techniques
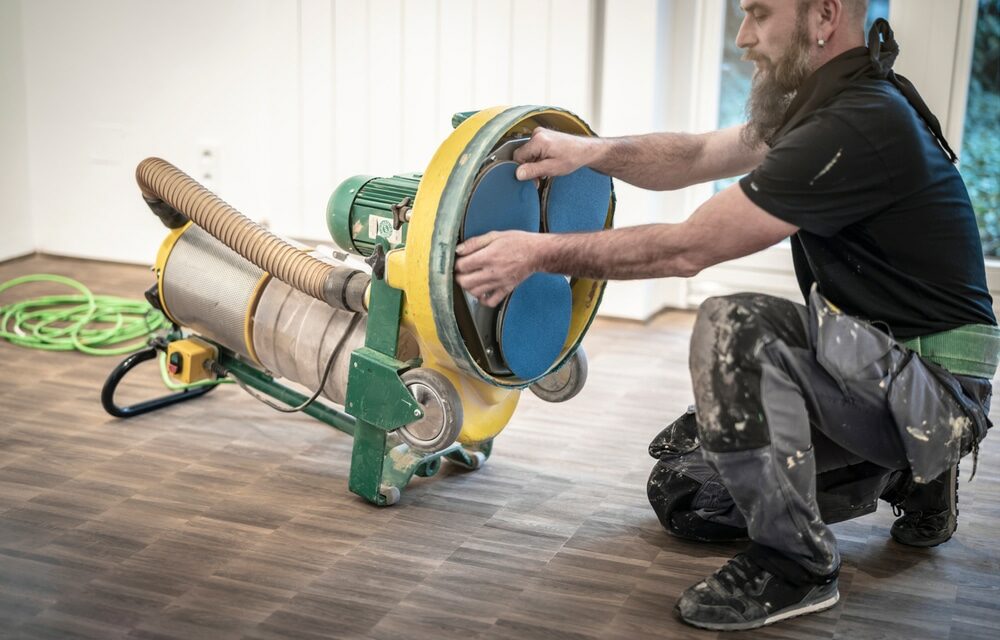
Buffing your wood floors is a detailed process that requires precision and care. Here’s a guide to help you through the various steps and techniques involved in buffing wood floors:1. Choose the Right Buffing Pads and Solutions:
- Select a buffing pad suitable for your type of wood flooring. Pads come in different abrasiveness levels; fine pads are generally used for buffing, while coarser pads can be used for light sanding.
- If your floor is particularly dirty or has old wax buildup, you might need a wood floor cleaning solution. Ensure it’s compatible with your floor type.
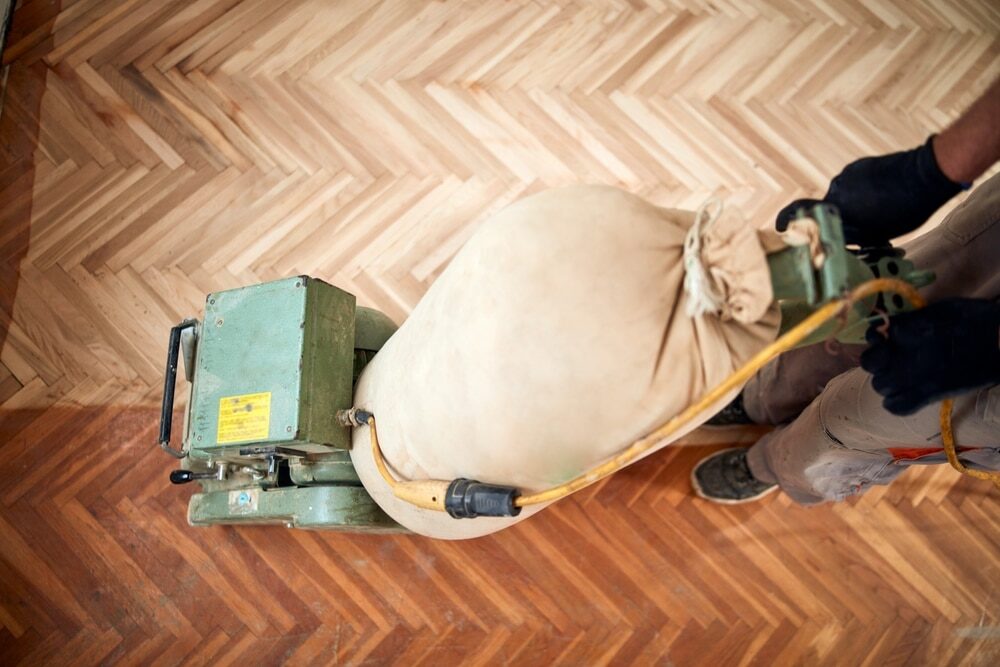
2. Attach Buffing Pad to Machine:
- Securely attach the chosen buffing pad to the buffing machine, ensuring it is properly centered to avoid uneven wear.
- If your machine requires it, ensure the pad is dampened slightly before starting.
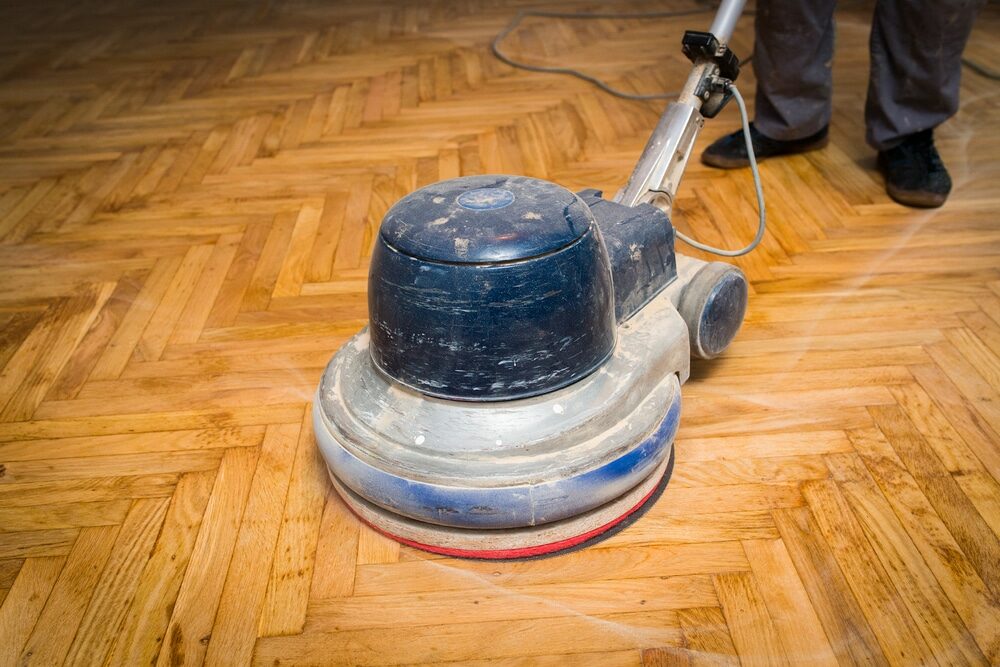
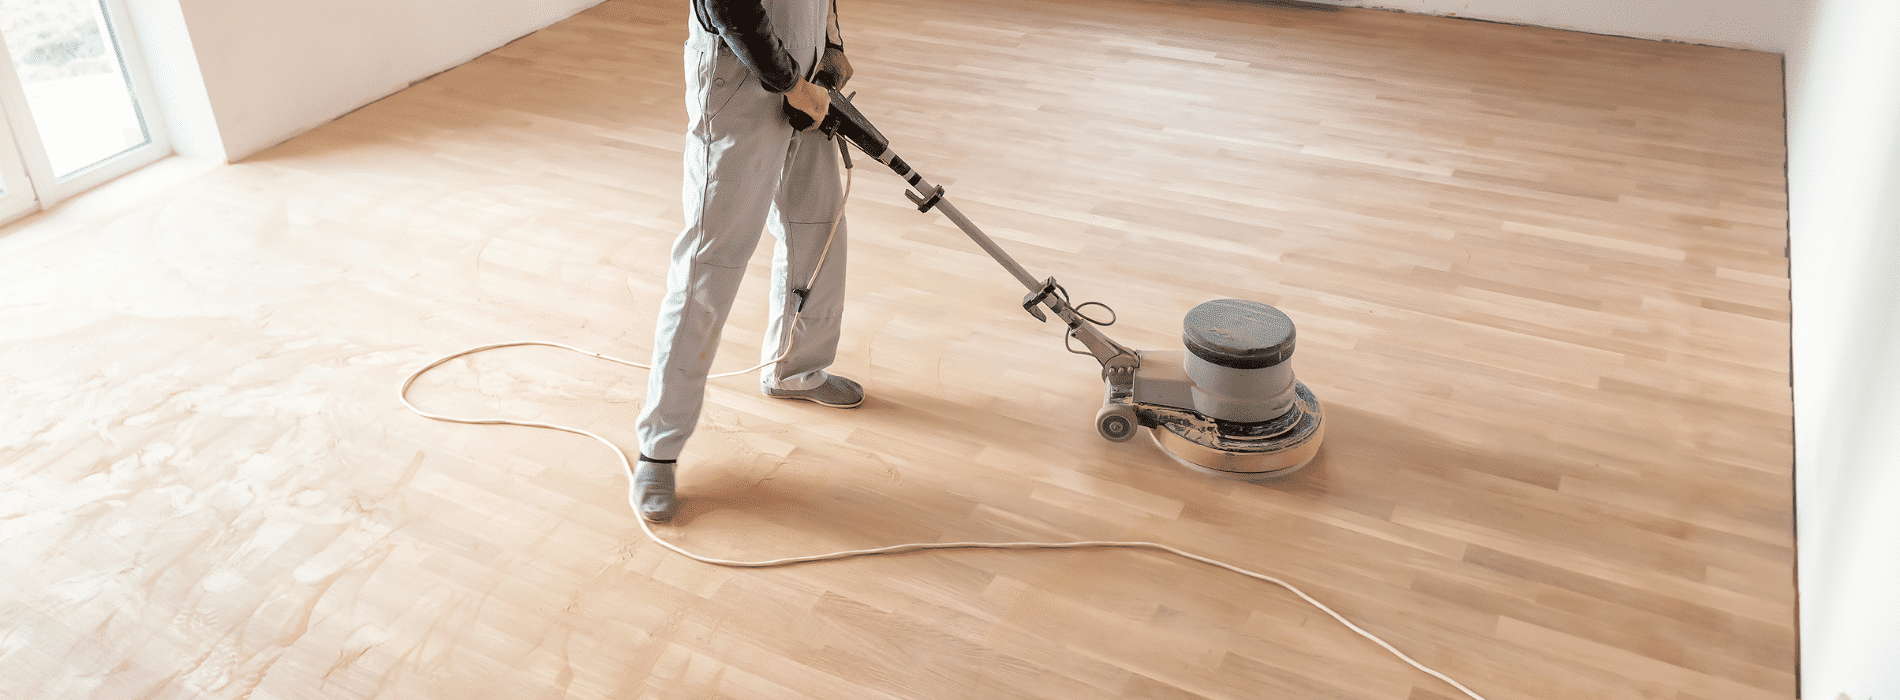
3. Start Buffing in a Corner:
- Begin buffing in a corner of the room, moving the machine in the direction of the wood grain. This helps prevent scratches and ensures a smoother finish.
- Work in small, manageable sections, ensuring each area is thoroughly buffed before moving on.
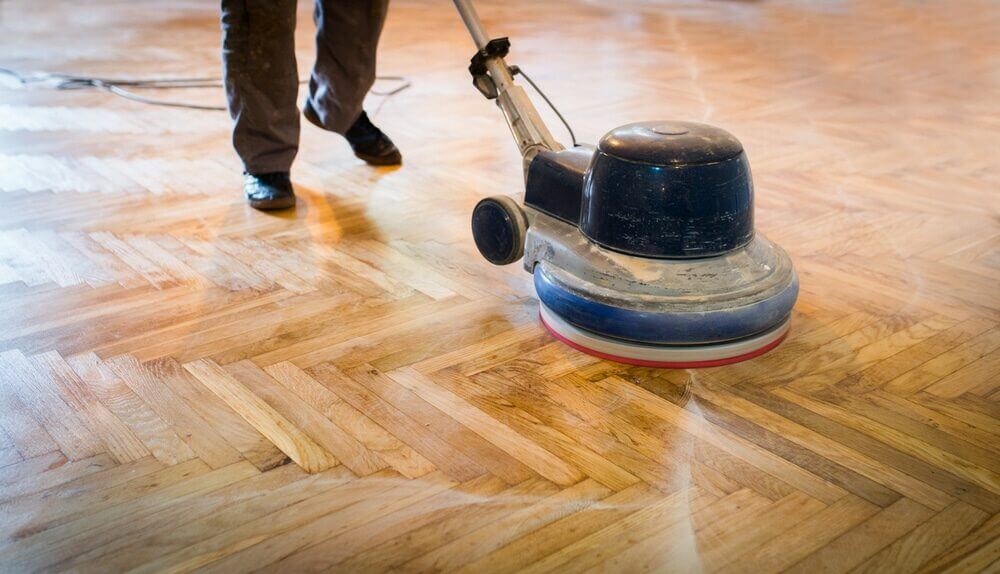
4. Use Slow, Even Strokes:
- Move the buffing machine in slow, even strokes to ensure all areas are evenly treated.
- Overlap each pass slightly to ensure no areas are missed.
5. Regularly Change Buffing Pads:
- Check the buffing pad regularly for wear or clogging. A worn or clogged pad won’t be as effective and could potentially damage the floor.
- Change the pad as needed to ensure the best results.
6. Vacuum or Dust Mop After Buffing:
- Once the entire floor has been buffed, use a vacuum or dust mop to remove all the dust and debris created during the buffing process.
- Ensure all dust is removed before moving on to the next step, as any remaining debris could scratch the floor when applying finish.
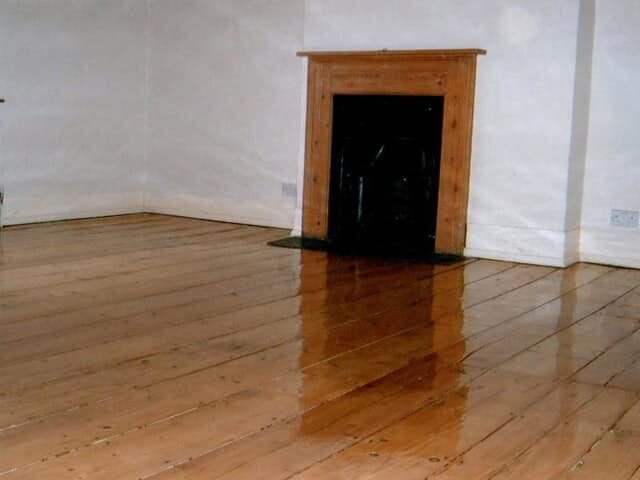
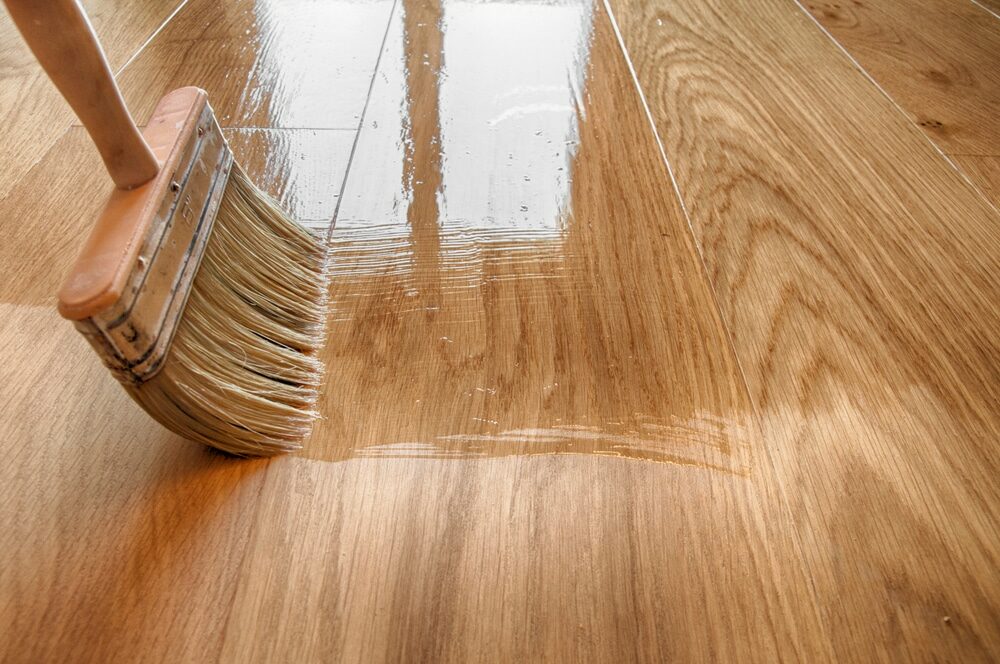
7. Apply a Wood Floor Finish (Optional):
- If you wish to apply a finish to your floor after buffing, choose a product compatible with your wood type and follow the manufacturer’s instructions for application.
- Use a clean applicator and work in the direction of the grain, ensuring an even application.
- Allow ample time for the finish to dry before walking on the floor or replacing furniture.
8. Buff Between Finish Coats (If Applicable):
- If applying multiple coats of finish, you might need to lightly buff between coats to ensure proper adhesion.
- Use a very fine buffing pad for this process, and ensure all dust is removed before applying the next coat.
Post-Buffing Care
Post-buffing care is essential to maintain the beauty and longevity of your wood floors. Proper care ensures that the shine lasts longer, and the floor is protected from potential damage. Here’s a guide to help you care for your wood floors after buffing:1. Allow Adequate Time for Drying:
- If you have applied a finish or sealant after buffing, allow ample time for it to dry completely before walking on the floor or replacing furniture and rugs. This usually takes at least 24 hours but could be longer depending on the product used and the room’s humidity.
2. Use Furniture Pads:
- Place felt pads or protective material under furniture legs to prevent scratches and dents on the newly buffed floor. This is especially important for heavy furniture or items that are moved frequently.
3. Avoid Moisture:
- Wipe up any spills immediately to prevent water damage. Wood floors, especially hardwood, are susceptible to moisture damage.
- Avoid using wet mops or excessive water when cleaning the floors. Instead, use a damp mop or a wood floor cleaner designed for your floor type.
4. Regular Cleaning:
- Sweep, dust, or vacuum the floor regularly to prevent dirt and grit from scratching the surface. Use a soft-bristle broom or a vacuum with a setting for hardwood floors.
- Clean the floors as needed with a product appropriate for your floor type. Avoid harsh chemicals or abrasive cleaners.
5. Use Rugs and Mats:
- Place rugs or mats in high-traffic areas or places prone to spills, such as near entrances or in the kitchen. Ensure these are made of breathable material to prevent moisture buildup.
6. Avoid High Heels and Pet Nails:
- High heels, especially those in disrepair, can cause dents and scratches on wood floors. Encourage guests to remove such footwear.
- Keep pet nails trimmed to prevent scratches.
7. Maintain Consistent Humidity Levels:
- Wood floors can warp or crack with significant changes in humidity. Use a dehumidifier or humidifier to maintain a consistent level of humidity in your home.
8. Use the Right Cleaning Tools:
- Use a microfiber mop or a mop made specifically for wood floors. Avoid using brooms with stiff bristles or vacuum cleaners with beater bars, as they can scratch the floor.
9. Re-Buff as Needed:
- Depending on the level of foot traffic and wear, you might need to re-buff your floors every few years to maintain their shine and protect the surface.
Troubleshooting Common Issues
Buffing wood floors can sometimes present challenges, and being prepared to troubleshoot common issues can help ensure a smooth and successful project. Here are some strategies to address typical problems that might arise:1. Uneven Shine
- Cause: Uneven application of finish, or inconsistent buffing techniques.
- Solution: Ensure you are using the buffing machine in slow, even strokes, overlapping each pass slightly. If the finish is applied unevenly, you may need to buff the area again and reapply the finish.
2. Swirl Marks or Scratches
- Cause: Using a buffing pad that is too abrasive, or debris caught under the pad.
- Solution: Ensure the buffing pad is appropriate for your floor type and is free of debris. If swirl marks appear, you may need to buff the area again using a finer pad and ensure all debris is removed beforehand.
3. Dust or Debris in Finish
- Cause: Inadequate cleaning of the floor before applying the finish, or dust settling from the air.
- Solution: Ensure the floor is thoroughly vacuumed and cleaned before applying any finish. Apply finish in a well-ventilated area but avoid drafts that could blow dust onto the wet finish.
4. Bubbles in the Finish
- Cause: Shaking the finish container before application, applying too thick a layer, or working in conditions that are too hot or humid.
- Solution: Stir the finish gently instead of shaking. Apply thin, even layers and work during cooler, less humid parts of the day.
5. Sticky or Tacky Floors
- Cause: Insufficient drying time, or application of finish over an incompatible sealant.
- Solution: Ensure you allow ample time for the finish to dry completely before walking on the floor. If the finish remains tacky, you may need to remove it and start the process again, ensuring all products used are compatible.
6. Discoloration or Yellowing
- Cause: Exposure to sunlight or using an oil-based finish that has aged.
- Solution: Use a water-based finish, which is less prone to yellowing. Protect the floor from direct sunlight with curtains or blinds.
7. Difficulty in Operating Buffing Machine
- Cause: The machine is not set up correctly, or the pad is not attached properly.
- Solution: Double-check the machine’s setup and ensure the pad is securely and correctly attached. Refer to the user manual for guidance.
8. Excessive Dust
- Cause: Inadequate dust containment measures, or a very old finish that is disintegrating.
- Solution: Use a buffing machine with a built-in vacuum or dust containment system. Ensure the room is well-ventilated and consider using dust barriers if working in only one part of a larger space.
Conclusion
Buffing your wood floors is a rewarding DIY project that can bring back the shine and enhance the overall appearance of your home. By following the proper preparation, buffing techniques, and post-buffing care, you can achieve professional-looking results and prolong the life of your wood floors. Safety should always be your top priority. Ensure you are equipped with the necessary protective gear and are aware of how to safely operate the buffing machine and handle any chemicals. Preparation is key; taking the time to thoroughly clean, repair, and sand your floors if necessary will lay the foundation for a successful buffing process. When it comes to the buffing itself, patience and attention to detail are crucial. Work in small sections, using slow, even strokes, and be sure to regularly check your buffing pad for wear or clogging. After buffing, give your floors ample time to dry if you’ve applied a finish, and follow the recommended care tips to maintain the beauty of your floors. Remember, while buffing can significantly enhance the look of your floors, it’s also an opportunity to protect and preserve them for future enjoyment. With the right approach, tools, and care, your wood floors can remain a cherished and durable feature of your home for many years to come.Some Useful Links:
- Stairs Sanding & Refinishing
- Floor Sanding Services
- School Floor Sanding
- Wood Floor Restorations
- Wood Floor Repairs
- Wood Floor Polishing
More from our Blog:
Buffing vs Polishing: What’s the Difference? Different Buffing Techniques for Hardwood Floors The Role of Buffing in Achieving a Smooth Finish How to Choose the Right Buffer for Floor Sanding How to Repair Damaged Floors with Belt Sanding Step-by-Step Guide to Belt Sanding Your Floors Innovative Techniques for Using Belt Sanders in Floor Refinishing How to Achieve a Perfectly Flat Surface with Belt Sanding for Floor Refinishing
Sanding
We provide virtually dust-free sanding with our continuous belt machinery with mobile extraction units, giving you a safer environment for your family.
Oiling
This organic finish not only adds beauty to your home but also has exceptional water-repellent characteristics, making it easier to clean and maintain.
Waxing
This natural floor finish offers the softest and most mellow appearance – and leaves your floor able to breath.
Buffing
Using soft buffing machines (and hand-polishing where required) will bring a wonderful sheen to your newly-finished floor.
Repairs
We offer a full assessment of your wooden floors to determine what repairs are needed to provide the perfect working surface for the later stages of sanding, staining and sealing.
Restoration
We offer a comprehensive restoration process designed to address floors that are improperly fitted or damaged over time through wear and tear.
Request a fixed price quote for your wood floor restoration now
Simply enter your postcode below to get started.
Services
Wood Floor Sanding Wood Floor Restoration Wood Floor Scratch Repair Squeaky Wood Floor Repair Parquet Floor Sanding Parquet Floor Restoration Commercial Floor Sanding Church Floor Sanding Community Centre Floor Sanding School Floor Sanding Gap Filling Gap Filling with ResinCopyright © Mr Sander®
Privacy & Cookies Terms & Conditions Complaints Procedure Cancellation Rights Sitemap

Get An Instant Price Estimate Before You Go…
Simply enter the rooms you need sanded and we’ll provide you with a price estimate instantly! Try our price calculator now.
Get a Price Estimate NowLocal Floor Sanding Experts
Over 500 5-Star Reviews
Safe, Dust Free Sanding
Operating Since 1994