London:
Nationwide:
25,000+
Floors Restored
27 Years Experience
Wood Flooring Association Certified
How to Repair Damaged Floors with Belt Sanding
Posted on September 11, 2023
Belt sanding
Restoring the Charm: A Comprehensive Guide to Repairing Damaged Floors with Belt Sanding
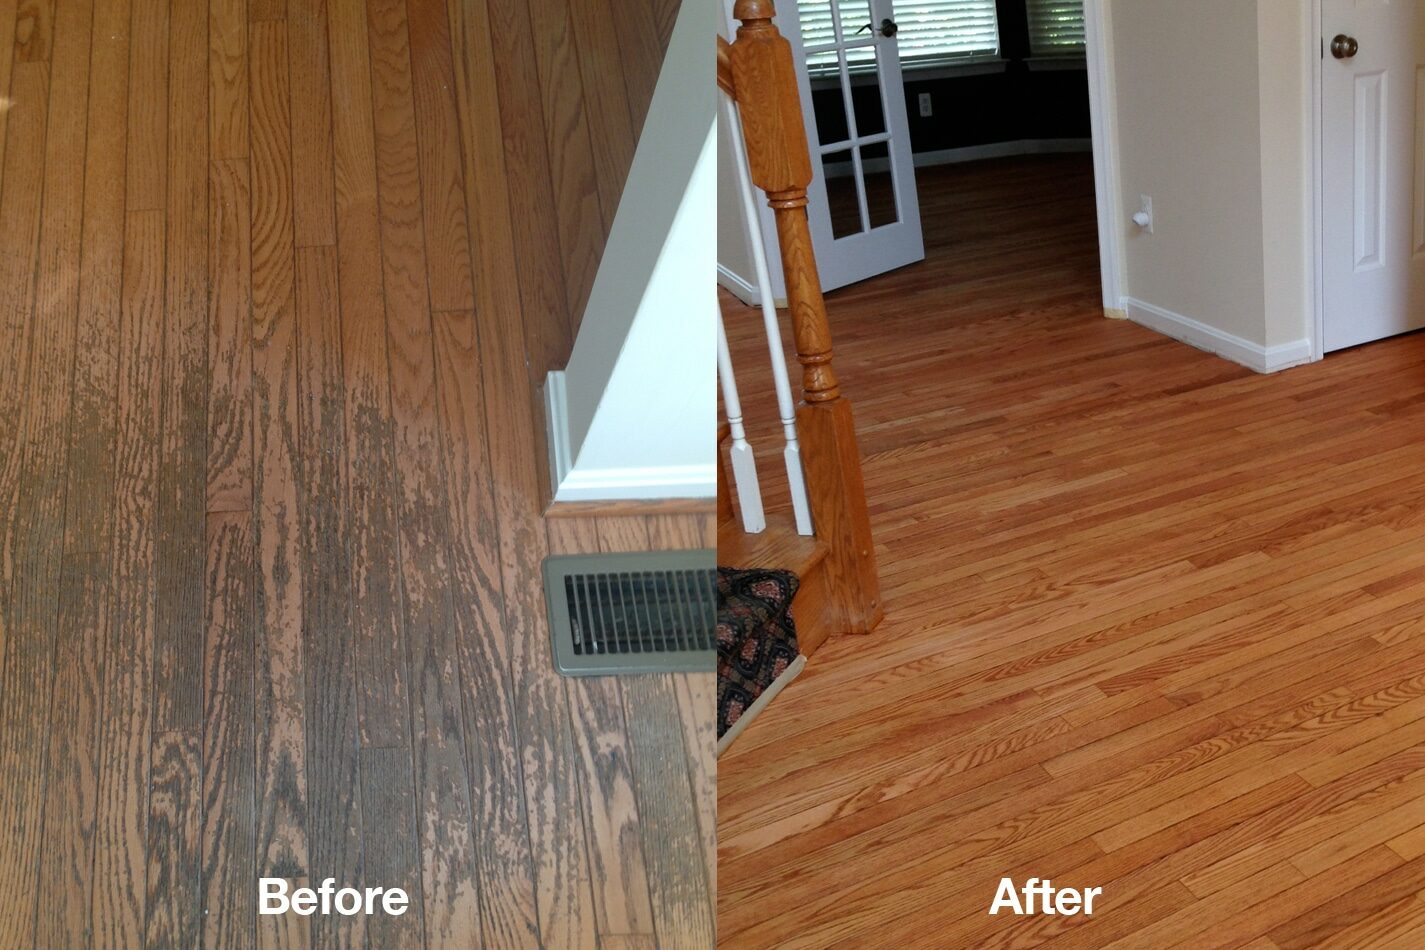
In the realm of home refurbishments, perhaps there is no venture quite as rewarding as revitalising a weary, well-trodden floor. The pathway under our feet holds stories of yesteryear; the subtle creaks whisper tales of generations that have passed by. However, the wear and tear and eventual dimming of its once vibrant narrative beckon a renewal, a renaissance that promises to restore its former glory and charm. As it happens, the technique of belt sanding emerges as the quintessential artisan’s tool to achieve this. Let us stroll down this renovation path, step by meticulous step, to explore the art of repairing damaged floors using the venerable method of belt sanding.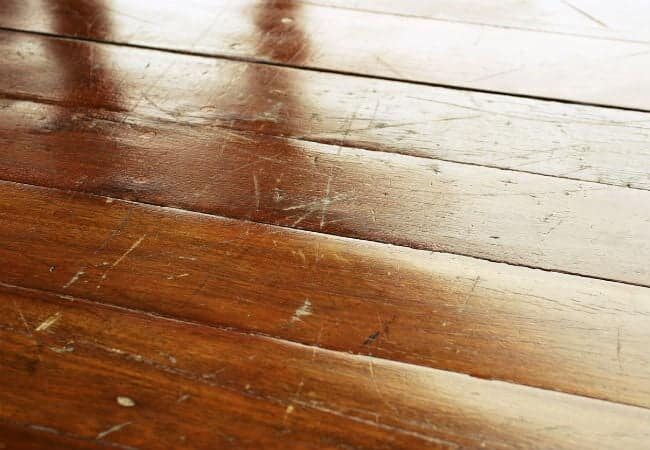
Unearthing the Potential: The Initial Survey
Before we immerse ourselves in the splendid transformation that belt sanding promises, it is of paramount importance to conduct an insightful survey of the affected floor area. Look out for signs of pronounced wear, dents, scratches, or stains that mar the beauty of your flooring. Document these areas meticulously; this will form the basis of your refurbishment blueprint. Now, gently roll up those sleeves, don a pair of sturdy gloves, and let’s venture into the transformative journey that awaits.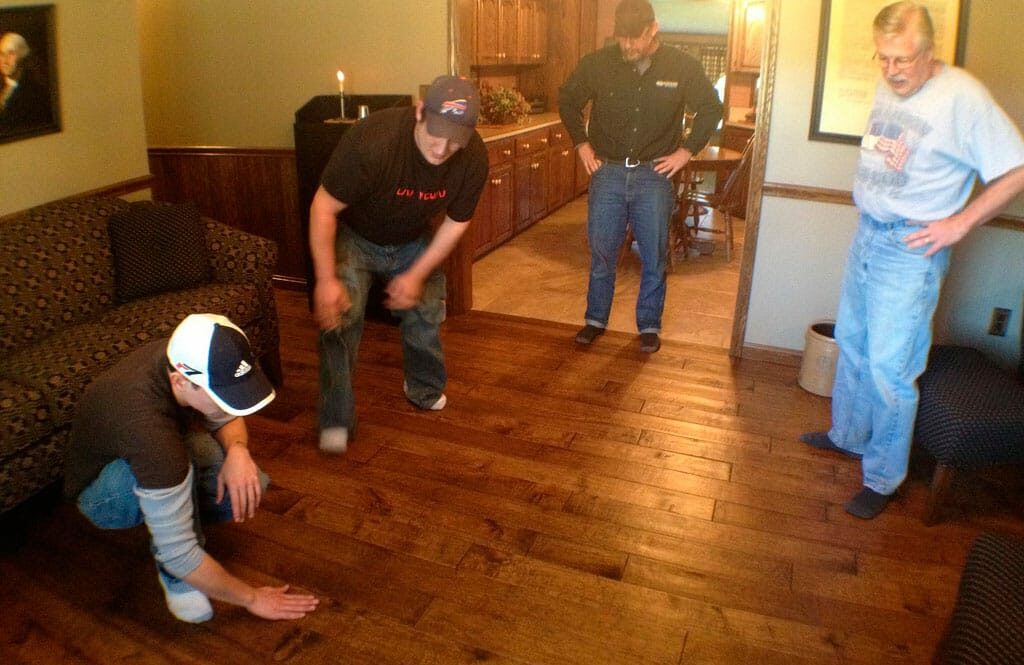
Gathering Your Arsenal: The Tools of the Trade
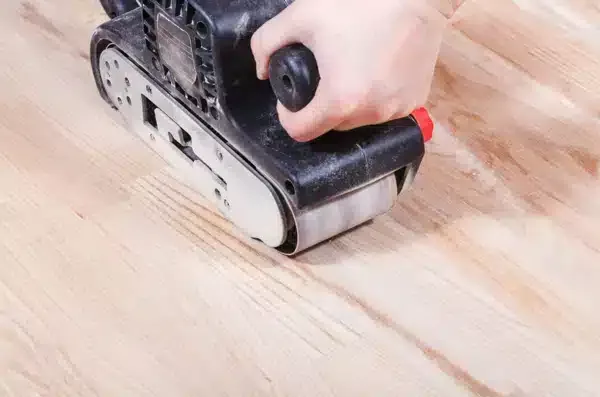
Equipping oneself with the right tools is the precursor to any successful refurbishment endeavour. In the context of belt sanding, here are the indispensable companions you would require:- Belt Sander: A robust machine equipped with a sanding belt to facilitate the removal of the old finish and surface irregularities.
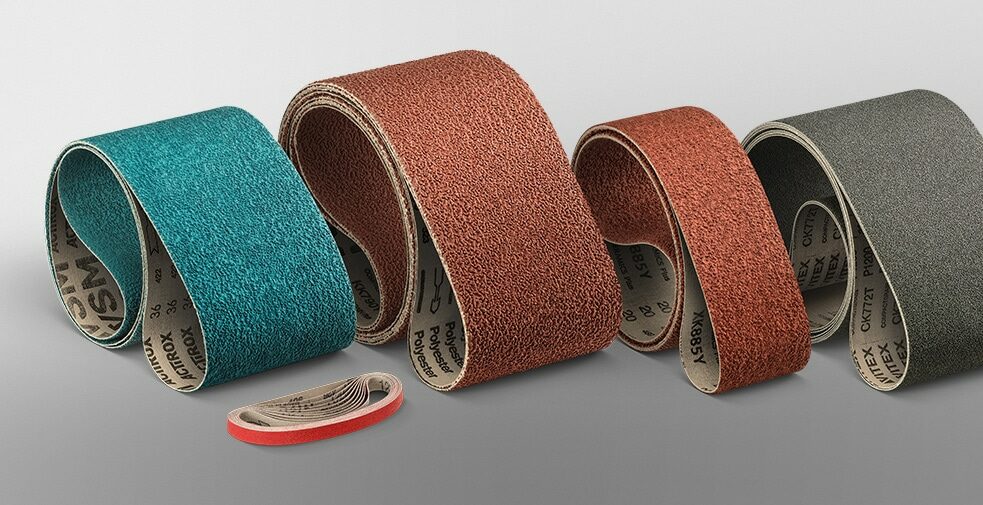
- Sanding Belts: Available in varying grits, these belts aid in achieving the desired smoothness.
- Ear Protection: Protecting one’s hearing from the noise generated during the sanding process is a prudent measure.
- Dust Mask and Safety Glasses: Essential protective gear to shield against dust and particles
- Knee Pads: To provide comfort during prolonged periods of kneeling.

Chapter One: Prepping the Stage
A Symphony of Cleanliness
Before the belt sander makes its grand entrance, it is vital to ensure that the floor is devoid of any dust, debris, or loose particles. Engage in a thorough cleaning spree, employing the services of a vacuum cleaner and a mildly damp mop to ensure a pristine canvas for your operations.The Furniture Sojourn
The next act in this prelude involves relocating the furniture to a safe haven, allowing unrestricted access to the entire floor area. Cover these pieces with protective sheets to shield them from the impending dust storm.Nail and Staple Hunt
An often overlooked yet critical step is to inspect the floor for protruding nails or staples. Ensure these are either removed or hammered flat to prevent damaging your sanding equipment.Filling the gaps
Upon closer inspection, you might discover gaps and crevices adorning your floor. These can be addressed using a suitable wood filler, creating a smooth and even surface ready to embrace the caress of the sanding belt. With the preparatory steps in place, we are ready to commence the heart of our restoration journey.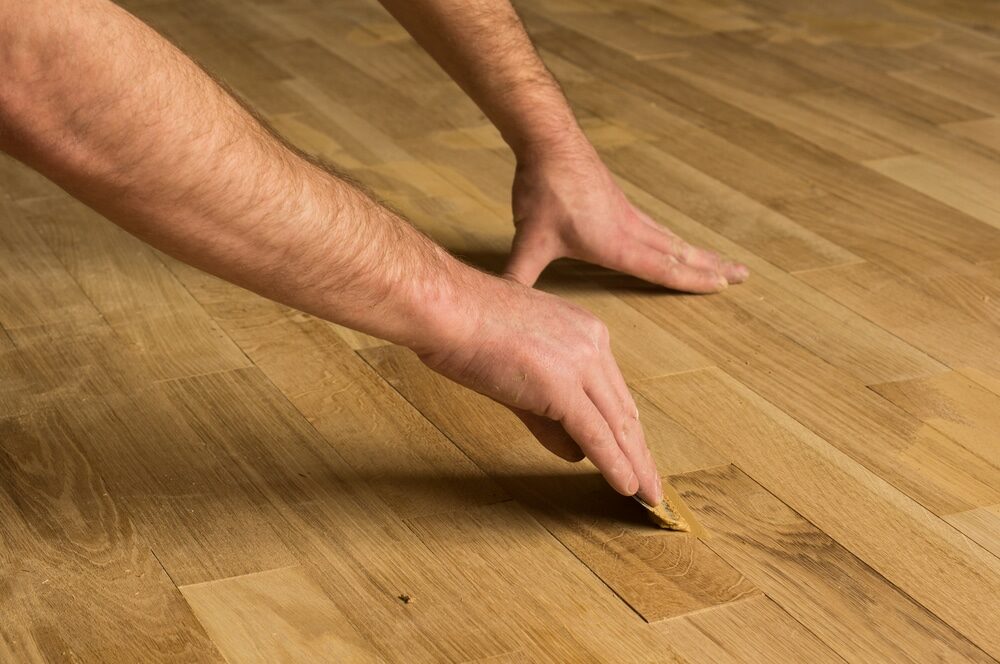
Chapter Two: The Belt Sanding Ballet
Belt sanding, akin to a ballet performance, demands grace, precision, and a meticulous approach. Here, we shall demystify the process, leading you through a guided performance that promises to breathe new life into your damaged floors.The Prologue: Choosing the Right Grit
Selecting the appropriate grit is akin to choosing the right dance partner. Initially, opt for a coarse grit to remove the old finish and surface irregularities, gradually moving towards finer grits to achieve a polished look.The First Act: The Forward Dance
Don your safety gear and switch on the belt sander. Gently guide it forward along the grain of the wood. Move at a steady pace, ensuring not to linger too long at one spot to prevent uneven sanding.The Second Act: The Rhythmic Transition
As you transition from one section to another, maintain a rhythmic flow, overlapping slightly with the previously sanded area to ensure uniformity. Remember, in this ballet, grace and consistency are your allies.The Final Act: The Finer Details
Upon the completion of the initial sanding cycle, switch to a finer grit belt for the subsequent pass. This stage is akin to adding the finer details to a painting, bringing out the true essence of the wood grain and revealing a surface that is smooth and inviting to the touch.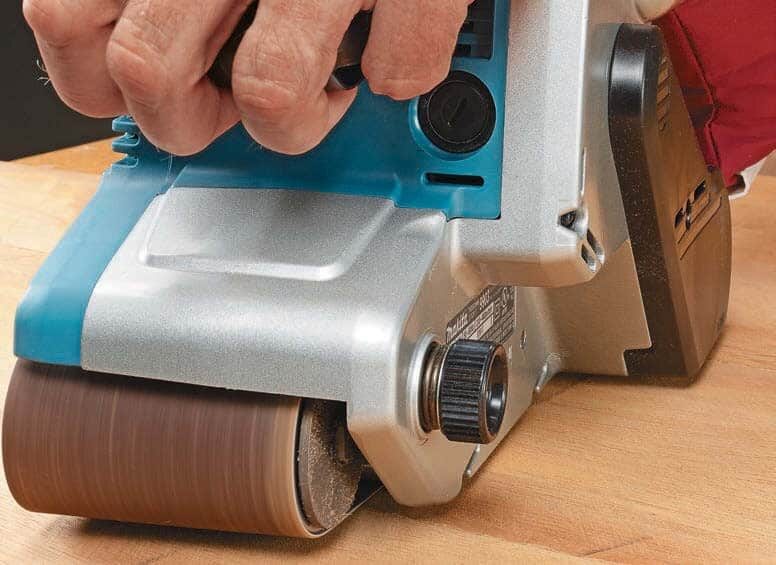
The Curtain Call: Corners and Edges
The finale of this sanding ballet involves addressing the corners and edges, areas that the belt sander might not reach. Employ the services of a hand sander or sanding block to bring these areas up to par with the rest of the floor. With the sanding performance reaching its crescendo, step back to admire the raw beauty that now lies before you, a canvas ready to receive its finishing touches.Chapter Three: The Grand Finale
The staining sonata
To accentuate the natural beauty of the wood, you might opt for a staining process. Choose a stain that harmonises with your décor, applying it evenly and allowing it to penetrate the wood to enhance its inherent charm.The Varnish Overture
As the staining sonata reaches its conclusion, it’s time for the varnish overture to take centre stage. Applying a quality varnish not only seals the wood but imparts a gloss that echoes elegance and sophistication.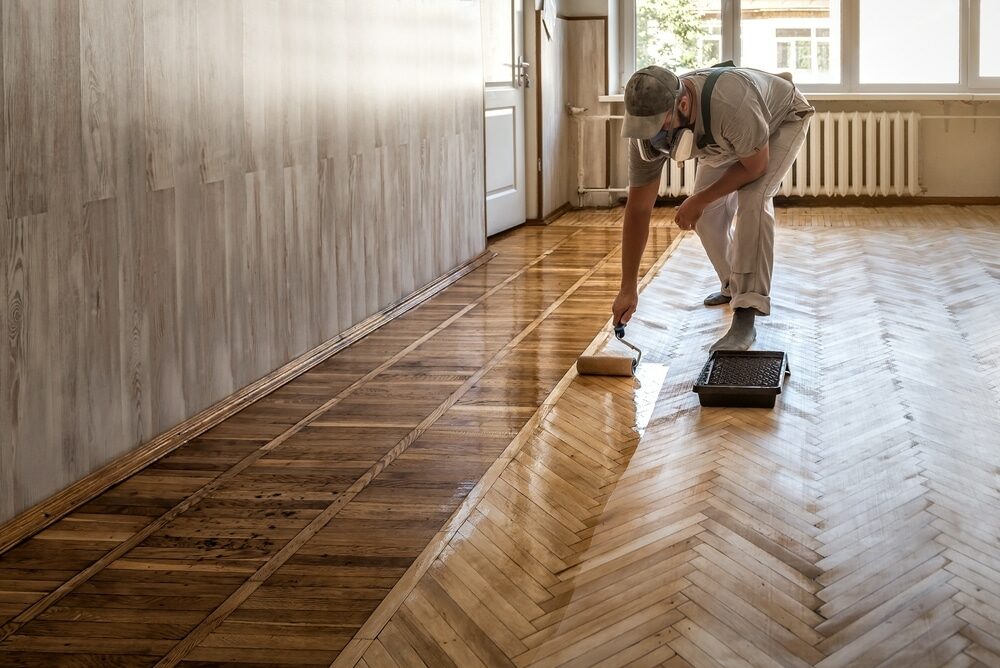
The Maintenance Encore
To ensure the longevity of your refurbished floor, engage in a maintenance programme that involves regular cleaning and occasional polishing to maintain its lustre and charm. As the final notes of this restoration symphony fade away, you stand amidst a space that echoes a harmonious blend of tradition and contemporary elegance, a testament to the transformative power of belt sanding.Taking a Bow: Your Revitalised Floor
As you take a bow, witnessing the renewed sparkle in your floor, it becomes evident that the journey of belt sanding is not just about restoring a floor but about rejuvenating the soul of a space, breathing life into the narratives that the wooden planks hold, ready to narrate tales to generations to come. In this transformative sojourn, we have witnessed the metamorphosis of a weary floor into a resplendent canvas that holds the promise of many more stories to be etched upon it. It is a dance of restoration, a ballet of renewal, orchestrated with precision and love, promising to charm occupants and visitors alike with its newfound grace. Thus, as we conclude this detailed exploration, it is with a sense of fulfilment and a job well done. Your floor, with its rejuvenated spirit, stands ready to embrace the future, echoing tales of a glorious past and whispering secrets of the delightful moments that lie ahead, all under the gentle caress and transformative magic of belt sanding.Some Useful Links:
- Stairs Sanding & Refinishing
- Floor Sanding Services
- School Floor Sanding
- Wood Floor Restorations
- Wood Floor Repairs
- Wood Floor Polishing
More from our Blog:
Step-by-Step Guide to Belt Sanding Your Floors Innovative Techniques for Using Belt Sanders in Floor Refinishing How to Achieve a Perfectly Flat Surface with Belt Sanding for Floor Refinishing Common Belt Sanding Tools and Accessories for Floor Refinishing The Role of Belt Sanding in Achieving a Professional Finish on Your Floors Belt Sanding vs. Drum Sanding for Floor Refinishing How to Safely Use a Belt Sander for Floor Sanding

Sanding
We provide virtually dust-free sanding with our continuous belt machinery with mobile extraction units, giving you a safer environment for your family.
Oiling
This organic finish not only adds beauty to your home but also has exceptional water-repellent characteristics, making it easier to clean and maintain.
Waxing
This natural floor finish offers the softest and most mellow appearance – and leaves your floor able to breath.
Buffing
Using soft buffing machines (and hand-polishing where required) will bring a wonderful sheen to your newly-finished floor.
Repairs
We offer a full assessment of your wooden floors to determine what repairs are needed to provide the perfect working surface for the later stages of sanding, staining and sealing.
Restoration
We offer a comprehensive restoration process designed to address floors that are improperly fitted or damaged over time through wear and tear.
Request a fixed price quote for your wood floor restoration now
Simply enter your postcode below to get started.
Services
Wood Floor Sanding Wood Floor Restoration Wood Floor Scratch Repair Squeaky Wood Floor Repair Parquet Floor Sanding Parquet Floor Restoration Commercial Floor Sanding Church Floor Sanding Community Centre Floor Sanding School Floor Sanding Gap Filling Gap Filling with ResinCopyright © Mr Sander®
Privacy & Cookies Terms & Conditions Complaints Procedure Cancellation Rights Sitemap

Get An Instant Price Estimate Before You Go…
Simply enter the rooms you need sanded and we’ll provide you with a price estimate instantly! Try our price calculator now.
Get a Price Estimate NowLocal Floor Sanding Experts
Over 500 5-Star Reviews
Safe, Dust Free Sanding
Operating Since 1994