London:
Nationwide:
25,000+
Floors Restored
27 Years Experience
Wood Flooring Association Certified
Different Buffing Techniques for Hardwood Floors
Posted on October 4, 2023
Buffing
Exploring the Different Buffing Techniques for Hardwood Floors
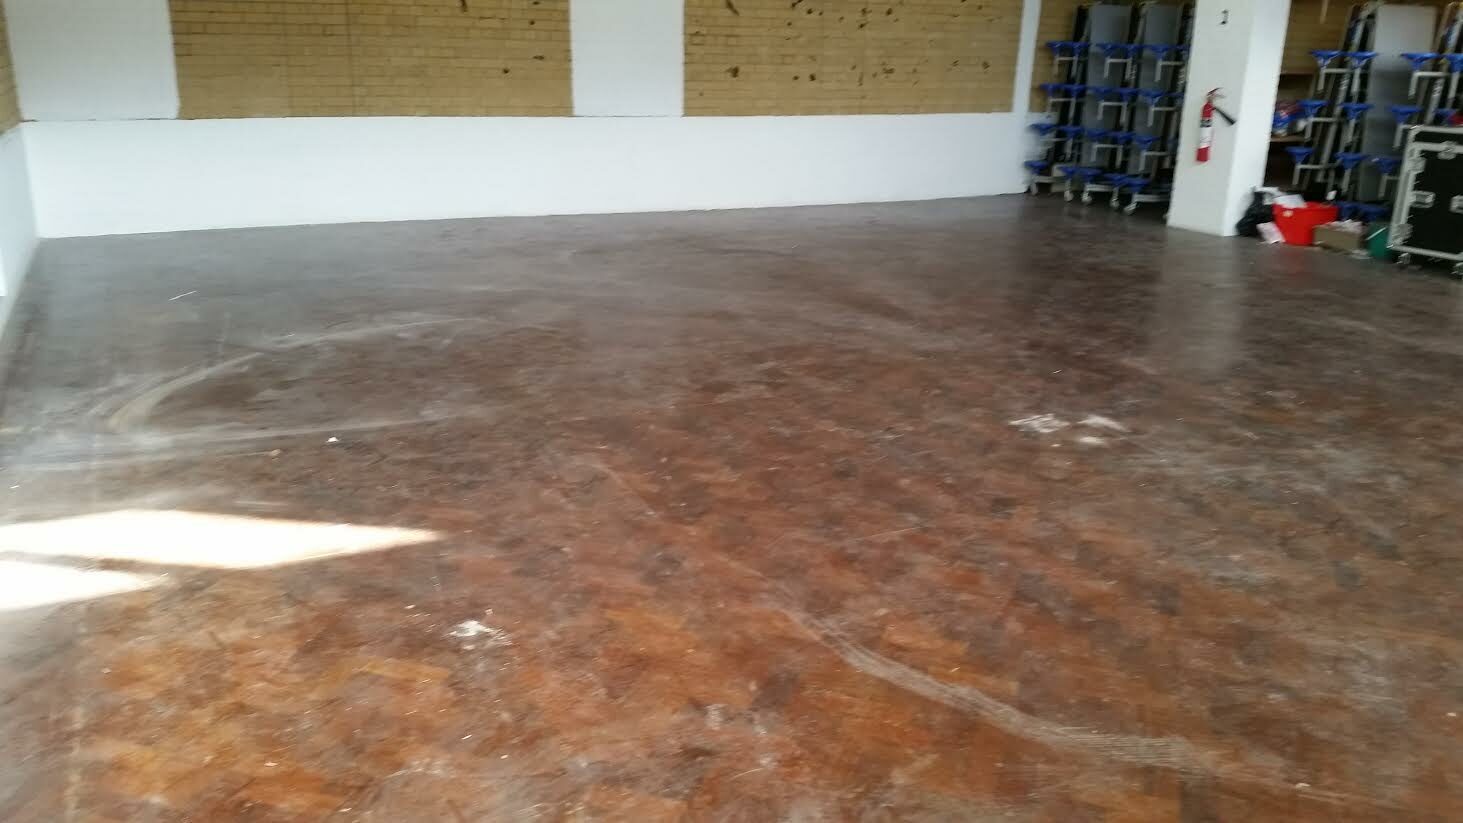
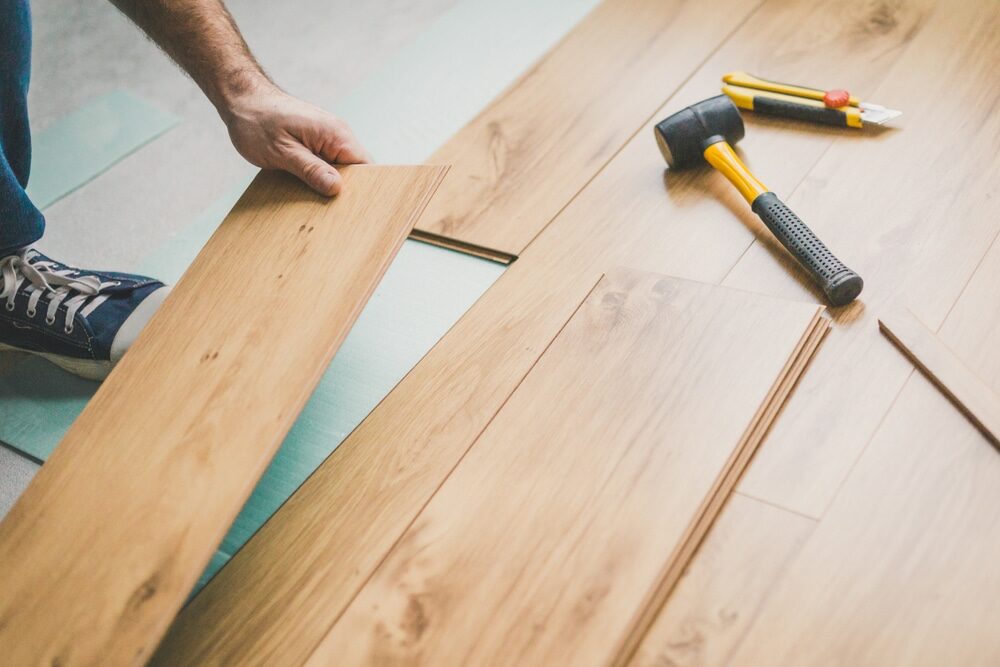
Hardwood floors are renowned for their beauty, durability, and timeless appeal. They bring warmth and sophistication to any space and are highly sought after by homeowners and designers alike. However, over time, these floors can lose their lustre due to wear and tear, the accumulation of dirt, or simple aging. Restoring their shine doesn’t always require a full refinishing; often, a good buffing can rejuvenate a hardwood floor and bring back its original glory.
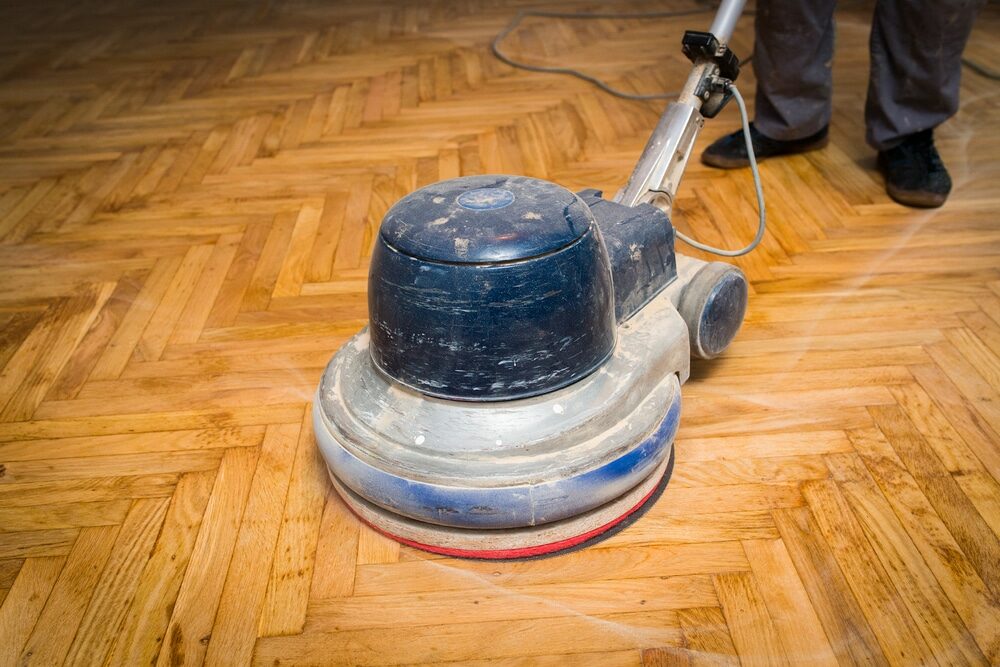
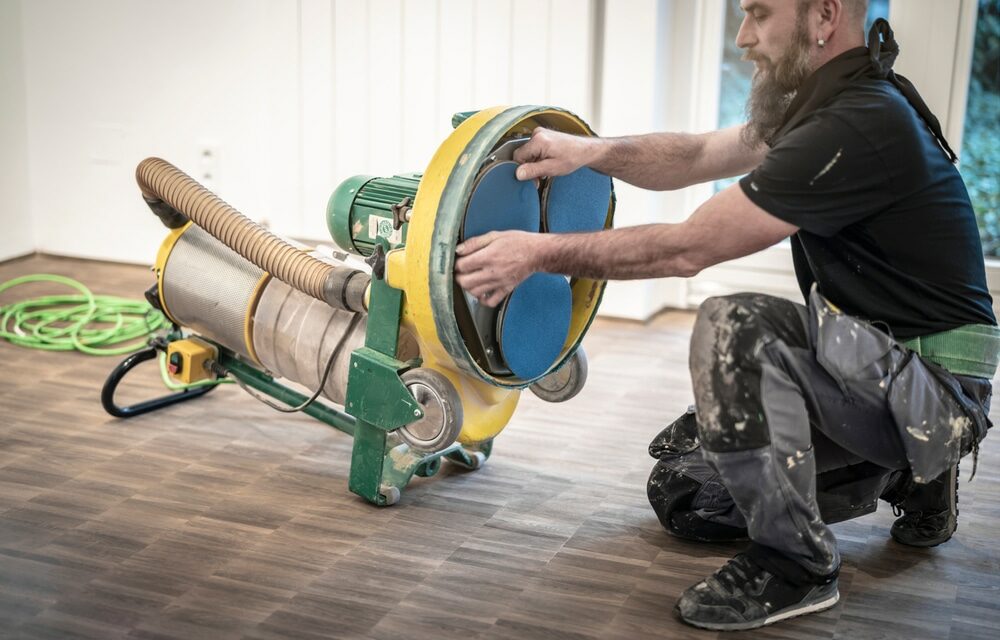
Buffing, also known as polishing, involves the use of a rotary machine to smooth out the surface of the floor, removing minor scratches, dents, and discolorations. While the concept sounds simple, there’s more to buffing than meets the eye. Different buffing techniques cater to various finishes, types of hardwood, and the specific issues that need addressing. Choosing the right technique is crucial to achieving the desired finish, ensuring the longevity of the floor, and preventing any damage. In the following sections, we’ll delve into these different techniques, guiding you to make an informed decision for your hardwood maintenance needs.
Benefits of Buffing Hardwood Floors
Buffing hardwood floors can bring numerous benefits, both aesthetic and functional. Here are some of the advantages:
- Restores Shine: Over time, hardwood floors can lose their lustre due to foot traffic, dirt, and grime. Buffing helps to bring back the original shine and make the floor look as good as new.
- Smooth Surface: Buffing effectively smoothes out minor scratches and scuffs on the surface. This makes the floor feel smoother underfoot and reduces the risk of splinters.
- Increased Longevity: Regular maintenance, including buffing, can extend the life of your hardwood floor. By removing surface imperfections and restoring the protective finish, you prevent deeper damage and wear.
- Cost-Effective: Buffing is a cost-effective maintenance procedure compared to refinishing or replacing hardwood floors. It’s a minor investment that helps protect the more significant investment in your hardwood flooring.
- Enhances Floor Appearance: A well-maintained hardwood floor can significantly elevate the aesthetics of a room. A buffed floor reflects light better, making spaces appear brighter and more welcoming.
- Removal of Minor Blemishes: Light scratches, watermarks, and other small blemishes can be minimised or removed entirely with buffing.
- Improves Indoor Air Quality: By removing the top layer of dirt and grime, buffing can improve indoor air quality by reducing allergens and dust mites that may settle on the floor.
- Preparation for Refinishing: If you’re considering refinishing your hardwood floor, buffing can serve as a preparatory step. It helps ensure the new finish adheres correctly and evenly.
- Enhanced Protection: After buffing, applying a new protective coat can further shield the hardwood floor from damage, moisture, and stains.
- Easy Maintenance: A freshly buffed floor is easier to clean. Without the accumulation of deep-seated dirt or grime, regular cleaning tasks become more straightforward and effective.
- Value Addition: Well-maintained hardwood floors can add value to your property. Potential homebuyers often find such floors appealing due to their longevity and appearance.
- Environmentally friendly: Buffing is an eco-friendly way to maintain floors. Instead of replacing or extensively refinishing them, which requires more resources and materials, buffing is a sustainable way to extend the life of the hardwood.
Tools and equipment needed:
Buffing hardwood floors is an essential part of floor maintenance, ensuring they maintain their shine, smoothness, and overall appearance. If you’re considering buffing your hardwood floors, you’ll need the right tools and equipment to get the job done effectively. Here’s a list to help you out:
- Floor buffer or floor polisher
- This is the primary tool used for buffing. It’s a machine that has a large, round pad that rotates at high speed to smooth out the floor surface. Choose a buffer appropriate for residential or commercial applications, depending on the size and type of the space.
- Buffing Pads
- These attach to the floor buffer and are the part that actually touches the floor. They come in different levels of abrasiveness, so you’ll want to choose the right pad for your specific floor and desired finish.
- Cleaning Solution or Neutral Cleaner
- Before you buff the floor, you’ll want to make sure it’s thoroughly cleaned. A neutral cleaner is designed for hardwood floors and won’t damage the finish.
- Mop and bucket
- Used for cleaning the floor prior to buffing.
- Microfiber or Terry Cloth Towels
- It is useful for wiping up any excess cleaner and ensuring the floor is dry before buffing.
- Safety Gear
- Including safety goggles, ear protection (buffers can be loud), and a dust mask. You might also consider knee pads if you’ll be kneeling.
- Vacuum or Dust Mop
- You’ll need this for the initial cleaning of the floor to remove dust, dirt, and debris.
- Hardwood Floor Finish or Polish
- After buffing, you might choose to apply a new layer of finish or polish to enhance the shine and provide added protection.
- Painter’s Tape
- It is useful for marking off areas you don’t want to buff or for protecting baseboards and other trim.
- Extension Cord
- Depending on where your outlets are, you might need a heavy-duty extension cord to ensure your buffer can reach all areas of the room.
- Putty Knife and Wood Filler
- If there are any noticeable gouges or deep scratches in the wood, you’ll want to fill them in before buffing.
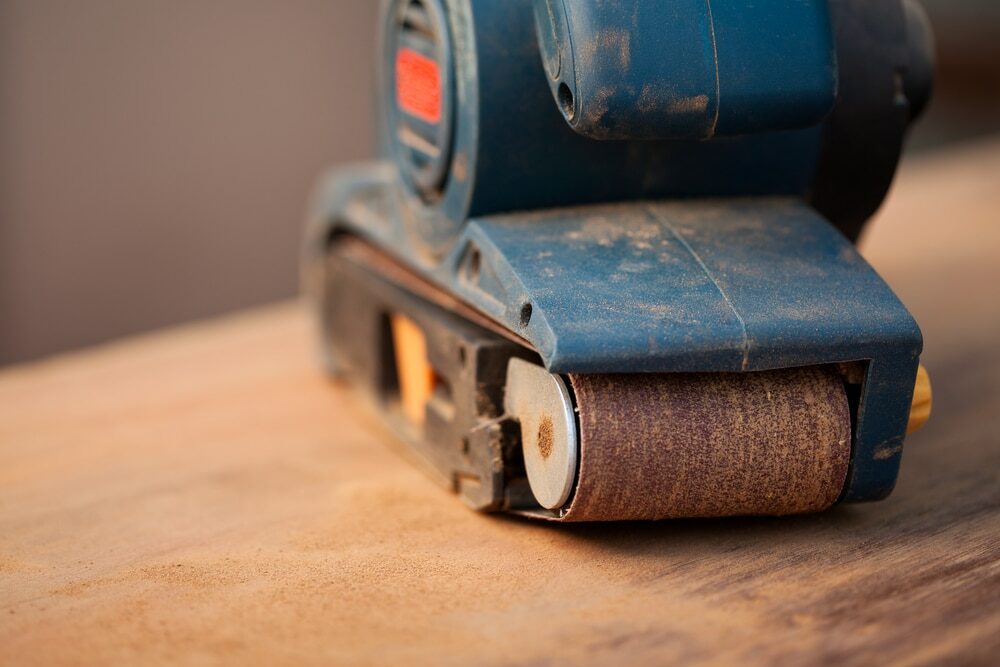
- Fine-grit sandpaper
- This can be used to lightly sand down any rough patches or high spots on the floor before buffing.
Remember, always read the manufacturer’s instructions for any equipment or products you use. This ensures that you’ll achieve the best results and avoid damaging your hardwood floors. If you’re unsure about the process or concerned about potential damage, consider hiring a professional to do the job.

Basic Buffing Technique
Steps:
- Prepare the floor: Begin by thoroughly cleaning the hardwood floor. Vacuum or sweep away all debris and wipe down with a damp cloth.
- Select the right pad: Choose a white or red buffing pad. White pads are milder, while red pads are slightly more aggressive.
- Attach Pad to Buffer: Securely attach the pad to the bottom of the buffer.
- Buff the Floor: Turn on the buffer and move it side to side, overlapping each pass by a few inches. Always keep the buffer moving to avoid damaging the floor.
- Finish Up: Vacuum or wipe away any resulting dust. Optionally, apply a wood floor polish to restore shine.
Screen buffing technique
Steps:
- Prepare the floor: As before, clean the hardwood floor meticulously.
- Choose the screen: Screens come in various grits. A coarser grit removes more surface, while a finer grit polishes
- Attach Screen to Buffer: Place the screen under a buffing pad and attach both to the buffer.
- Screen the Floor: Move the buffer back and forth over the floor, overlapping passes.
- Clean Up: Remove all dust using a vacuum or tack cloth.
Square Buffing Technique
Steps:
- Floor Preparation: Ensure the hardwood floor is clean and free of any debris.
- Pad Selection: Square buffers can use sanding screens or sandpaper. Determine the finish you want to achieve and select the appropriate grade.
- Buffing: With a square buffer, work in straight lines rather than in a side-to-side motion. This offers more precision.
- Finish: Vacuum away dust and apply a finishing coat if desired.
Orbital Buffing Technique for Hardwood Floors
Steps:
- Prepare the surface: Begin with a clean floor.
- Select the Disc: Orbital buffers utilise round discs. Choose the appropriate grit based on your needs.
- Buffing: Turn on the orbital buffer and move it in a systematic pattern, ensuring you cover all areas.
- Final Steps: Clean the floor of any dust and apply a wood floor polish for added shine.
Polish Pad Buffing Technique for Hardwood Floors
Hardwood floors are a timeless choice for homes, offering warmth, beauty, and a sense of luxury. However, over time, they can lose their shine and lustre due to daily wear and tear. Using a polish pad buffing technique can help restore the natural beauty of your hardwood floors, making them look as good as new. Here’s how to do it:
1. Gather Your Supplies:
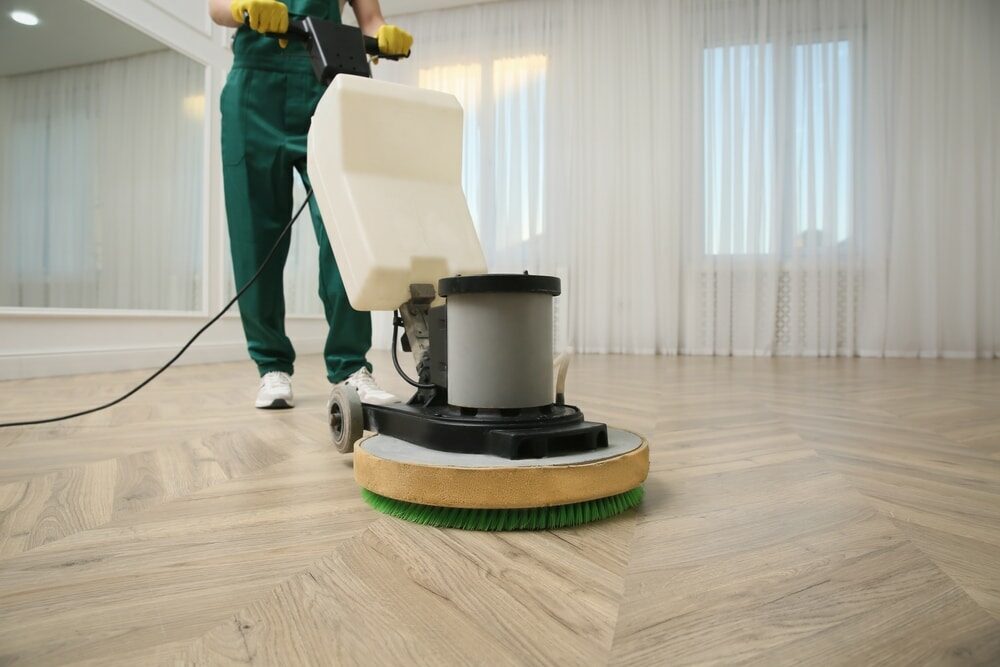
- A buffing machine: Either rent or buy one designed for hardwood floors.
- A polish pad: Make sure it’s suitable for hardwood floors. They are typically white or beige in colour.
- Hardwood floor cleaner: Choose one recommended for your specific type of hardwood.
- Hardwood floor polish or refinisher: Again, select one suitable for your flooring type.
2. Preparing the Floor:
- Vacuum or Sweep: Begin by thoroughly vacuuming or sweeping the floor to remove all dust, dirt, and debris.
- Clean the Floor: Using the hardwood floor cleaner, mop the floor following the manufacturer’s instructions. Make sure the floor is completely dry before moving on to the buffing process.
3. Setting up the Buffing Machine:
- Attach the polish pad to the buffing machine as per the manufacturer’s instructions.
- Make sure the machine is in the ‘off’ position before plugging it in.
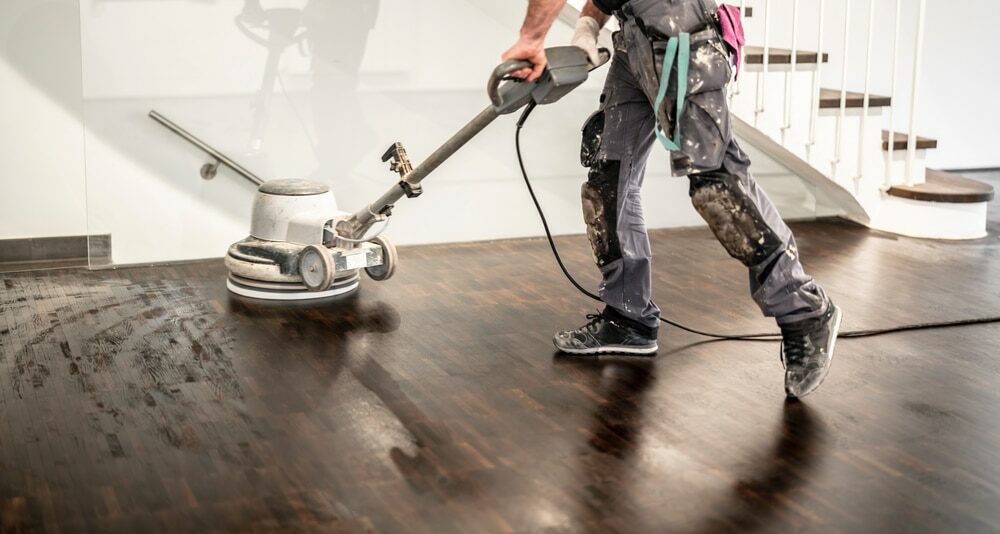
4. Buffing Process:
- Start at one end of the room, working your way towards the other end.
- Turn on the buffing machine and move it back and forth in a smooth, consistent manner, overlapping each pass slightly.
- Keep the machine moving to avoid over-buffing any one spot.
- As you work, you’ll notice a shine starting to appear on the floor. This is the result of the buffing pad smoothing out the surface of the hardwood.
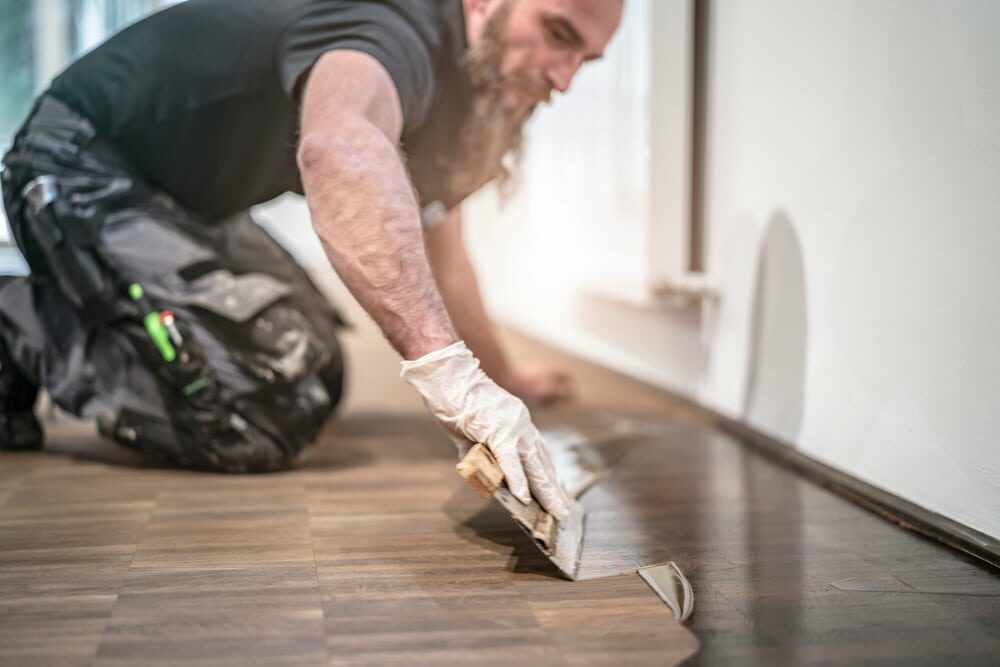
5. Applying the polish or refinisher:
- Once the entire floor has been buffed, it’s time to apply the polish or refinisher.
- Following the manufacturer’s instructions, apply a small amount of polish to the floor. It’s better to start with less and add more if needed.
- Using the buffing machine and a clean polish pad, spread the polish over the floor, working in sections.
- Allow the polish to dry according to the manufacturer’s recommendations. This can range from a few hours to overnight, depending on the product.
6. Final touches:
- Once the polish is completely dry, use a microfiber cloth to gently wipe away any excess residue.
- Avoid walking on the floor or placing furniture on it until the polish has fully set.
Tips and Tricks for a Perfect Buff
Buffing, whether it’s for your floors, car, or any other surface, can provide a refreshed and gleaming finish when done correctly. However, it does require some know-how to ensure the job is done properly. Here are some tips and tricks for a perfect buff:
1. Select the right equipment:
- Pads: Ensure you select the appropriate buffing pad for the task. There are various pads, from wool to foam, and each has its own purpose.
- Buffing Machine: Invest in a good-quality machine. For larger tasks like floors, a rotating floor buffer is ideal, while for cars and smaller tasks, a handheld orbital buffer works well.
2. Clean the surface:
- Before you begin, always ensure the surface is thoroughly cleaned to avoid scratches or imperfections caused by dirt or debris. This prep step is crucial to achieving a perfect finish.
3. Choose the right product:
- Depending on the surface, choose a product that is meant for that material, be it car paint, hardwood, or marble. Using the wrong product can damage the surface or give unsatisfactory results.
4. Test a Small Area:
- Before you buff the entire surface, test a small, inconspicuous area first. This helps ensure the product and technique you’re using won’t damage the surface.
5. Buff in a systematic manner:
- Move in a systematic pattern to avoid missing spots. Overlap each pass slightly to ensure full coverage.
6. Use light pressure:
- Let the buffer do the work. Applying too much pressure can damage the surface or lead to uneven results. The weight of the machine is usually enough.
7. Keep the pad flat.
- When buffing, always aim to keep the pad flat against the surface. Tilting or pressing one edge can cause swirls or uneven buffing.
8. Regularly Check Your Pad:
- Check the pad for accumulated dirt or product. A dirty pad can scratch the surface. If it’s dirty, either clean it or replace it with a new one.
9. Don’t rush:
- Take your time, especially if you’re new to buffing. Rushing can lead to missed spots or uneven finishes.
10. Protect Your Work:
- Once you’re done buffing a surface, especially cars or floors, consider applying a protective layer like wax or sealant. This will prolong the shine and offer protection against dirt, scratches, and UV rays.
11. Safety First:
- Always wear appropriate protective gear. This can include safety glasses, gloves, and a mask, especially if you’re working with chemicals or in a dusty environment.
- Ensure good ventilation if you’re working with products that give off fumes.
12. Regular Maintenance:
- Maintaining the surface regularly after buffing ensures it stays in good condition for longer. For instance, sweeping and mopping floors or washing and waxing cars can help maintain the shine and prevent damage.
Conclusion:
Buffing hardwood floors is an essential practice that can revitalise the appearance and prolong the lifespan of these elegant and classic installations. As we’ve explored, there isn’t a one-size-fits-all approach. From the traditional dry buffing method, which offers quick and immediate results by smoothing out minor scratches and bringing out the wood’s natural shine, to the more intensive wet buffing technique, which dives deeper to refresh the finish and provide a layer of protection, each technique has its own unique benefits. Additionally, the increasingly popular screen buffing acts as a bridge between simple buffing and full-scale refinishing, allowing homeowners to address deeper imperfections without committing to the labour-intensive process of completely refinishing their floors.
The choice of buffing technique largely depends on the current state of the hardwood floor and the desired end result. For floors with light wear, a simple dry buff may suffice, whereas older floors with more profound scuffs and scratches might benefit more from screen buffing or even wet buffing. Importantly, regardless of the technique chosen, preparation remains a constant: a thoroughly cleaned floor ensures that the buffing process is effective and that the end result is a floor that looks rejuvenated and feels smooth underfoot.
In essence, understanding the nuances of each buffing technique empowers homeowners to make informed decisions about maintaining their hardwood floors. With proper care, regular maintenance, and the right buffing strategy, hardwood floors can retain their beauty and serve as a testament to timeless elegance for generations to come.

Sanding
We provide virtually dust-free sanding with our continuous belt machinery with mobile extraction units, giving you a safer environment for your family.
Oiling
This organic finish not only adds beauty to your home but also has exceptional water-repellent characteristics, making it easier to clean and maintain.
Waxing
This natural floor finish offers the softest and most mellow appearance – and leaves your floor able to breath.
Buffing
Using soft buffing machines (and hand-polishing where required) will bring a wonderful sheen to your newly-finished floor.
Repairs
We offer a full assessment of your wooden floors to determine what repairs are needed to provide the perfect working surface for the later stages of sanding, staining and sealing.
Restoration
We offer a comprehensive restoration process designed to address floors that are improperly fitted or damaged over time through wear and tear.
Request a fixed price quote for your wood floor restoration now
Simply enter your postcode below to get started.
Services
Wood Floor Sanding Wood Floor Restoration Wood Floor Scratch Repair Squeaky Wood Floor Repair Parquet Floor Sanding Parquet Floor Restoration Commercial Floor Sanding Church Floor Sanding Community Centre Floor Sanding School Floor Sanding Gap Filling Gap Filling with ResinCopyright © Mr Sander®
Privacy & Cookies Terms & Conditions Complaints Procedure Cancellation Rights Sitemap

Get An Instant Price Estimate Before You Go…
Simply enter the rooms you need sanded and we’ll provide you with a price estimate instantly! Try our price calculator now.
Get a Price Estimate NowLocal Floor Sanding Experts
Over 500 5-Star Reviews
Safe, Dust Free Sanding
Operating Since 1994