London:
Nationwide:
25,000+
Floors Restored
27 Years Experience
Wood Flooring Association Certified
DIY Wood Floor Sanding Guide | Restore Your Floors to Their Former Glory
Posted on May 21, 2023
Blog
Mastering the DIY Process of Sanding Your Wood Floor
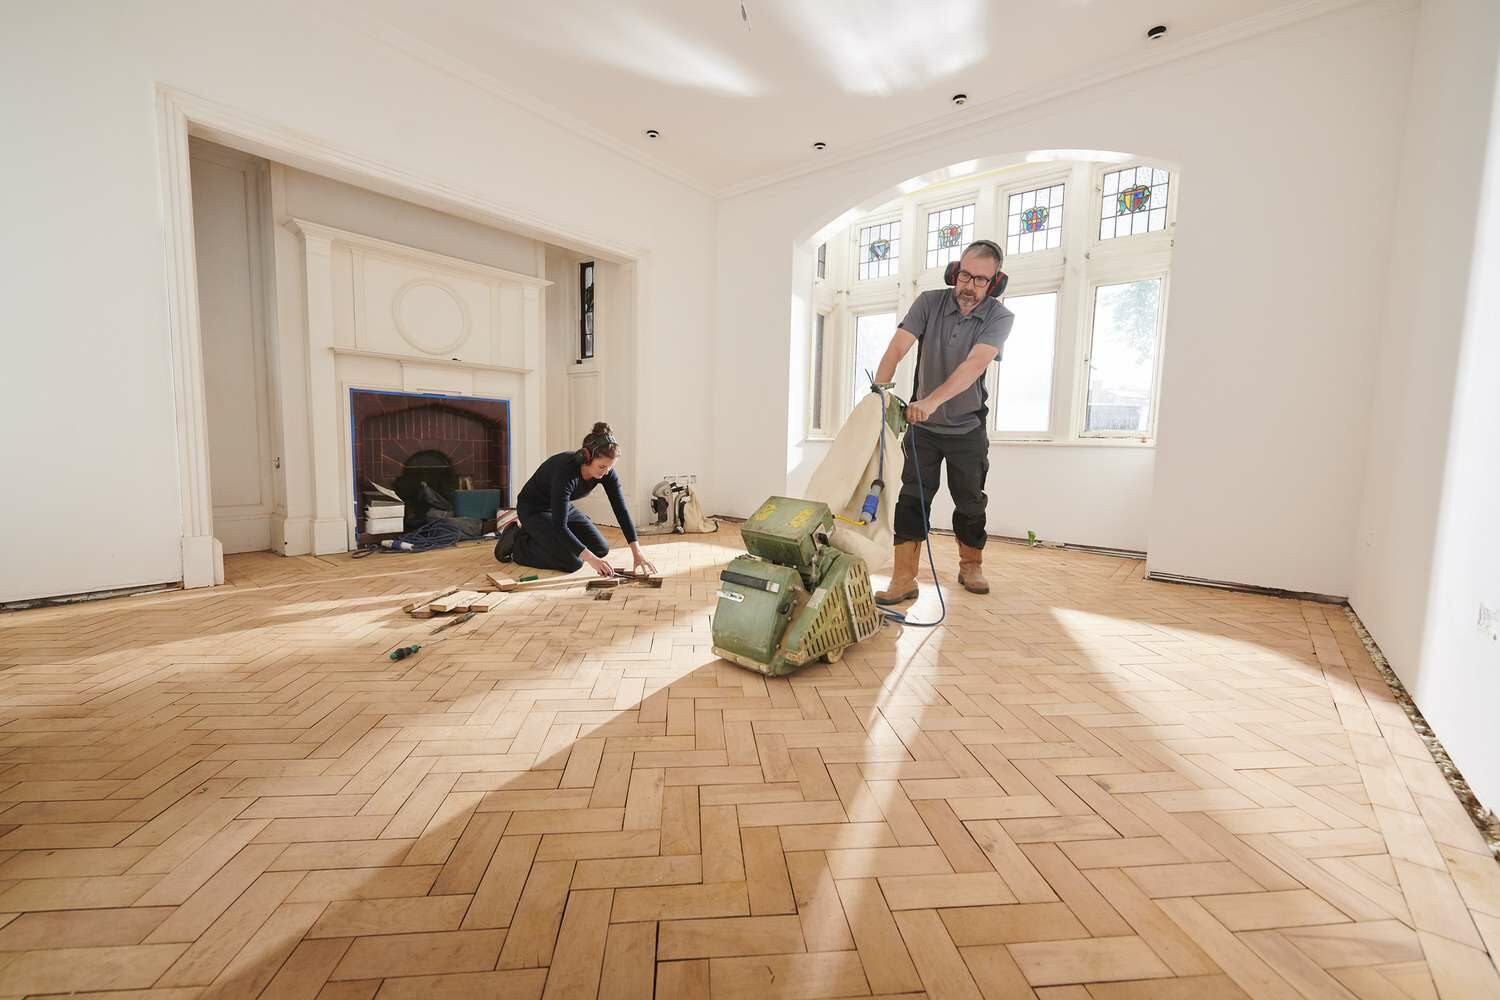
Beautiful wood floors are the heart of any home, lending warmth, character, and elegance. However, over time, wear and tear can dull their shine. Sanding is an essential part of restoring your wood floors to their former glory. This comprehensive guide will lead you through the process of sanding your wood floors, equipping you with the knowledge and confidence to tackle this project.
Understanding wood floor sanding
Wood floor sanding is a process that involves removing the top surface of a wood floor using abrasive materials. It aims to eliminate scratches, dents, and discolorations that accumulate over time and prepare the floor for refinishing. The process can be a little intimidating, but with proper understanding and preparation, you can achieve excellent results on your own.
Preparing for sanding
Before you start, you need to ensure your workspace is ready. Remove all furniture, rugs, and other movable objects from the room. Inspect the floor for any protruding nails and set them below the surface level, as they can damage your sanding equipment. Also, it’s advisable to wear appropriate safety gear, such as dust masks, safety glasses, and ear protection, to safeguard yourself during the sanding process.

Essential tools and materials
Here are the primary tools and materials you will need:
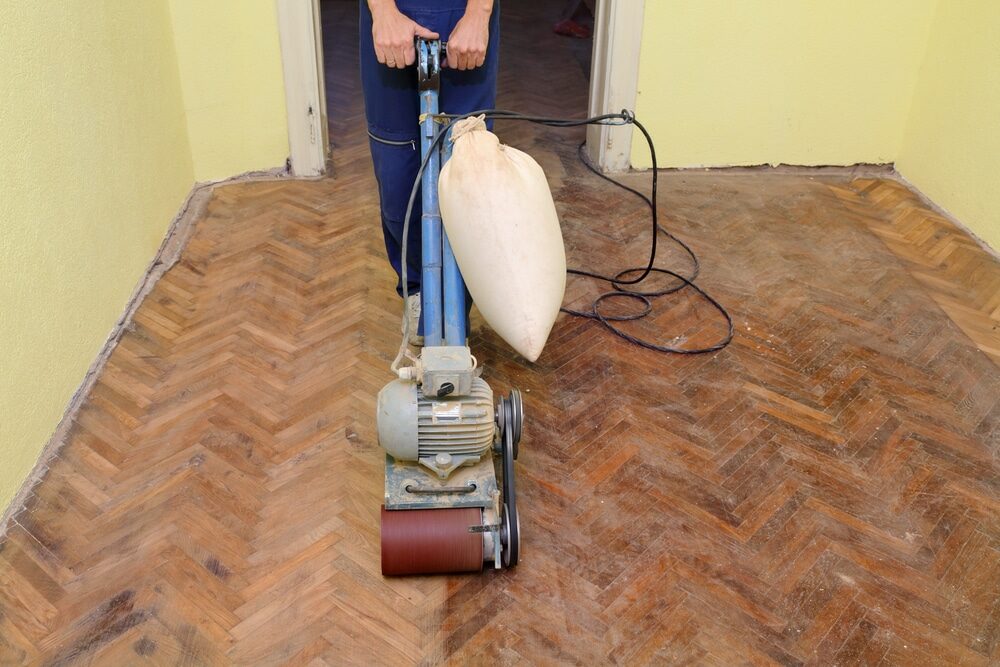
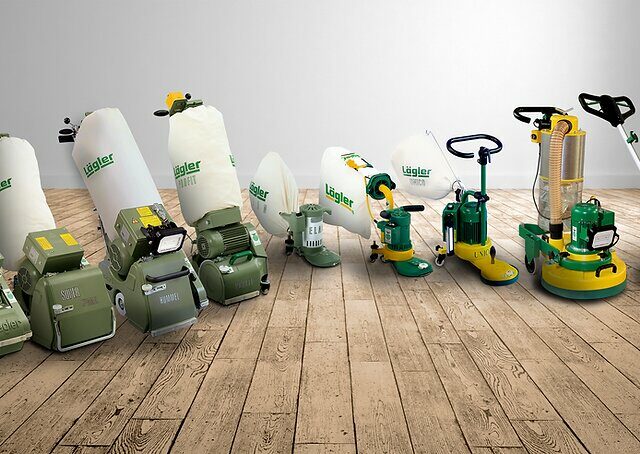
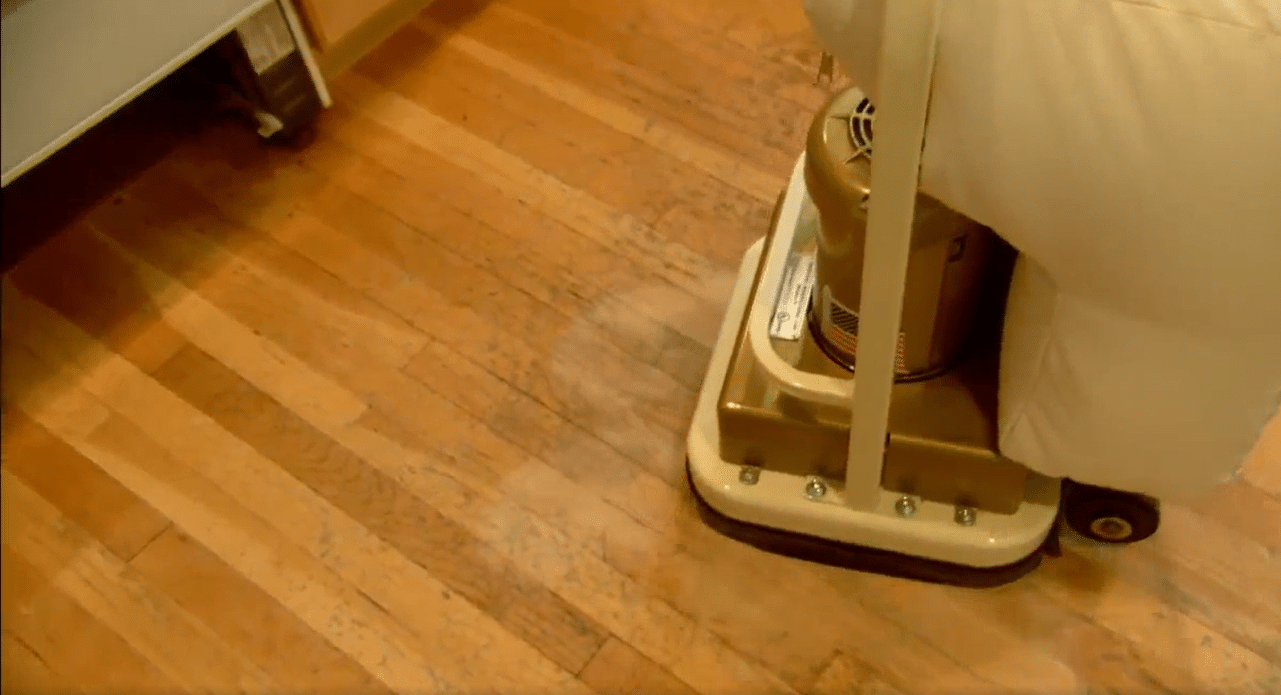
- Drum or orbital sander: These machines can be rented from your local home improvement store. The drum sander is powerful and excellent for sanding large areas, while the orbital sander is less aggressive and good for beginners.
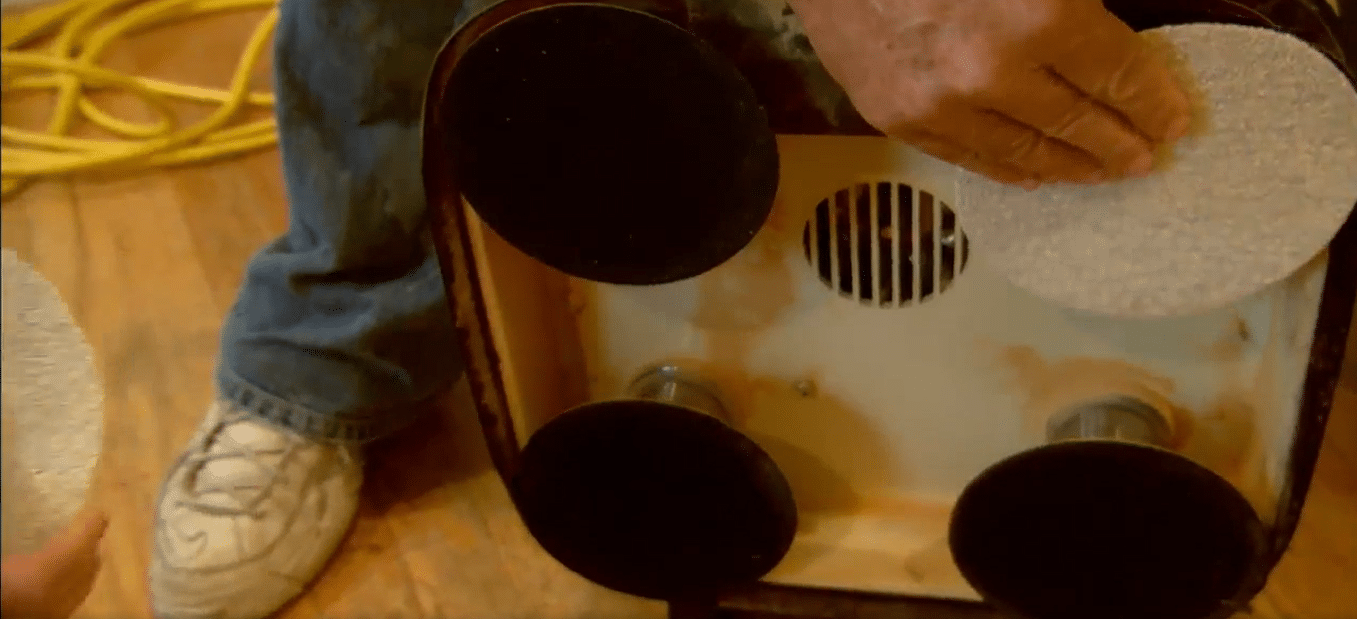
- Hand sander or sanding block: for corners and edges where the large sanders can’t reach.
- Sandpaper: You’ll need various grits, ranging from coarse (30–40 grit) to medium (50–60 grit) to fine (80–100 grit). The coarse grit removes the old finish and major blemishes; the medium grit smooths the surface; and the fine grit gives a final smooth finish.
- Vacuum cleaner: for cleaning up dust after each sanding session.
The sanding process
Now, let’s get into the nitty-gritty—the sanding process itself. Remember, patience and consistency are key to achieving a smooth, even finish.
Step 1: Coarse Sanding
Start with the drum sander and the coarse-grit sandpaper. Beginning in one corner of the room, sand along the grain of the wood, not against it, to avoid scratches. Overlap each pass slightly to ensure an even sanding.
Step 2: Medium Sanding
Next, replace the coarse-grit sandpaper with medium-grit sandpaper. Repeat the process to further reduce scratches and even out the floor.
Step 3: Fine Sanding
Lastly, switch to fine-grit sandpaper for the final pass. This will smooth your floor down to a sleek finish, preparing it for staining or sealing.
Step 4: Edges and Corners
Use the hand sander or sanding block (with corresponding grits) to sand the corners and edges of the room where the drum or orbital sander couldn’t reach.
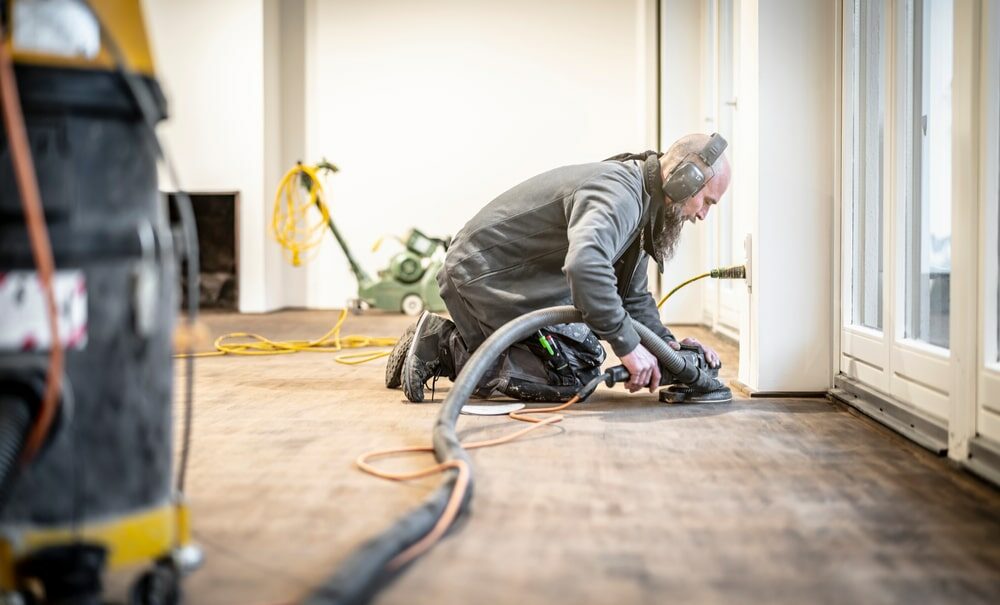
Step 5: Cleanup
Vacuum or sweep up the dust created during sanding. Then, wipe down the floor with a damp cloth to remove any remaining dust.
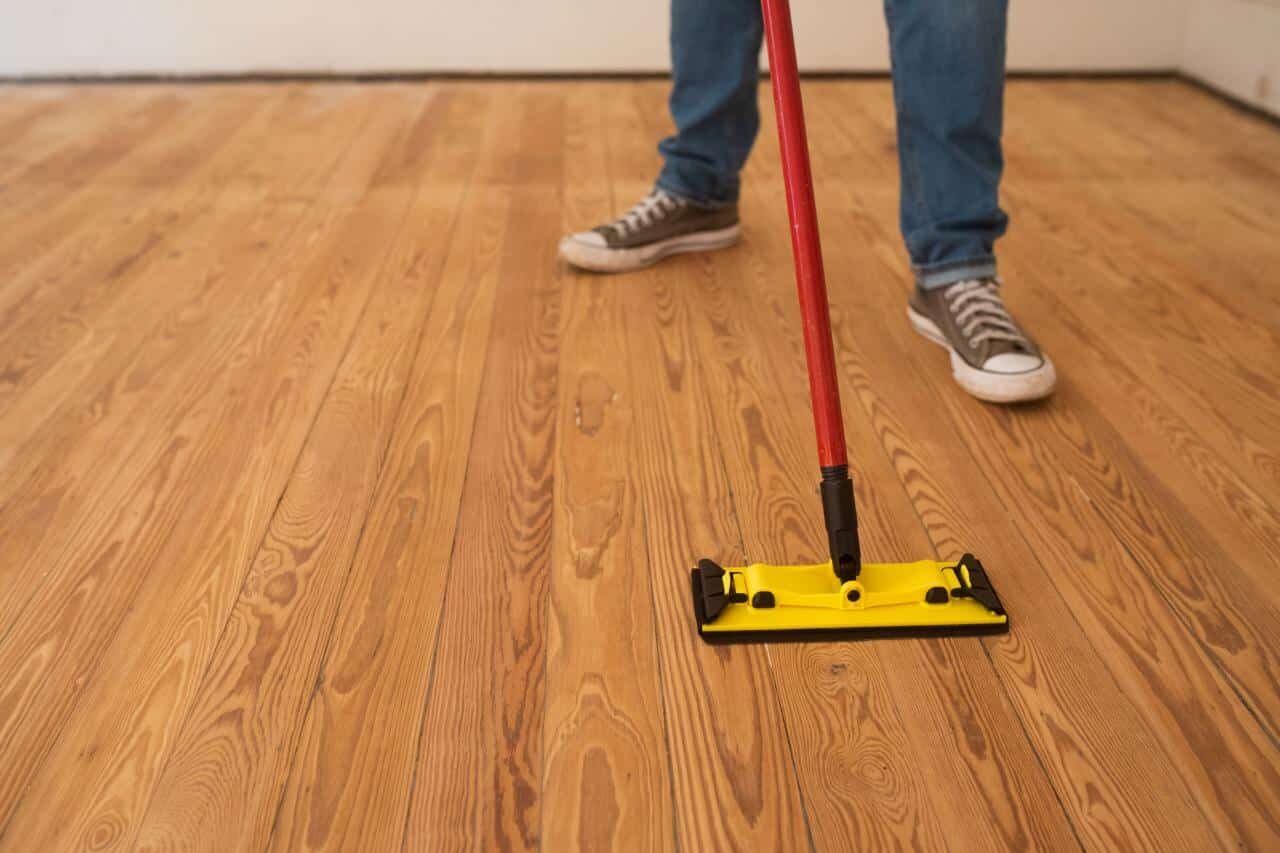
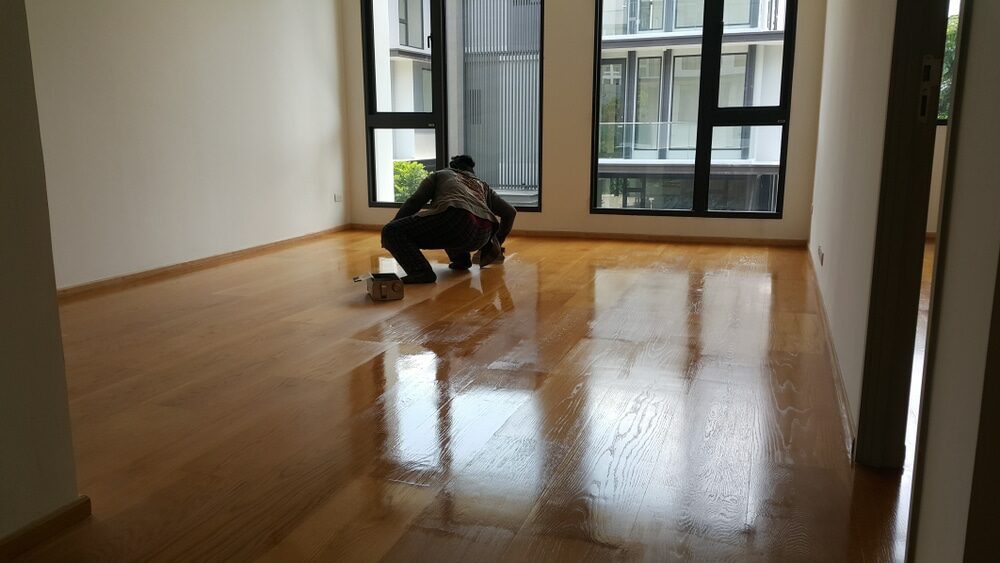
Post-Sanding: Staining and Sealing
Once your floor is sanded and dust-free, you can apply a stain if you want to change the color of your wood. After the stain has dried, finish the process by applying a sealant to protect your floor and give it a shiny finish.
Points to remember
- Always keep the sander moving to avoid gouging the wood.
- Always sand along the grain of the wood, not against it.
- Ensure your sandpaper is correctly fitted to your machine. Loose sandpaper can lead to uneven sanding.
- Don’t press down on the sander while sanding. The weight of the machine provides enough downward pressure.
- Always start with a coarser grit and work your way to a finer one. This ensures you gradually smooth your floor, removing imperfections along the way.
Conclusion
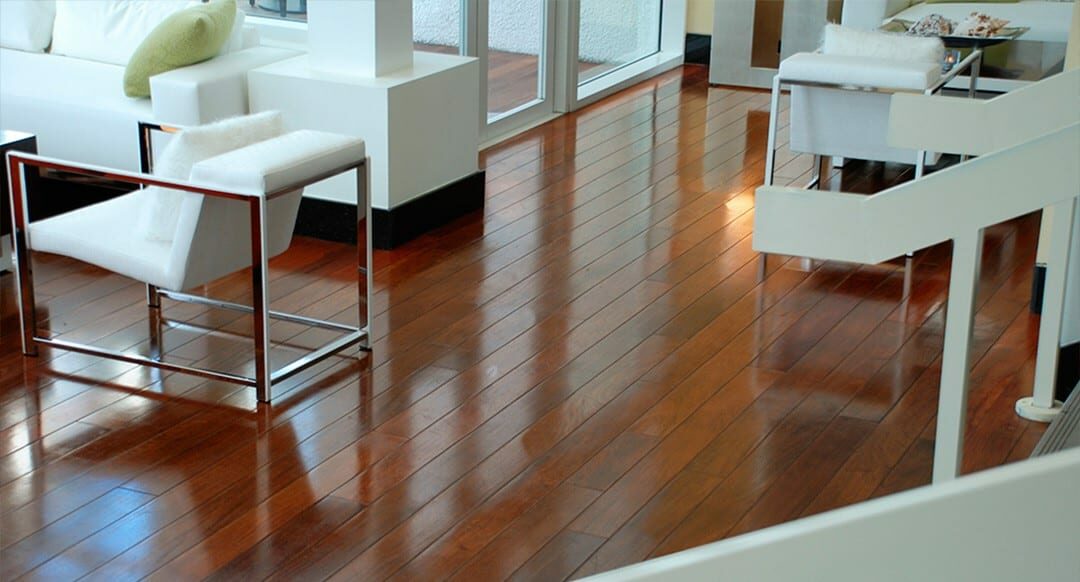
Sanding your wood floor can seem like a daunting task, but it’s a rewarding endeavor that can significantly enhance the aesthetics of your home. It’s an affordable alternative to professional floor restoration, and it gives you a sense of accomplishment.
A well-executed sanding job can breathe new life into your floors, transforming them from worn and aged to vibrant and beautiful. And the best part? It’s a project you can undertake yourself, armed with nothing more than a sander, some sandpaper, a dash of patience, and a sprinkle of determination.
Remember, perfection comes with practice. Your first attempt might not turn out as flawless as you’d like, but don’t let that deter you. As with any DIY project, the experience is part of the journey. You’ll learn and improve, and soon enough, you’ll be sanding like a pro.
In the end, the satisfaction of seeing your rejuvenated floors shine will make all the hard work worthwhile. So, roll up your sleeves, and let’s bring those wood floors back to life!
Keep in mind that every wood floor is unique, and this guide serves as a general roadmap. It’s essential to understand your floor’s specific needs and adjust accordingly. Don’t hesitate to consult with professionals if you’re unsure about any aspect of the sanding process. Here’s to the charm and elegance of well-maintained wood floors!
Some Useful Links:
- Stairs Sanding & Refinishing
- Floor Sanding Services
- School Floor Sanding
- Wood Floor Restorations
- Wood Floor Repairs
- Wood Floor Polishing
More from our Blog:
Parquet Wood Floor Restoration Guide | Breathe New Life into Your Floors
The Ultimate Guide to Refreshing Wood Flooring in Your London Home
DIY Guide: Filling Gaps in Wood Floors to Restore Their Beauty
Engineered Wood Floor Installation in London Homes at Mr Sander®
How to Install a Solid Bamboo Floor: A Step-by-Step Guide


Sanding
We provide virtually dust-free sanding with our continuous belt machinery with mobile extraction units, giving you a safer environment for your family.
Oiling
This organic finish not only adds beauty to your home but also has exceptional water-repellent characteristics, making it easier to clean and maintain.
Waxing
This natural floor finish offers the softest and most mellow appearance – and leaves your floor able to breath.
Buffing
Using soft buffing machines (and hand-polishing where required) will bring a wonderful sheen to your newly-finished floor.
Repairs
We offer a full assessment of your wooden floors to determine what repairs are needed to provide the perfect working surface for the later stages of sanding, staining and sealing.
Restoration
We offer a comprehensive restoration process designed to address floors that are improperly fitted or damaged over time through wear and tear.
Request a fixed price quote for your wood floor restoration now
Simply enter your postcode below to get started.
Services
Wood Floor Sanding Wood Floor Restoration Wood Floor Scratch Repair Squeaky Wood Floor Repair Parquet Floor Sanding Parquet Floor Restoration Commercial Floor Sanding Church Floor Sanding Community Centre Floor Sanding School Floor Sanding Gap Filling Gap Filling with ResinCopyright © Mr Sander®
Privacy & Cookies Terms & Conditions Complaints Procedure Cancellation Rights Sitemap

Get An Instant Price Estimate Before You Go…
Simply enter the rooms you need sanded and we’ll provide you with a price estimate instantly! Try our price calculator now.
Get a Price Estimate NowLocal Floor Sanding Experts
Over 500 5-Star Reviews
Safe, Dust Free Sanding
Operating Since 1994