London:
Nationwide:


25,000+
Floors Restored

27 Years Experience

Wood Flooring Association Certified
How to Install a Solid Bamboo Floor: A Step-by-Step Guide
Posted on May 20, 2023
Articles
Comprehensive DIY Guide: Installing a Solid Bamboo Floor
Bamboo has gained considerable popularity as a flooring material due to its unique aesthetics, high durability, and sustainable nature. This thorough guide will take you through every step of the installation process if you want to add a touch of natural beauty to your home with a solid bamboo floor.
Before we begin, it’s essential to understand the advantages of bamboo flooring. Bamboo, a type of fast-growing grass, is a renewable resource that takes about five years to mature, unlike hardwood trees which can take several decades. Not only is bamboo a sustainable option, but it’s also surprisingly strong and durable, often comparable to traditional hardwoods in terms of resilience. Moreover, solid bamboo flooring adds a warm, inviting, and timeless elegance to any room.
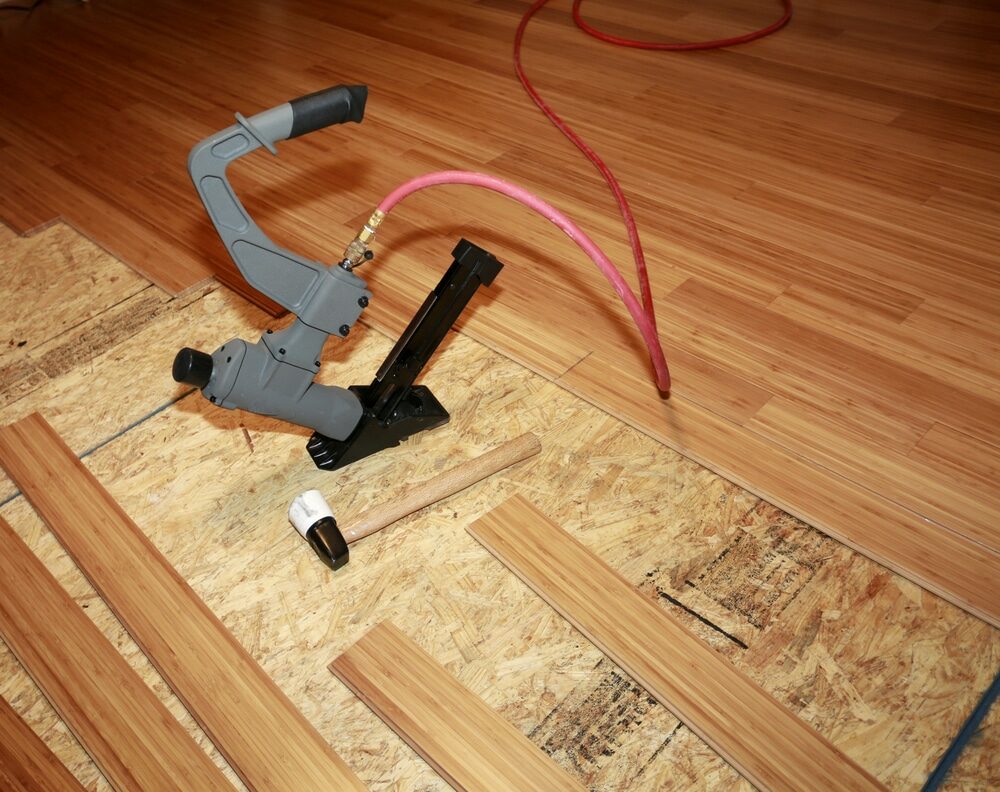
Understanding solid bamboo flooring
Solid bamboo flooring, unlike engineered variants, is made entirely from bamboo. This means it’s durability and visual characteristics run through the plank, which can be sanded and refinished multiple times, much like hardwood. There are generally three types of solid bamboo flooring: vertical, horizontal, and strand-woven. Each offers a distinct look, with the most complex and durable strand-woven.
Materials and tools you’ll need
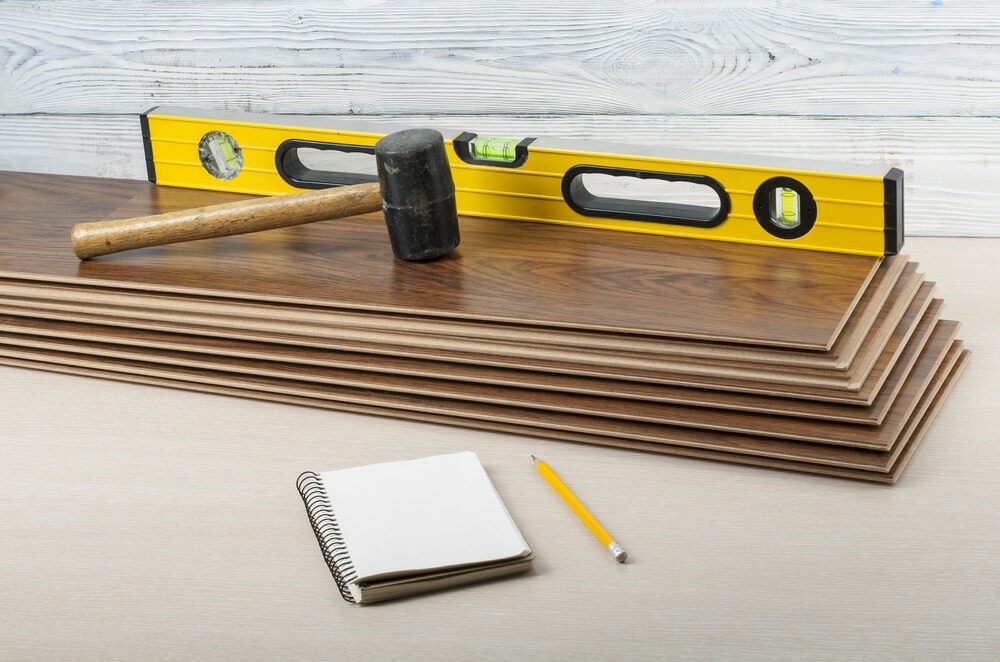
Before you start, ensure you have the right tools and materials. This includes:
- Solid Bamboo Flooring Planks
- Moisture Barrier or Underlayment
- Power Saw
- Rubber Mallet
- Pry Bar
- Flooring Spacers
- Tapping Block
- Tape Measure
- Chalk Line
- Nail Gun or Flooring Stapler
- Safety gear (goggles, gloves, and knee pads)
Pre-installation: Preparing Your Space
The first step in installing your bamboo flooring is to prepare the installation area and the flooring material. Bamboo is a natural material that can expand or contract based on temperature and humidity levels. Thus, it’s essential to let the flooring planks acclimate to the room where they will be installed for at least 72 hours before installation. They should be stored flat in their packaging, off the floor, and in a dry area.
Additionally, ensure your subfloor is clean, level, and dry. Any irregularities might cause problems during installation or lead to creaking floors. If installing over a concrete subfloor, use a moisture barrier to protect the bamboo from moisture seeping up from the concrete.
Installation Step-by-Step
1. Layout planning
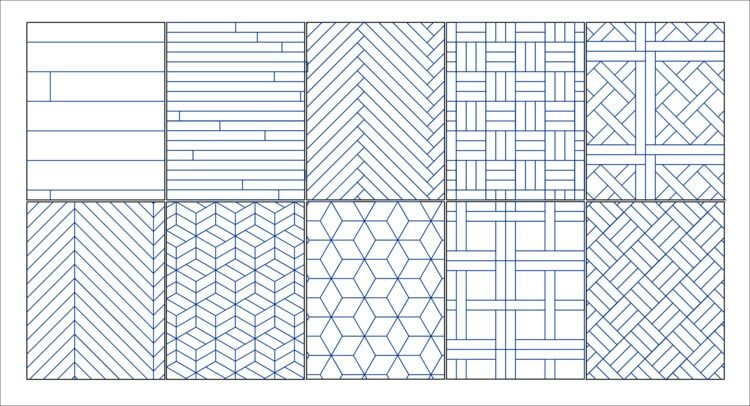
Begin by determining the direction in which you want your flooring to run. Traditionally, bamboo planks are installed parallel to the longest wall. Measure the room and plan the layout so you don’t end up with less than 2-inch-wide planks along the opposite wall.
2. Mark Your Starting Line
Mark a starting line for the first row of planks using your tape measure and chalk line. This line should be the width of a plank plus about 12 inches away from the wall, which allows for expansion.
3. Lay the First Row
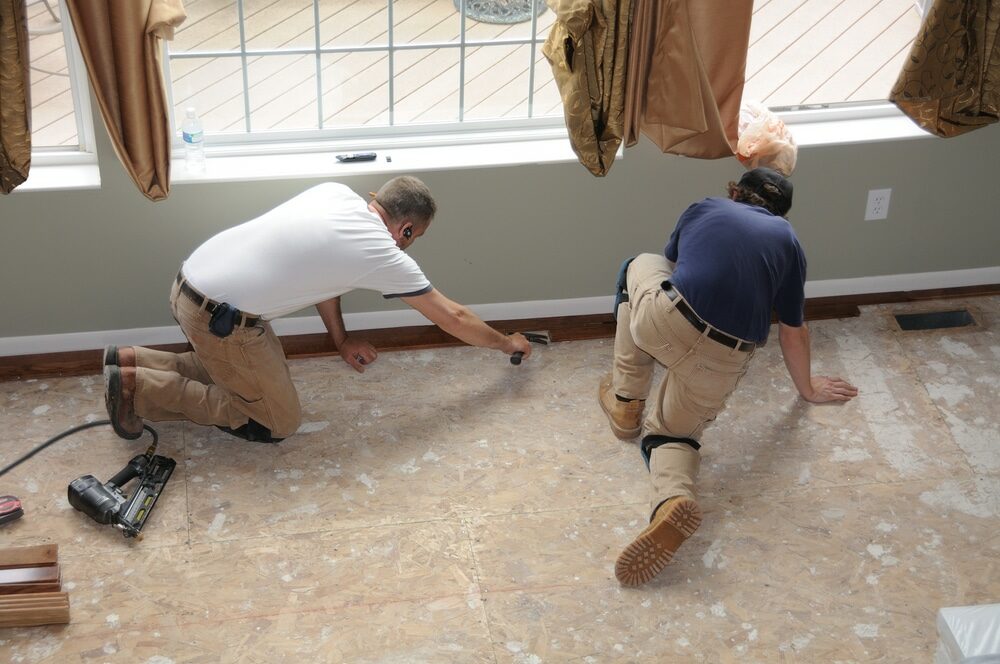
Starting from the right side of the room lay the first plank with its grooved side facing the wall. Insert spacers between the plank and wall to maintain the 12-inch expansion gap. Add the next plank’s tongue to the first groove, cutting the final piece to fit while maintaining the expansion gap. Remember to stagger end joints across rows to avoid a uniform pattern.
4. Continue the installation.
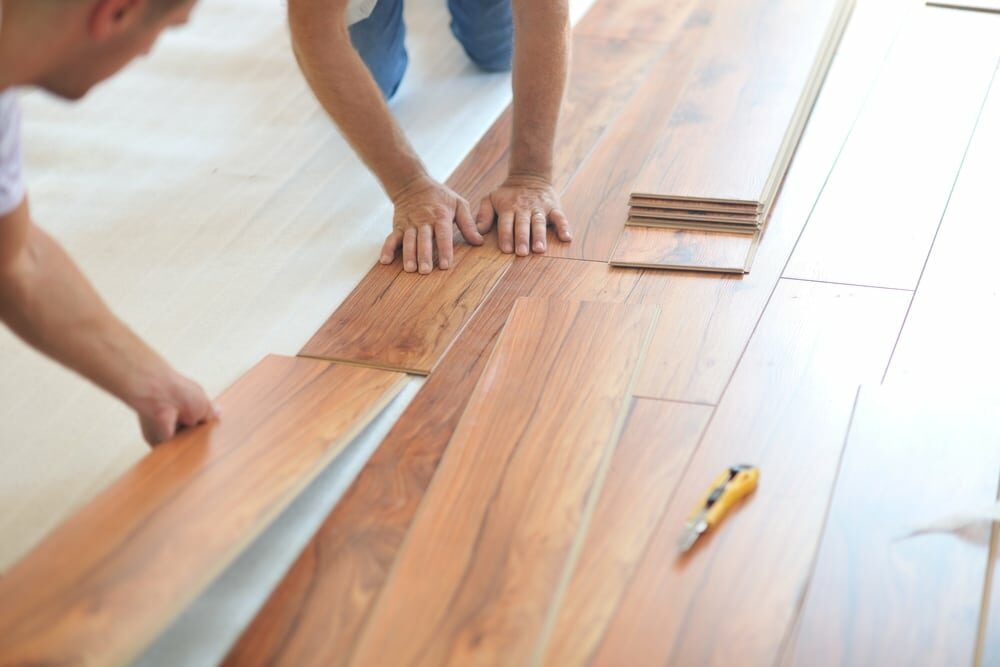
Use a tapping block and mallet for the second row and onward to fit the planks snugly together. This process continues until you reach the final row.
5. Cut and install the final row.
The last row of planks may need to be cut lengthwise to fit. Remember to consider the 12-inch expansion gap when measuring and cutting these planks. Once cut, use the pry bar to carefully wedge the final row into place, ensuring a tight fit with the previous row.
Post-Installation: Finishing Touches
After all the bamboo planks have been installed, there are a few more steps to complete the project.
1. Install transition strips and baseboards.
Transition strips are used where your bamboo floor meets other types of flooring or at doorways. This provides a smooth transition between different surfaces.
Next, reinstall the baseboards. These cover the expansion gap around the room’s perimeter but also give the room a finished look.
2. Clean the floor.
Use a soft mop to clean the floor gently. Be sure to use a hardwood floor cleaner that’s safe for bamboo. Avoid using excess water or harsh chemicals, which can damage the floor.
3. Let the floor settle.
Let the floor settle for at least 24 hours before moving heavy furniture onto it. This gives the floor time to adapt to room condition changes.
Maintaining your solid bamboo floor
Once installed, bamboo floors are pretty easy to maintain. Regular sweeping or vacuuming can remove dirt and grit that might scratch the surface. Spills should be cleaned immediately to prevent water from seeping into the seams.
To retain its luster and prolong its life, your bamboo floor can be treated with special bamboo floor cleaners and occasionally polished. Always follow the manufacturer’s guidelines for maintenance and cleaning.
Conclusion
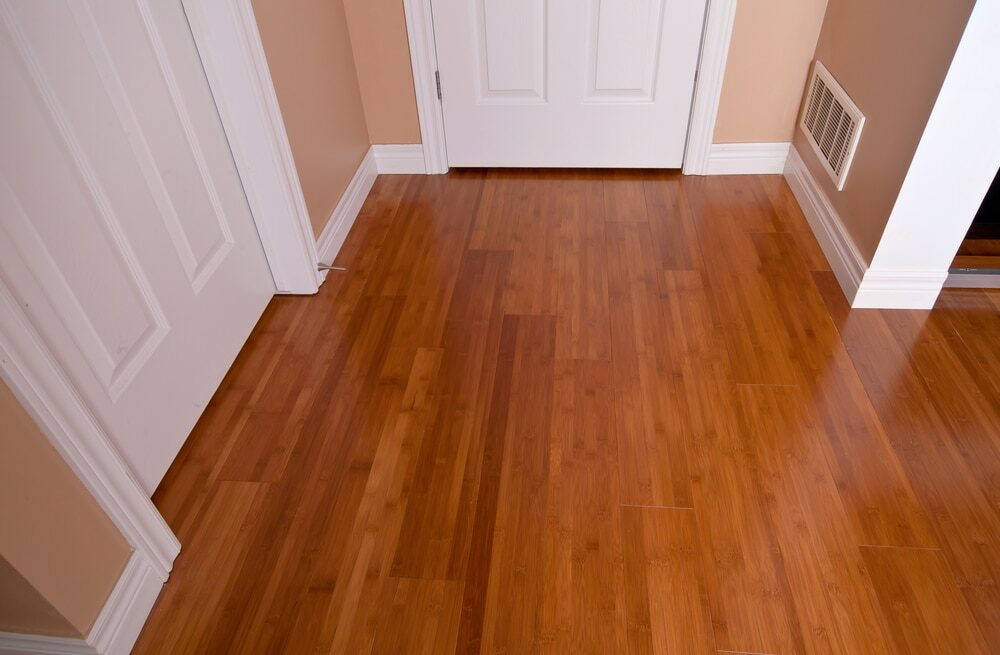
Installing a solid bamboo floor can be a rewarding DIY project that significantly enhances your home’s aesthetic and value. With the proper preparation, tools, and attention to detail, you can create a beautiful and durable bamboo floor that you’ll enjoy for many years.
Remember, each installation can present unique challenges. If you encounter a situation you’re not prepared to handle, don’t hesitate to call a professional. Sometimes, a little help can go a long way toward ensuring the success of your project and the longevity of your bamboo floor.
With its unique blend of style, comfort, durability, and sustainability, bamboo flooring is an excellent choice for any homeowner. It’s a testament to your commitment to sustainability without compromising style or quality. Happy flooring!
Some Useful Links:
- Stairs Sanding & Refinishing
- Floor Sanding Services
- School Floor Sanding
- Wood Floor Restorations
- Wood Floor Repairs
- Wood Floor Polishing
More from our Blog:
Wood Floor Sanding Machines: Your Comprehensive Guide for Restoration Success Revamp Your Home with Professional Floor Sanding Services in London DIY Wood Floor Installation: Step-by-Step Guide for Homeowners Wood Floors | How to Maintain Your Wooden Flooring


Sanding
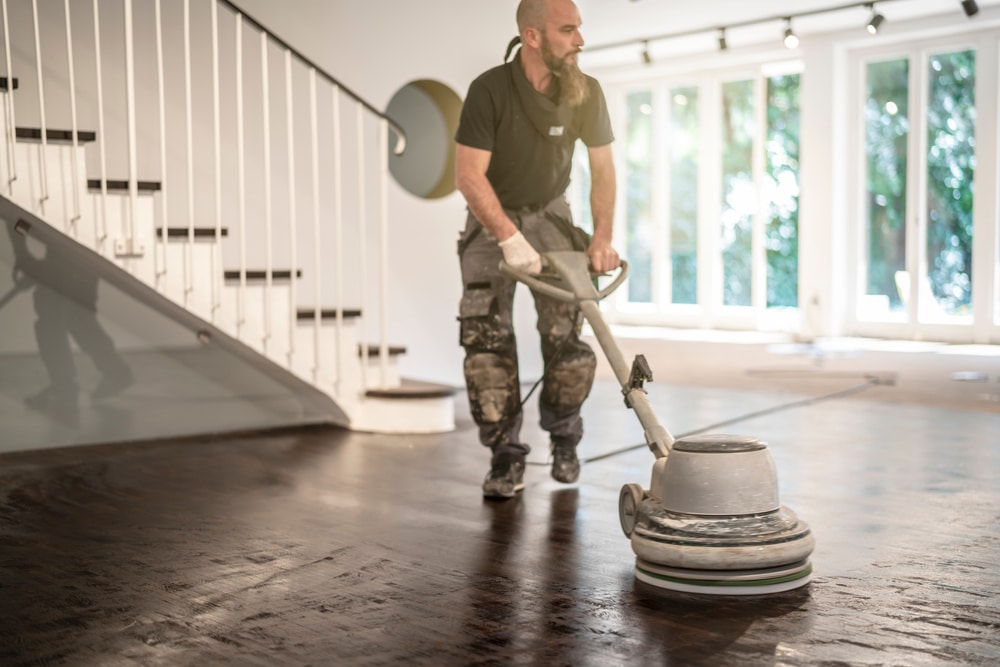
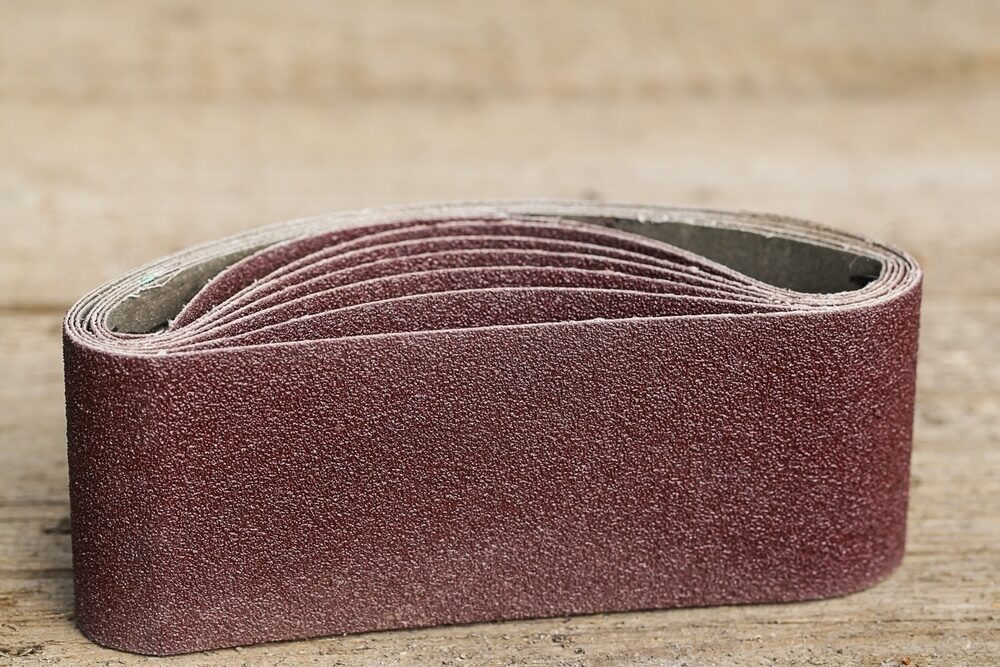
We provide virtually dust-free sanding with our continuous belt machinery with mobile extraction units, giving you a safer environment for your family.

Oiling
This organic finish not only adds beauty to your home but also has exceptional water-repellent characteristics, making it easier to clean and maintain.

Waxing
This natural floor finish offers the softest and most mellow appearance – and leaves your floor able to breath.

Buffing
Using soft buffing machines (and hand-polishing where required) will bring a wonderful sheen to your newly-finished floor.

Repairs
We offer a full assessment of your wooden floors to determine what repairs are needed to provide the perfect working surface for the later stages of sanding, staining and sealing.

Restoration
We offer a comprehensive restoration process designed to address floors that are improperly fitted or damaged over time through wear and tear.
Request a fixed price quote for your wood floor restoration now
Simply enter your postcode below to get started.






Services
Wood Floor Sanding Wood Floor Restoration Wood Floor Scratch Repair Squeaky Wood Floor Repair Parquet Floor Sanding Parquet Floor Restoration Commercial Floor Sanding Church Floor Sanding Community Centre Floor Sanding School Floor Sanding Gap Filling Gap Filling with ResinCopyright © Mr Sander®
Privacy & Cookies Terms & Conditions Complaints Procedure Cancellation Rights Sitemap

Get An Instant Price Estimate Before You Go…
Simply enter the rooms you need sanded and we’ll provide you with a price estimate instantly! Try our price calculator now.
Get a Price Estimate NowLocal Floor Sanding Experts
Over 500 5-Star Reviews
Safe, Dust Free Sanding
Operating Since 1994