London:
Nationwide:
25,000+
Floors Restored
27 Years Experience
Wood Flooring Association Certified
Master DIY Floorboard Sanding: A Step-by-Step Guide | Revive Your Wooden Floors
Posted on May 8, 2023
Blog
The Comprehensive DIY Guide: How to Sand Your Floorboards
As the saying goes, “A journey of a thousand miles begins with a single step.” The same is true when it comes to floorboard sanding. This comprehensive guide will take you through the process of sanding your floorboards, providing step-by-step instructions and tips to achieve the best results. While the task may seem daunting, with patience, the right tools, and this guide, you’ll be on your way to bringing your worn-out wooden floors back to life.
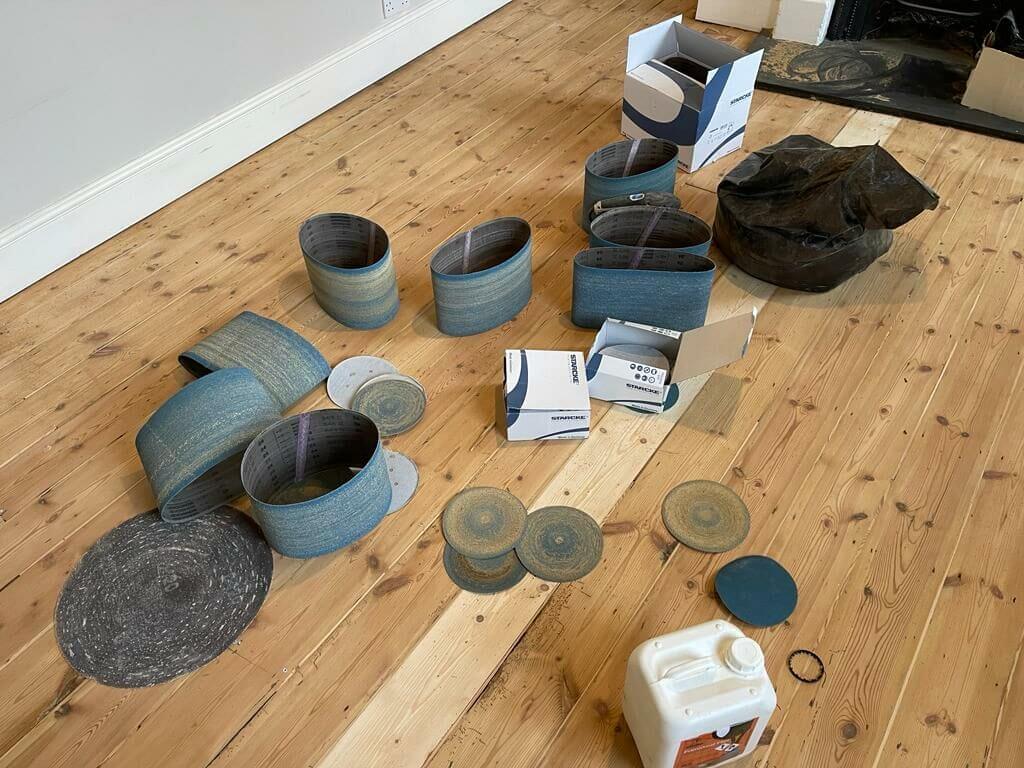
1. Gather your tools and materials.
To sand your floorboards, you’ll need specific tools and materials, including:- A drum or orbital floor sander (rentable from home improvement stores)
- Hand sander or sanding block
- Sandpaper in different grits (24, 40, 60, 80, and 100)
- Safety goggles, a dust mask, and ear protection
- Vacuum cleaner
- Mop and bucket
- Plastic sheeting
- Masking tape
- Wood filler (if necessary)


2. Prepare Your Space
Preparing your space adequately can save you a lot of trouble in the long run. Remove all furniture from the room. Take down curtains or blinds to protect them from dust. Use plastic sheeting and masking tape to seal off doors and air vents. This will help minimise dust spreading throughout your house. Also, remember to wear appropriate safety gear to protect yourself from dust and noise.3. Check and prepare your floor.
Before you begin sanding, inspect your floorboards for any protruding nails, staples, or tacks. These can tear your sandpaper or even damage your sander. Remove them or hammer them below the surface of the wood. Fill any gaps or cracks with a suitable wood filler and let it dry before you start sanding.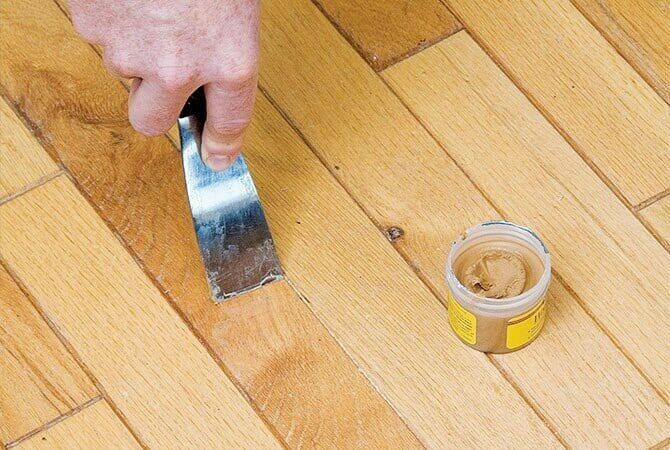
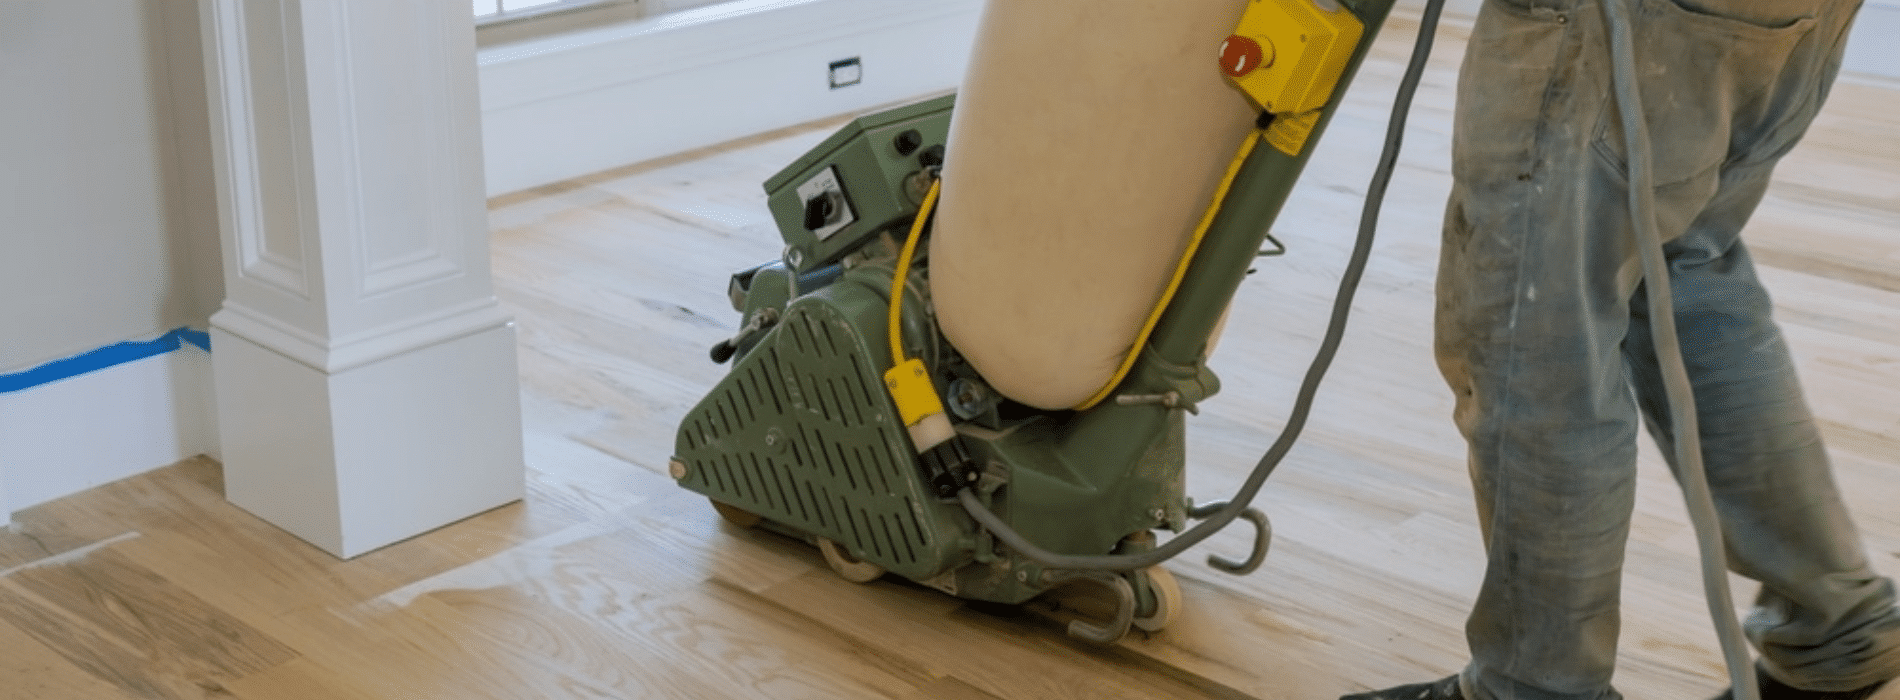
4. Start sanding.
Start with the coarsest grit sandpaper (24-grit) on your drum sander. Beginning in one corner of the room, move the sander along the grain of the wood, not against it. Overlap your passes slightly to ensure an even sanding. Never let the sander sit idle on the floor while it’s running, as it can quickly eat into the wood.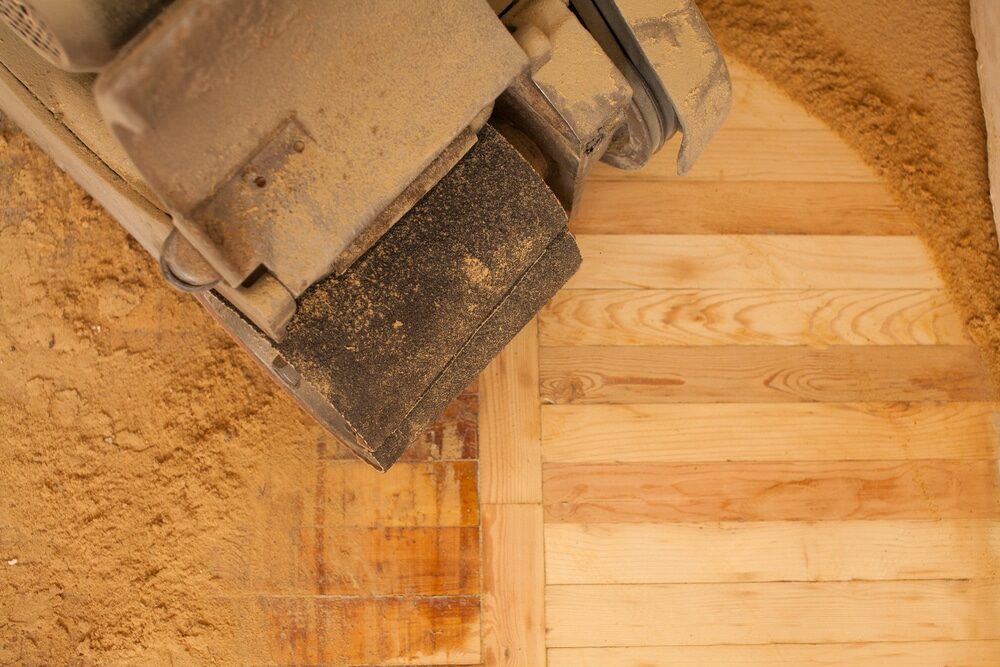
5. Change the sandpaper grit.
Once you’ve completed a pass over the entire floor with the 24-grit sandpaper, repeat the process with 40-grit, then 60-grit. Each pass should remove the scratches left by the previous grit. Remember to vacuum or sweep between each grit change to keep the floor free of debris.6. Hand sand the edges.
The drum sander won’t reach right up to your walls, so you’ll need to hand sand these areas. Use a hand sander or a sanding block with the same grit progression as before. Be careful to sand evenly to avoid creating divots or uneven areas.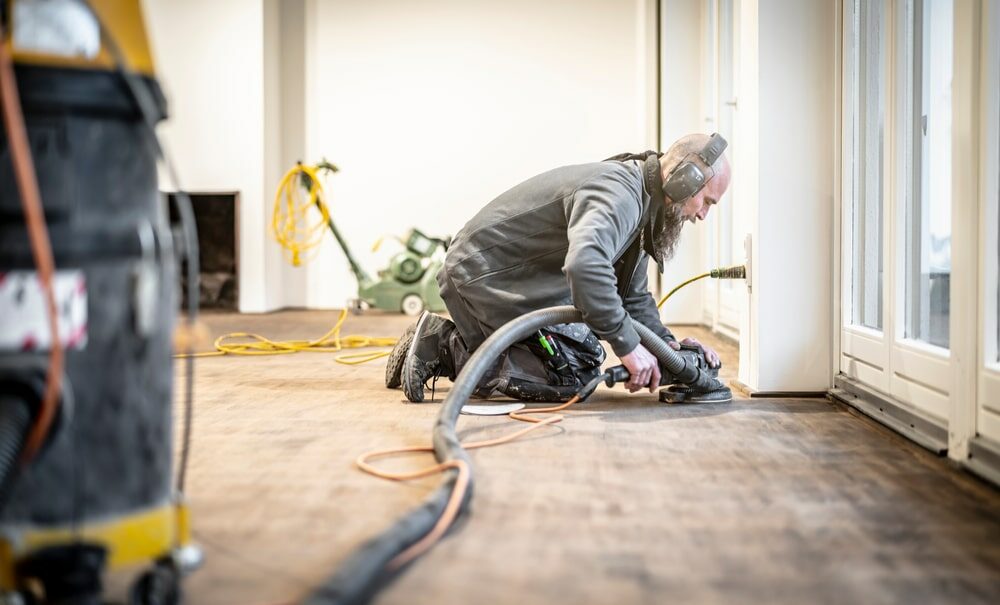
7. Final Sanding and Cleaning
After hand sanding, go over the entire floor one last time with the 80-grit and then the 100-grit sandpaper. This final pass should leave your floor smooth and free of scratches. Vacuum the floor thoroughly and wipe it down with a damp mop to remove any remaining dust.8. Inspect Your Floor
Now that the hard part is over, take a moment to inspect your work. Look for any uneven areas or spots that you may have missed. If necessary, spot-sand these areas by hand until you’re satisfied with the result.9. Apply Your Finish
With your floor sanded and cleaned, it’s time to apply your chosen finish. This could be a stain, oil, or varnish. Always follow the manufacturer’s instructions when applying your finish, making sure to work in well-ventilated conditions. Often, you’ll need to apply multiple coats, sanding lightly between each one for the best results.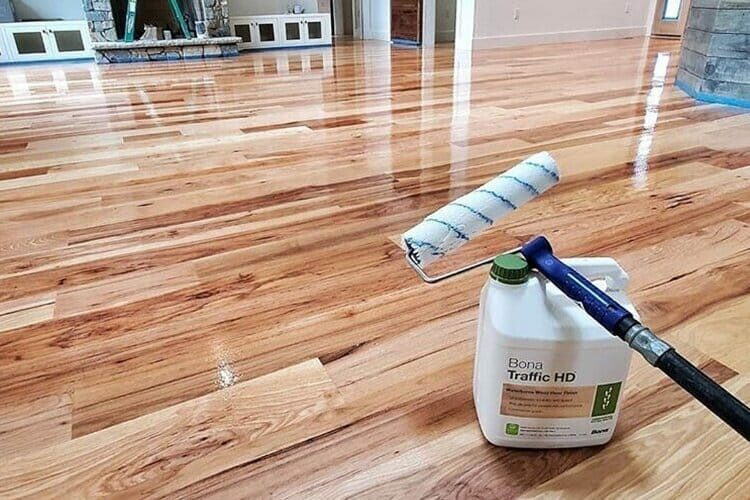
10. Let it dry.
Once you’ve applied your finish, give it ample time to dry. The drying time can vary based on the type of finish and the environmental conditions, so refer to the manufacturer’s instructions for an accurate timeframe. Avoid walking on the floor until it is completely dry to prevent any damage.11. Reassemble Your Room
Once the floor is dry, you can finally breathe a sigh of relief! It’s now time to carefully move your furniture back into the room. Consider using felt pads under furniture legs to protect your newly sanded and finished floor from scratches.12. Maintain Your Floor
Congratulations on your beautifully restored wooden floor! To keep it looking its best, maintain it properly. Regularly sweep or vacuum to remove dust and debris, and clean up spills promptly to prevent water damage. Also, consider applying a fresh coat of finish every few years to keep your floor looking fresh and vibrant.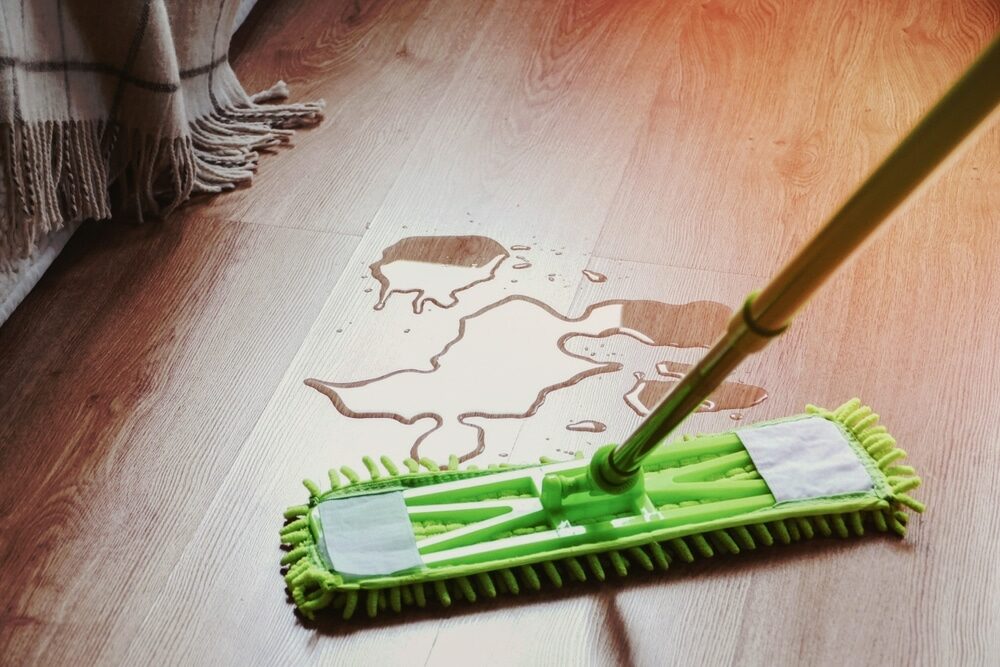
Some Useful Links:
- Floor Sanding Services
- Stairs Sanding & Refinishing
- School Floor Sanding
- Wood Floor Restorations
- Wood Floor Repairs
- Wood Floor Polishing
Conclusion
Floorboard sanding might seem like a massive undertaking, but with the right preparation and a step-by-step approach, it’s an achievable DIY project. The transformation of your worn-out wooden floor into a beautiful and polished surface will be well worth the effort. Remember, the key to a successful floor sanding project lies in patience, meticulousness, and the right tools. Happy sanding!More from our Blog:
Wood Floor Sanding and Polishing | Common Questions Answered Unleash Your Floor’s Potential: Wood Floor Sanding, Staining and Restoration Guide Essential Guide to Re-finishing Wooden Floors | Restore Your Floor’s Beauty Wooden Floors vs Carpets: Which Flooring Option Serves Restaurants Best? Unlocking the Benefits of Locking Hardwood Floors The Importance of Professional Wood Floor Repair Firms

Sanding
We provide virtually dust-free sanding with our continuous belt machinery with mobile extraction units, giving you a safer environment for your family.
Oiling
This organic finish not only adds beauty to your home but also has exceptional water-repellent characteristics, making it easier to clean and maintain.
Waxing
This natural floor finish offers the softest and most mellow appearance – and leaves your floor able to breath.
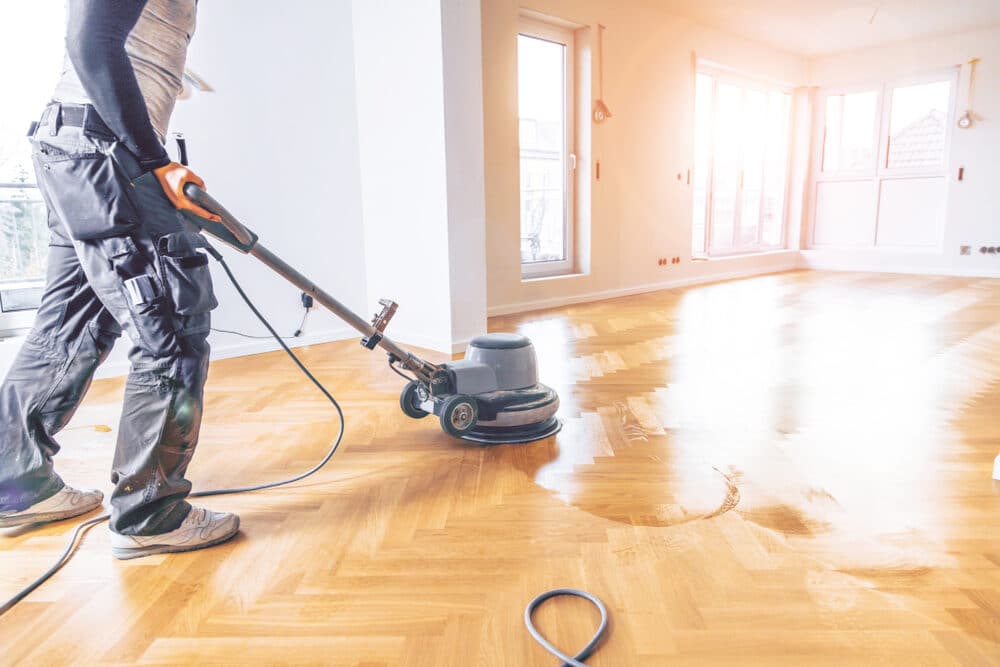
Buffing
Using soft buffing machines (and hand-polishing where required) will bring a wonderful sheen to your newly-finished floor.
Repairs
We offer a full assessment of your wooden floors to determine what repairs are needed to provide the perfect working surface for the later stages of sanding, staining and sealing.
Restoration
We offer a comprehensive restoration process designed to address floors that are improperly fitted or damaged over time through wear and tear.
Request a fixed price quote for your wood floor restoration now
Simply enter your postcode below to get started.
Services
Wood Floor Sanding Wood Floor Restoration Wood Floor Scratch Repair Squeaky Wood Floor Repair Parquet Floor Sanding Parquet Floor Restoration Commercial Floor Sanding Church Floor Sanding Community Centre Floor Sanding School Floor Sanding Gap Filling Gap Filling with ResinCopyright © Mr Sander®
Privacy & Cookies Terms & Conditions Complaints Procedure Cancellation Rights Sitemap

Get An Instant Price Estimate Before You Go…
Simply enter the rooms you need sanded and we’ll provide you with a price estimate instantly! Try our price calculator now.
Get a Price Estimate NowLocal Floor Sanding Experts
Over 500 5-Star Reviews
Safe, Dust Free Sanding
Operating Since 1994