London:
Nationwide:
25,000+
Floors Restored
27 Years Experience
Wood Flooring Association Certified
Revive Your Wooden Floors: Sanding and Sealing for a Fresh Look
Posted on April 27, 2023
Blog
Master the Art of Floor Revitalization: A Comprehensive Guide to Sanding and Sealing for Stunning, Durable Floors
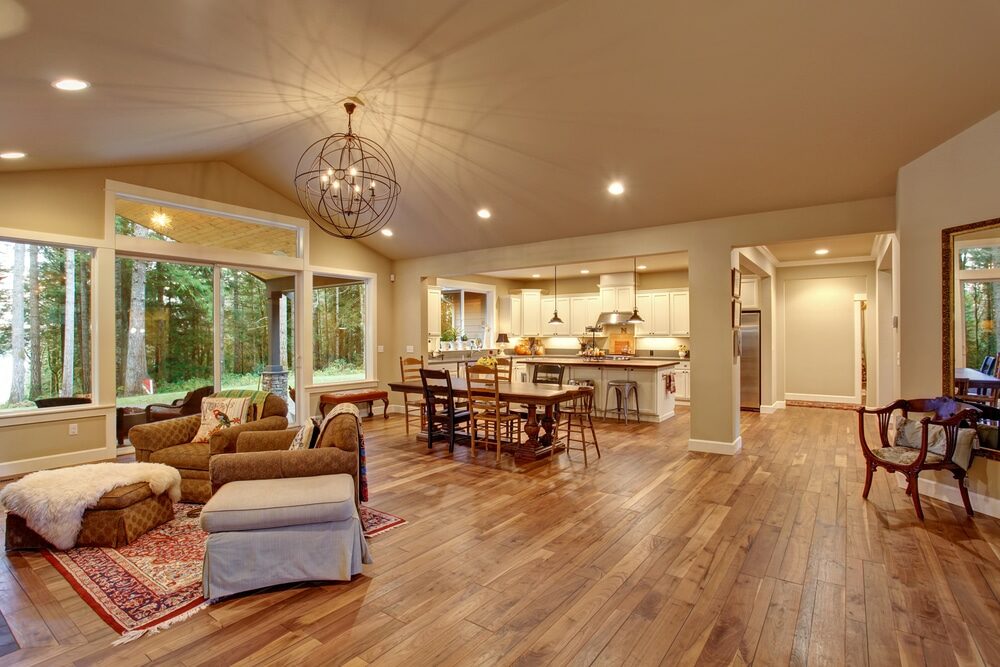
Hardwood floors are renowned for their timeless beauty, durability, and natural warmth. However, over time, they can lose their lustre due to daily wear and tear, scratches, and stains. To restore your flooring to its former glory and maintain its stunning appearance, the process of sanding and sealing is essential. In this comprehensive guide, we will delve into the steps involved in the sanding and sealing process, the factors to consider when selecting the right sealant, and the benefits of hiring a professionals to ensure your floor’s lasting beauty and durability.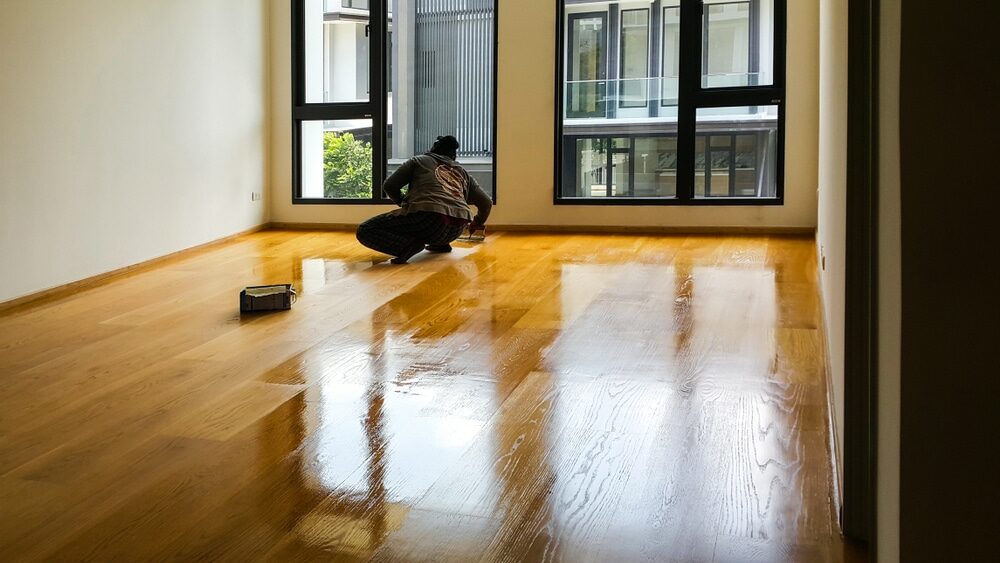
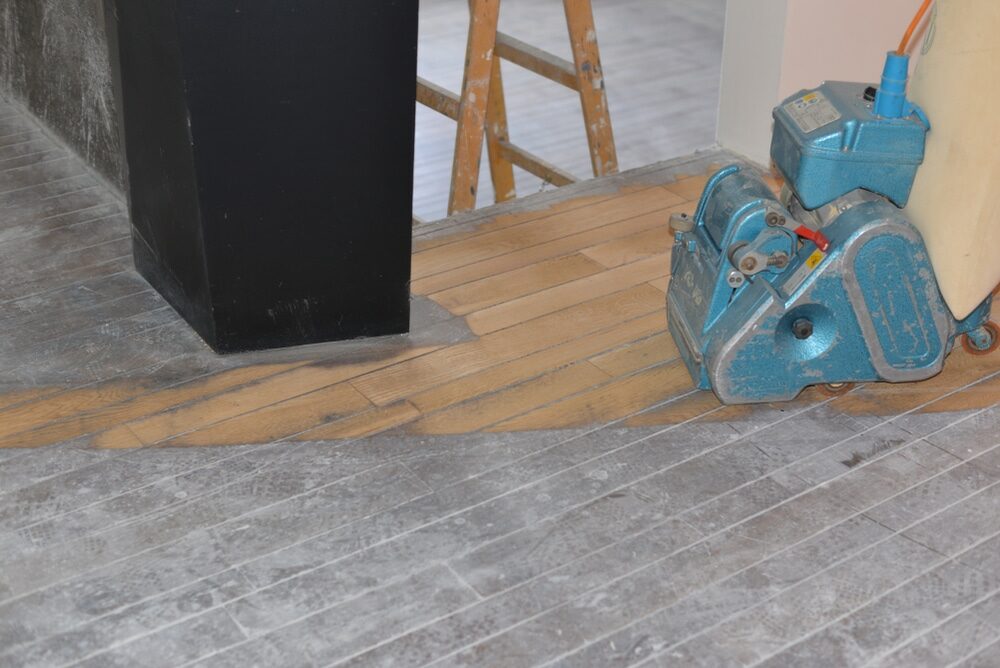
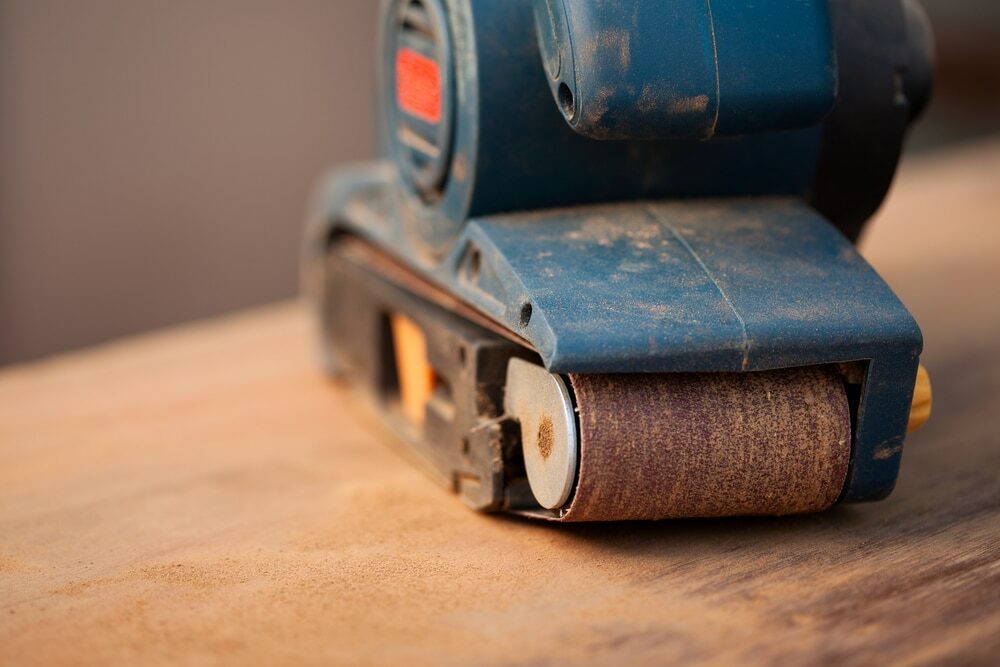
The sanding process
- Assessing the floor’s condition
- Preparing the floor
- Choosing the right sandpaper
- Sanding technique
- Final touches
The sealing process
- Selecting the right sealant
- Polyurethane: a durable, water-resistant option available in various finishes, from matte to high-gloss.
- Oil-based sealers provide a natural, low-lustre finish while penetrating and nourishing the wood.
- Water-based sealers are fast-drying, eco-friendly, and low-odour alternatives to traditional oil-based sealants.
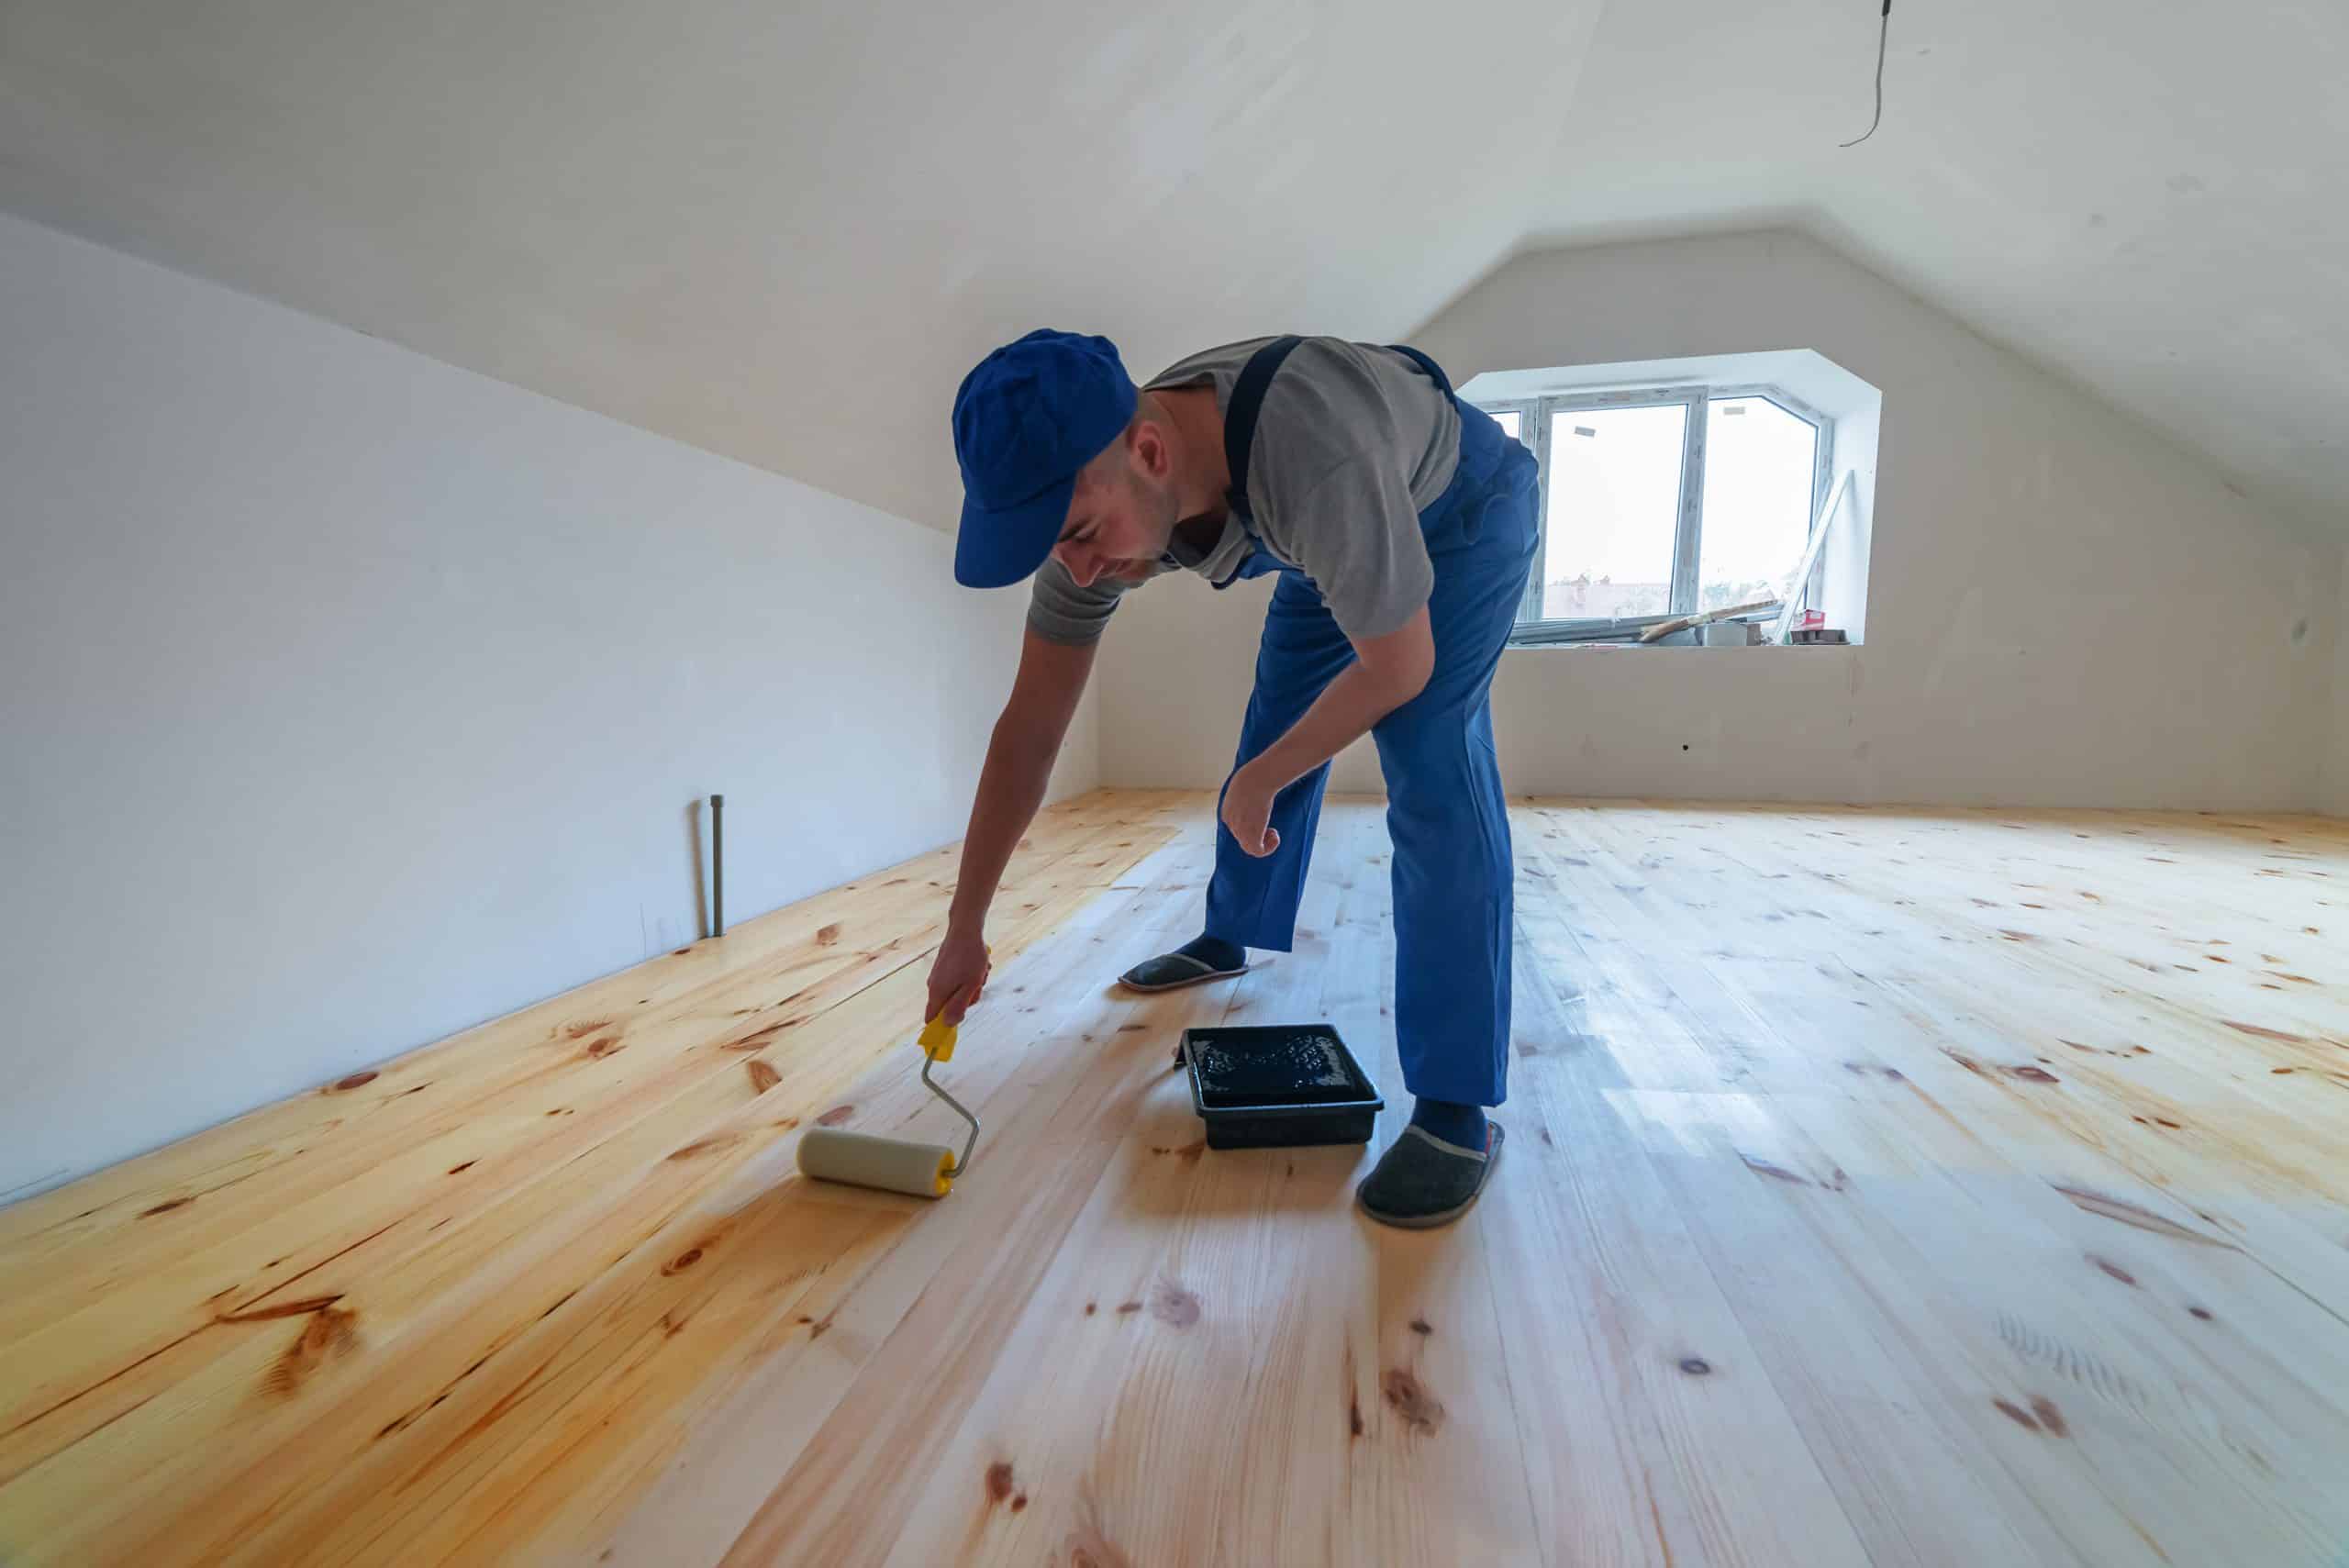
- Applying the sealant
- Additional finishes
- Waxing is a traditional finishing method that provides a warm, natural sheen. Apply wax evenly across the floor with a cloth or brush, and buff it using a floor buffer or a clean, dry cloth.
- Oiling enhances the natural beauty of the wood while providing added protection. Apply the oil using a brush or roller, and wipe off any excess with a clean, dry cloth.
- Staining: Allows for customization of the floor’s colour and tone. Apply the stain with a brush or roller, following the wood grain, and wipe off any excess with a clean, dry cloth.
- Varnishing: Offers a durable, high-gloss finish. Apply the varnish with a brush or roller, following the wood grain, and allow it to dry according to the manufacturer’s instructions.
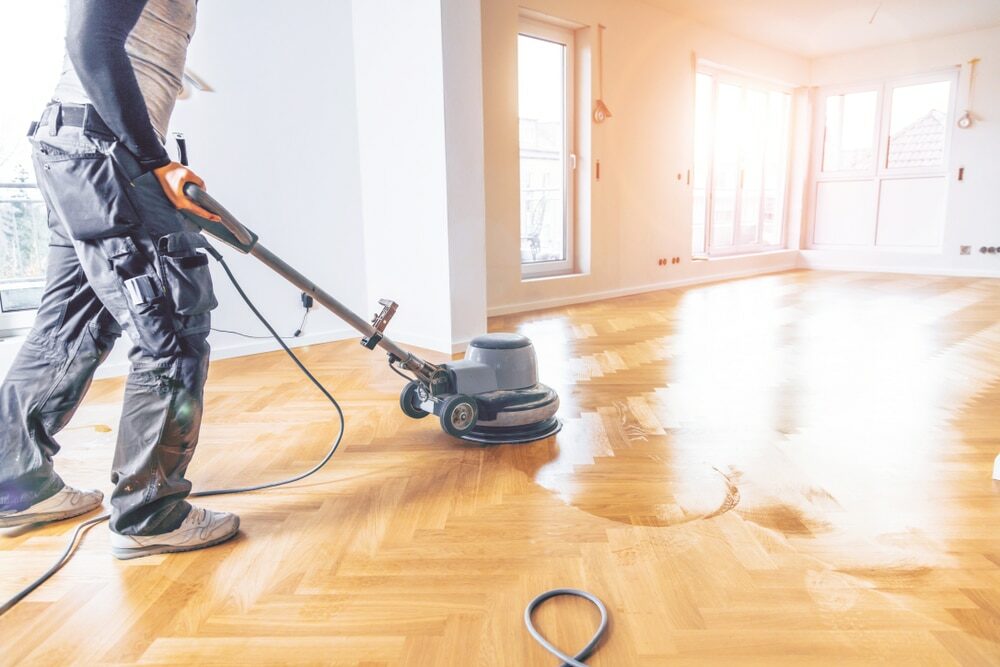
- Buffing and polishing
- Curing time
Benefits of Hiring Floor Sanding and Sealing Experts
Although the sanding and sealing process can be a DIY project, hiring professionals offers several advantages:- Expertise: Professionals have extensive experience and know-how to select the most suitable sanding technique and sealant for your floor, ensuring a high-quality finish.
- Time-saving: Hiring professionals can save you time, as they have the necessary equipment and skills to complete the job efficiently.
- Dust control: Professional floor sanders are equipped with dust extraction systems, minimising the amount of dust generated during the sanding process.
- Guaranteed results: Professionals are more likely to deliver consistent, flawless results, enhancing the beauty and durability of your floor.
Some Useful Links:
Conclusion Sanding and sealing your hardwood floors is a vital process to maintain their beauty and prolong their lifespan. While it may be tempting to attempt this task yourself, hiring professional floor sanding and sealing experts can save you time and ensure a high-quality, lasting finish. By understanding the sanding and sealing process and the importance of selecting the right sealant, you can ensure your floors remain beautiful, durable, and functional for years to come.More from our Blog:
What is a Floating Hardwood Floor? A Comprehensive Guide Mastering Floorboards Sanding: Tips & Techniques for Stunning Results Key Questions to Ask before Selecting A Floor Sanding Company

Sanding
We provide virtually dust-free sanding with our continuous belt machinery with mobile extraction units, giving you a safer environment for your family.
Oiling
This organic finish not only adds beauty to your home but also has exceptional water-repellent characteristics, making it easier to clean and maintain.
Waxing
This natural floor finish offers the softest and most mellow appearance – and leaves your floor able to breath.
Buffing
Using soft buffing machines (and hand-polishing where required) will bring a wonderful sheen to your newly-finished floor.
Repairs
We offer a full assessment of your wooden floors to determine what repairs are needed to provide the perfect working surface for the later stages of sanding, staining and sealing.
Restoration
We offer a comprehensive restoration process designed to address floors that are improperly fitted or damaged over time through wear and tear.
Request a fixed price quote for your wood floor restoration now
Simply enter your postcode below to get started.
Services
Wood Floor Sanding Wood Floor Restoration Wood Floor Scratch Repair Squeaky Wood Floor Repair Parquet Floor Sanding Parquet Floor Restoration Commercial Floor Sanding Church Floor Sanding Community Centre Floor Sanding School Floor Sanding Gap Filling Gap Filling with ResinCopyright © Mr Sander®
Privacy & Cookies Terms & Conditions Complaints Procedure Cancellation Rights Sitemap

Get An Instant Price Estimate Before You Go…
Simply enter the rooms you need sanded and we’ll provide you with a price estimate instantly! Try our price calculator now.
Get a Price Estimate NowLocal Floor Sanding Experts
Over 500 5-Star Reviews
Safe, Dust Free Sanding
Operating Since 1994