London:
Nationwide:
25,000+
Floors Restored
27 Years Experience
Wood Flooring Association Certified
Step-by-Step Guide to Belt Sanding Your Floors
Posted on September 11, 2023
Belt sanding
Step-by-Step Guide to Belt Sanding Your Floors: A Comprehensive Journey
Belt sanding your floors is akin to gifting your home a well-deserved rejuvenation, breathing new life into spaces that have seen the toll of footsteps and the passage of time. A task both monumental and profoundly satisfying, refurbishing your floors through belt sanding promises not only an aesthetic facelift but also instills a profound sense of accomplishment as you witness firsthand the transformation of your dwelling place. In this comprehensive guide, we aim to equip you with a step-by-step methodology to belt sand your floors with utmost precision and expertise. So, let’s roll up our sleeves and embark on this home improvement journey.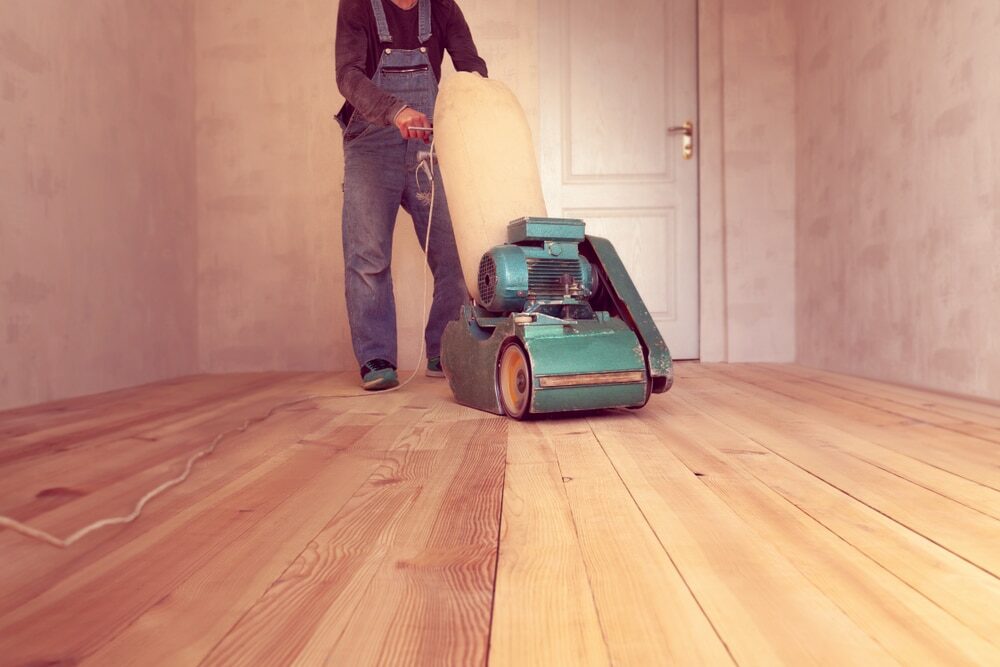
Step 1: Understanding Belt Sanding
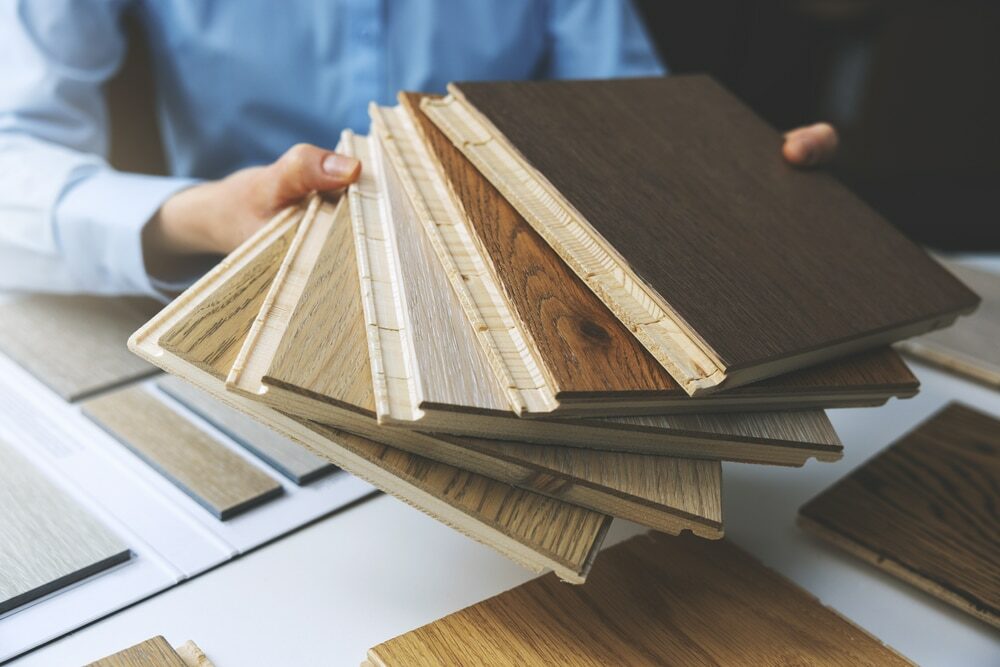
1.1 Definition Before plunging into the task, understanding the essence of belt sanding is pivotal. Belt sanding, a mechanised form of sanding, employs the use of a sanding machine with a looped sanding belt to remove the upper surface layer of your flooring, bringing to light a fresh, undamaged layer that waits beneath.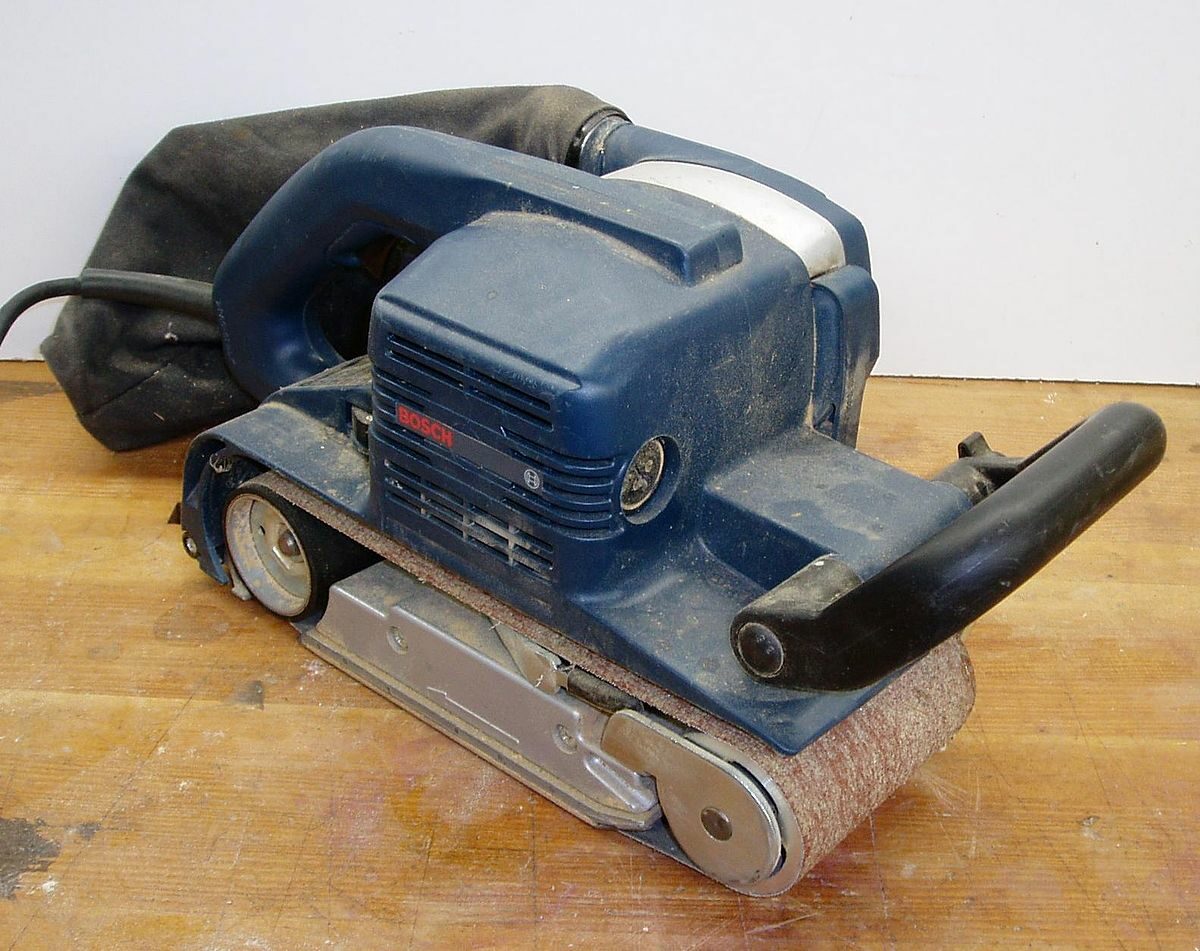 1.2 Tools and Materials
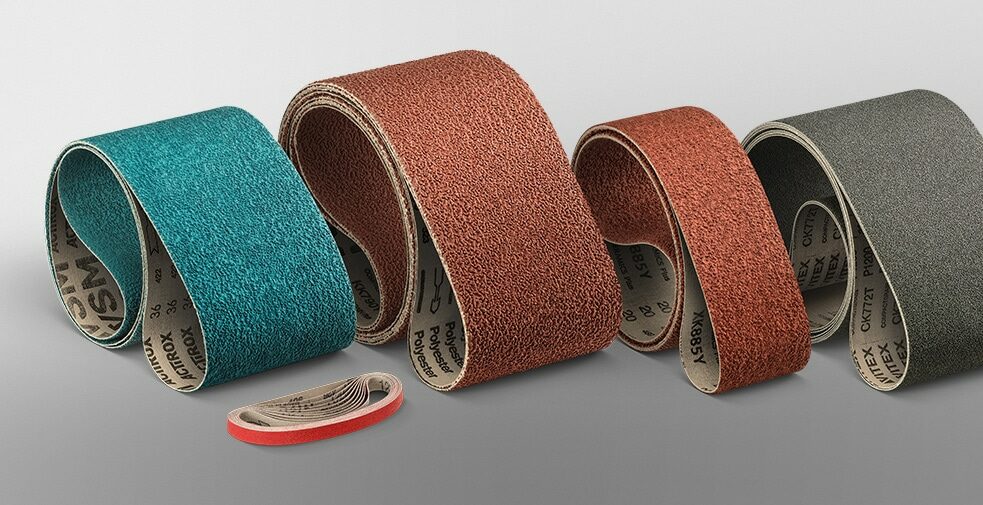
At this stage, preparing the necessary tools and materials is vital. A sturdy belt sander, sandpaper in various grits (from coarse to fine), safety goggles, ear protection, and a dust mask are the primary items you’d need.
1.2 Tools and Materials
At this stage, preparing the necessary tools and materials is vital. A sturdy belt sander, sandpaper in various grits (from coarse to fine), safety goggles, ear protection, and a dust mask are the primary items you’d need.
 1.3 Preparing Yourself
Safety comes first. Don the safety goggles to protect your eyes from flying dust particles, the dust mask to prevent inhalation of dust, and ear protection to shield your ears from the loud noise generated by the sander.
1.3 Preparing Yourself
Safety comes first. Don the safety goggles to protect your eyes from flying dust particles, the dust mask to prevent inhalation of dust, and ear protection to shield your ears from the loud noise generated by the sander.
Step 2: Preparing Your Floor
2.1 Clear the Floor Begin by removing all furniture, rugs, and other items from the room. Ensure that the floor is completely clear, providing an unobstructed canvas for your sanding adventure.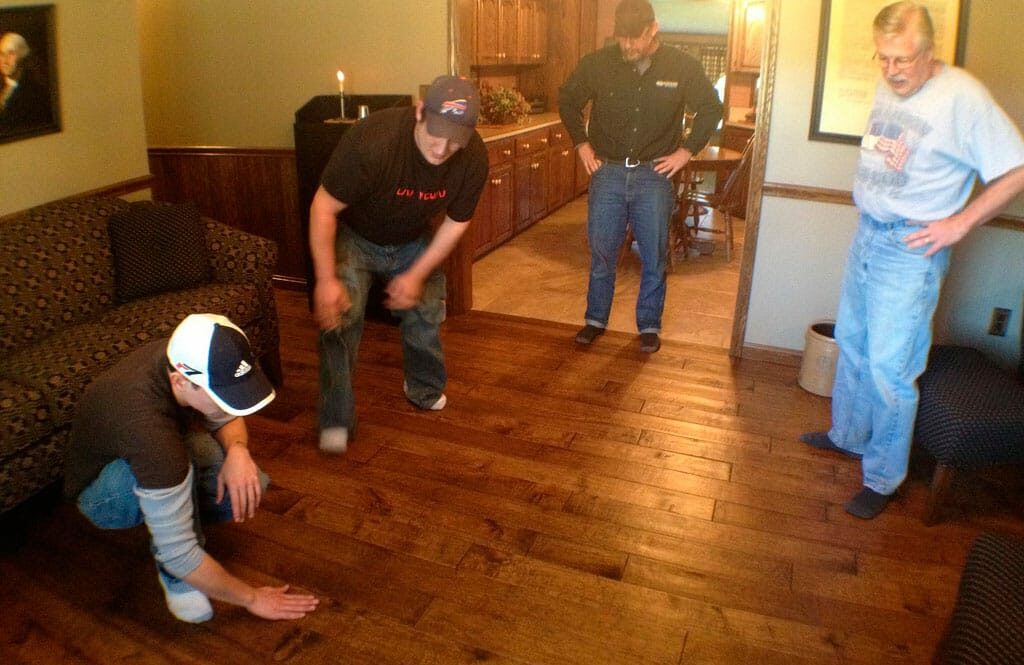 2.2 Repair Damages
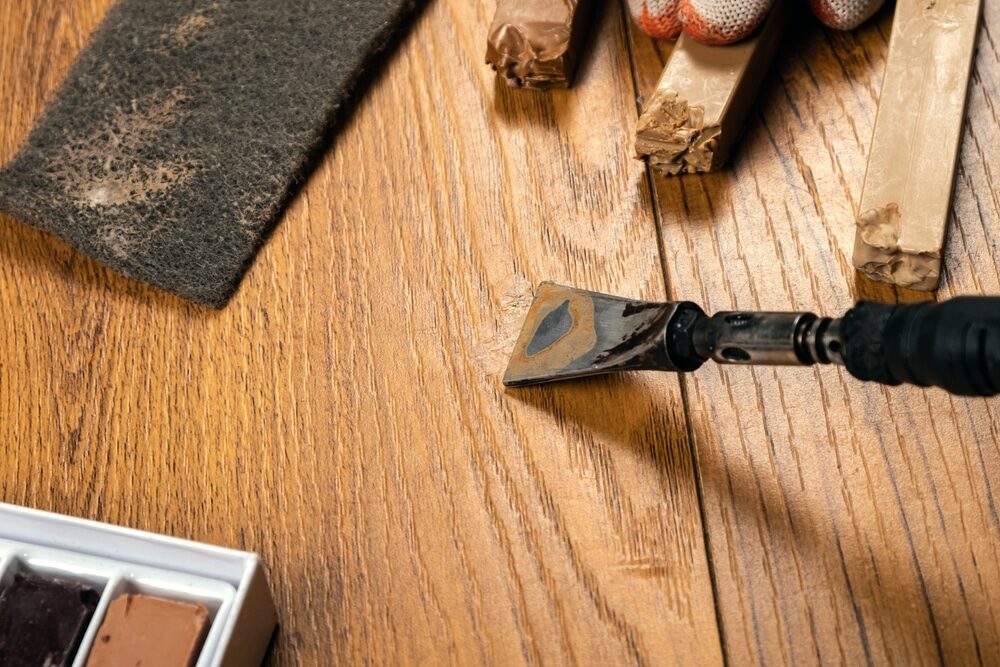
Identify and repair any damages, such as cracks, gaps, or uneven areas on the floor. Fill in the gaps with appropriate filler and let it dry completely.
2.2 Repair Damages
Identify and repair any damages, such as cracks, gaps, or uneven areas on the floor. Fill in the gaps with appropriate filler and let it dry completely.
 2.3 Cleaning
Give the floor a thorough cleaning to remove dust, grime, and other foreign particles. This will ensure that the sanding process is smooth and unhampered.
2.3 Cleaning
Give the floor a thorough cleaning to remove dust, grime, and other foreign particles. This will ensure that the sanding process is smooth and unhampered.
Step 3: Getting Acquainted with Your Belt Sander
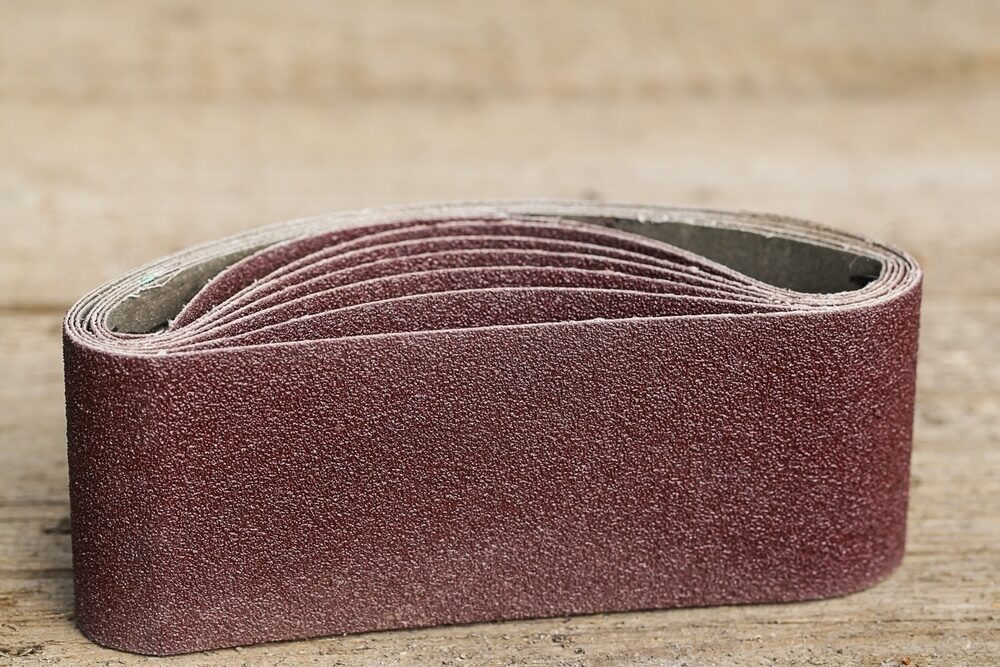
3.1 Understanding Your Sander Before you start, familiarise yourself with the belt sander. Understand its parts, functionalities, and how to change the sandpaper belts. 3.2 Handling the Sander Learn how to handle the sander correctly. Practice moving it evenly and steadily without lingering too long on one spot to avoid uneven sanding. 3.3 Sandpaper Grit Selection Select the appropriate grit of sandpaper to start with. Typically, you’d start with a coarse grit and gradually move to finer grits as you progress.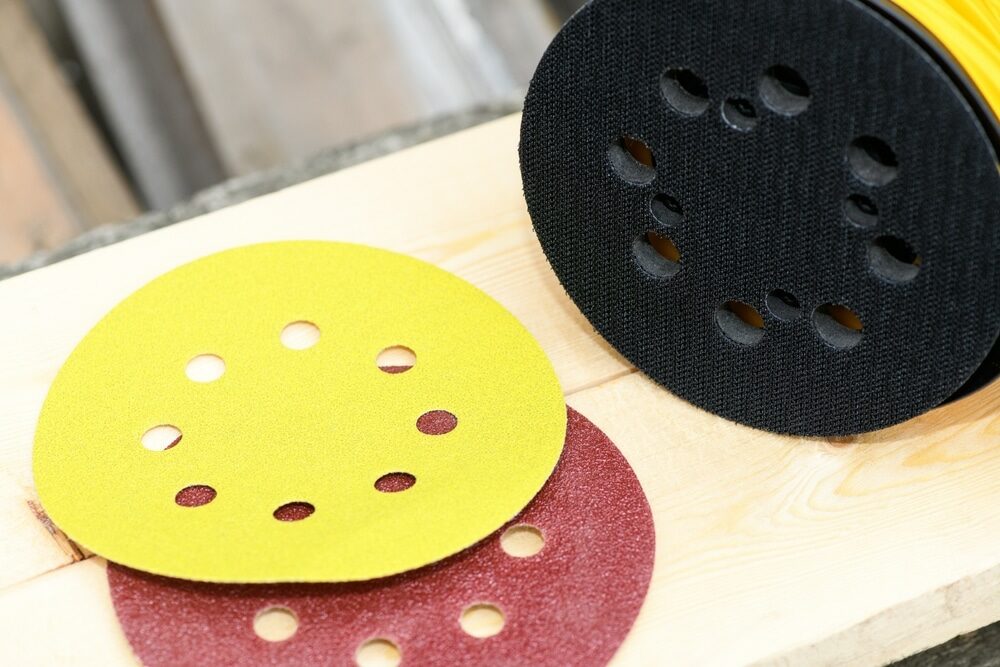
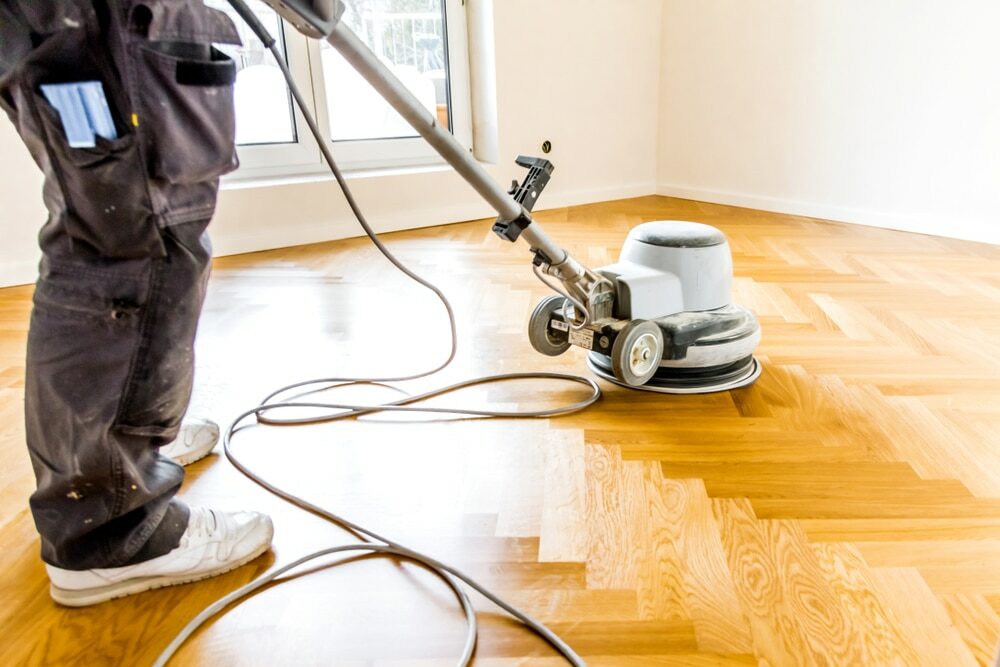
Step 4: The Sanding Process
4.1 Beginning with Coarse Grit Install coarse-grit sandpaper on the belt sander. Start sanding from one end of the room, moving steadily towards the other end. Ensure that you are sanding along the grain of the wood to prevent scratches and uneven textures.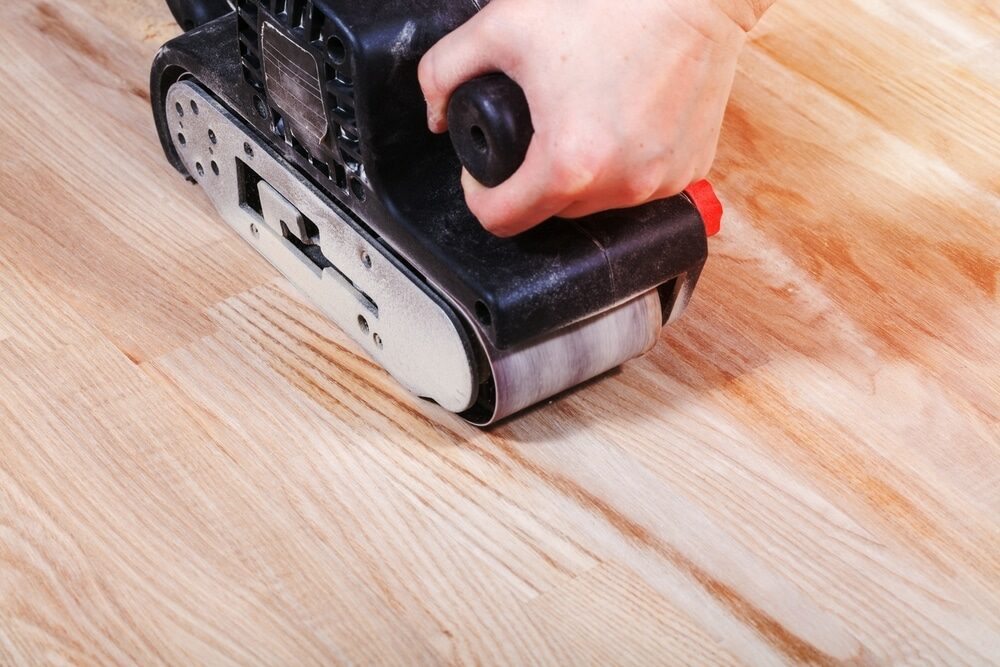 4.2 Gradual Progression to Finer Grits
After the initial pass with coarse grit, replace it with medium-grit sandpaper for the next pass. Repeat this process, progressively moving to finer grits, until you achieve a smooth surface.
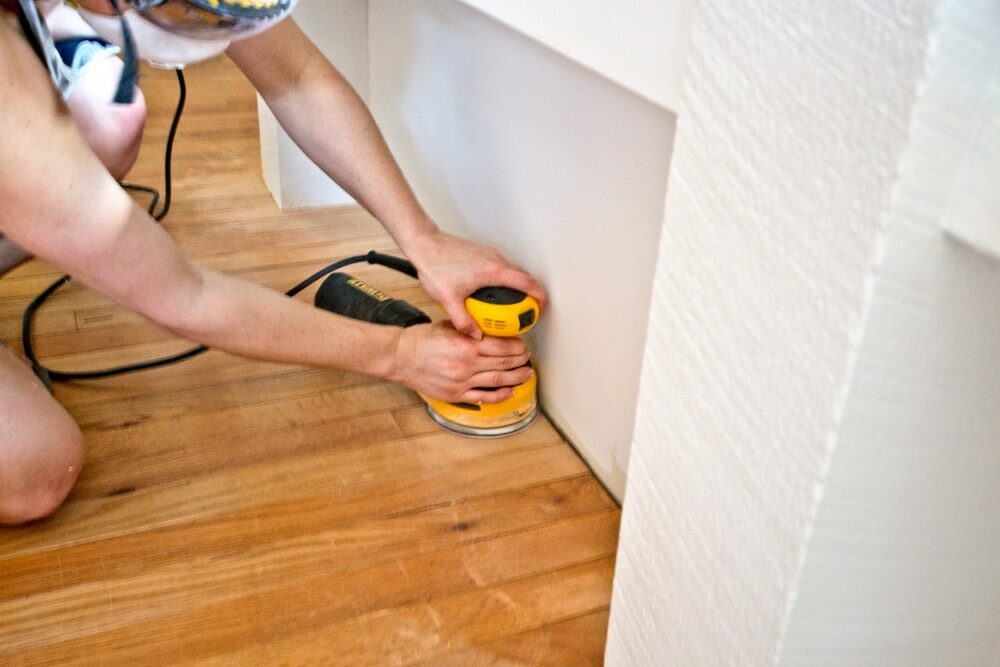
4.3 Edge Sanding
Use an edge sander or a hand sander to sand the edges and corners of the room where the belt sander cannot reach.
4.2 Gradual Progression to Finer Grits
After the initial pass with coarse grit, replace it with medium-grit sandpaper for the next pass. Repeat this process, progressively moving to finer grits, until you achieve a smooth surface.
4.3 Edge Sanding
Use an edge sander or a hand sander to sand the edges and corners of the room where the belt sander cannot reach.
Step 5: The Finishing Touches
5.1 Vacuuming the Dust Once the sanding is complete, vacuum the floor to remove all the sanding dust. Ensure that no dust particles are left behind, as they can affect the finishing process. 5.2 Buffing the Floor Buff the floor using a floor buffer to achieve a perfectly smooth surface. This will prepare the floor for the finishing touches. 5.3 Applying the Finish Select a suitable wood finish and apply it evenly to the floor, following the manufacturer’s instructions. Allow the finish to dry completely before moving on to the next step.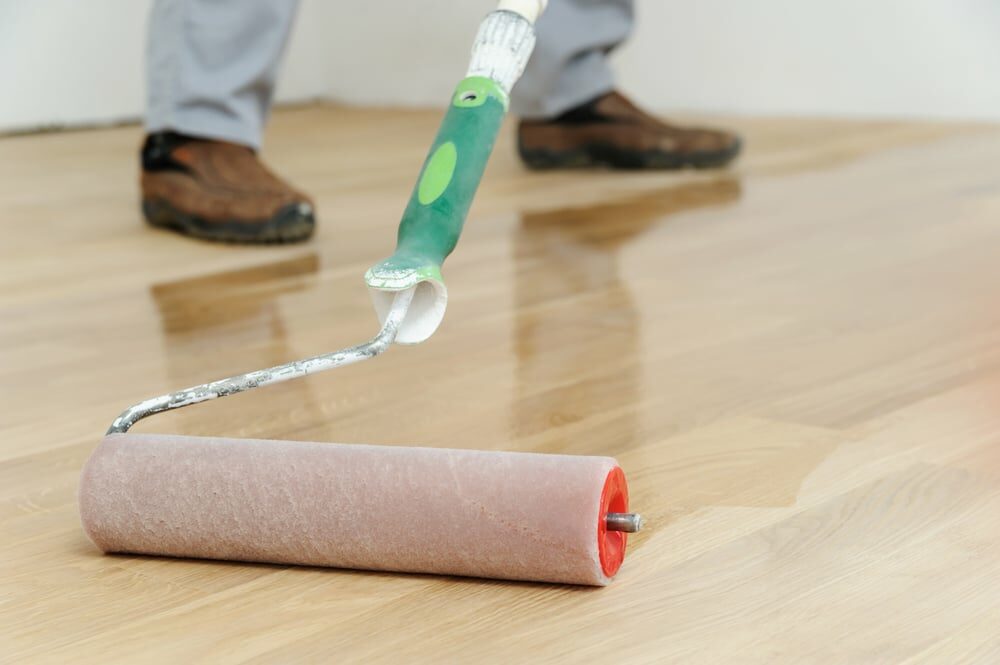
Step 6: Celebrating Your Revamped Floors
6.1 Reinstalling the Furniture Once the finish is dry, it’s time to bring the furniture back in. Arrange the furniture thoughtfully, accentuating the newly refurbished floors. 6.2 Maintenance Tips To keep your newly sanded floor looking pristine for years to come, follow a regular maintenance routine that includes cleaning with appropriate products and protecting the floor from scratches and dents. 6.3 Taking a Step Back Finally, take a step back and admire the beauty of your labour. The rejuvenated floors now bear testimony to your skill and dedication.Conclusion: Revealing the Freshness of Your New Floor
As we wind up this extensive guide, it’s time to revel in the freshness and beauty that your rejuvenated floors bring to your home. Belt sanding, though a task requiring time and patience, offers rewards that are manifold. Your floors now tell a story of renewal, of the painstaking efforts that went into bringing out the inherent beauty of the wood. Like a piece of art carefully restored to its original glory, your floors now stand as a testament to the beauty that lies in restoration, in giving a second life to something that has stood the test of time. Remember, the journey of belt sanding is not just about revamping your floors but also about learning, evolving, and mastering a skill that speaks volumes about craftsmanship and attention to detail. So, as you step onto your newly sanded floors, do so with a sense of pride and accomplishment, knowing that you have breathed new life into your home, one grain at a time. Here’s to many wonderful moments on your newly refurbished floors, to the warmth and beauty that it brings to your home, and to the joy of stepping onto a floor that resonates with care, love, and meticulous attention to detail. Cheers to a job well done!Some Useful Links:
- Stairs Sanding & Refinishing
- Floor Sanding Services
- School Floor Sanding
- Wood Floor Restorations
- Wood Floor Repairs
- Wood Floor Polishing
More from our Blog:
Innovative Techniques for Using Belt Sanders in Floor Refinishing How to Achieve a Perfectly Flat Surface with Belt Sanding for Floor Refinishing Common Belt Sanding Tools and Accessories for Floor Refinishing The Role of Belt Sanding in Achieving a Professional Finish on Your Floors Belt Sanding vs. Drum Sanding for Floor Refinishing How to Safely Use a Belt Sander for Floor Sanding The Science Behind Belt Sanding and Its Benefits for Floor Refinishing

Sanding
We provide virtually dust-free sanding with our continuous belt machinery with mobile extraction units, giving you a safer environment for your family.
Oiling
This organic finish not only adds beauty to your home but also has exceptional water-repellent characteristics, making it easier to clean and maintain.
Waxing
This natural floor finish offers the softest and most mellow appearance – and leaves your floor able to breath.
Buffing
Using soft buffing machines (and hand-polishing where required) will bring a wonderful sheen to your newly-finished floor.
Repairs
We offer a full assessment of your wooden floors to determine what repairs are needed to provide the perfect working surface for the later stages of sanding, staining and sealing.
Restoration
We offer a comprehensive restoration process designed to address floors that are improperly fitted or damaged over time through wear and tear.
Request a fixed price quote for your wood floor restoration now
Simply enter your postcode below to get started.
Services
Wood Floor Sanding Wood Floor Restoration Wood Floor Scratch Repair Squeaky Wood Floor Repair Parquet Floor Sanding Parquet Floor Restoration Commercial Floor Sanding Church Floor Sanding Community Centre Floor Sanding School Floor Sanding Gap Filling Gap Filling with ResinCopyright © Mr Sander®
Privacy & Cookies Terms & Conditions Complaints Procedure Cancellation Rights Sitemap

Get An Instant Price Estimate Before You Go…
Simply enter the rooms you need sanded and we’ll provide you with a price estimate instantly! Try our price calculator now.
Get a Price Estimate NowLocal Floor Sanding Experts
Over 500 5-Star Reviews
Safe, Dust Free Sanding
Operating Since 1994