London:
Nationwide:
25,000+
Floors Restored
27 Years Experience
Wood Flooring Association Certified
Mastering Floorboards Sanding: Tips & Techniques for Stunning Results
Posted on April 26, 2023
Blog
A Comprehensive Guide to Mastering the Art of Floor Sanding for a Flawless Finish
Floorboards can add charm and elegance to any home. They offer a warm, inviting atmosphere that makes a house feel like a cosy retreat. However, over time, floorboards can begin to show signs of wear and tear, losing their original lustre. In this 3,000-word blog post, we will discuss the tricks and techniques for achieving successful floorboard sanding, so you can restore the beauty and charm of your wooden floors.
-
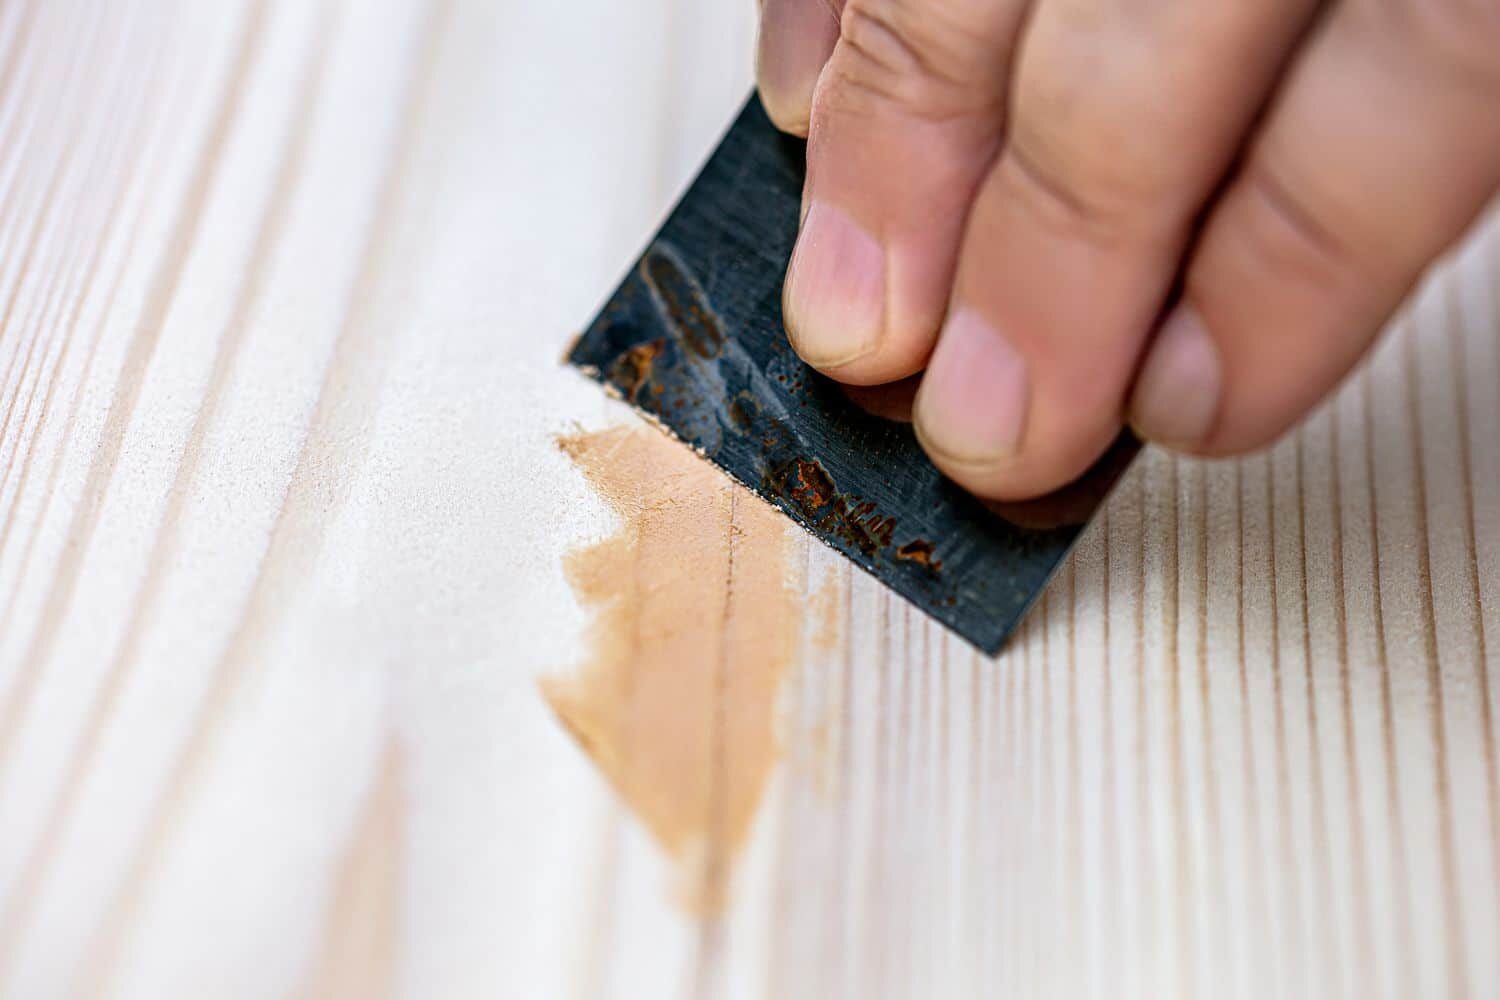
Assess the condition of your floorboards.
-
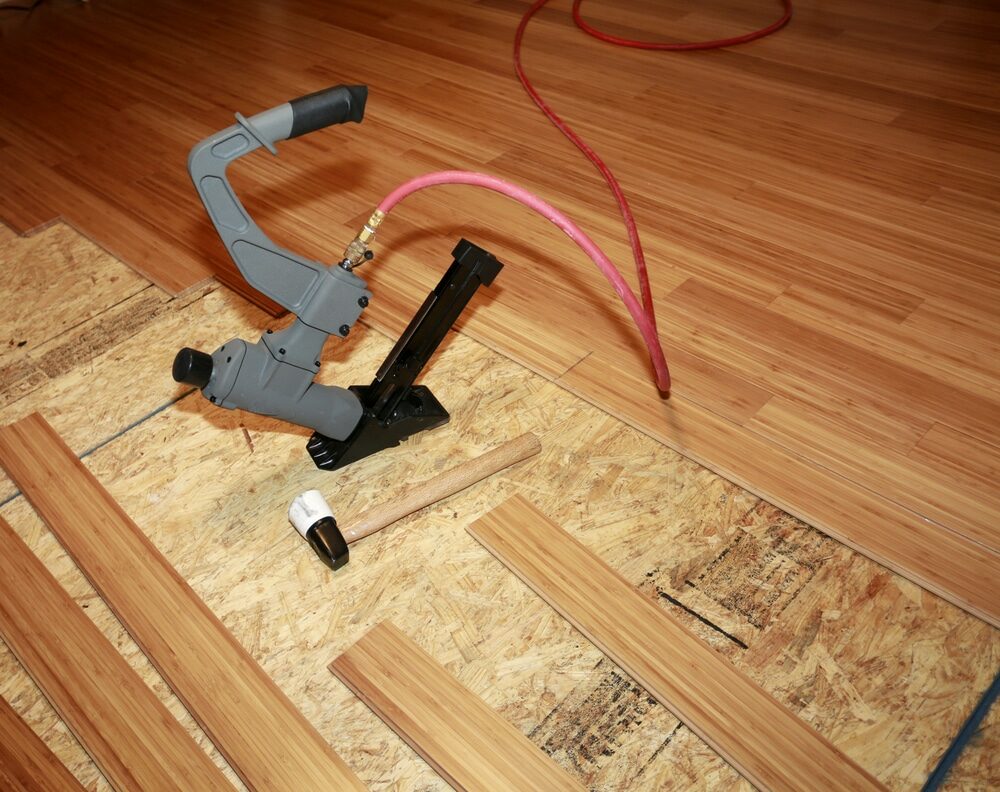
Choose the right sanding equipment.
 b. Edger: This handheld sander helps you reach the edges and corners that a drum sander cannot. It’s essential for ensuring a uniform finish across the entire floor.
 c. Buffer: A buffer is used to blend and smooth the floor after the initial sanding with a drum sander and edger. It helps to achieve a consistent finish and remove any remaining imperfections.
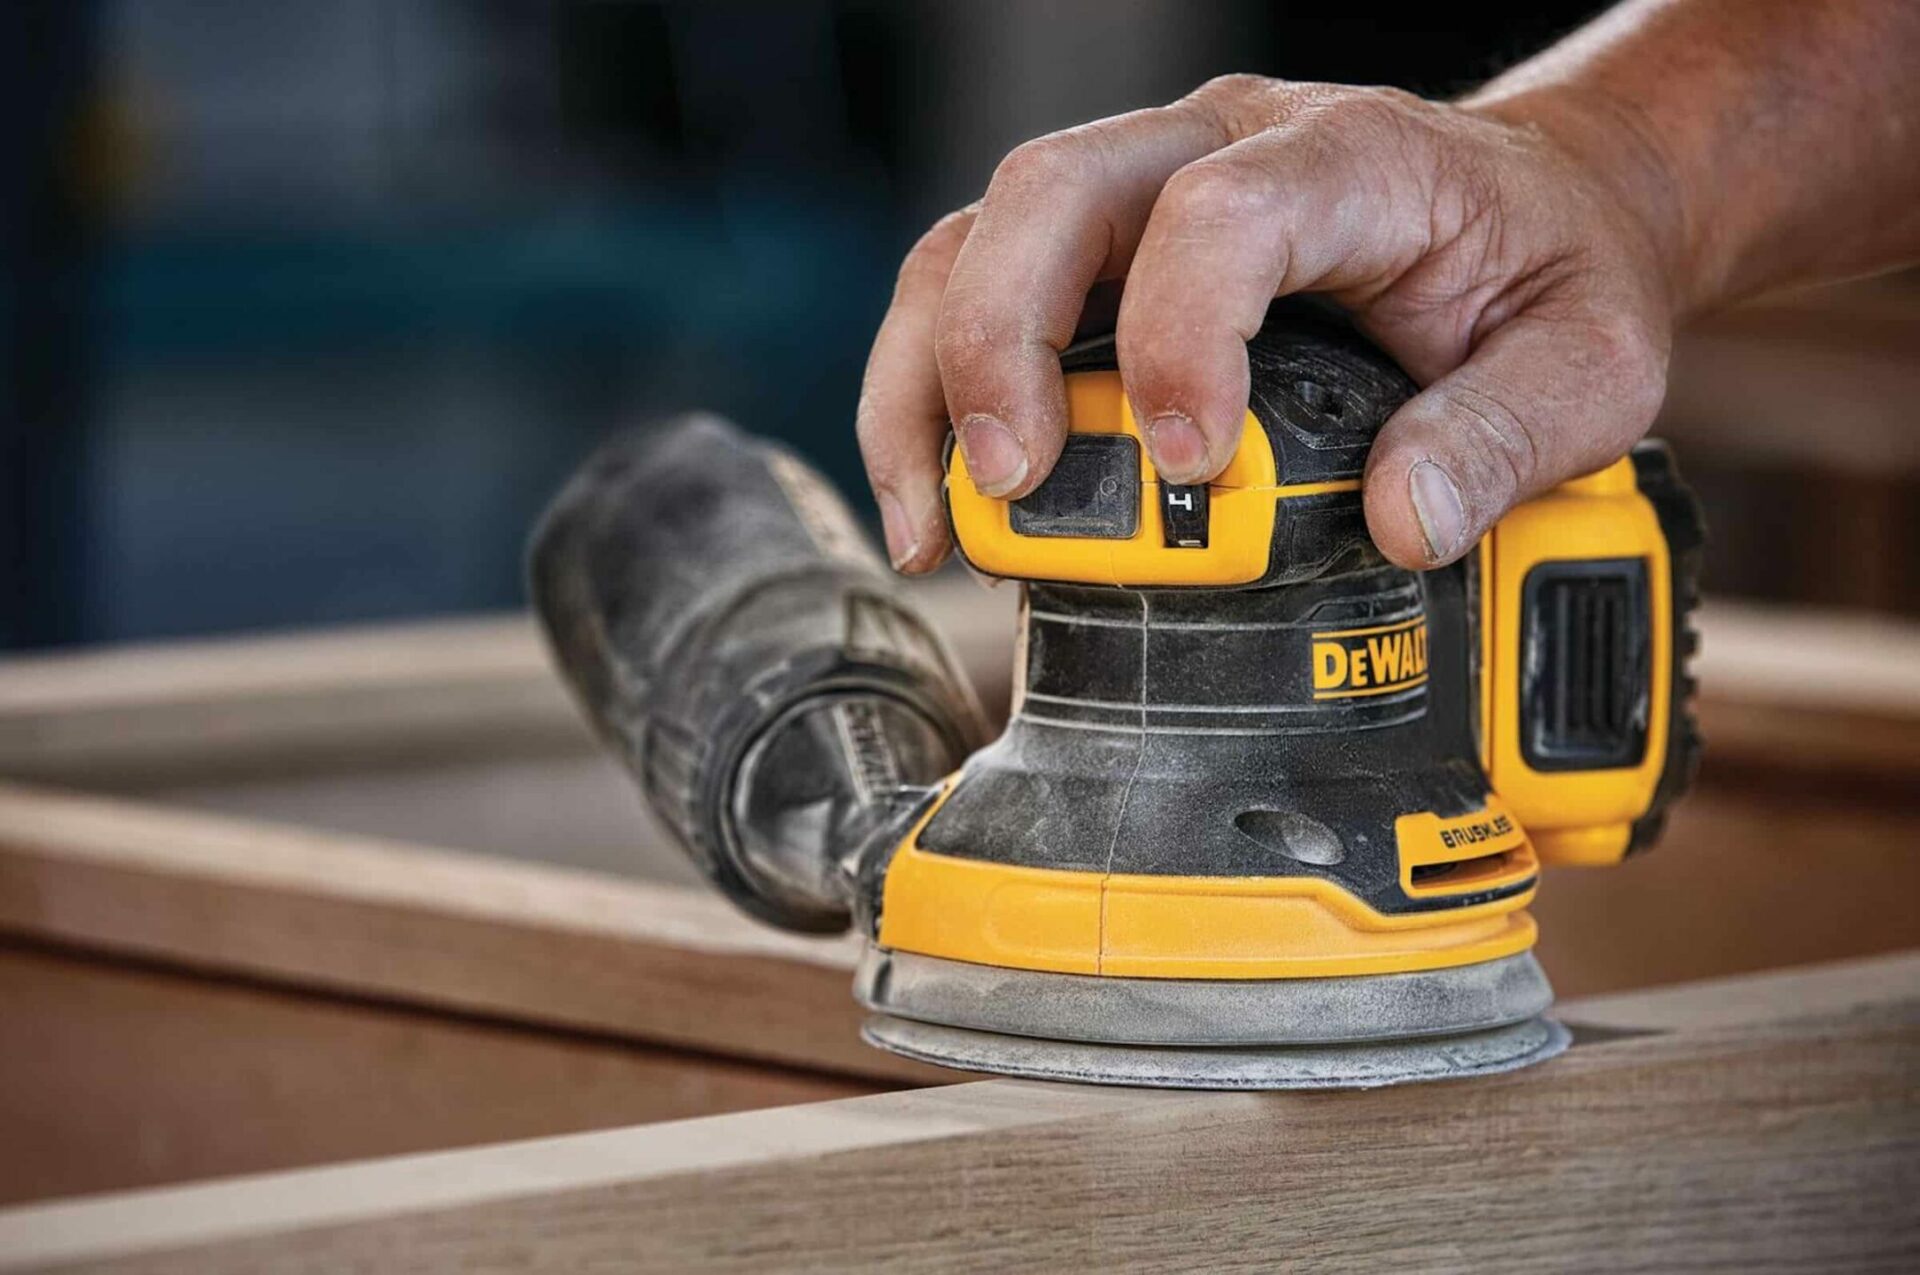
 d. Handheld Orbital Sander: For detailed work and intricate areas, a handheld orbital sander comes in handy. It’s perfect for tackling stairs and small spaces and removing any remaining imperfections.
-
Prepare your space.
-
Sanding Techniques
-
Finishing Touches
Once your floor is sanded, it’s time to add the finishing touches.
 b. Vacuum and tack cloth: After sanding, vacuum the entire floor to remove any dust or debris. Then, use a tack cloth to wipe the floor, ensuring that it is completely clean and free of dust.
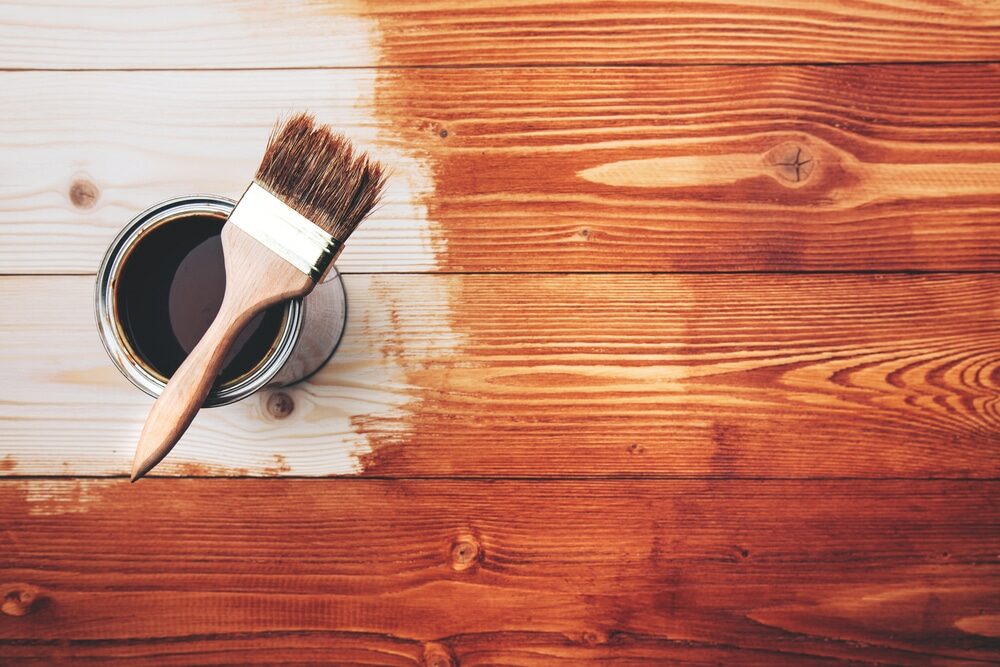
c. Apply Stain (Optional): If you wish to change the colour of your floorboards, now is the time to apply the wood stain. Apply the stain with a brush or rag, following the manufacturer’s instructions and working in small sections. Wipe away any excess stain and allow it to dry for the recommended time.
b. Vacuum and tack cloth: After sanding, vacuum the entire floor to remove any dust or debris. Then, use a tack cloth to wipe the floor, ensuring that it is completely clean and free of dust.
c. Apply Stain (Optional): If you wish to change the colour of your floorboards, now is the time to apply the wood stain. Apply the stain with a brush or rag, following the manufacturer’s instructions and working in small sections. Wipe away any excess stain and allow it to dry for the recommended time.
 d. Apply Finish: The final step in achieving successful floorboard sanding is applying a finish to protect and seal your floors. Choose a finish that suits your needs, such as polyurethane, oil-based, or water-based finishes. Apply the finish with a brush, roller, or applicator pad, following the manufacturer’s instructions. Apply multiple coats, allowing each coat to dry before applying the next.
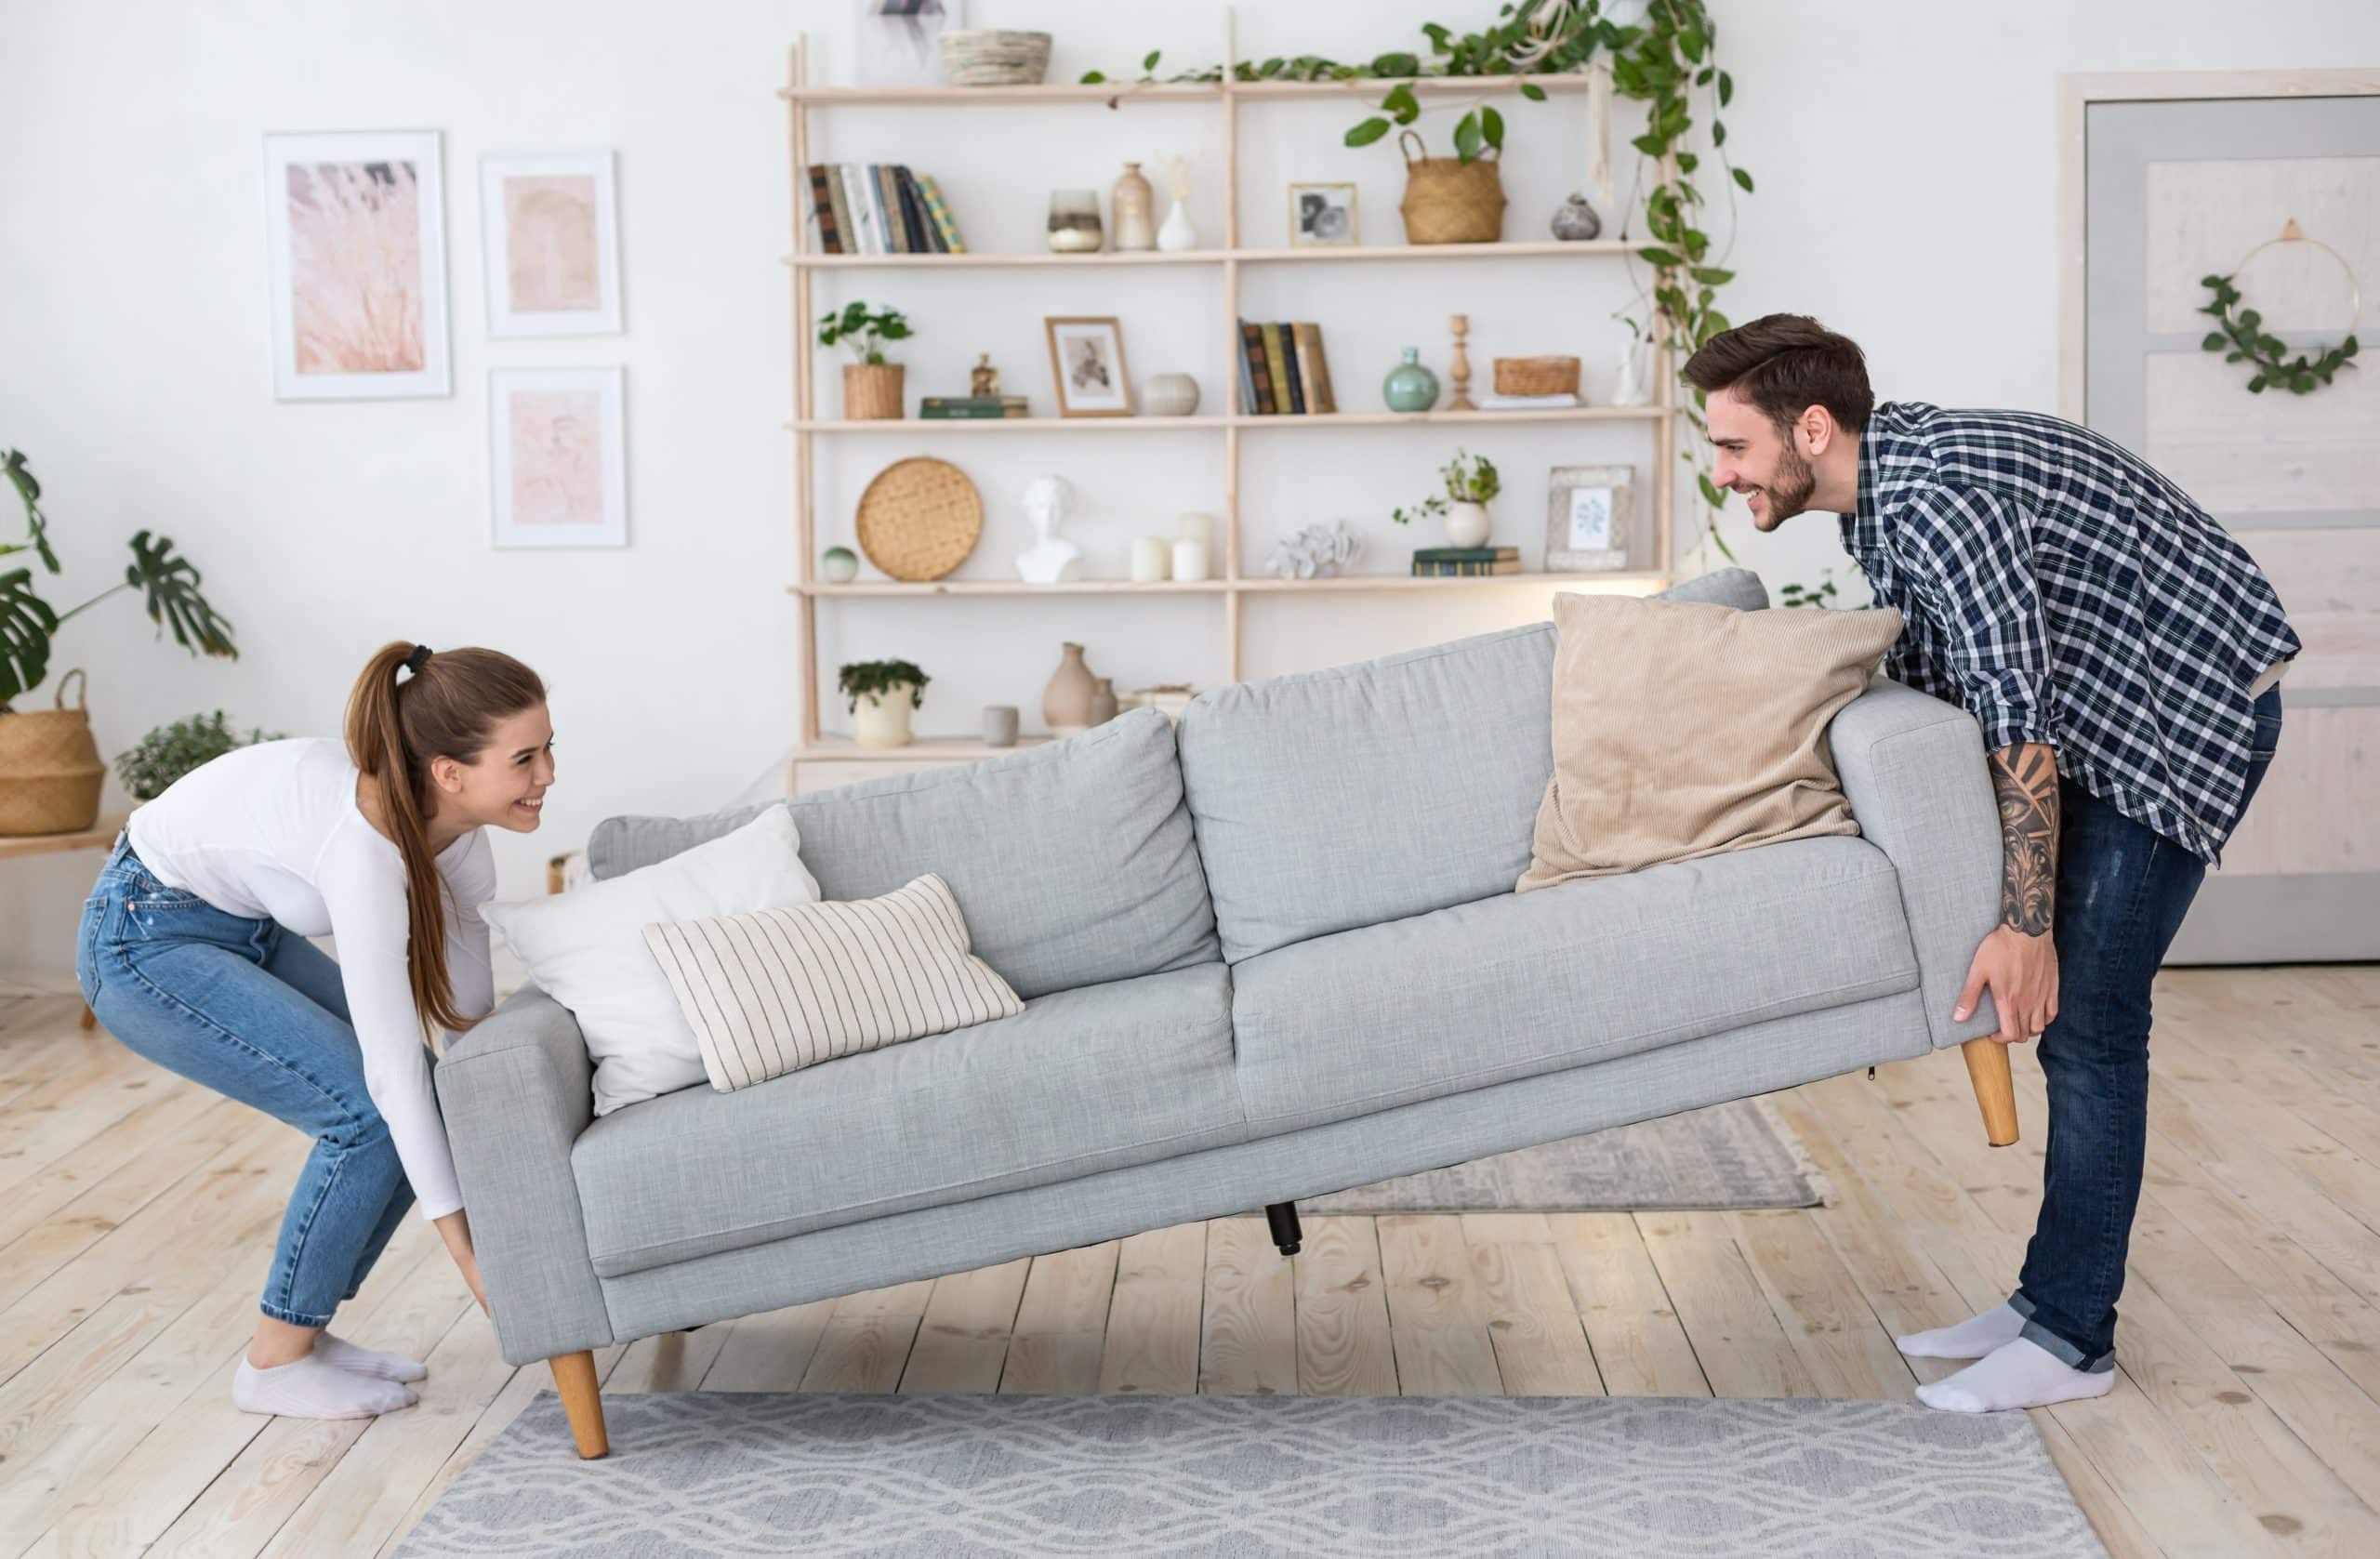
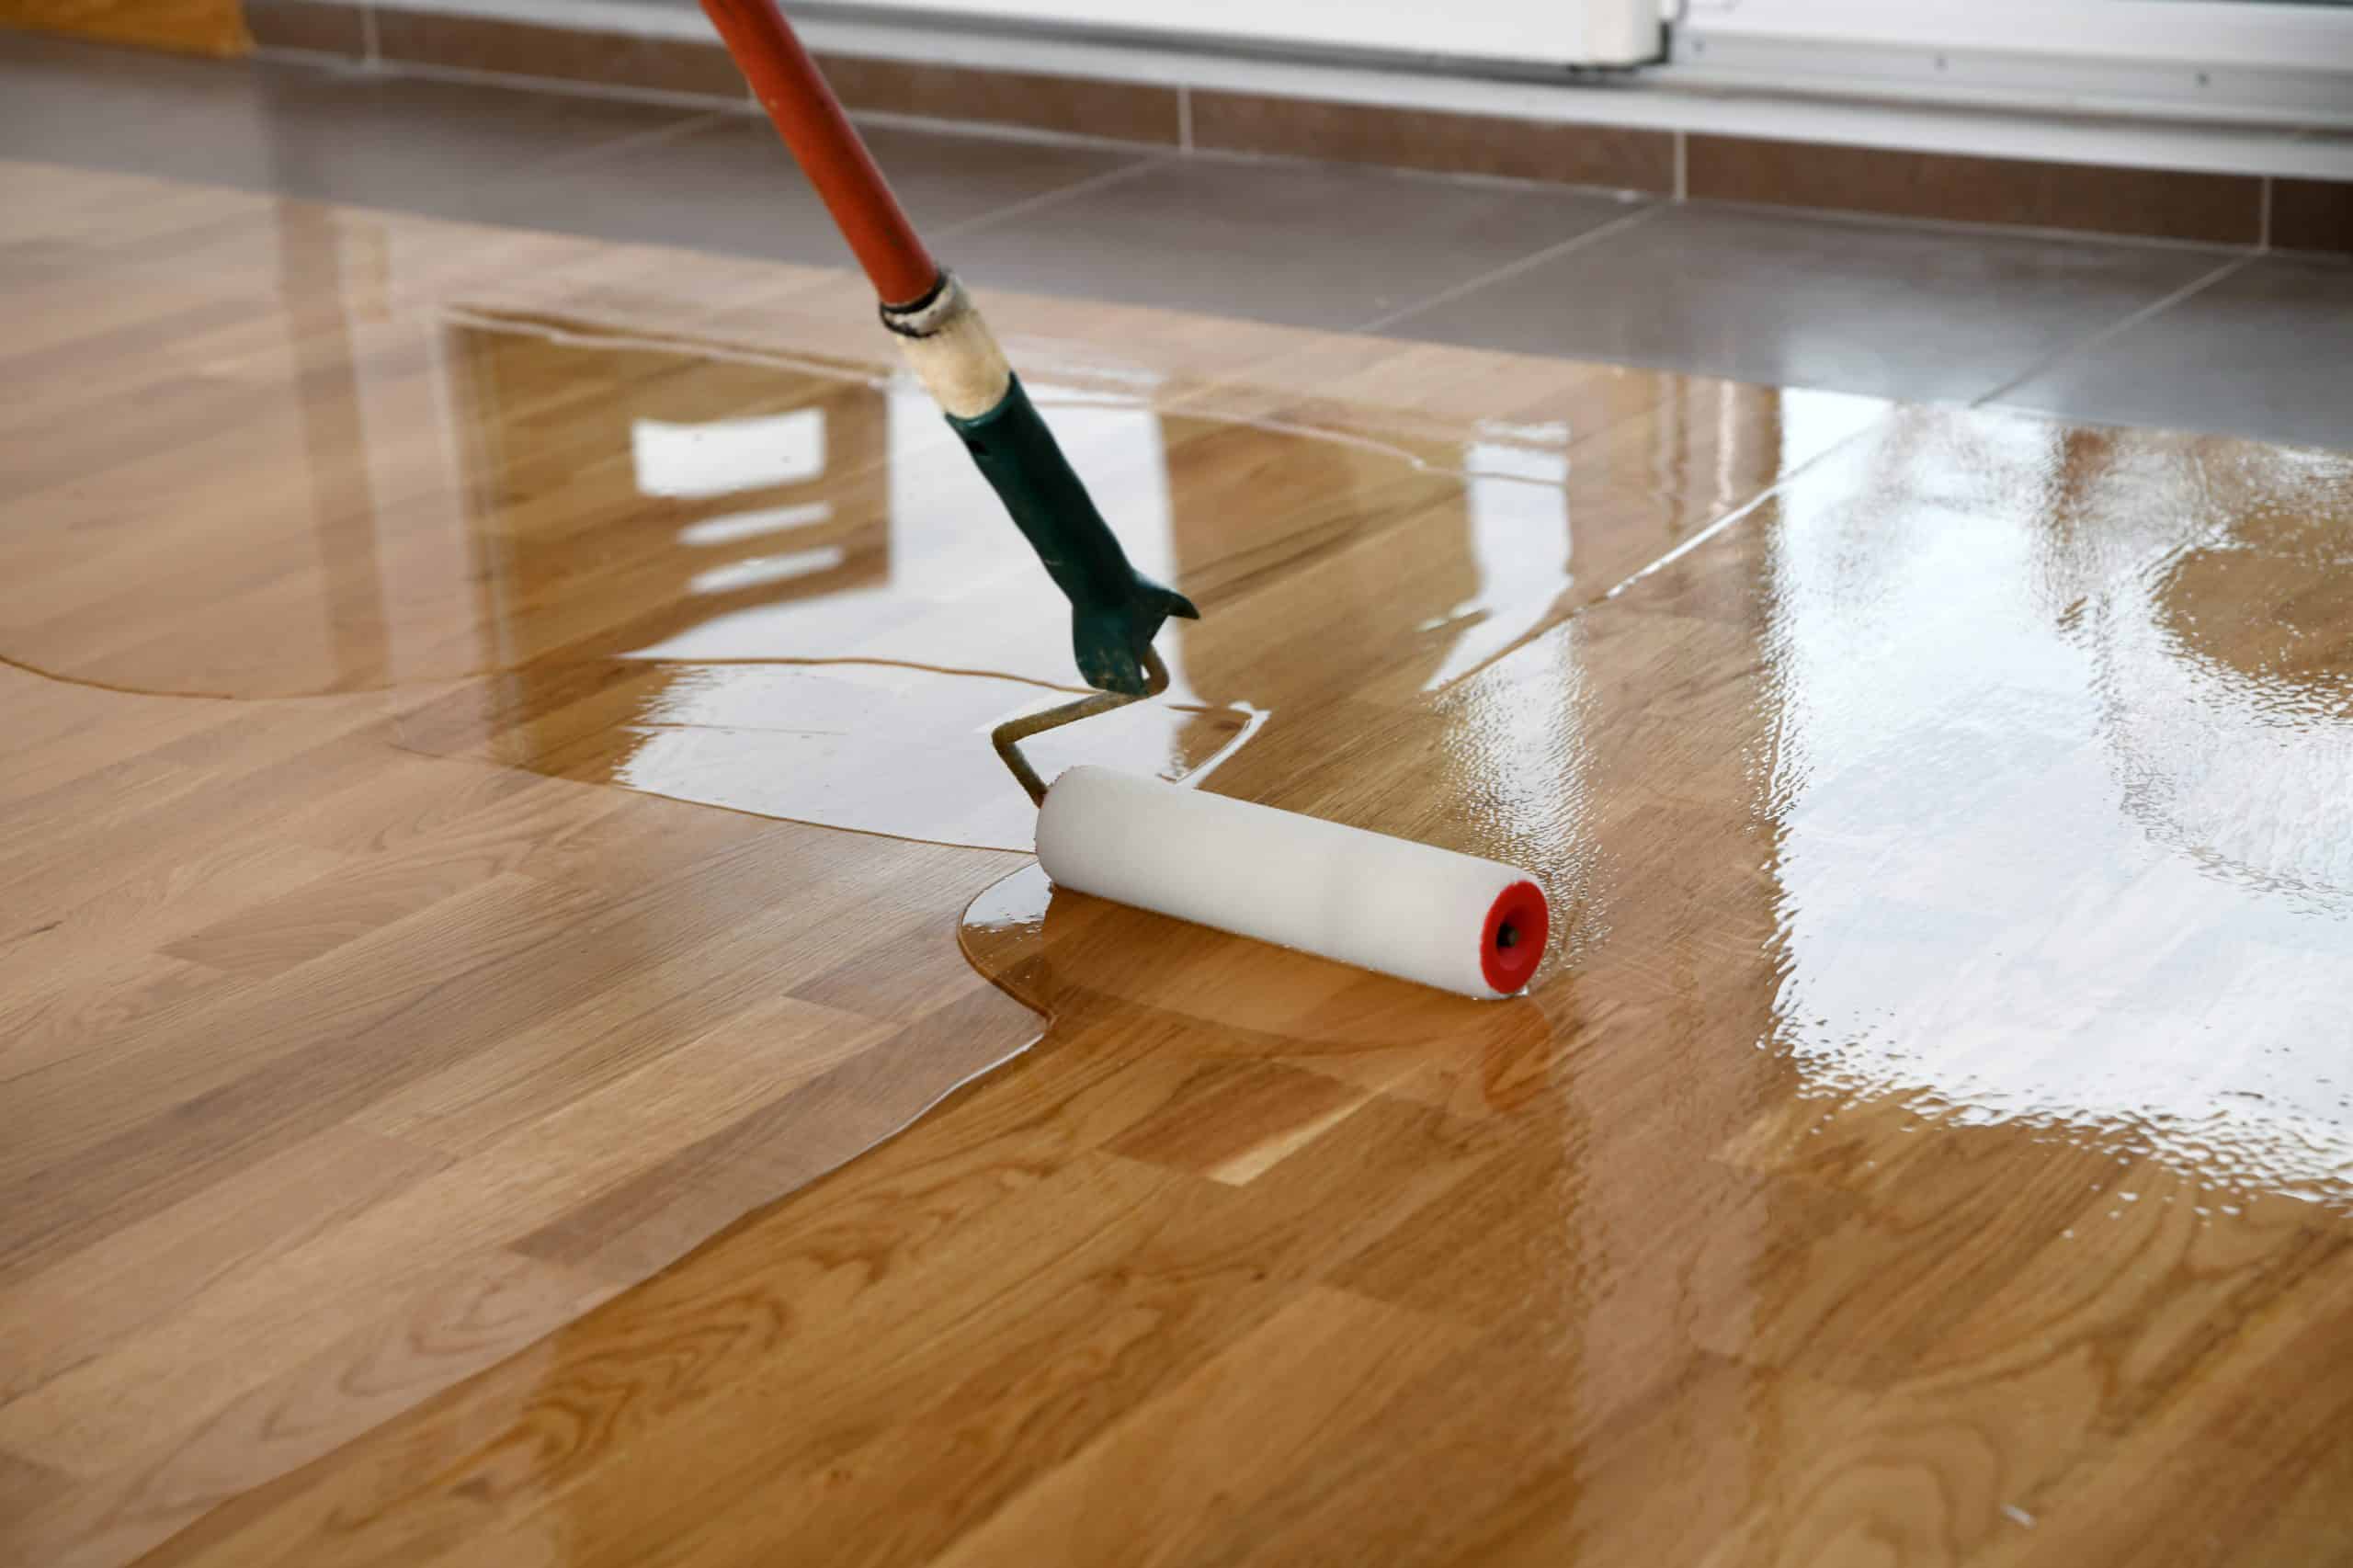 e. Allow the finish to cure: Give the finish enough time to cure before moving furniture back into the room. The curing time will depend on the type of finish used, but generally, it’s best to wait at least 24 hours before walking on the floor and up to a week before replacing heavy furniture.
Some Useful Links:
Conclusion
Achieving successful floorboard sanding requires careful planning, the right equipment, and proper techniques. By assessing the condition of your floorboards, choosing the appropriate sanding tools, preparing your space, mastering sanding techniques, and applying finishing touches, you can restore the beauty and charm of your wooden floors. With patience, attention to detail, and a little elbow grease, you can achieve a flawless finish that will transform your home and impress your guests.More from our Blog:
Key Questions to Ask before Selecting A Floor Sanding Company What are the Different Types of Wood Floor Sanding and Polishing? Sanding Wood Floor Boards: Essential Tips That Work Wonders

Sanding
We provide virtually dust-free sanding with our continuous belt machinery with mobile extraction units, giving you a safer environment for your family.
Oiling
This organic finish not only adds beauty to your home but also has exceptional water-repellent characteristics, making it easier to clean and maintain.
Waxing
This natural floor finish offers the softest and most mellow appearance – and leaves your floor able to breath.
Buffing
Using soft buffing machines (and hand-polishing where required) will bring a wonderful sheen to your newly-finished floor.
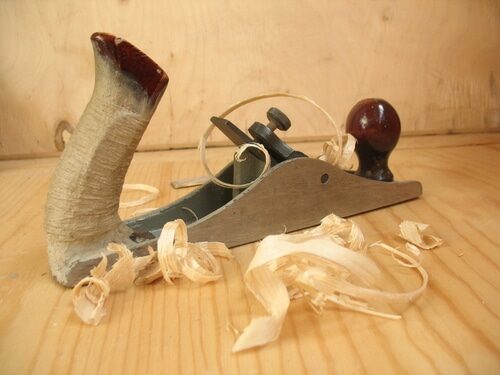
Repairs
We offer a full assessment of your wooden floors to determine what repairs are needed to provide the perfect working surface for the later stages of sanding, staining and sealing.
Restoration
We offer a comprehensive restoration process designed to address floors that are improperly fitted or damaged over time through wear and tear.
Request a fixed price quote for your wood floor restoration now
Simply enter your postcode below to get started.
Services
Wood Floor Sanding Wood Floor Restoration Wood Floor Scratch Repair Squeaky Wood Floor Repair Parquet Floor Sanding Parquet Floor Restoration Commercial Floor Sanding Church Floor Sanding Community Centre Floor Sanding School Floor Sanding Gap Filling Gap Filling with ResinCopyright © Mr Sander®
Privacy & Cookies Terms & Conditions Complaints Procedure Cancellation Rights Sitemap

Get An Instant Price Estimate Before You Go…
Simply enter the rooms you need sanded and we’ll provide you with a price estimate instantly! Try our price calculator now.
Get a Price Estimate NowLocal Floor Sanding Experts
Over 500 5-Star Reviews
Safe, Dust Free Sanding
Operating Since 1994