London:
Nationwide:
25,000+
Floors Restored
27 Years Experience
Wood Flooring Association Certified
Comprehensive Guide to Wood Floor Sanding | Revive Your Floors
Posted on May 20, 2023
Blog
The Complete Process of Wood Floor Sanding: A Detailed Guide
Wood flooring is a timeless choice that complements almost any interior design style, but its beauty can fade with time and use. Over the years, your floors may bear the signs of heavy foot traffic, scratches, stains, and a loss of their initial sheen. Thankfully, there is a simple yet effective solution to breathe new life into your worn-out hardwood floors: wood floor sanding.
Understanding wood floor sanding
Wood floor sanding is a process that involves removing the top surface of a wood floor with abrasive sanding materials. This method helps to eliminate any surface damage by bringing the underlying fresh wood to the surface. Subsequently, you can apply a new finish, making your floors look as good as new or even better.
When to Consider Sanding Your Wood Floors
Generally, wood floor sanding is necessary when:
Your floors have deep scratches, dents, or other significant damage.
- There are stubborn stains that can’t be removed with traditional cleaning methods.
- The old finish has worn off, leaving the wood exposed and vulnerable.
- You are renovating and want to change the color of your floors.
Remember, floor sanding is a drastic measure and isn’t typically part of regular floor maintenance. It’s a process that requires considerable time, effort, and resources, so ensure that it’s necessary before deciding to proceed.
The Step-by-Step Process of Wood Floor Sanding
Before diving into the process, it’s crucial to mention that while you can undertake a sanding project as a DIY task, it often requires skill and experience to get the desired results. Hiring professionals is advisable if you aren’t confident in doing the job effectively. However, if you decide to tackle the job yourself, here’s a step-by-step guide to walk you through the process:
1. Preparation
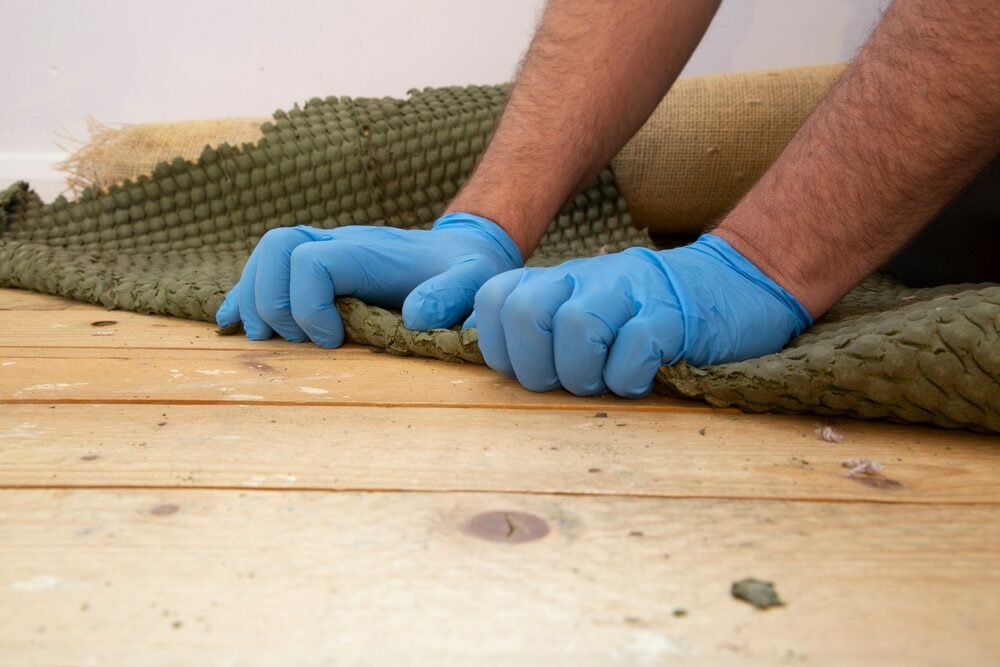
First, remove all furniture, rugs, and other items from the room. Check the floor for any protruding nails or staples that could damage the sanding machine, and ensure they’re either removed or hammered back into the floor.

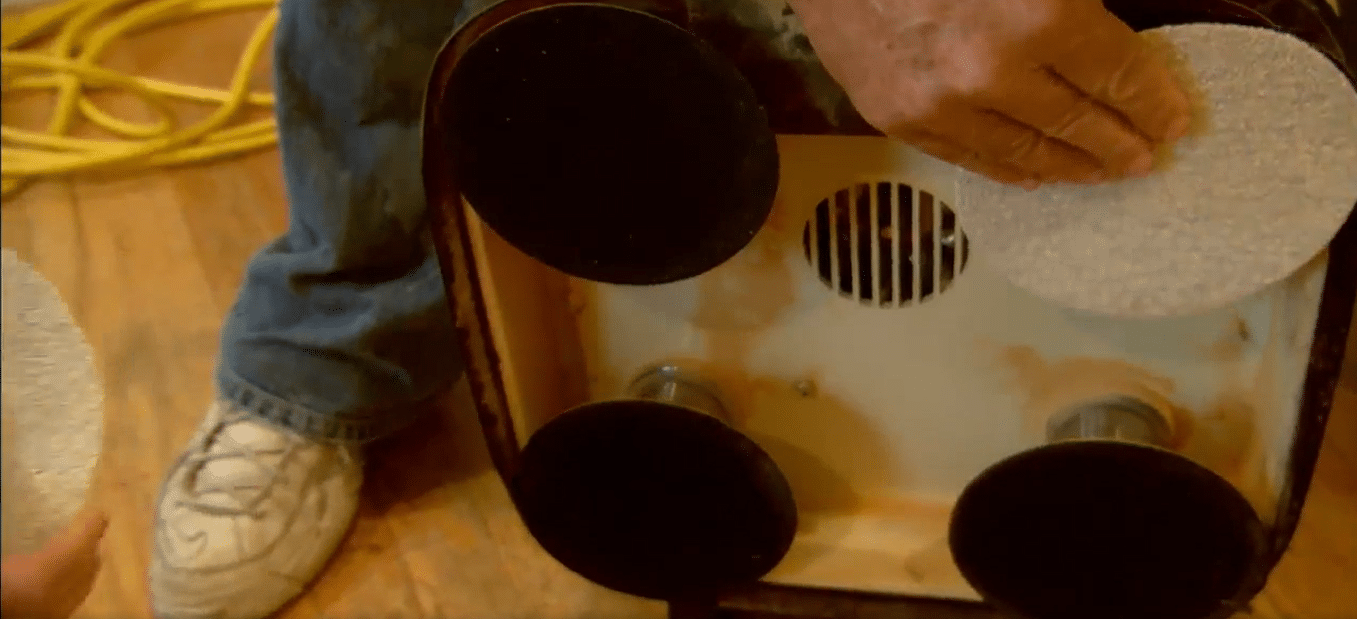
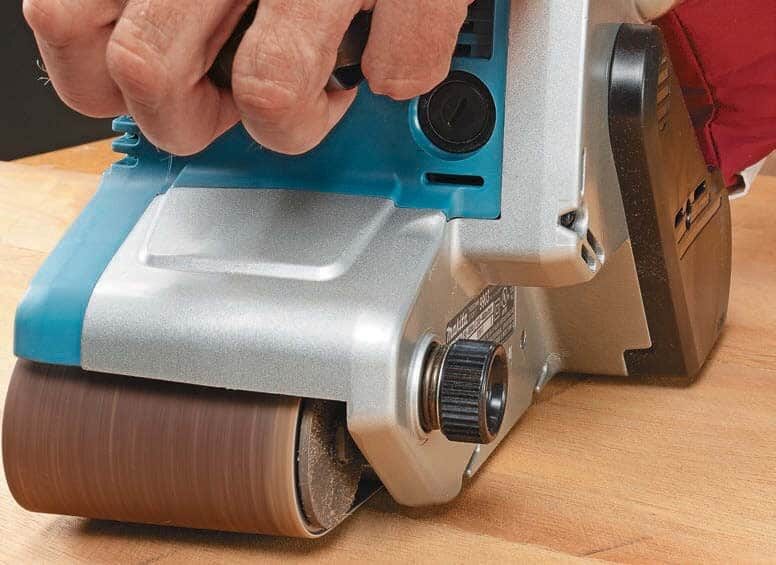
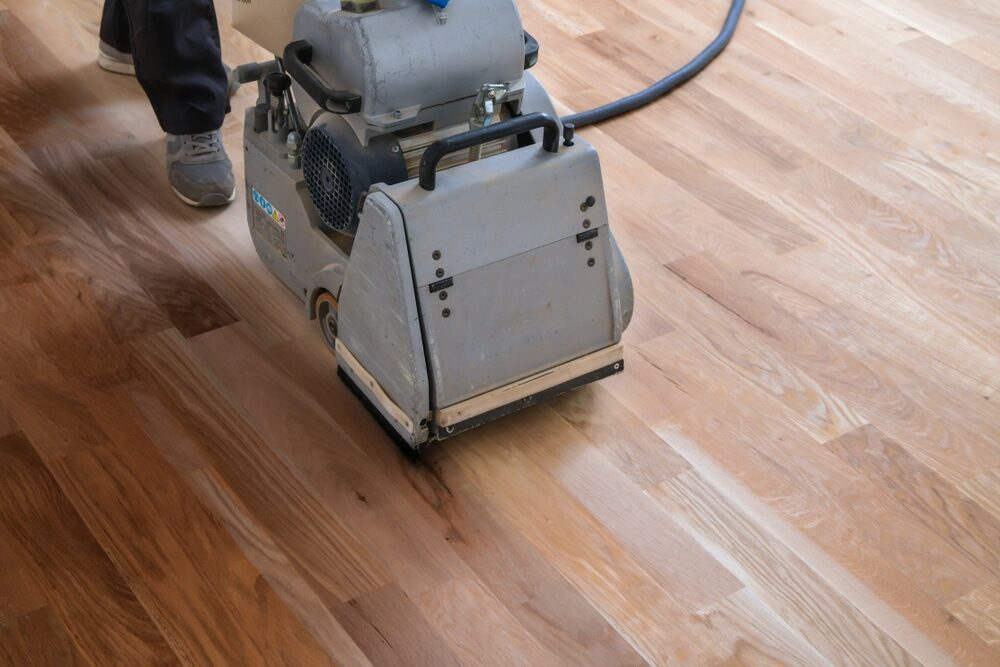
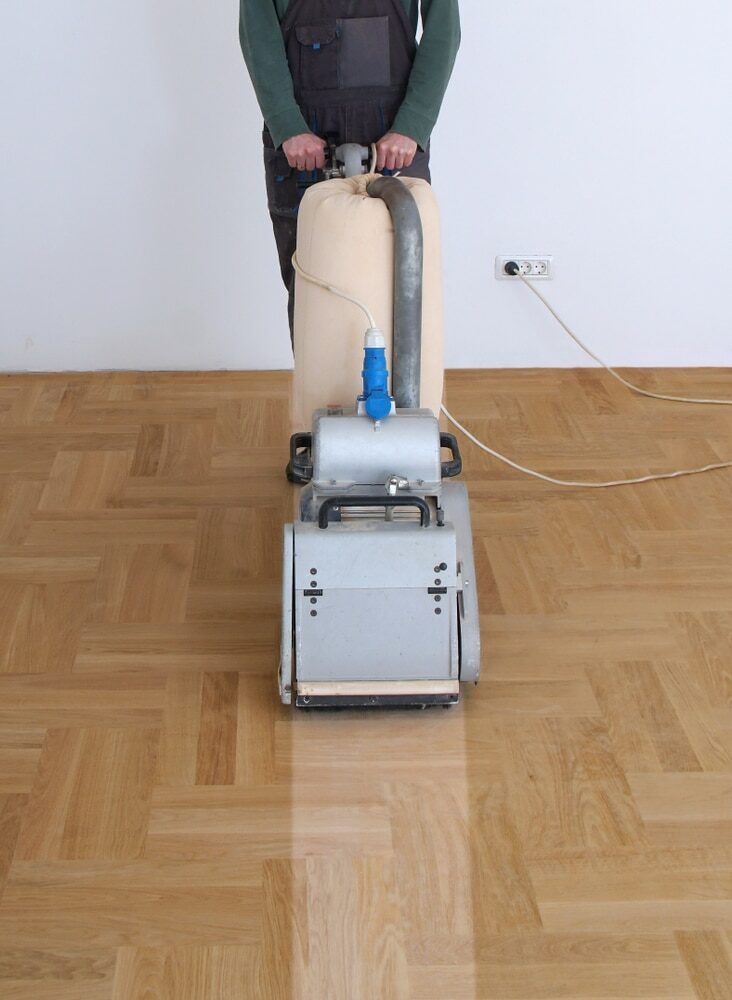
2. Choosing the Right Sanding Equipment
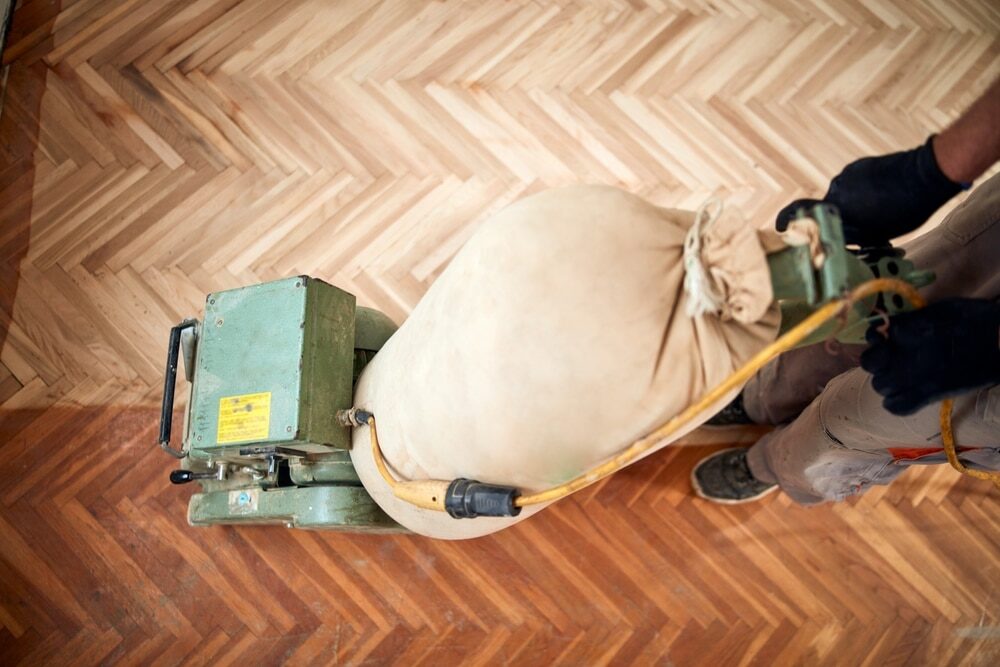
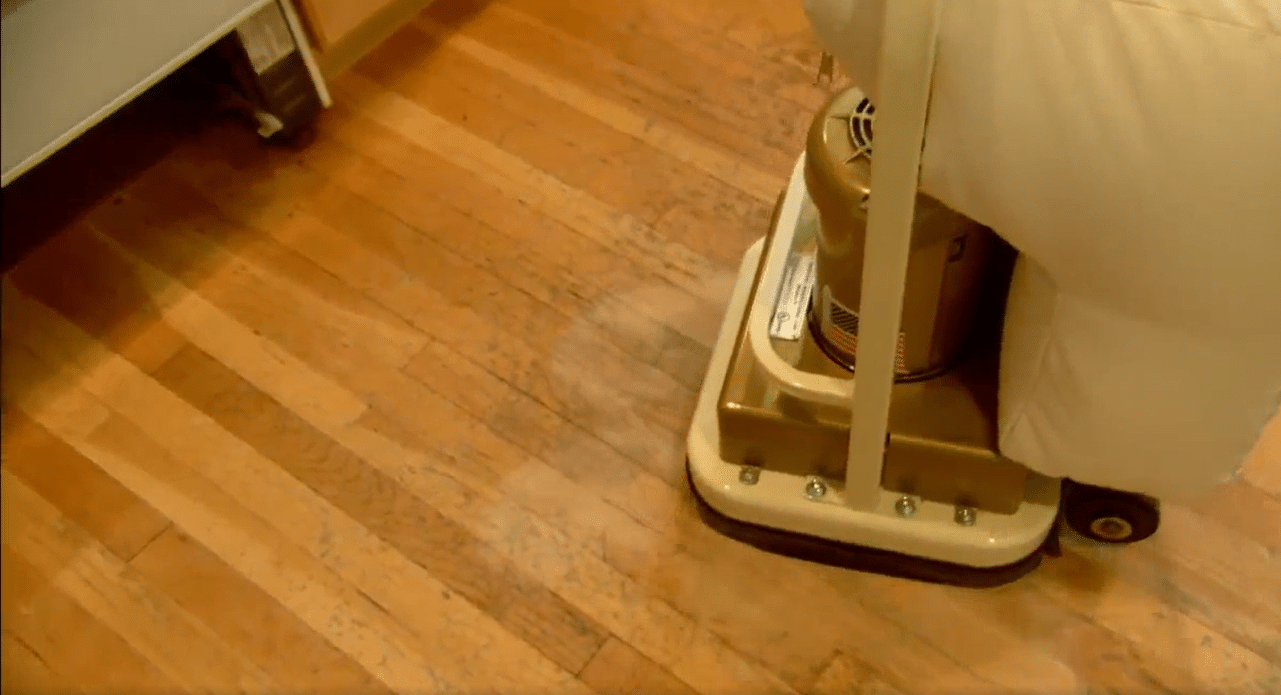
You’ll need a drum or belt sander for the central area of the floor, an edger for the perimeter, and a detail sander for corners and hard-to-reach areas. These machines can usually be rented from a local hardware store.
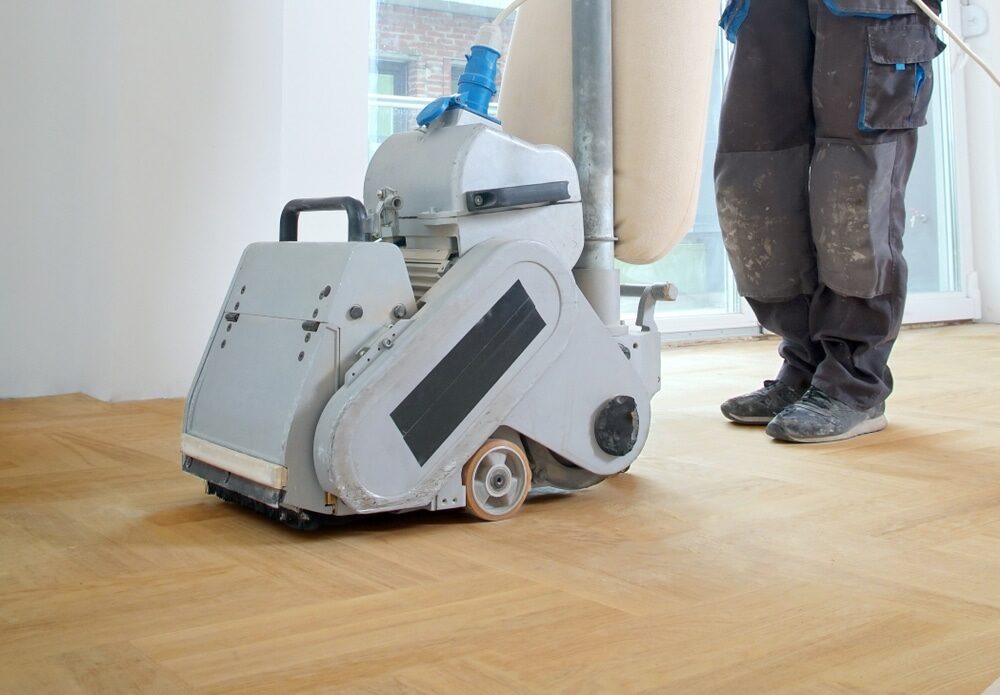
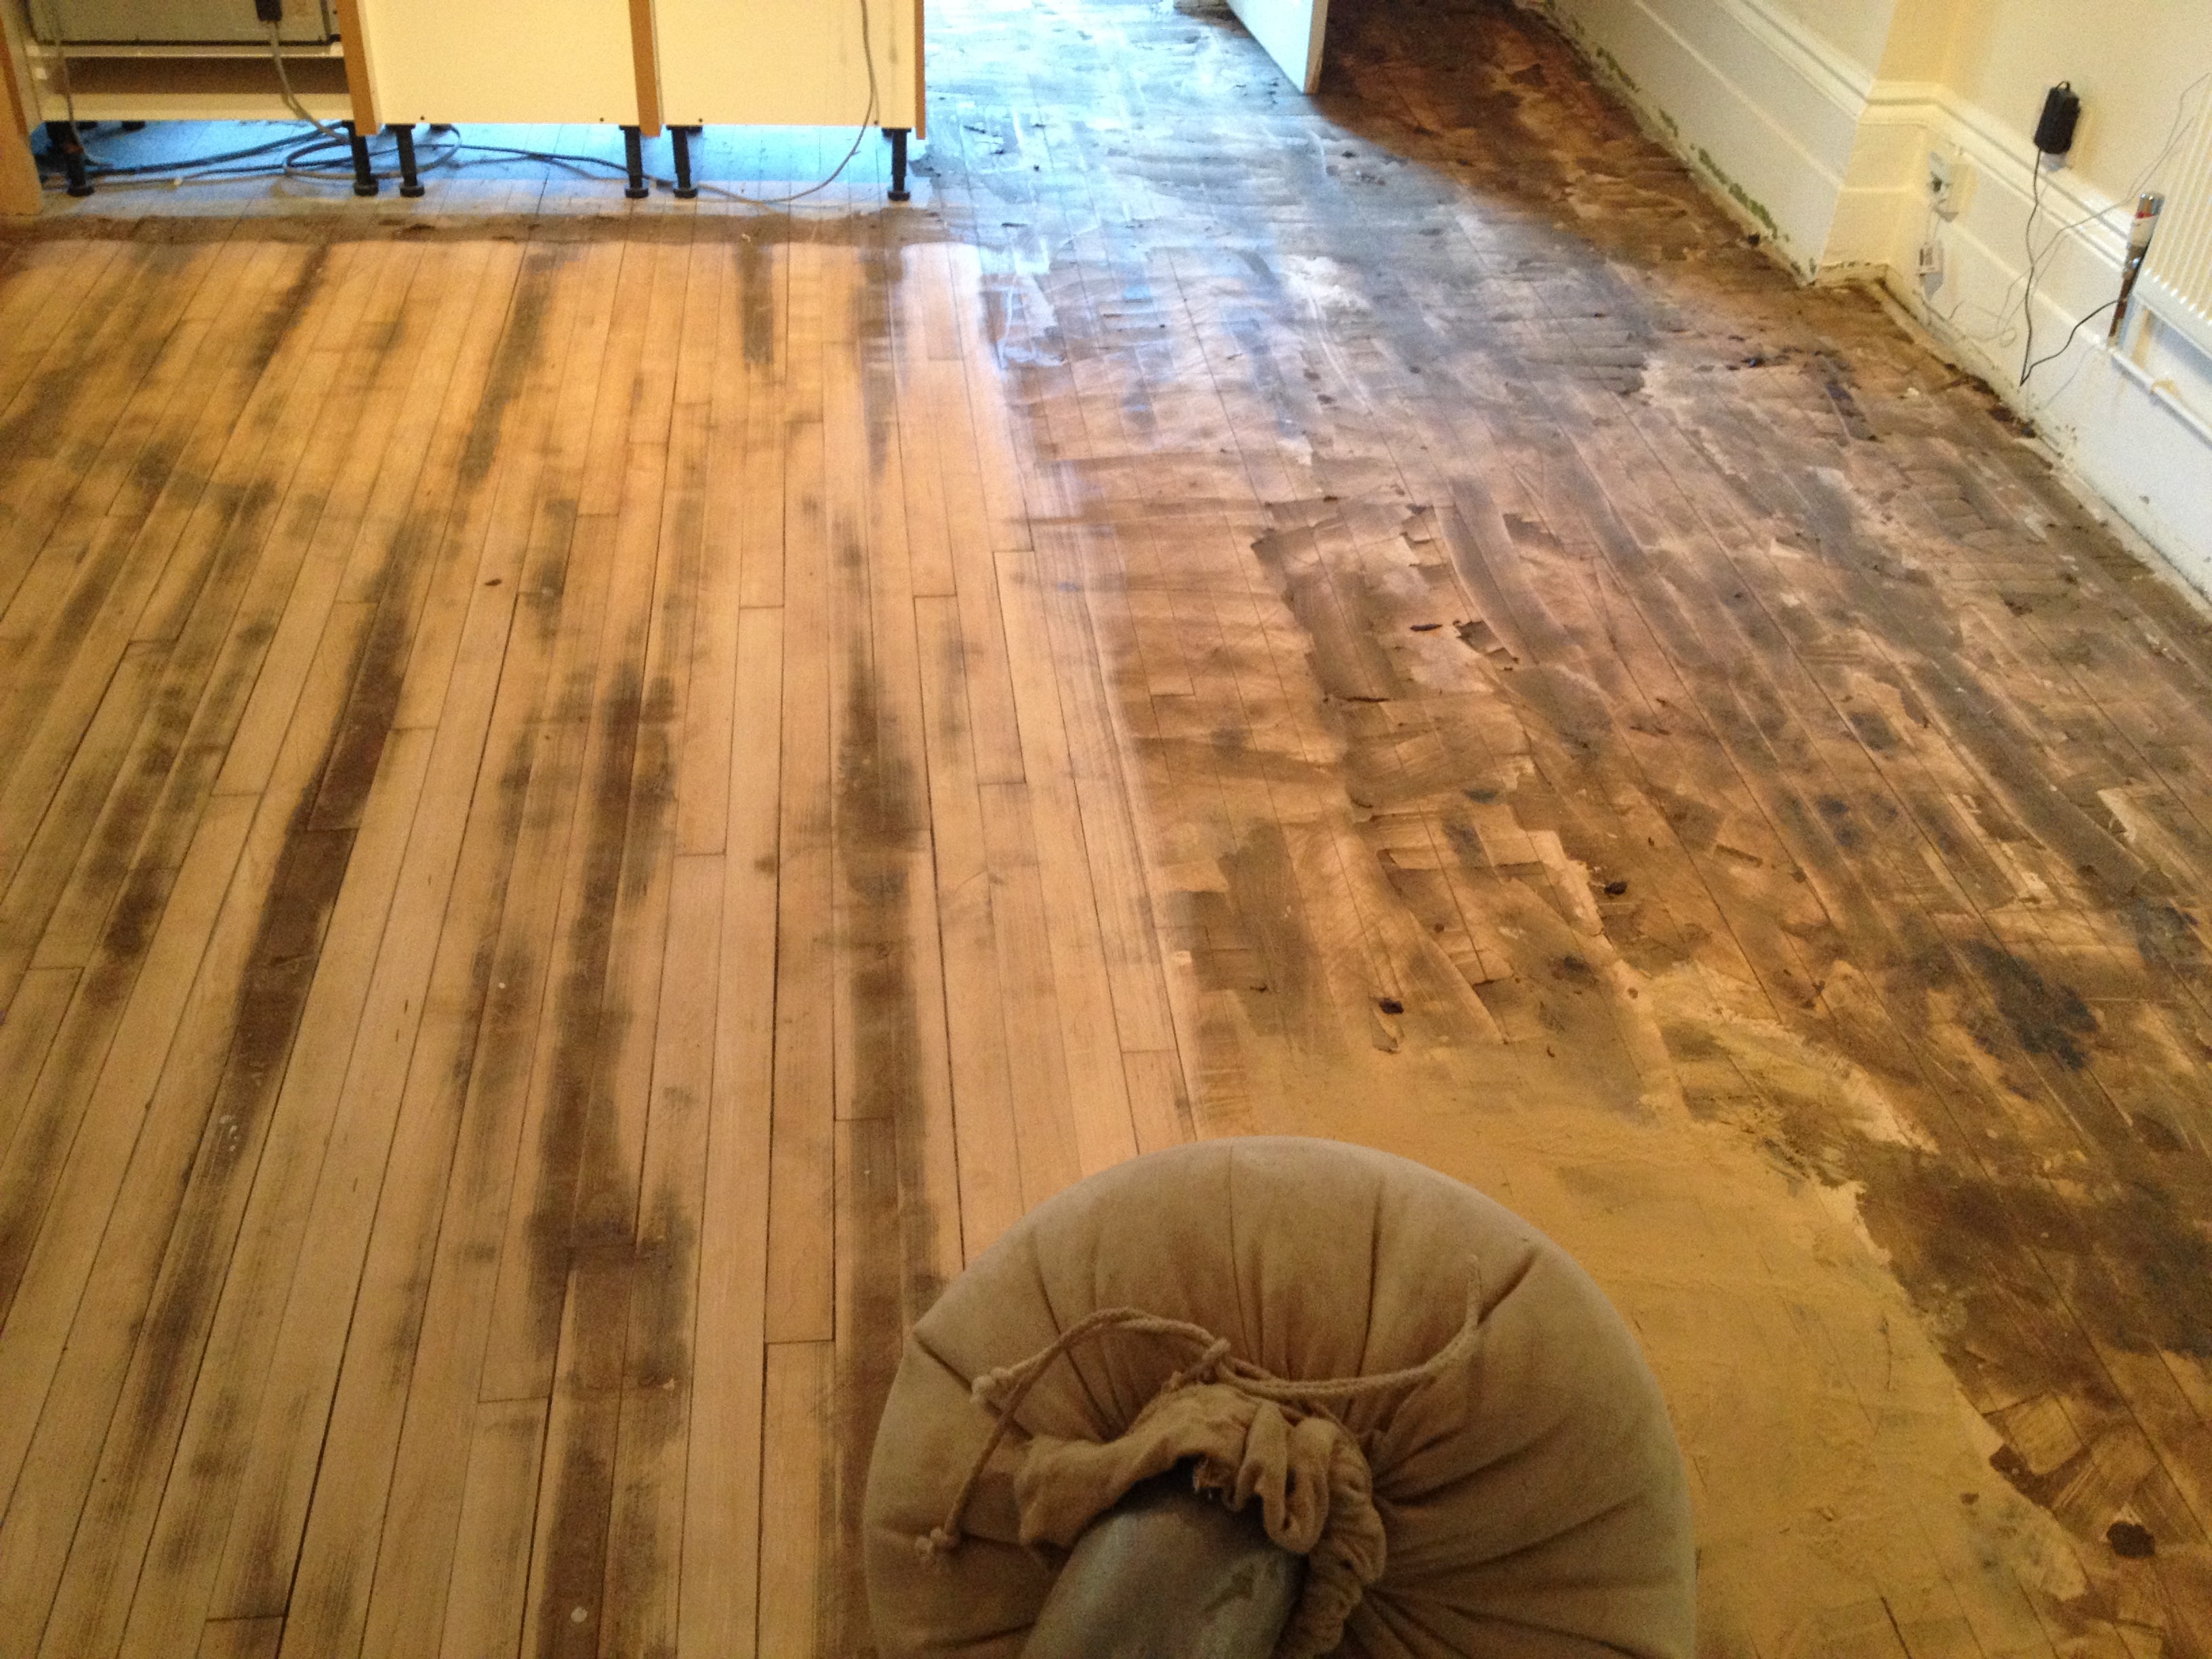
3. Start sanding.
Start sanding the central area of the floor using the drum sander. Begin with coarse-grit sandpaper to remove the existing finish and any significant damage. It’s best to sand along the grain of the wood to avoid causing scratches. Keep the machine moving to prevent creating divots on the floor.
4. Edge sanding
After sanding the main floor area, switch to the edger to tackle the room’s perimeter. An edger is a smaller machine that allows for precision in tight spaces where the drum sander can’t reach.
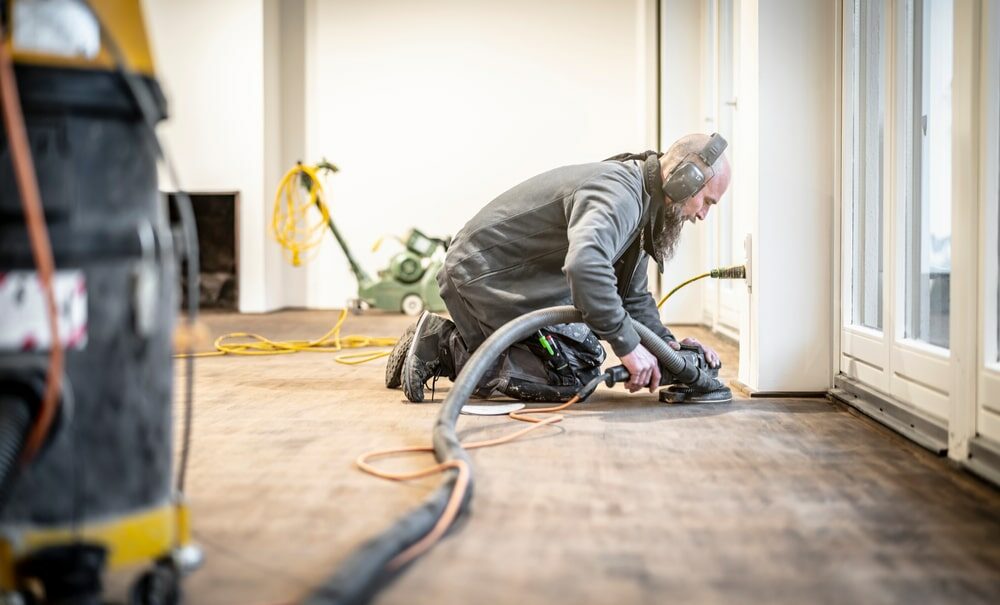
5. Detail Sanding
The final step in the sanding process involves using a detailed sander or a scraping tool to reach corners and other problematic areas. It’s tedious but crucial for ensuring a uniform finish across your floor.
6. Repeat sanding with finer grit.
Once you’ve completed the initial sanding, repeat the process with medium-grit sandpaper and fine-grit sandpaper. This step ensures a smooth surface and prepares the wood for the new finish.
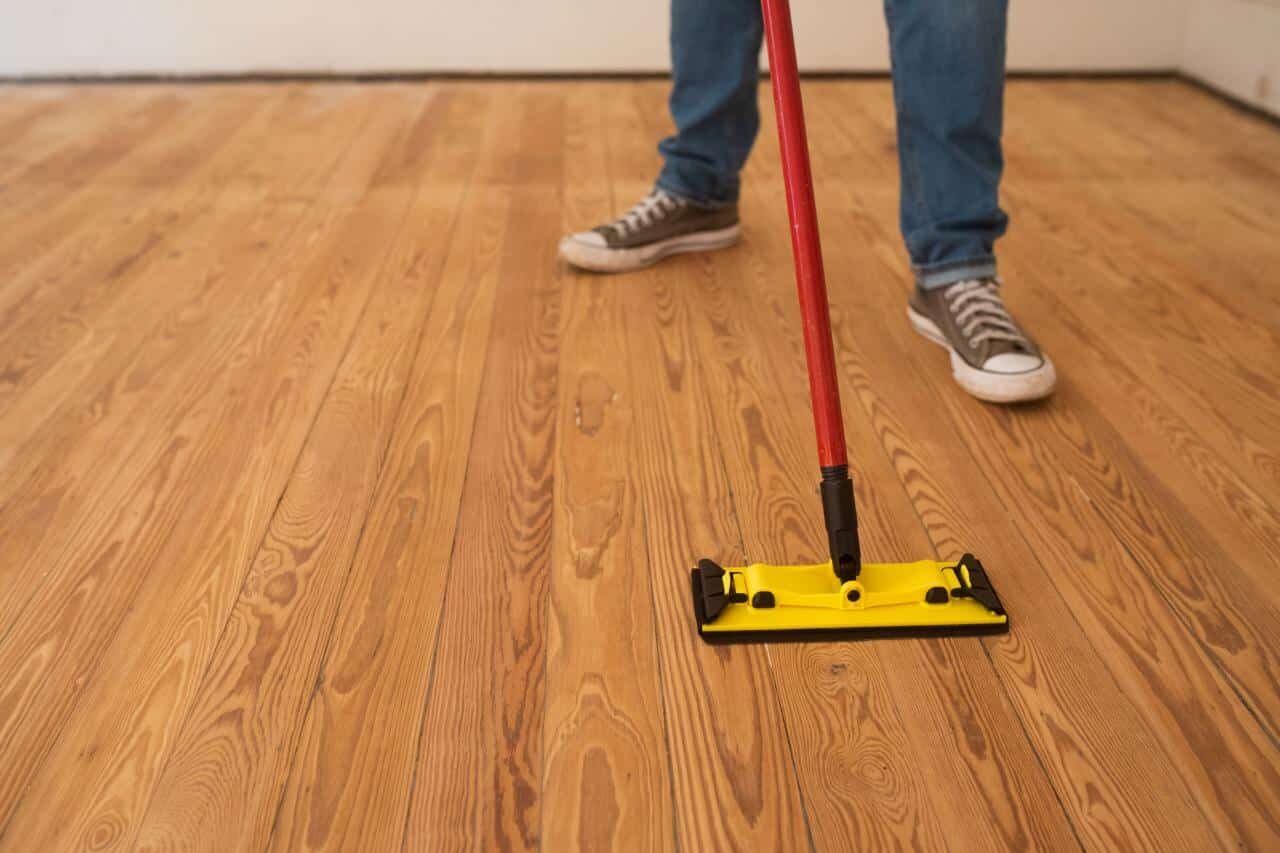
7. Cleaning
Once the sanding process is complete, thoroughly clean the room to remove all dust. Vacuum the floor and wipe down surfaces with a damp cloth. AA tack cloth is recommended to pick up any remaining dust particles on the floor, ensuring a clean surface before applying the finish.
8. Checking for imperfections
Before you move on to the finishing process, carefully inspect the entire surface of your wood floor for any missed spots or imperfections. If you notice any areas that need further sanding, take care of them now.
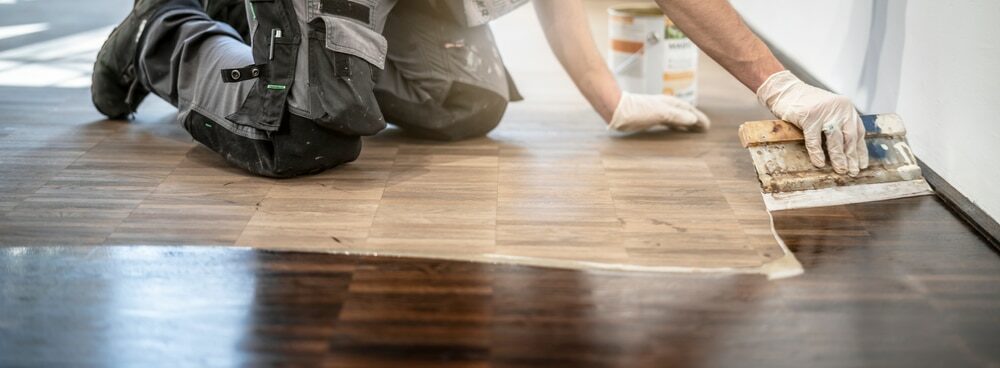
9. Applying the wood floor finish
Finally, it’s time to apply the finish. The finish you choose will depend on your preference, the type of wood, and the overall look you’re aiming for. Generally, there are two categories of finishes: surface finishes, like polyurethane, which form a protective coating on the surface, and penetrating finishes, like oil or wax, which seep into the wood fibers and protect from within.
Always work toward the wood grain when applying the finish and ensure the room is well-ventilated. Apply at least two coats for optimal protection, and allow adequate drying time between each coat.
10. Curing the Floor
After the final coat of finish is applied, it must cure before you can walk on it or move furniture back into the room. Curing times can vary based on the type of finish used, but typically, it takes around one to two weeks for the finish to harden fully.

Conclusion
The wood floor sanding process requires patience and precision, but the final result is worth the effort. With this guide, you now have a detailed overview of the entire process, whether you choose to do it yourself or hire professionals. Remember, the key to a successful wood floor sanding project is meticulous preparation, careful sanding, and a flawless finish application. Revive the charm of your wood floors and let them continue to be a centerpiece of your home’s beauty.
Some Useful Links:
- Stairs Sanding & Refinishing
- Floor Sanding Services
- School Floor Sanding
- Wood Floor Restorations
- Wood Floor Repairs
- Wood Floor Polishing
More from our Blog:
Wood Floor Sanding Machines: Your Comprehensive Guide for Restoration Success Revamp Your Home with Professional Floor Sanding Services in London DIY Wood Floor Installation: Step-by-Step Guide for Homeowners Wood Floors | How to Maintain Your Wooden Flooring Top Hardwood Floor Innovations 2023 | Future of Sustainable Interior Design

Sanding
We provide virtually dust-free sanding with our continuous belt machinery with mobile extraction units, giving you a safer environment for your family.
Oiling
This organic finish not only adds beauty to your home but also has exceptional water-repellent characteristics, making it easier to clean and maintain.
Waxing
This natural floor finish offers the softest and most mellow appearance – and leaves your floor able to breath.
Buffing
Using soft buffing machines (and hand-polishing where required) will bring a wonderful sheen to your newly-finished floor.
Repairs
We offer a full assessment of your wooden floors to determine what repairs are needed to provide the perfect working surface for the later stages of sanding, staining and sealing.
Restoration
We offer a comprehensive restoration process designed to address floors that are improperly fitted or damaged over time through wear and tear.
Request a fixed price quote for your wood floor restoration now
Simply enter your postcode below to get started.
Services
Wood Floor Sanding Wood Floor Restoration Wood Floor Scratch Repair Squeaky Wood Floor Repair Parquet Floor Sanding Parquet Floor Restoration Commercial Floor Sanding Church Floor Sanding Community Centre Floor Sanding School Floor Sanding Gap Filling Gap Filling with ResinCopyright © Mr Sander®
Privacy & Cookies Terms & Conditions Complaints Procedure Cancellation Rights Sitemap

Get An Instant Price Estimate Before You Go…
Simply enter the rooms you need sanded and we’ll provide you with a price estimate instantly! Try our price calculator now.
Get a Price Estimate NowLocal Floor Sanding Experts
Over 500 5-Star Reviews
Safe, Dust Free Sanding
Operating Since 1994