London:
Nationwide:
25,000+
Floors Restored
27 Years Experience
Wood Flooring Association Certified
Clear That Old Carpet from Your Wooden Floor – A Comprehensive Guide
Posted on April 10, 2023
Blog
I. Preparing for the Project
A. Assessing the Situation
Before you begin the process of removing your old carpet, it’s essential to assess the situation and determine the scope of the project. Determine the age and condition of your carpet, as well as the type and condition of the wooden flooring beneath. This information will help you plan your approach and decide whether to tackle the project yourself or hire a professionals.B. Gathering the Necessary Tools and Supplies
To successfully remove your old carpet and restore the wooden floor, you’ll need a variety of tools and supplies, including:- Utility knife
- Pry bar
- Hammer
- Pliers
- Screwdriver
- Dust mask
- Safety goggles
- Gloves
- Knee pads
- Broom and dustpan
- Vacuum cleaner
- Adhesive remover
- Fine-grit sandpaper
- Wood stain and finish
- Paintbrushes and rags
- Floor sander (if needed)
C. Safety Considerations
Safety should always be a priority when working on any home improvement project. When removing your old carpet and restoring your wooden floor, be sure to wear appropriate protective gear, including gloves, safety goggles, and a dust mask. Also, be cautious when using tools, and work in a well-ventilated area.II. Removing the Carpet

A. Starting from the Edges
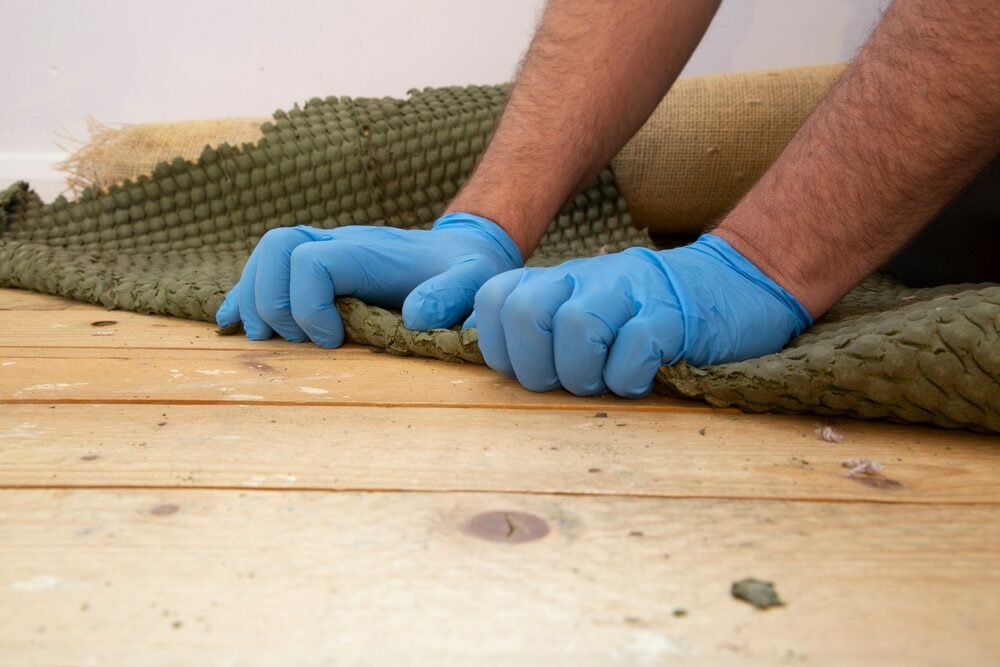
Begin the carpet removal process by locating a corner or edge of the room. Use a pry bar and hammer to carefully lift the carpet away from the tack strips that secure it to the floor. Once you have a section of the carpet free, use your pliers to grip the carpet and pull it up and away from the floor.B. Cutting and Rolling the Carpet
To make the carpet easier to handle and dispose of, use a utility knife to cut it into manageable strips. Cut the carpet from the backside, being careful not to damage the wooden floor beneath. After cutting each strip, roll it up and secure it with duct tape or rope. This will make it much easier to transport and dispose of the carpet. Continue this process until you have removed the entire carpet from the wooden floor.C. Detaching and Removing the Carpet Padding
Once the carpet is removed, you’ll likely find a layer of padding beneath. This padding is typically secured to the wooden floor with staples or adhesive. Begin by pulling up one corner of the padding and working your way across the room, removing the padding in sections. Be careful not to damage the wooden floor during this process.III. Dealing with Tack Strips and Staples
A.Tack Strip Removal
Tack strips are used to secure the carpet around the perimeter of the room. To remove them, use a pry bar and hammer to carefully lift the strips from the wooden floor. Be cautious not to damage the floor while prying up the tack strips.B. Staple Removal
After the carpet padding is removed, inspect the wooden floor for any remaining staples. Using pliers, carefully remove each staple, ensuring you don’t scratch or gouge the floor in the process.IV. Cleaning the Wooden Floor
A. Sweeping and vacuuming
With the carpet, padding, tack strips, and staples removed, it’s time to thoroughly clean the wooden floor. Begin by sweeping the floor with a broom to remove any loose debris. Follow up with a vacuum cleaner, using a soft brush attachment to prevent scratching the floor.B. Removing Adhesive Residue
If your carpet padding was secured with adhesive, there might be residue left on the wooden floor. To remove this residue, use an adhesive remover specifically designed for wooden surfaces. Follow the manufacturer’s instructions and work in small sections to ensure the best results. After the adhesive is removed, clean the area with a damp cloth to remove any remaining residue.C. Dealing with Stains and Discoloration
Over time, wooden floors can develop stains and discoloration. To address these issues, use a fine-grit sandpaper to gently sand the affected areas. Be sure to sand with the grain of the wood to avoid further damage. After sanding, clean the area with a damp cloth and allow it to dry completely.V. Assessing the Condition of Your Wooden Floor
A. Identifying Types of Damage
Now that your wooden floor is clean and free of debris, it’s essential to assess its condition and identify any damage. Look for signs of water damage, scratches, dents, and other imperfections that may require repair or refinishing.B. Determining the Level of Restoration Needed
Based on your assessment, determine the level of restoration required for your wooden floor. If the floor is in relatively good condition, a simple cleaning and polishing may suffice. However, if there is significant damage or wear, you may need to consider a more comprehensive refinishing process.VI. Repairing and Refinishing Your Wooden Floor
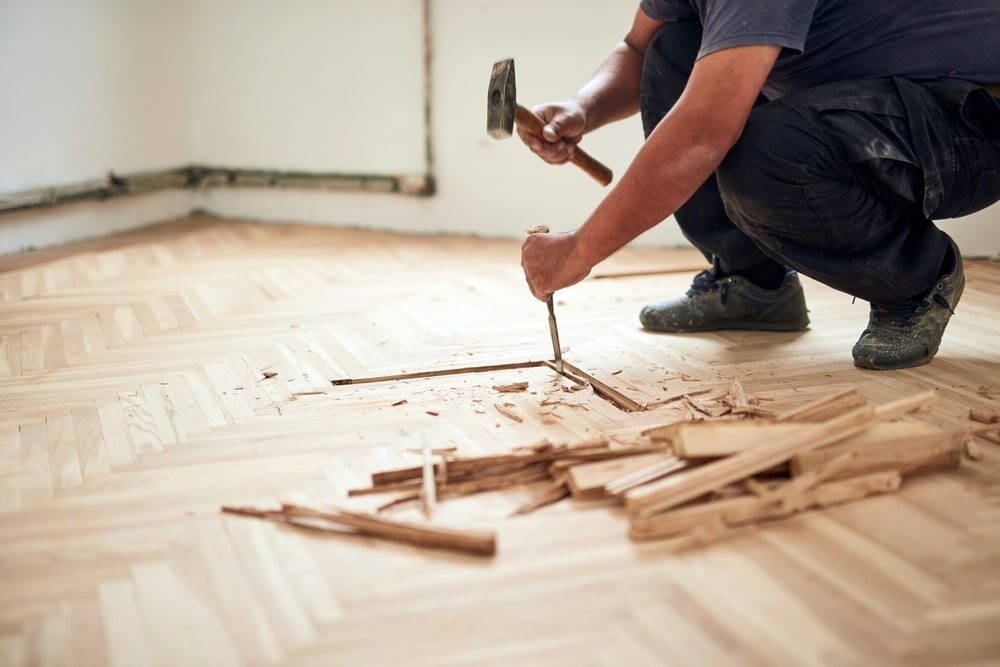
A. Sanding the Floor
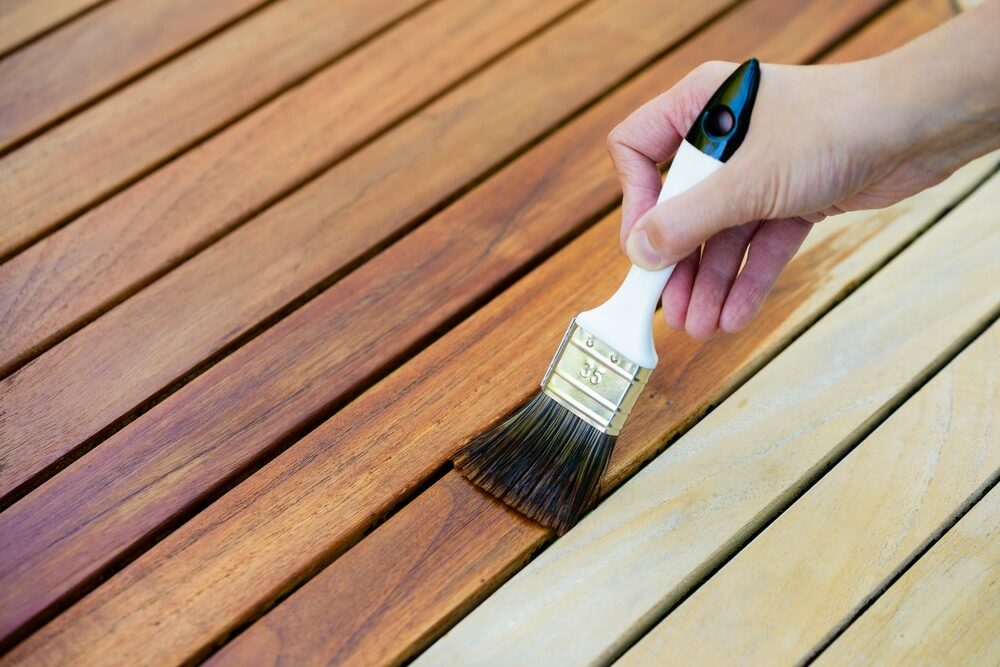
If your wooden floor requires refinishing, start by sanding the entire surface using a floor sander. This process will remove the old finish, even out any imperfections, and create a smooth surface for staining and sealing.B. Staining and Sealing
Once the floor is sanded and clean, choose a wood stain that matches your desired colour and finish. Apply the stain evenly using a brush or rag, following the manufacturer’s instructions. Allow the stain to dry completely before moving on to the sealing process.C. Applying a Protective Finish
To protect your newly refinished wooden floor, apply a high-quality polyurethane or varnish finish. Follow the manufacturer’s instructions for application and drying times. Typically , you will need to apply multiple coats, allowing each coat to dry thoroughly before applying the next. This protective finish will enhance the appearance of your wooden floor and provide a durable barrier against everyday wear and tear.VII. Tips for Maintaining Your Wooden Floor
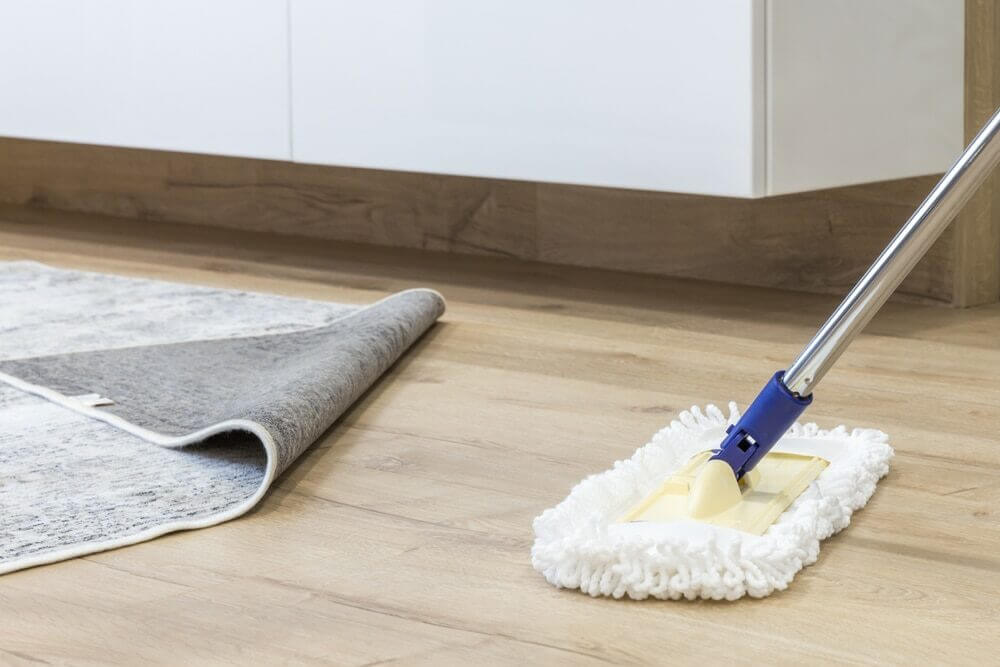
A. Regular Cleaning and Maintenance
To keep your wooden floor looking its best, establish a regular cleaning routine. Sweep or vacuum the floor regularly to remove dirt and debris, and use a damp mop or cloth to clean spills and stains. Avoid using harsh chemicals or abrasive cleaning tools, as these can damage the floor’s finish.B. Preventing Scratches and Dents
Protect your wooden floor from scratches and dents by using furniture pads on the legs of chairs, tables, and other heavy objects. Be mindful of high-heeled shoes and pet claws, as these can also cause damage to your floor. Consider placing area rugs in high-traffic areas to minimise wear and tear.C. Addressing Spills and Stains
When spills occur, it’s essential to clean them promptly to prevent stains and damage to the floor’s finish. Use a damp cloth to blot up the spill, and then clean the area with a gentle cleaner specifically designed for wooden floors.Some Useful Links:
Conclusion
Clearing an old carpet from a wooden floor can be a challenging but rewarding process. With proper planning, preparation, and attention to detail, you can successfully remove the carpet and restore your wooden floor to its former beauty. By following this comprehensive guide, you can transform your living space and enjoy the timeless elegance of a well-maintained wooden floor for years to come.More from our Blog:
Enhance Your Floor’s Shine How to Remove Stains and Marks from Wooden Floors ? A Comprehensive Guide to Maintaining Your Floor’s Finish
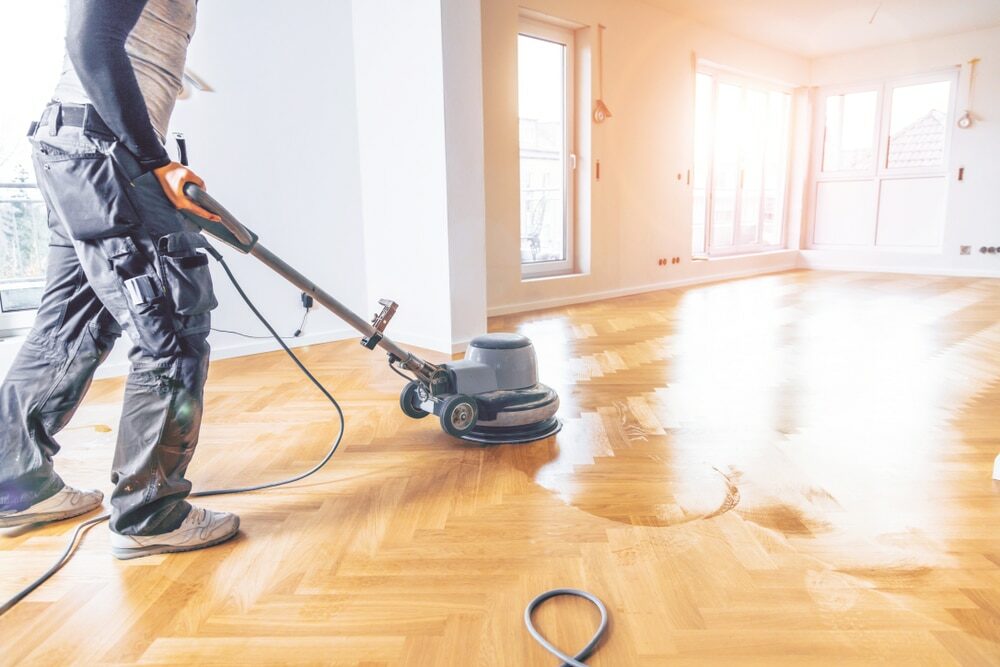
Sanding
We provide virtually dust-free sanding with our continuous belt machinery with mobile extraction units, giving you a safer environment for your family.
Oiling
This organic finish not only adds beauty to your home but also has exceptional water-repellent characteristics, making it easier to clean and maintain.
Waxing
This natural floor finish offers the softest and most mellow appearance – and leaves your floor able to breath.
Buffing
Using soft buffing machines (and hand-polishing where required) will bring a wonderful sheen to your newly-finished floor.
Repairs
We offer a full assessment of your wooden floors to determine what repairs are needed to provide the perfect working surface for the later stages of sanding, staining and sealing.
Restoration
We offer a comprehensive restoration process designed to address floors that are improperly fitted or damaged over time through wear and tear.
Request a fixed price quote for your wood floor restoration now
Simply enter your postcode below to get started.
Services
Wood Floor Sanding Wood Floor Restoration Wood Floor Scratch Repair Squeaky Wood Floor Repair Parquet Floor Sanding Parquet Floor Restoration Commercial Floor Sanding Church Floor Sanding Community Centre Floor Sanding School Floor Sanding Gap Filling Gap Filling with ResinCopyright © Mr Sander®
Privacy & Cookies Terms & Conditions Complaints Procedure Cancellation Rights Sitemap

Get An Instant Price Estimate Before You Go…
Simply enter the rooms you need sanded and we’ll provide you with a price estimate instantly! Try our price calculator now.
Get a Price Estimate NowLocal Floor Sanding Experts
Over 500 5-Star Reviews
Safe, Dust Free Sanding
Operating Since 1994