London:
Nationwide:
25,000+
Floors Restored
27 Years Experience
Wood Flooring Association Certified
Achieve a Perfect Refinish for Your Hardwood Floor: Comprehensive DIY Guide
Posted on May 15, 2023
Blog
DIY Guide: How to Achieve a Perfect Refinish for Your Hardwood Floor
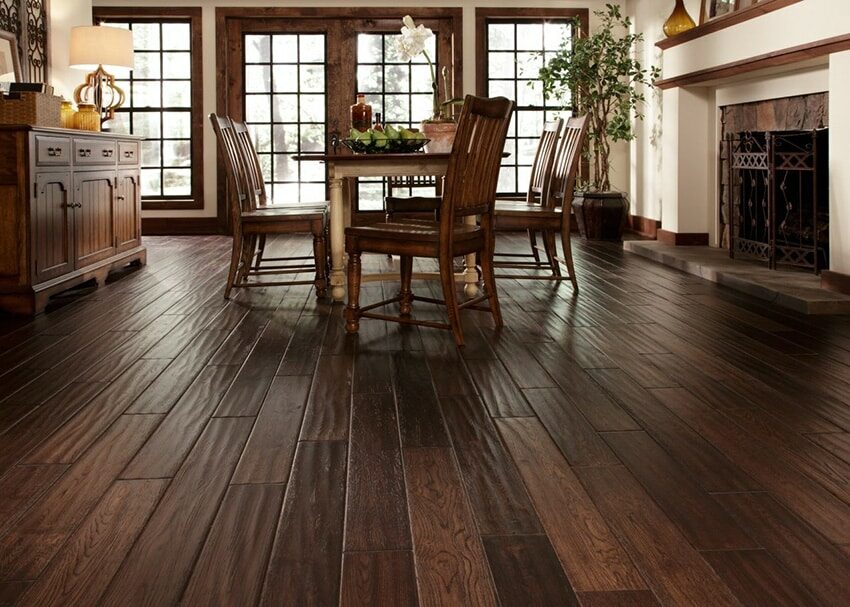
Hardwood floors have a timeless appeal that can last generations with proper care. Over time, however, even the best-kept floors can lose their lustre due to everyday use, minor accidents, and the passage of time. The good news is that, with the right approach, you can refinish your hardwood floors and restore their natural beauty. This comprehensive guide will walk you through the steps to achieving a perfect refinish for your hardwood floor.
Understanding the Refinishing Process
Refinishing a hardwood floor involves removing the old finish and top layer of the wood to expose a fresh layer underneath. The new layer is then stained (if desired) and sealed with a protective finish to enhance the colour and grain of the wood. The process requires precision and careful planning, but with a bit of patience and the right tools, it’s a task that can be handled by most DIY enthusiasts.
When to Refinish Your Hardwood Floor
Before you begin the refinishing process, it’s crucial to determine whether your floor needs refinishing. Some signs that your hardwood floor might need refinishing include deep scratches, gouges, or areas where the protective finish has worn away. If your floor’s finish is in good shape but looks a bit dull, a simple screening and recoating might suffice. This process involves lightly sanding the finish (not the wood itself) and applying a fresh coat of finish.
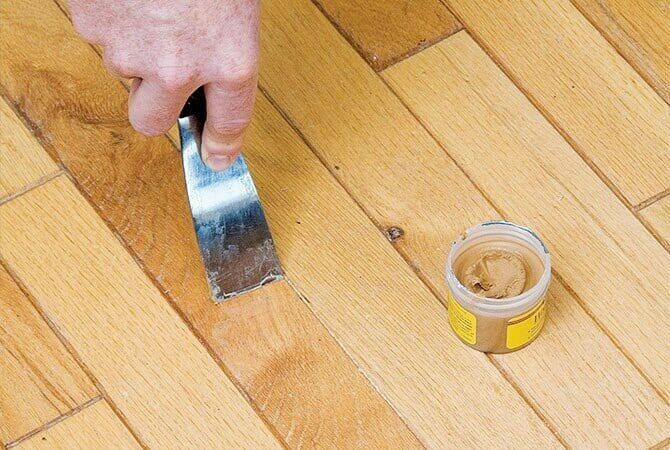
Preparing for the Refinishing Process
Proper preparation is key to achieving a perfect refinish. Start by clearing the room of all furniture, rugs, and other items. Remove any nails, staples, or other sharp objects from the floor. If your floor has any deep scratches or gouges, fill them in with wood filler. Once you’ve prepared the floor, clean it thoroughly to remove dust and debris.
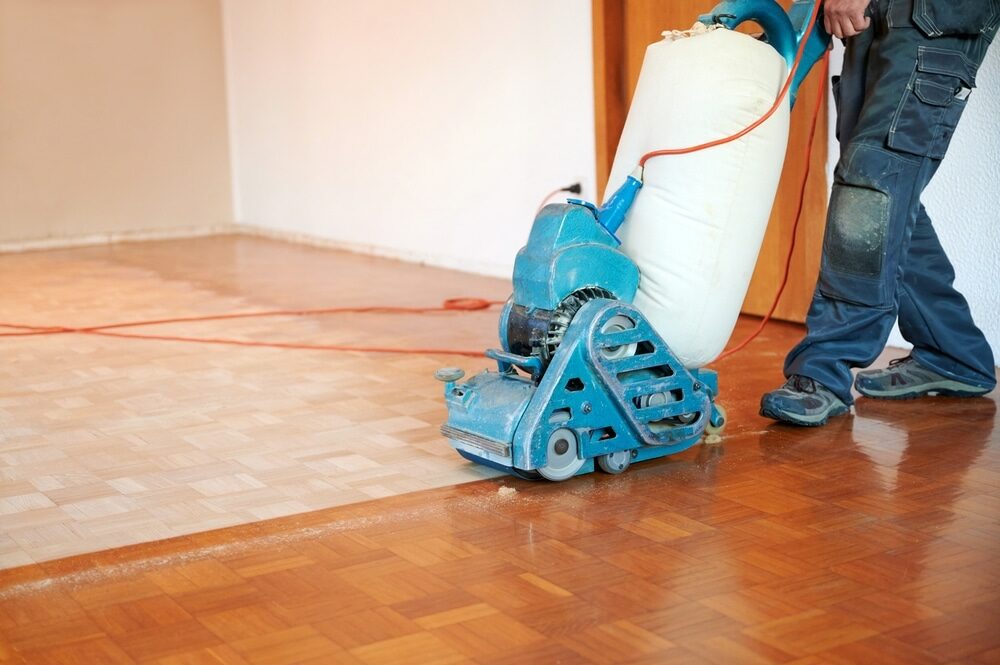
Sanding Your Hardwood Floor
The next step in the refinishing process is sanding. Sanding removes the old finish and levels the floor, preparing it for the new finish. You’ll need a drum or orbital sander, which you can rent from a home improvement store. Start with a coarse-grit sandpaper to remove the old finish and scratches, then switch to a medium-grit paper to smooth the floor, and finally a fine-grit paper to give the floor a smooth finish. Always sand along the grain of the wood, not against it, and remember to wear protective equipment to shield yourself from dust.

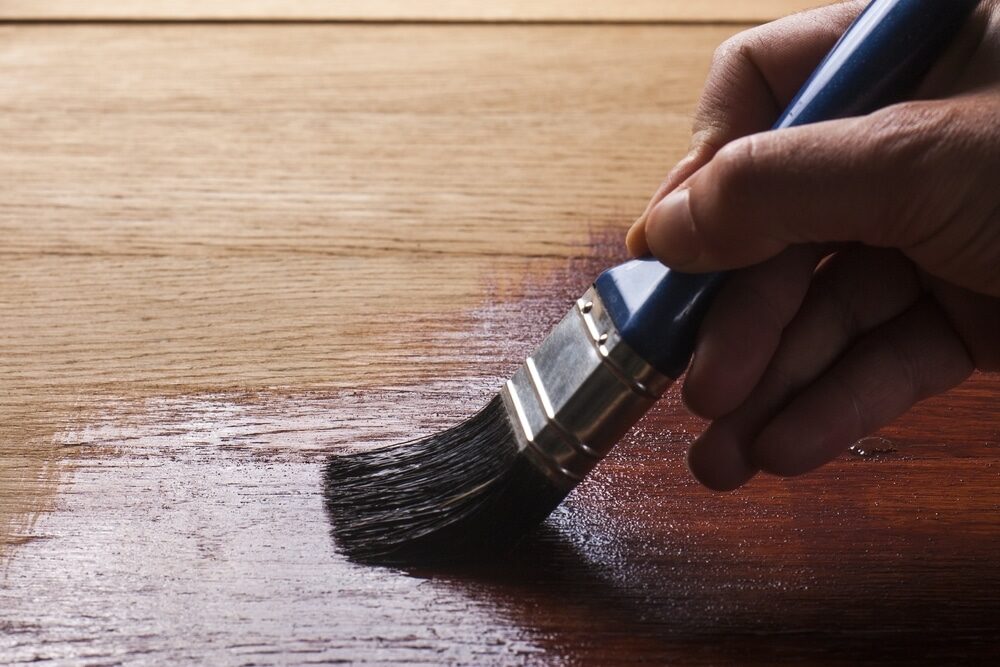
Staining Your Hardwood Floor
After sanding, you have the option to stain your floor to change its color. This is entirely a matter of personal preference. If you choose to stain your floor, apply the stain evenly with a rag or brush and wipe away any excess. Let the stain dry according to the manufacturer’s instructions before moving on to the next step.
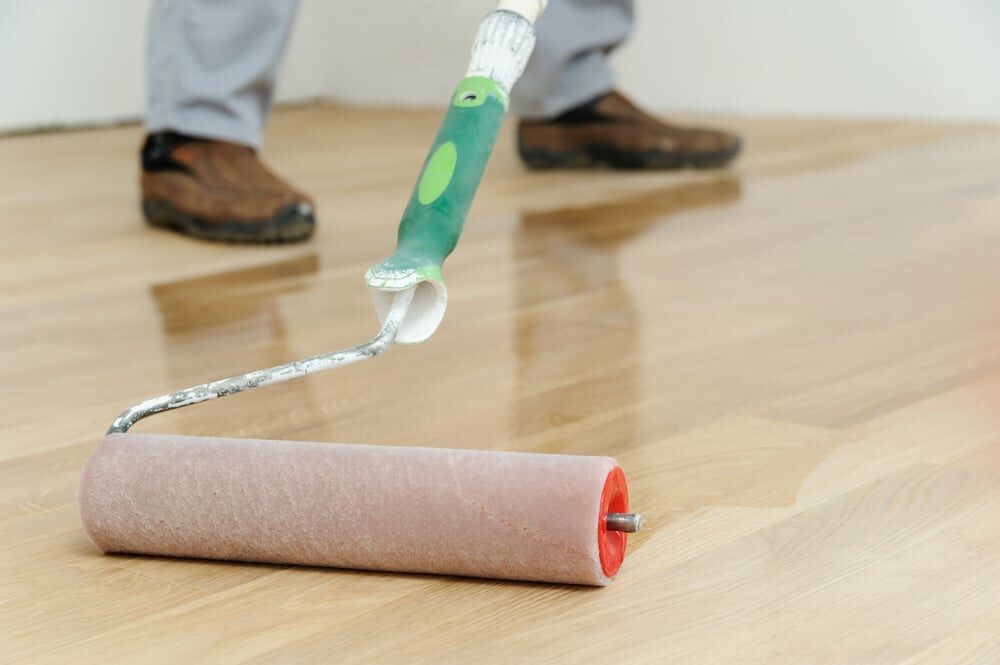
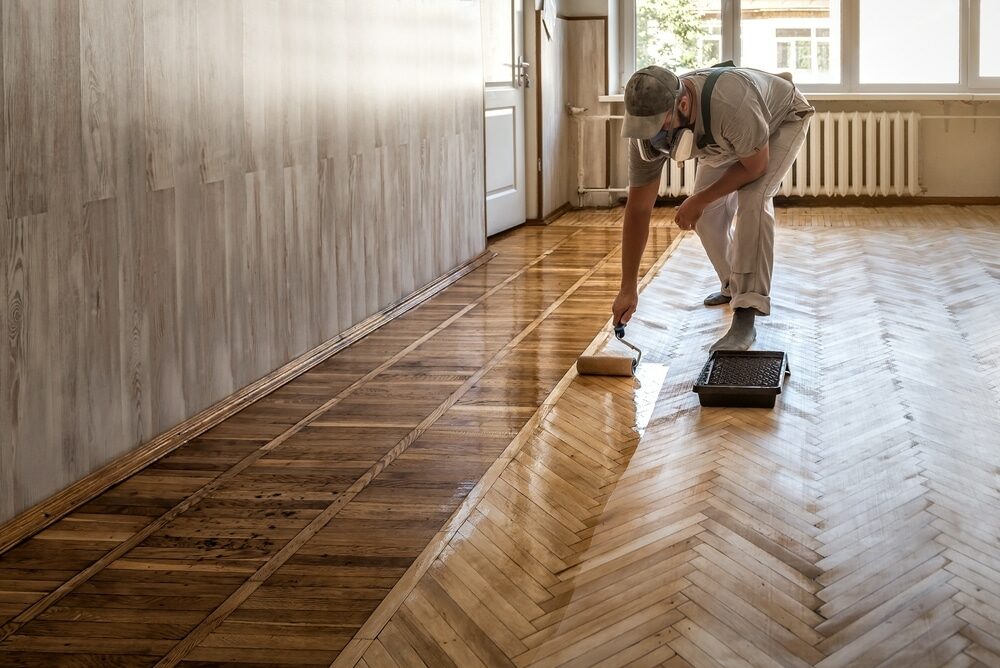
Applying the Finish
The final step in the refinishing process is applying a protective finish. There are several types of finishes available, including oil-based polyurethane, water-based polyurethane, and natural oil finishes. Each type has its advantages and disadvantages, so research and choose the one that best suits your needs. Apply the finish evenly with a brush or roller, working along the grain of the wood. Let the first coat dry, then lightly sand the floor and apply a second coat.

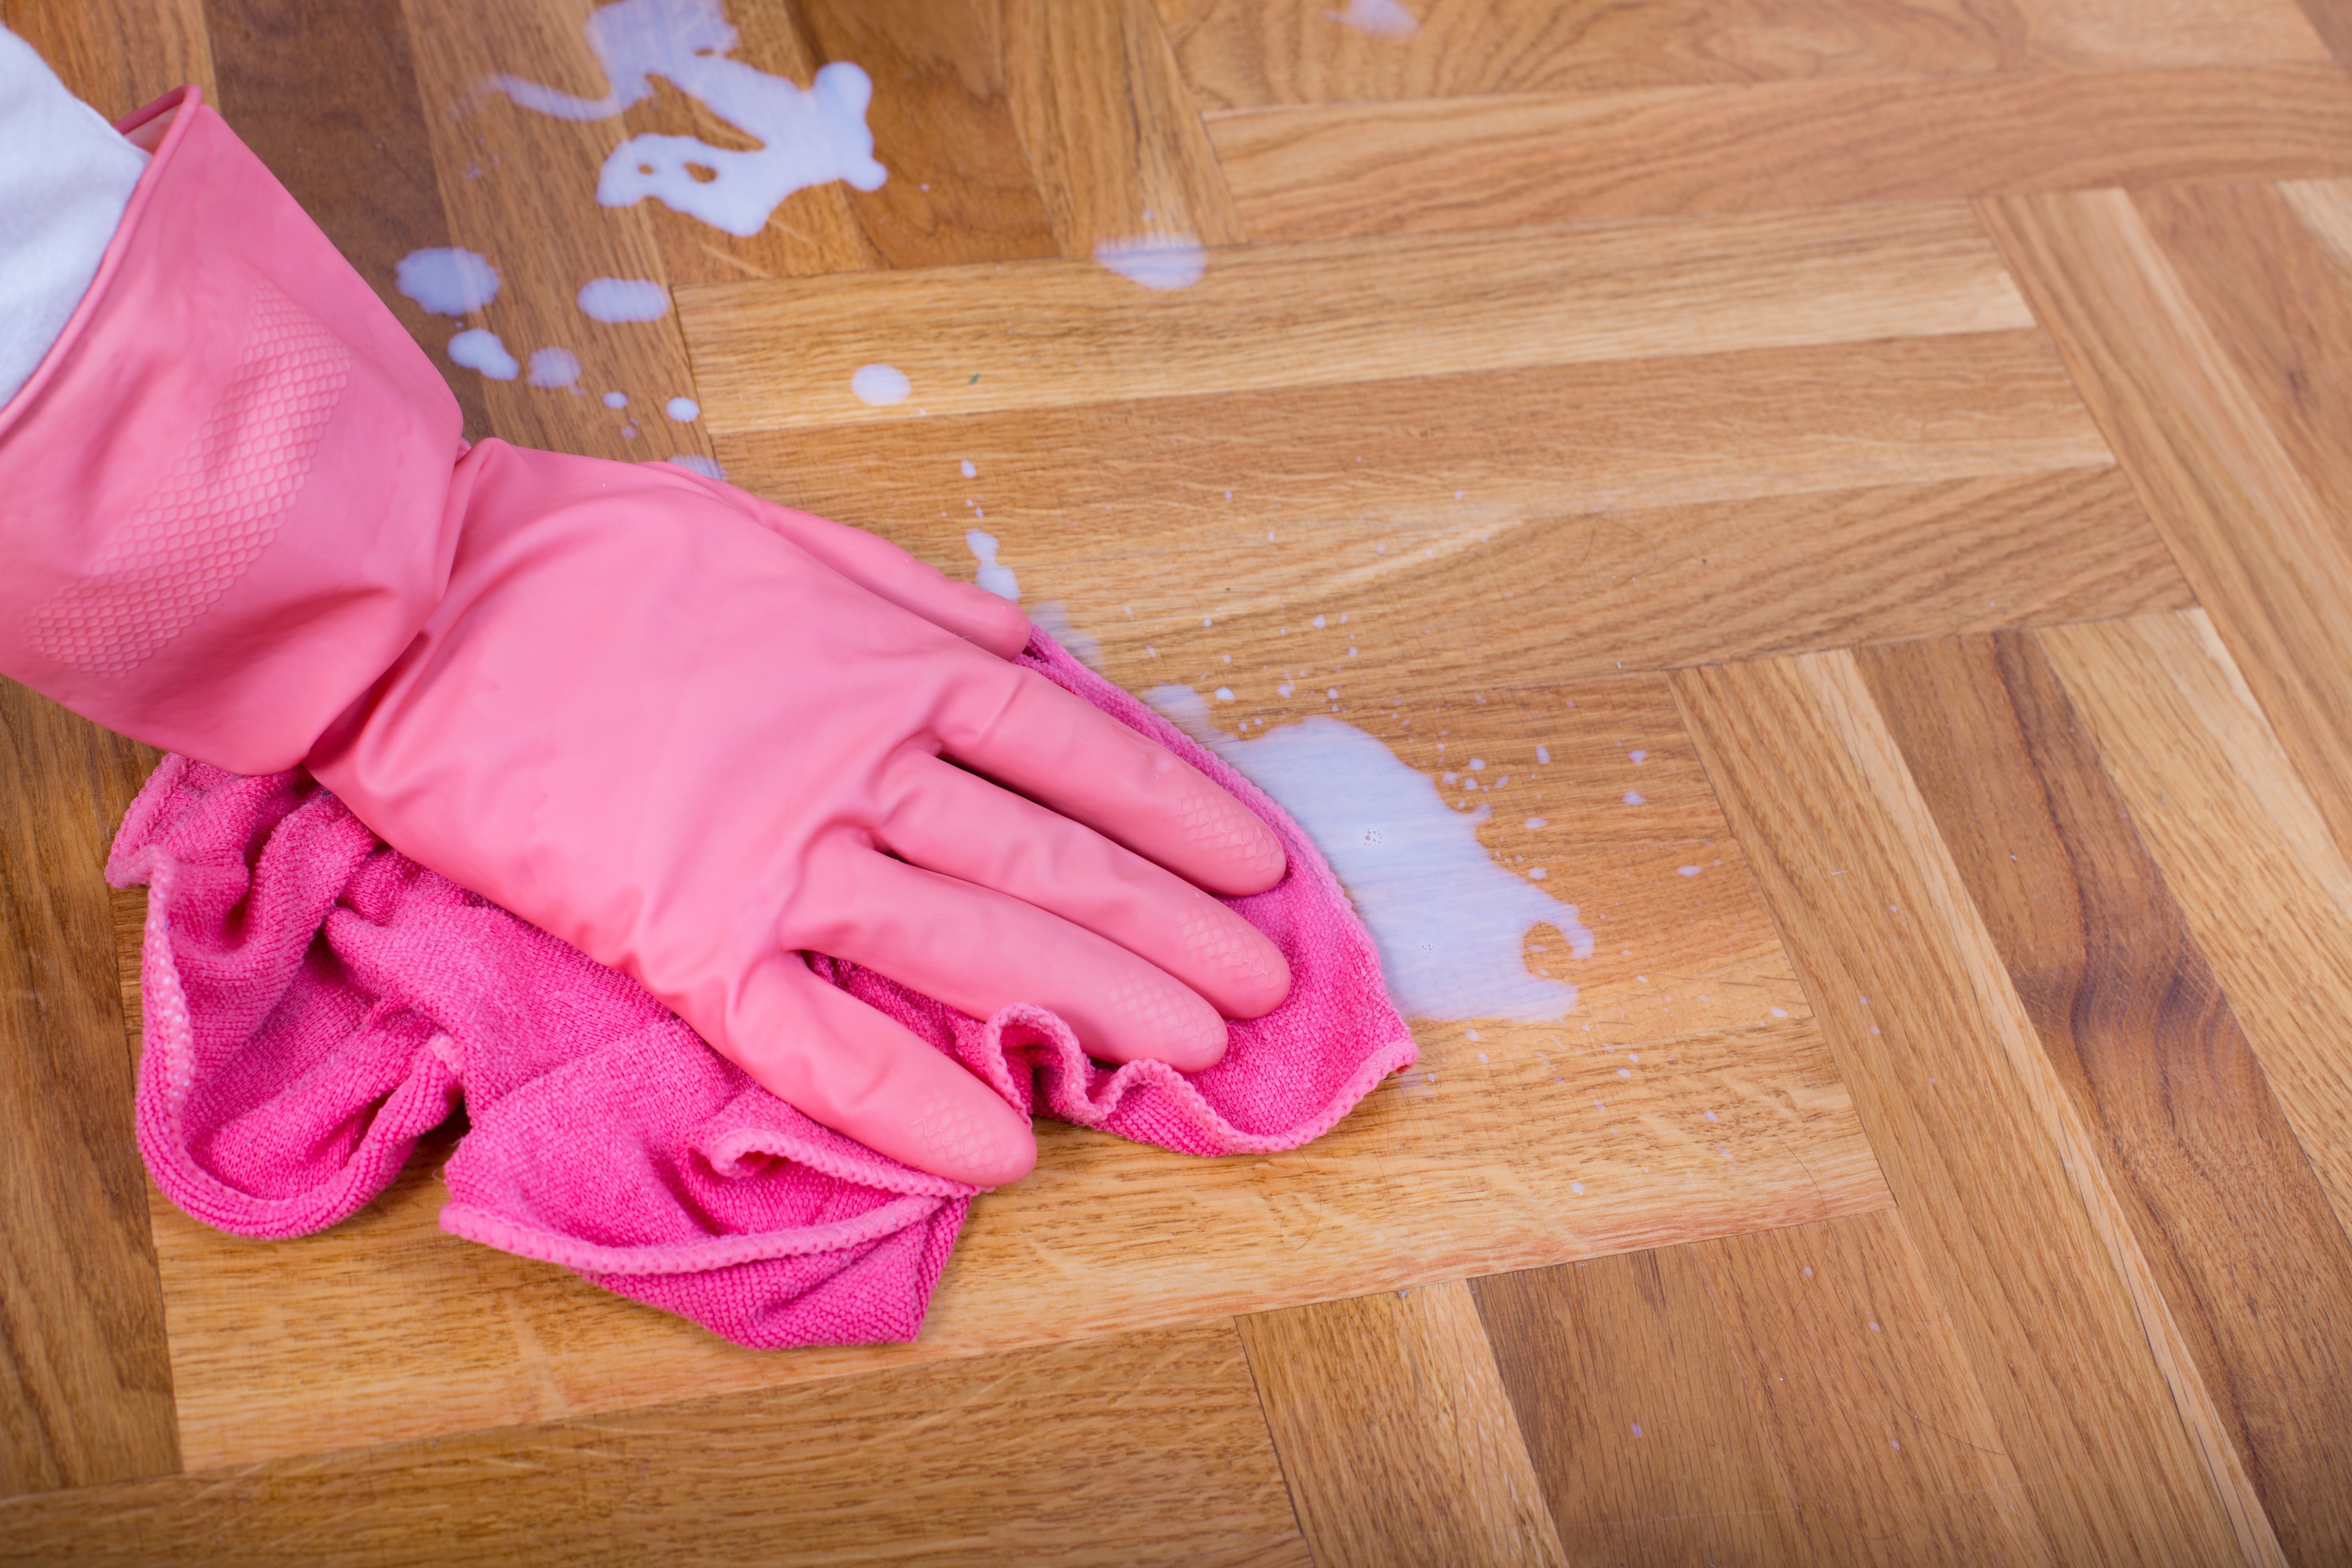

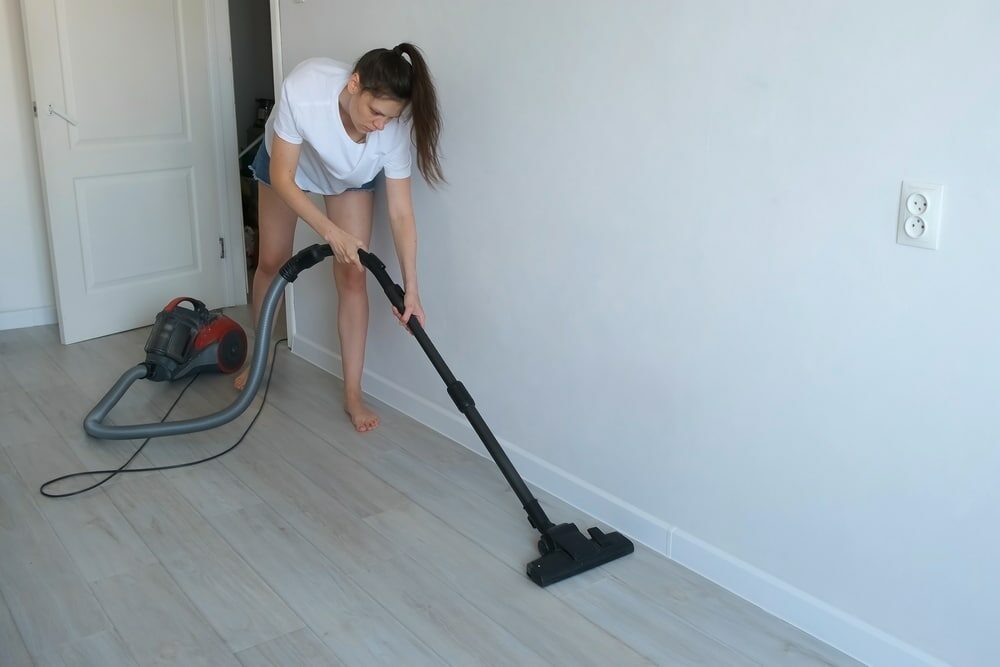
Caring for Your Refinished Floor
Once you’ve refinished your hardwood floor, proper care will help maintain its beauty and prolong the life of the finish. Sweep or vacuum regularly to remove dust and debris, and clean spills promptly to prevent water damage. Avoid using harsh cleaning products that can strip the finish off your floor. Instead, use a damp mop and a cleaning product specifically designed for hardwood floors.

Preventing Damage to Your Refinished Floor
An essential aspect of maintaining your newly refinished floor involves preventing damage. Place protective pads under furniture legs to prevent scratches and dents. Use rugs and mats in high-traffic areas and places where water spills are likely, such as near sinks. Additionally, consider implementing a no-shoes policy to prevent dirt, gravel, and other damaging materials from being tracked onto your floor.

When to Seek Professional Help
While many homeowners can successfully refinish their hardwood floors, some situations call for professional help. If your floor is severely damaged or warped, if it’s been sanded down several times before, or if you’re dealing with exotic wood species or complex floor layouts, hiring a professional can save you time and ensure a high-quality result.
Conclusion
Refinishing your hardwood floor is a rewarding project that can significantly enhance the look of your home. While the process requires time, effort, and a bit of patience, the end result is well worth it. A beautifully refinished hardwood floor not only adds aesthetic appeal but also increases the value of your home.
Remember, the key to a perfect refinish is careful preparation, meticulous execution, and ongoing care. With these elements in place, you can look forward to enjoying your beautiful, resilient hardwood floors for many years to come.
To round off our comprehensive guide, we’ll address some frequently asked questions about hardwood floor refinishing. This includes queries on the right time for refinishing, choosing the right finish, maintaining the refinished floor, and more. This will provide you with even more insights, equipping you with all the information you need to undertake this task successfully.
Whether you decide to take on the challenge yourself or hire a professional, understanding the process of refinishing a hardwood floor can help you maintain the longevity and beauty of your investment. So, roll up your sleeves and get ready to bring your hardwood floors back to life!
Some Useful Links:
- Wood Floor Restorations
- Wood Floor Repairs
- Wood Floor Polishing
- Floor Sanding Services
- School Floor Sanding
More from our Blog:
The Definitive Guide to Professional Wood Floor Restoration Services
Wood Floor Sanding in Your London Home
Hardwood Floor Restoration – Wood Floor Restoration Services in London
Refinishing Parquet Flooring: Ultimate Guide for London Homes


Sanding
We provide virtually dust-free sanding with our continuous belt machinery with mobile extraction units, giving you a safer environment for your family.
Oiling
This organic finish not only adds beauty to your home but also has exceptional water-repellent characteristics, making it easier to clean and maintain.
Waxing
This natural floor finish offers the softest and most mellow appearance – and leaves your floor able to breath.
Buffing
Using soft buffing machines (and hand-polishing where required) will bring a wonderful sheen to your newly-finished floor.
Repairs
We offer a full assessment of your wooden floors to determine what repairs are needed to provide the perfect working surface for the later stages of sanding, staining and sealing.
Restoration
We offer a comprehensive restoration process designed to address floors that are improperly fitted or damaged over time through wear and tear.
Request a fixed price quote for your wood floor restoration now
Simply enter your postcode below to get started.
Services
Wood Floor Sanding Wood Floor Restoration Wood Floor Scratch Repair Squeaky Wood Floor Repair Parquet Floor Sanding Parquet Floor Restoration Commercial Floor Sanding Church Floor Sanding Community Centre Floor Sanding School Floor Sanding Gap Filling Gap Filling with ResinCopyright © Mr Sander®
Privacy & Cookies Terms & Conditions Complaints Procedure Cancellation Rights Sitemap

Get An Instant Price Estimate Before You Go…
Simply enter the rooms you need sanded and we’ll provide you with a price estimate instantly! Try our price calculator now.
Get a Price Estimate NowLocal Floor Sanding Experts
Over 500 5-Star Reviews
Safe, Dust Free Sanding
Operating Since 1994