London:
Nationwide:


25,000+
Floors Restored

27 Years Experience

Wood Flooring Association Certified
Refinishing Parquet Flooring: Ultimate Guide for London Homes
Posted on May 15, 2023
Articles
The Comprehensive Guide to Refinishing Parquet Flooring in Your London Home
Parquet flooring, known for its distinct geometric patterns, is a timeless choice that adds a touch of elegance and sophistication to any home. In London, with its mix of historic and contemporary homes, parquet flooring is a beloved classic. However, like any wood floor, parquet can show signs of wear over time. Refinishing your parquet flooring can restore its original charm and character. This detailed guide will take you through the process of refinishing parquet flooring in your London home.
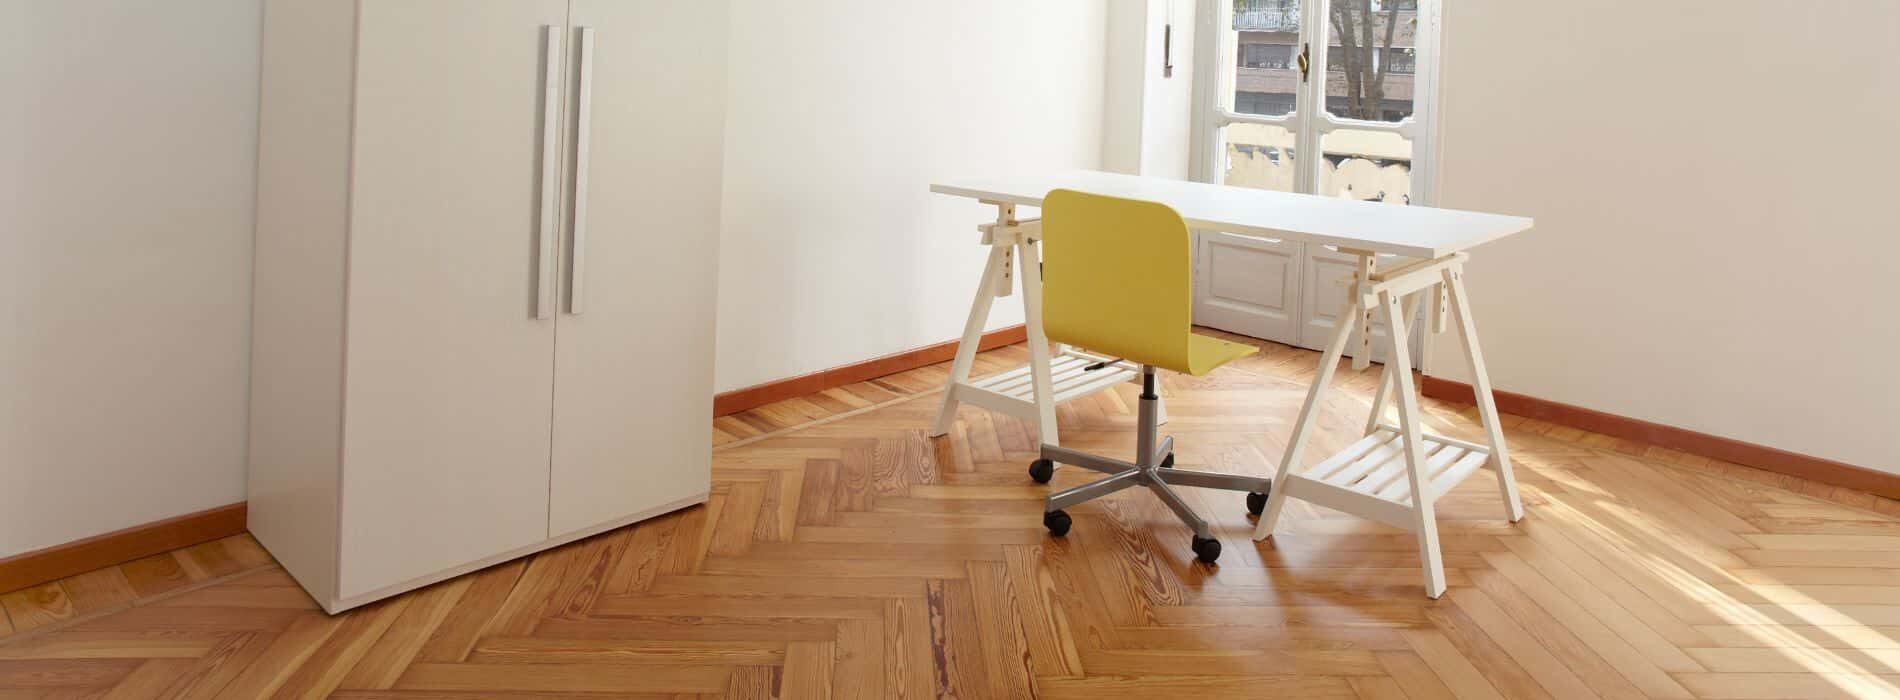
Understanding Parquet Flooring
Parquet flooring refers to a type of wood flooring made from small wooden blocks or strips arranged in a geometric pattern. These patterns can range from simple designs like herringbone and basket weave to more complex motifs.
One significant aspect of parquet flooring is its thickness. Traditional parquet, often found in older London homes, is typically thicker, allowing for several rounds of sanding and refinishing. More modern versions, however, may be thinner and may not withstand as many refinishings.

When to Refinish Your Parquet Floor
Before you decide to refinish your parquet floor, it’s essential to evaluate its condition. Common signs that your parquet floor may need refinishing include:
- Visible scratches or gouges
- Discoloration or dark spots
- Worn-out finish making the wood look dull
- Damage from water or pests
Tools and Materials Needed
Refinishing parquet flooring involves several tools and materials. Here’s a basic list:
- Drum or orbital sander
- Sandpaper of varying grits (coarse, medium, and fine)
- Wood filler (if needed)
- Vacuum cleaner
- Mop and bucket
- Wood stain (optional)
- Polyurethane finish
- Applicator pads or brushes
- Safety gear: goggles, dust mask, knee pads
The Refinishing Process
Refinishing parquet flooring is a meticulous process, but with patience and the right steps, you can breathe new life into your floors.
Step 1: Preparing the Room
Remove all furniture, rugs, and other items from the room. Seal off the area to prevent dust from spreading to other parts of your home.
Step 2: Sanding the Floor
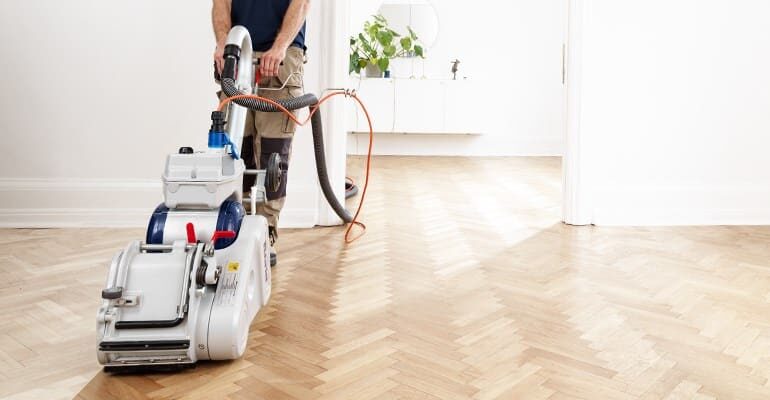
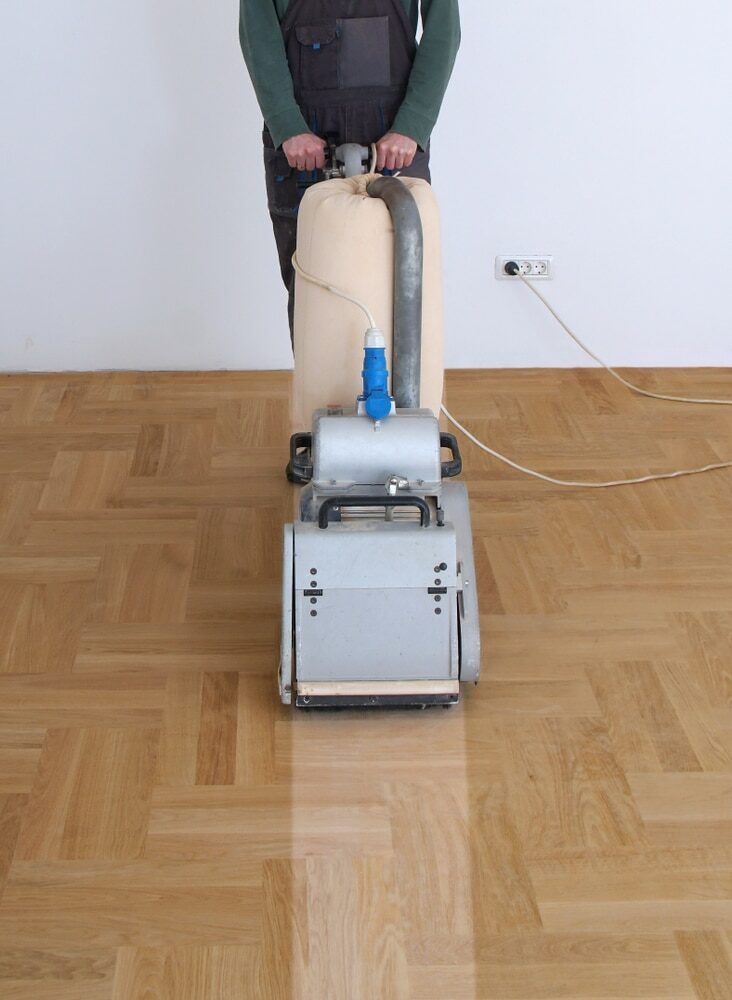
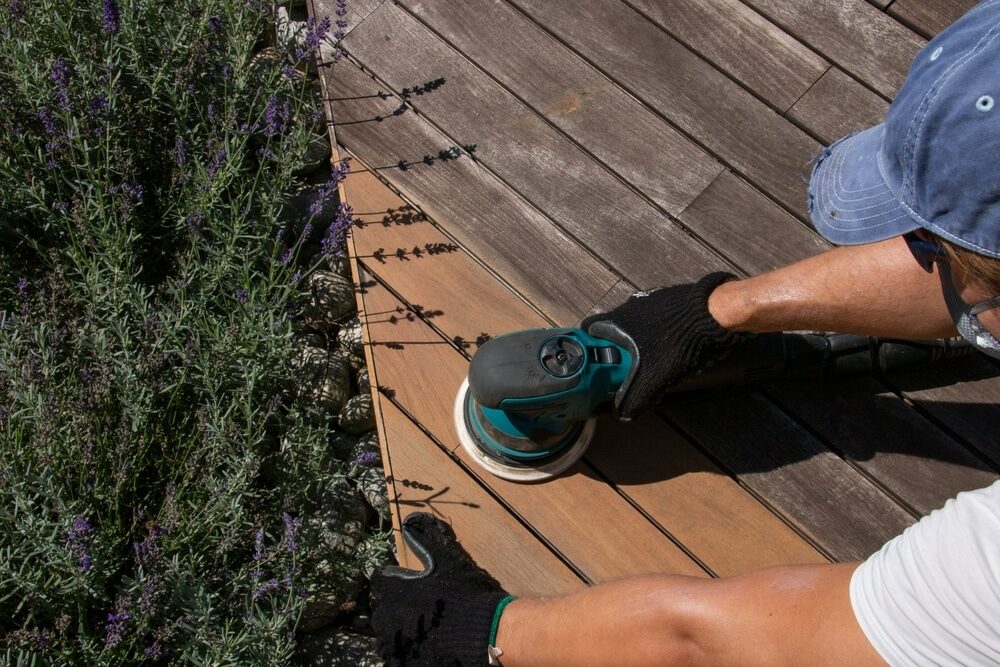
Parquet floors require a careful approach to sanding due to the grain of the wood blocks running in different directions. An orbital sander is often the best choice for parquet floors.
Start with coarse-grit sandpaper to remove the old finish and surface damage. Progress to medium and then fine-grit sandpaper to smooth the floor.
Step 3: Cleaning Up
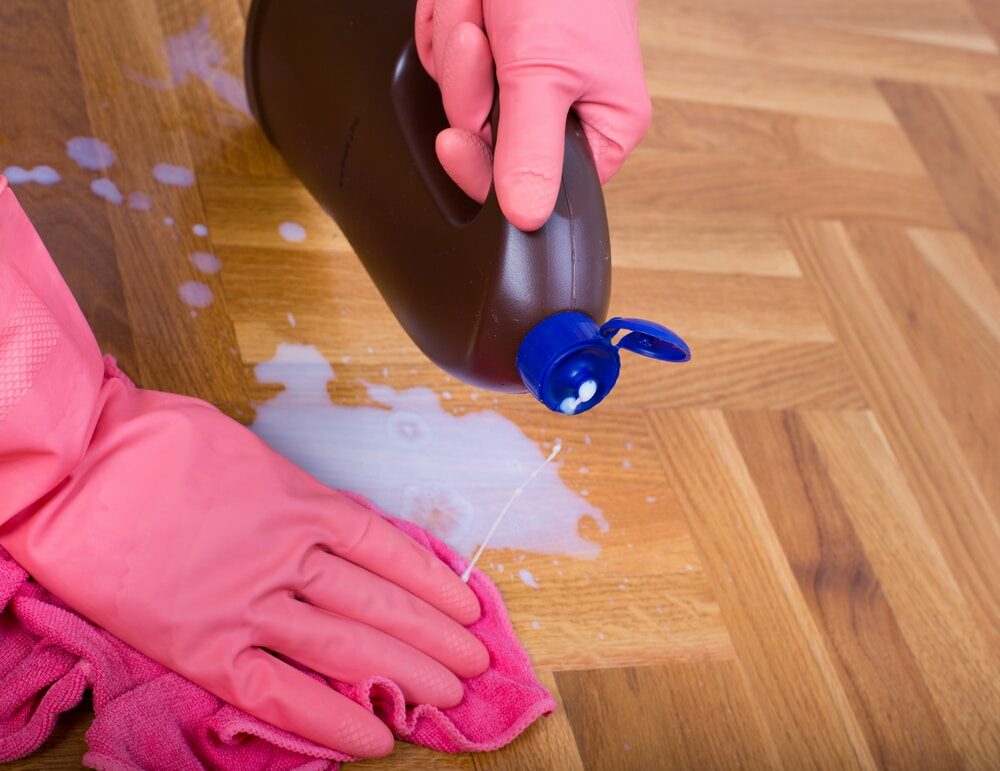
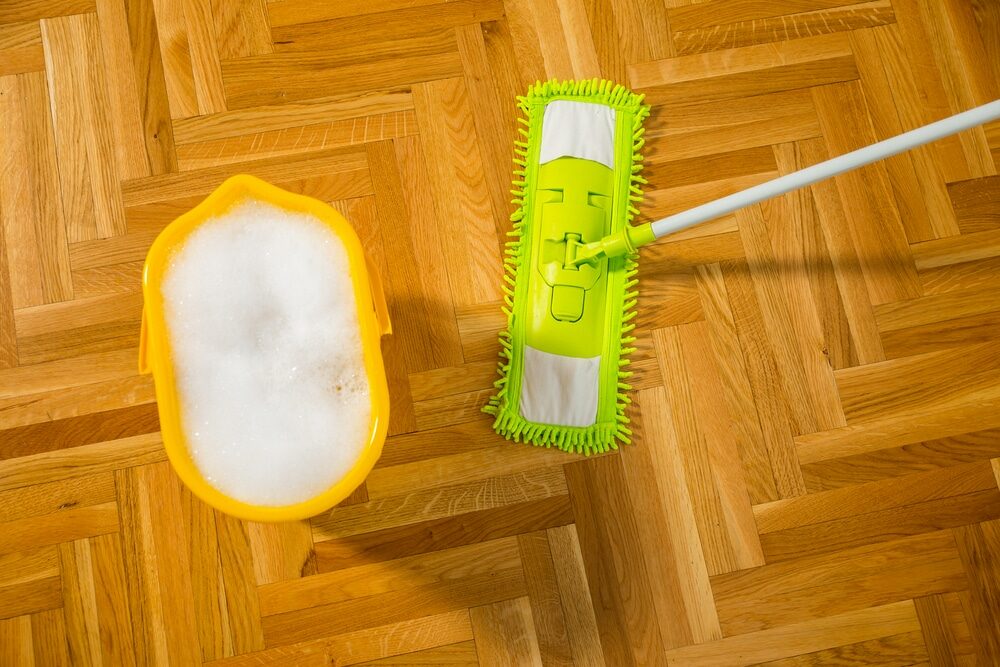
Vacuum the floor thoroughly to remove dust from sanding. Follow up with a damp mop to ensure the floor is completely clean.
Step 4: Applying Wood Filler
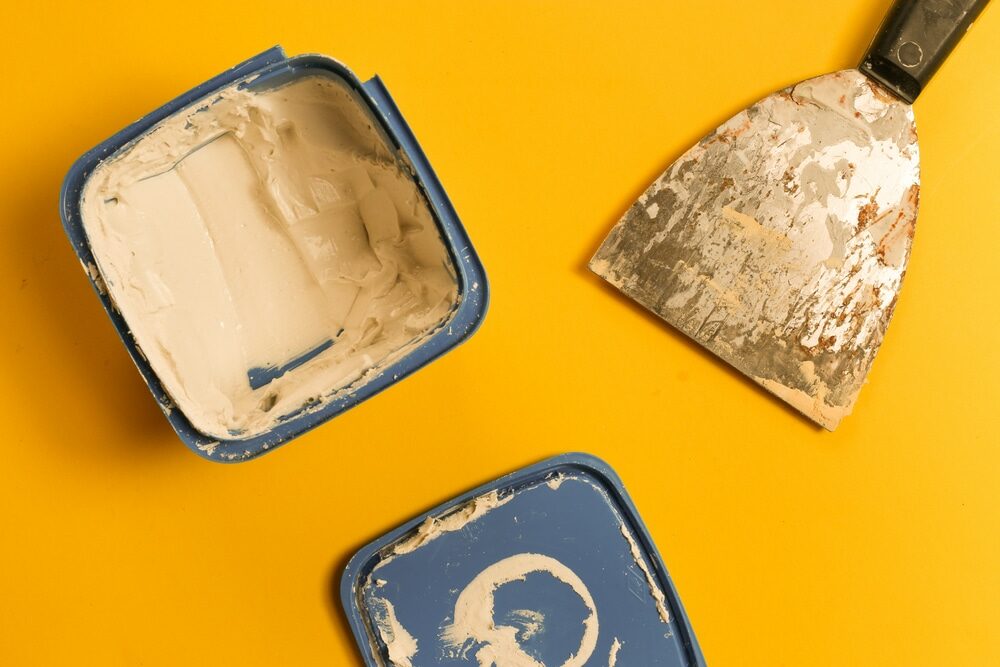
If your parquet floor has gaps or small cracks, you may need to apply wood filler. Allow the filler to dry, then lightly sand the surface to smooth out the filler.
Step 5: Staining
Applying a stain to your parquet floor can enhance its natural beauty. However, staining is optional and often depends on your aesthetic preference. If you decide to use a stain, apply it according to the manufacturer’s instructions and allow it to dry.
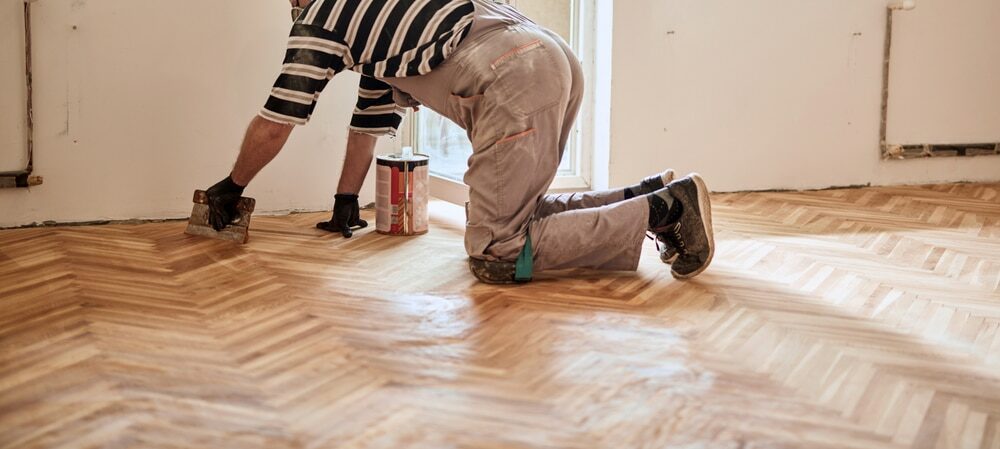
Step 6: Applying Finish
Finally, apply a polyurethane finish to protect your floor and give it a fresh look. Apply multiple coats, allowing sufficient drying time between each one. Ensure the final coat is completely cured before moving furniture back into the room.
Chapter 5: Maintaining Your Parquet Floor
Once your parquet floor is refinished and looking its best, maintaining it properly will prolong its lifespan and keep it looking great for years to come.
- Regular Cleaning: Sweeping or vacuuming the floor regularly will keep dust and grit from scratching the surface.
- Promptly clean spills: Water can damage parquet flooring, causing it to warp or stain. Clean up any spills immediately to prevent damage.
- Use protective pads: Attach felt pads to the bottom of furniture legs to prevent scratches and dents when furniture is moved.
- Avoid Excessive Sunlight: Direct sunlight can cause your parquet floor to fade over time. Use curtains or blinds to control the amount of sunlight that reaches your floor.
- Refinishing Schedule: Depending on the wear and tear, parquet flooring typically needs to be refinished every 10 to 15 years.
Professional Help vs. DIY
While this guide provides a thorough overview of refinishing parquet flooring, the process requires a certain level of skill, patience, and physical effort. If you’re uncertain or uncomfortable doing it yourself, consider hiring a professional.
Professional floor refinishers have the experience, tools, and knowledge to handle any unexpected issues that may arise during the process. They also typically offer guarantees for their work, providing peace of mind that the job will be done correctly.
Conclusion
Parquet flooring is a beautiful and timeless choice for any London home. With the right care and maintenance, including occasional refinishing, your parquet floor can last for generations.
Whether you choose to refinish your parquet floor yourself or hire a professional, the process can significantly enhance your floor’s look, restoring its original charm and beauty.
Remember, refinishing is an investment in your home’s value and aesthetic appeal. Your beautifully restored parquet floor will not only be a point of pride but also a testament to the enduring allure of this classic flooring style. Happy refinishing!
Some Useful Links:
- Wood Floor Restorations
- Wood Floor Repairs
- Wood Floor Polishing
- Floor Sanding Services
- School Floor Sanding
More from our Blog:
The Complete Guide to Restoring Your Hardwood Floors
Real Wood Floor Sanding in London – Your Comprehensive Guide
London Hardwood Floor Restoration – Comprehensive Guide | Preserve Your Home’s Charm
Successful Wood Floor Sanding – Mr Sander® Guide
Unveiling the Many Advantages of Laminate Wood Flooring


Sanding
We provide virtually dust-free sanding with our continuous belt machinery with mobile extraction units, giving you a safer environment for your family.

Oiling
This organic finish not only adds beauty to your home but also has exceptional water-repellent characteristics, making it easier to clean and maintain.

Waxing
This natural floor finish offers the softest and most mellow appearance – and leaves your floor able to breath.

Buffing
Using soft buffing machines (and hand-polishing where required) will bring a wonderful sheen to your newly-finished floor.

Repairs
We offer a full assessment of your wooden floors to determine what repairs are needed to provide the perfect working surface for the later stages of sanding, staining and sealing.

Restoration
We offer a comprehensive restoration process designed to address floors that are improperly fitted or damaged over time through wear and tear.
Request a fixed price quote for your wood floor restoration now
Simply enter your postcode below to get started.






Services
Wood Floor Sanding Wood Floor Restoration Wood Floor Scratch Repair Squeaky Wood Floor Repair Parquet Floor Sanding Parquet Floor Restoration Commercial Floor Sanding Church Floor Sanding Community Centre Floor Sanding School Floor Sanding Gap Filling Gap Filling with ResinCopyright © Mr Sander®
Privacy & Cookies Terms & Conditions Complaints Procedure Cancellation Rights Sitemap

Get An Instant Price Estimate Before You Go…
Simply enter the rooms you need sanded and we’ll provide you with a price estimate instantly! Try our price calculator now.
Get a Price Estimate NowLocal Floor Sanding Experts
Over 500 5-Star Reviews
Safe, Dust Free Sanding
Operating Since 1994