London:
Nationwide:
25,000+
Floors Restored
27 Years Experience
Wood Flooring Association Certified
7 Common Floor Sanding Questions: Your Ultimate Guide
Posted on April 15, 2023
Blog
7 Common Floor Sanding Questions
Floor sanding is a popular home improvement technique that can transform old, worn-out floors into beautiful, smooth surfaces. However, before diving into the process, it’s essential to have a clear understanding of what floor sanding entails, how it works, and what to expect during and after the process. In this comprehensive blog post, we will address seven common floor sanding questions to help you make informed decisions and achieve stunning results. Let’s get started!

1. What is floor sanding, and why is it important?
Floor sanding is the process of removing the top surface of a wooden floor by using abrasive materials such as sandpaper. This technique is employed to eliminate scratches, dents, and other imperfections on the floor, restoring its natural beauty and improving its overall appearance.
There are several reasons why floor sanding is crucial:
A. Enhances the floor’s appearance: Floor sanding can dramatically improve the look of your wooden floors, making them appear brand new. By eliminating surface imperfections, sanding reveals the natural grain patterns and colours of the wood, giving your floor a fresh, appealing look.
B. Increases the floor’s lifespan: Over time, wooden floors can suffer from wear and tear, which can result in visible damage. Floor sanding removes the damaged surface layer, allowing you to refinish and protect the floor, thus prolonging its lifespan.
C. Improves floor maintenance: A well-sanded floor is easier to clean and maintain. The smooth surface prevents dirt and debris from getting trapped, making regular cleaning tasks more manageable.
D. Prepares the floor for refinishing: If you’re planning to change the finish or colour of your wooden floor, sanding is a necessary step. It ensures that the new finish adheres properly to the wood, providing a durable, long-lasting result.
2. What types of floors can be sanded?
While floor sanding is primarily associated with wooden floors, various floor materials can be sanded, depending on the specific circumstances and desired outcomes. Here are some common floor types that can be sanded:
A. Hardwood floors: The most common type of floor for sanding, hardwood floors are made of solid wood planks or strips. They can be sanded multiple times throughout their lifespan, making them an excellent candidate for refinishing and restoration.
B. Engineered wood floors: These floors consist of a thin layer of hardwood on top of a plywood or fiberboard base. Due to the thinner top layer, engineered wood floors can be sanded, but the number of times they can be refinished is limited compared to solid hardwood floors. It’s essential to consult a professional to determine if your engineered wood floor is suitable for sanding.
C. Parquet floors: Parquet floors are made from small pieces of wood arranged in geometric patterns. These floors can be sanded, but the process requires specialised equipment and expertise to avoid damaging the intricate patterns.
D. Cork floors: Cork is a soft, renewable material that can be sanded and refinished. However, since it’s more susceptible to damage than hardwood, it’s crucial to be gentle and cautious during the sanding process.
E. Bamboo floors: Bamboo is a sustainable and durable flooring option that can be sanded, but it requires careful attention to avoid damaging the material. The process may also be more challenging due to bamboo’s unique grain patterns and hardness.

3. Can I sand my floor myself, or should I hire a professional?
The decision to sand your floor yourself or hire a professional depends on your skill level, budget, and the complexity of the project. Here are some factors to consider when making your decision:

A. Skill level: Floor sanding requires knowledge of the correct techniques, equipment, and materials to achieve the best results. If you’re confident in your DIY abilities and have experience with floor sanding, you may be able to complete the project on your own. However, if you’re unsure or inexperienced, it’s best to consult a professional.
B. Budget: Hiring a professional can be more expensive than sanding the floor yourself. However, the investment can be worthwhile, as professionals have the expertise and equipment to deliver high-quality results, potentially saving you money on repairs or re-sanding in the long run.
C. Time constraints: Floor sanding can be a time-consuming process, especially for inexperienced individuals. If you have limited time or a tight deadline, hiring a professional can help ensure the project is completed efficiently.
D. Complexity: Some floors, such as parquet or those with intricate patterns, may require specialized knowledge and equipment. In these cases, it’s advisable to hire a professional.
4. What equipment is needed for floor sanding?
To achieve a smooth, professional finish, you’ll need the following equipment for floor sanding:
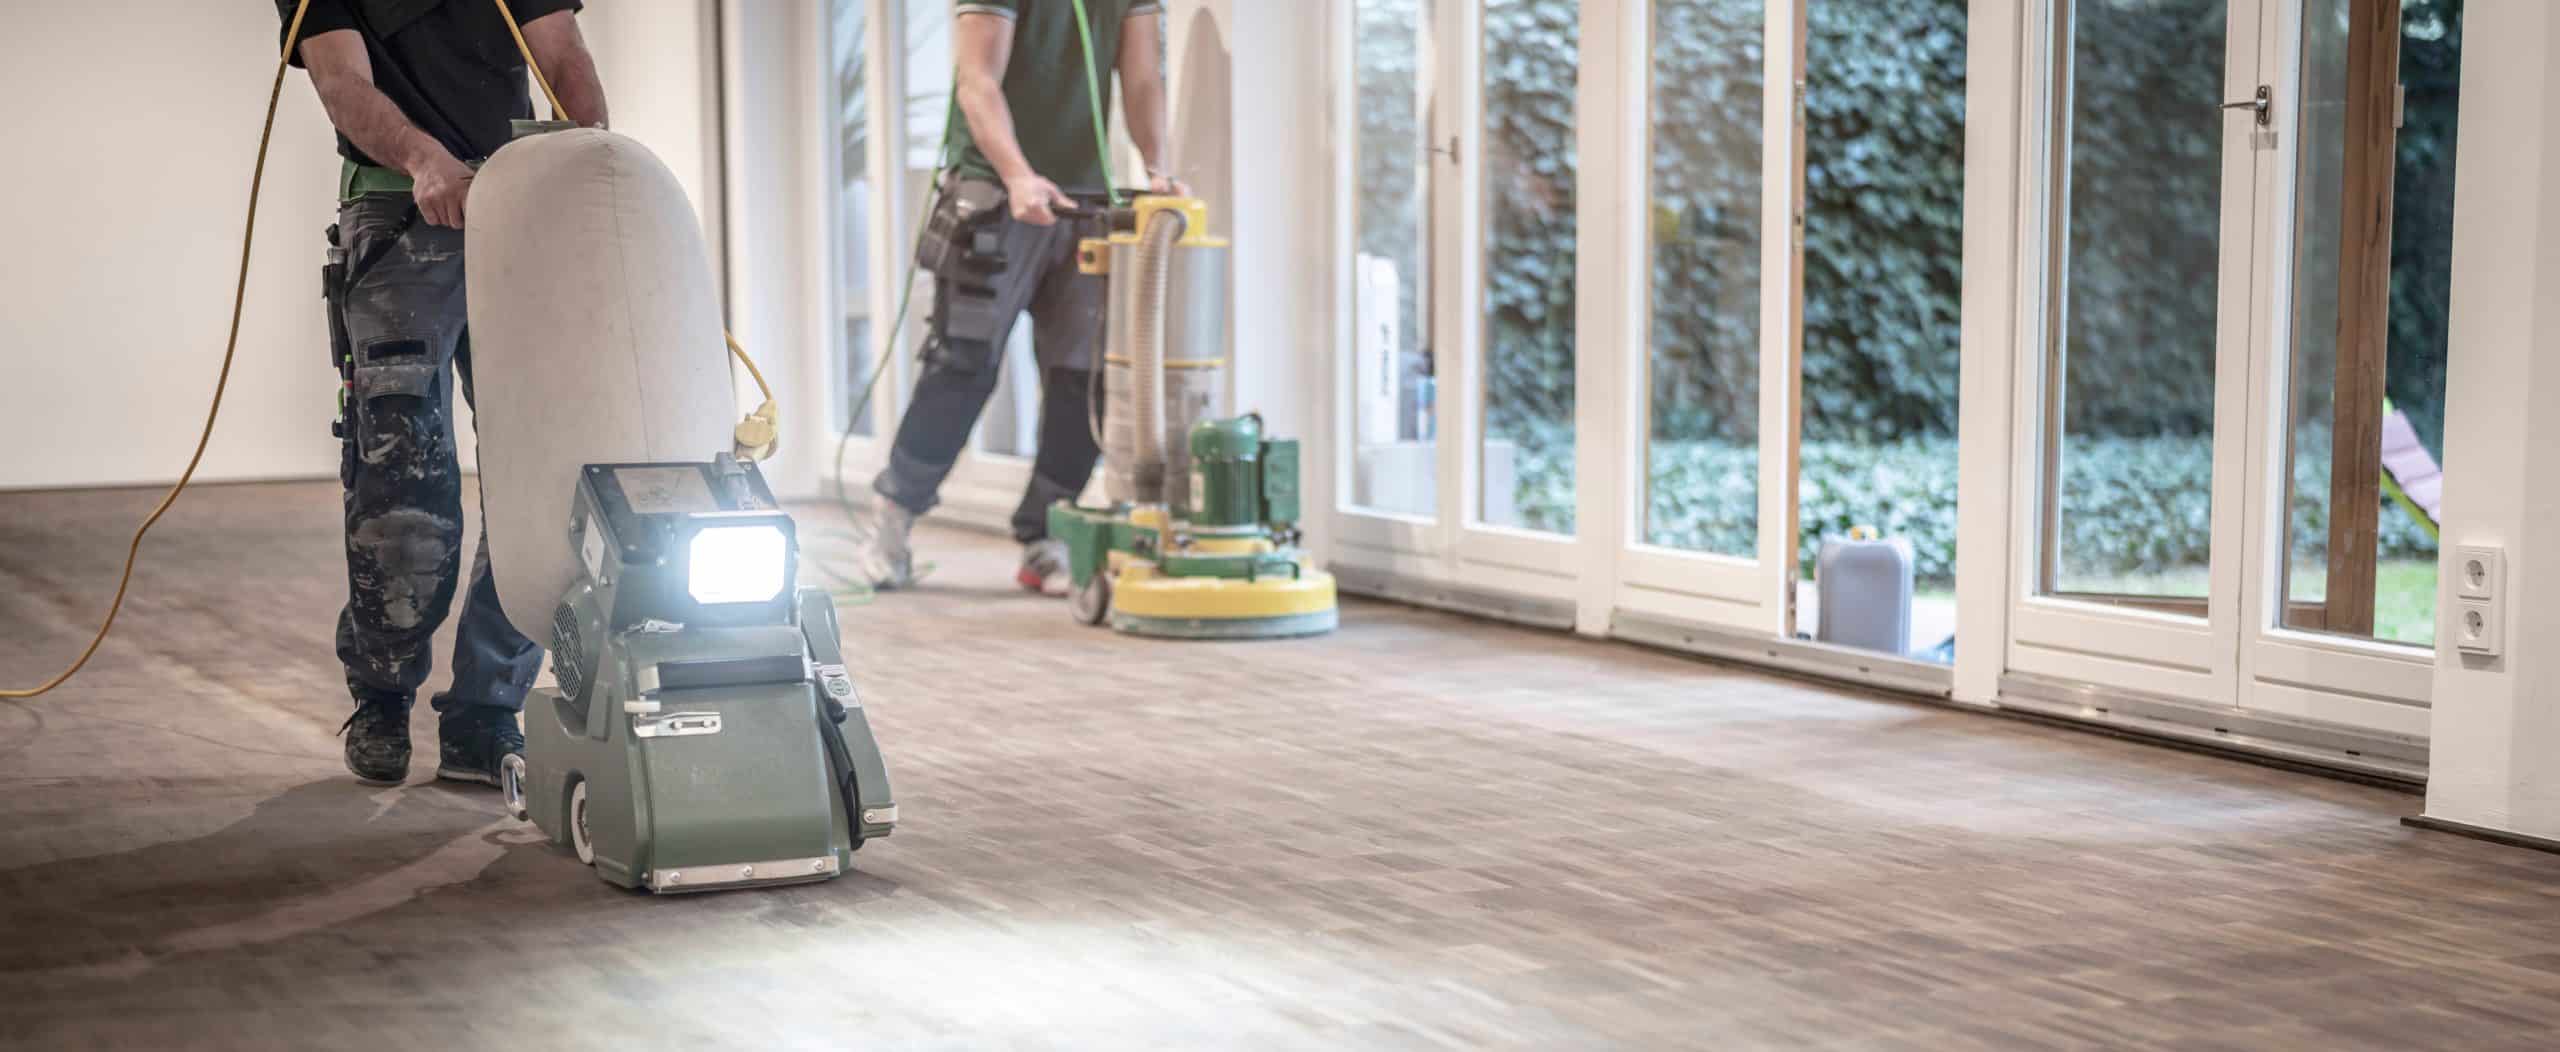
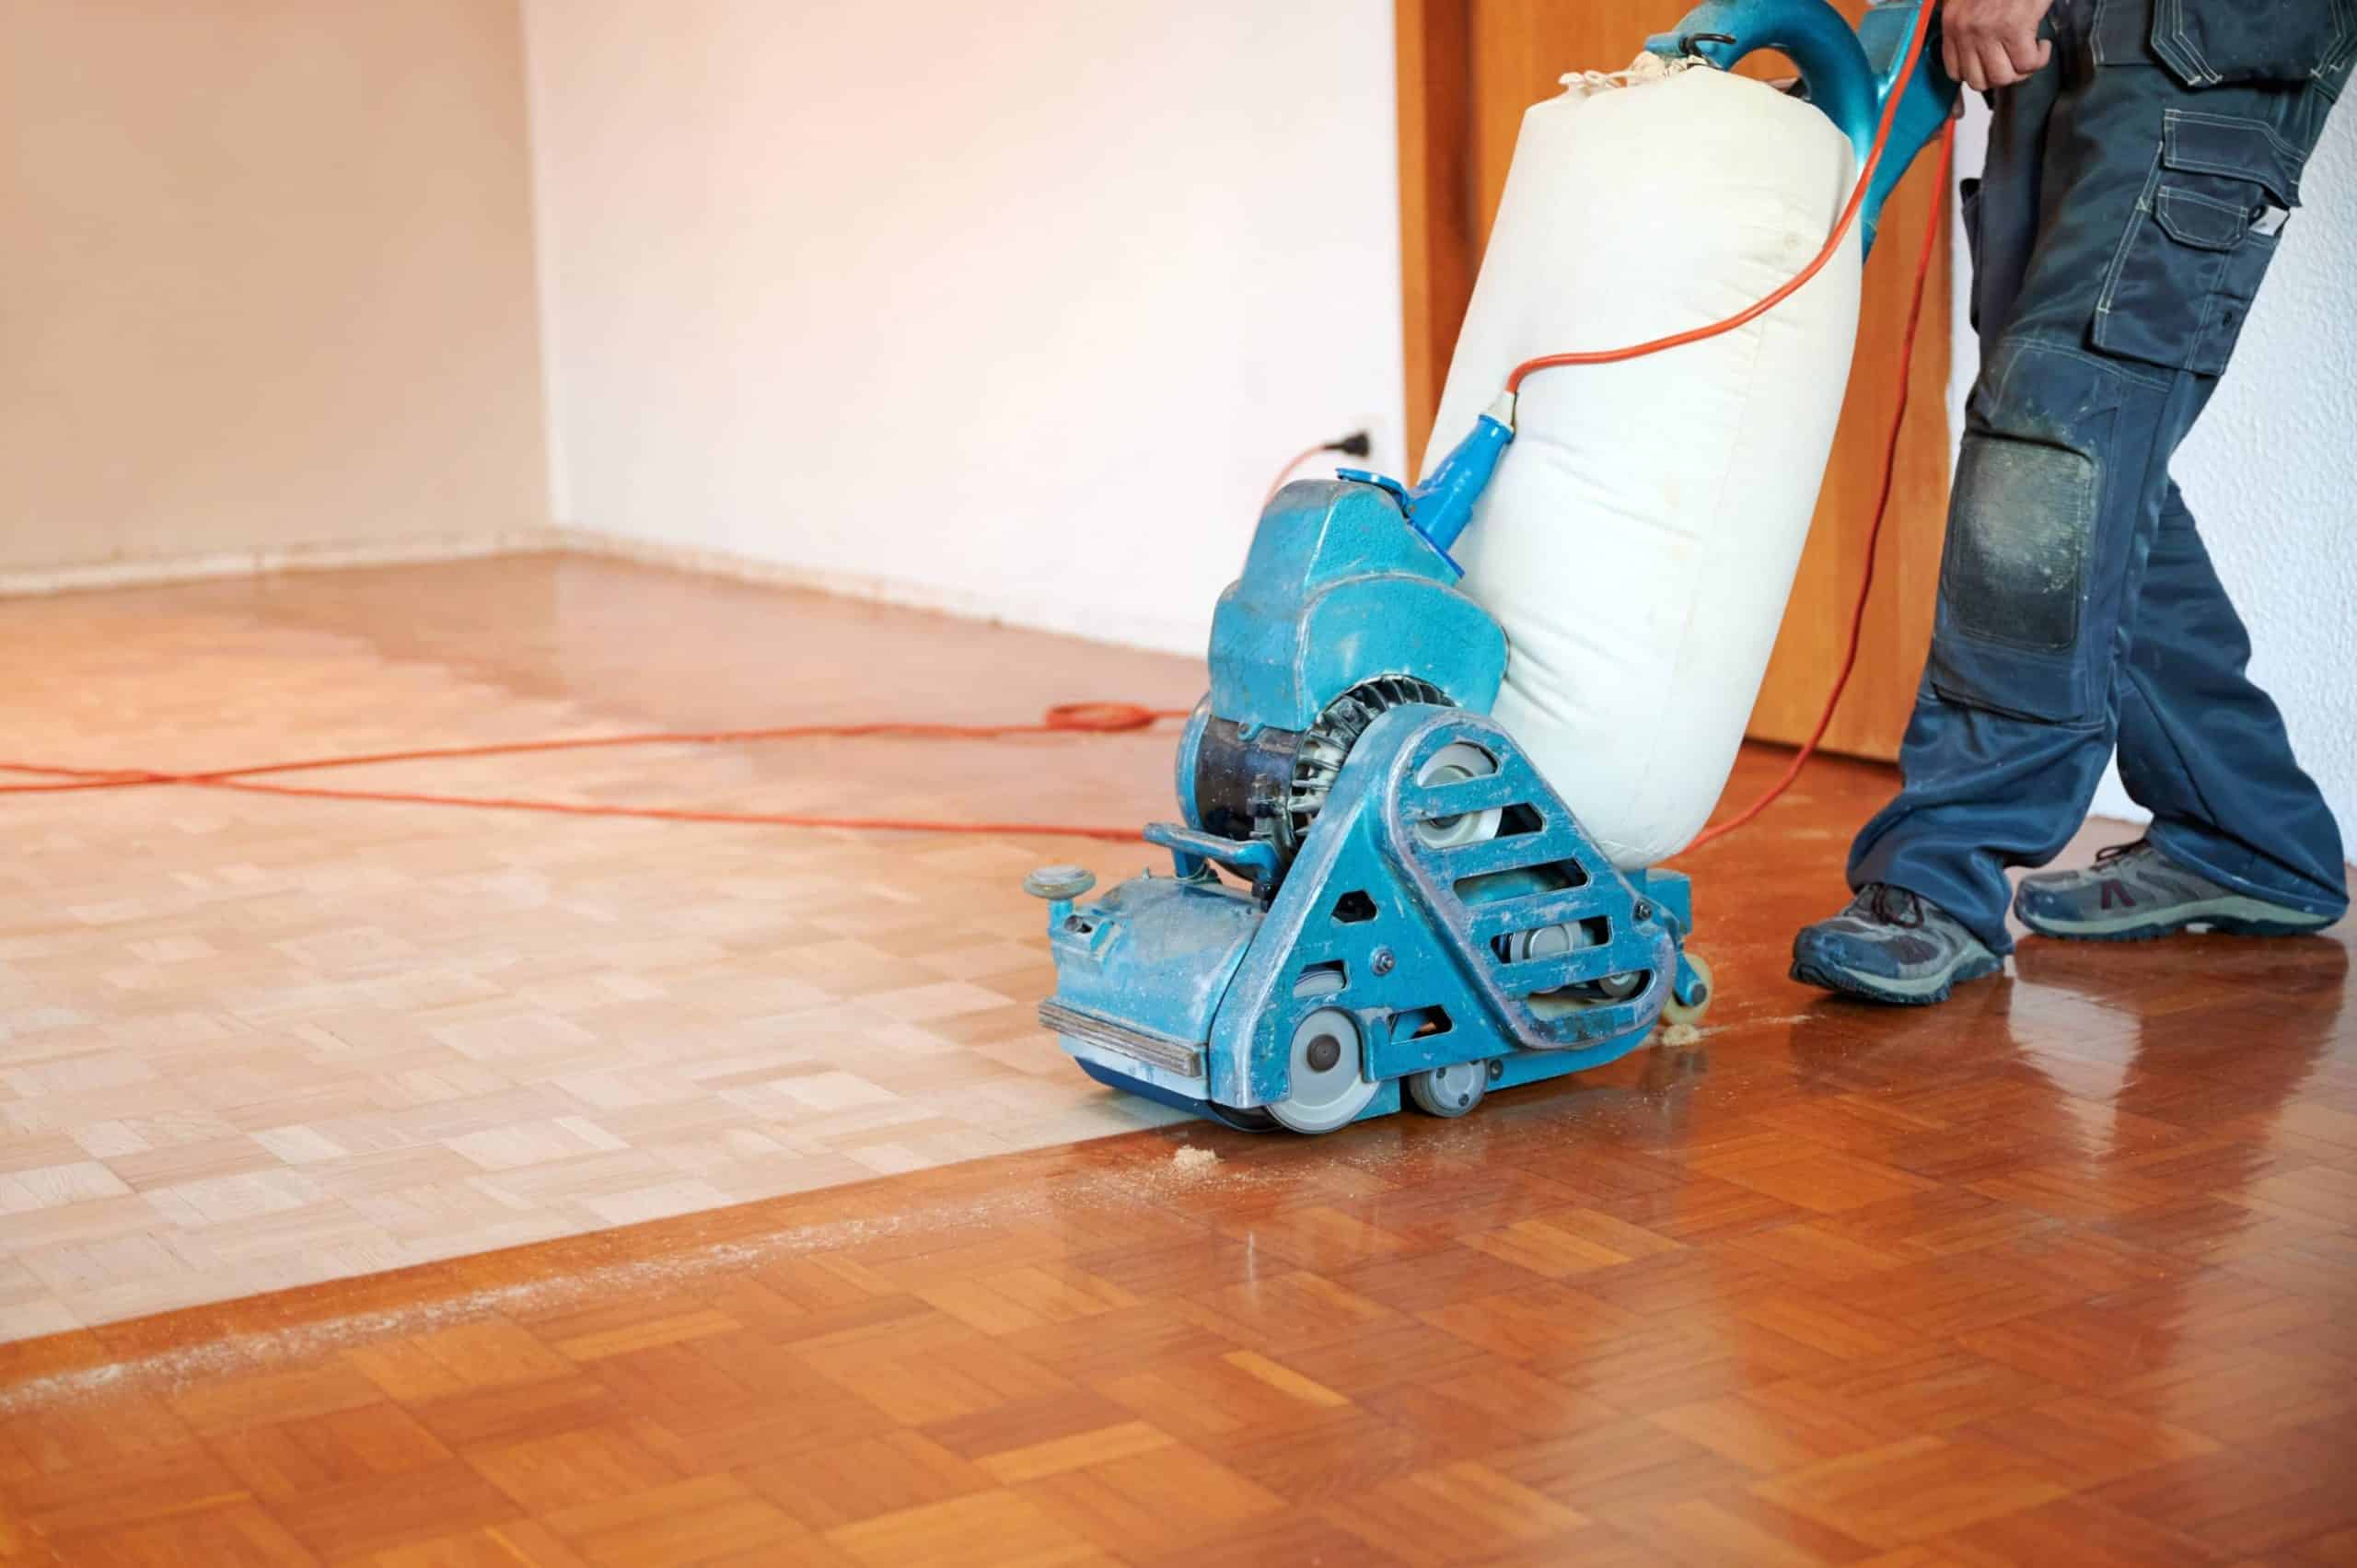
A. Floor sander: A floor sander is a large, heavy machine designed to remove the top layer of a wooden floor. There are various types, such as drum sanders, orbital sanders, and belt sanders, each with specific applications and advantages.
B. Edger: An edger is a smaller, handheld sander used to sand areas the floor sander can’t reach, such as edges, corners, and tight spaces.
C. Sandpaper: You’ll need different grits of sandpaper to remove imperfections and achieve a smooth finish. Start with coarse-grit sandpaper (e.g., 36 or 40-grit) and progress to medium (e.g., 80-grit) and fine-grit (e.g., 100-120-grit) as you refine the surface.
D. Vacuum cleaner: A vacuum cleaner is essential for removing dust and debris generated during the sanding process, ensuring a clean surface for refinishing.
E. Protective gear: It’s crucial to wear protective gear, such as goggles, ear protection, and a dust mask, to safeguard your health while sanding.
5. How long does the floor sanding process take?
The duration of the floor sanding process depends on factors such as the size of the area, the type of floor, the condition of the floor, and your skill level. On average, sanding a single room can take anywhere from a few hours to a couple of days. If you’re hiring a professional, they may be able to complete the job more quickly due to their expertise and equipment. It’s important to note that the floor sanding process is only one part of the overall floor refinishing project. Additional time will be needed for tasks such as applying the finish, allowing it to dry, and reinstalling baseboards or moulding.
6. What should I expect during and after the floor sanding process?
During the floor sanding process, expect to see a significant amount of dust generated. It’s essential to seal off the work area from the rest of your home to minimize the spread of dust. Additionally, the process can be noisy, so consider informing your neighbors about the project and its duration. After floor sanding, your floor will have a smooth, even surface, free of imperfections. At this point, it’s ready for staining (if desired) and sealing with a protective finish, such as polyurethane or oil. The floor may need several coats of finish, with each coat requiring drying time before the next is applied. Once the final coat is dry, your floor will have a refreshed, revitalized appearance that enhances the overall aesthetic of your space.
7. How can I maintain my newly sanded floor?
Proper maintenance is crucial to prolonging the life of your newly sanded floor and keeping it looking its best. Here are some tips for maintaining your floor after sanding:
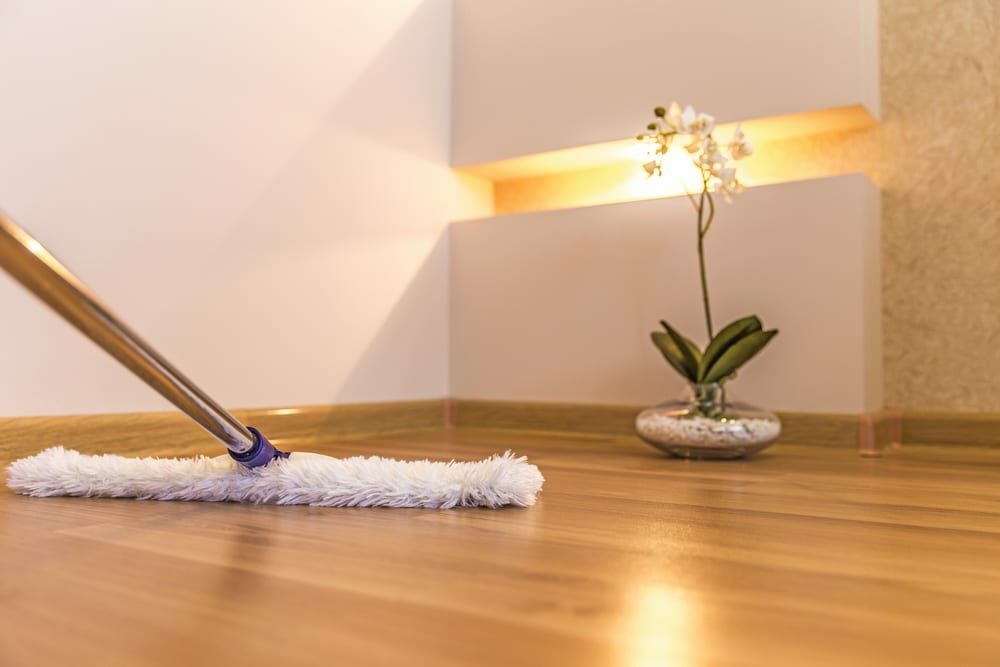
A. Regular cleaning: sweep or vacuum your floor regularly to remove dirt, dust, and debris. This prevents scratches and keeps the surface clean. When necessary, use a damp mop with a mild cleaning solution suitable for wood floors.
B. Protective measures: Place felt pads under furniture legs to prevent scratches and dents. Use area rugs or mats in high-traffic areas to protect your floor from wear and tear.
C. Humidity Control: Maintain a consistent indoor humidity level (between 30 and 50%) to prevent wood from swelling, contracting, or warping. Use a humidifier or dehumidifier as needed to regulate humidity levels.
D. Avoid water damage: Wipe up spills immediately to prevent water damage to the wood. Avoid using wet mops or steam cleaners on your wood floors, as excess moisture can cause damage.
E. Refinish as needed: Over time, the finish on your floor may wear down, necessitating a new coat of finish. Monitor your floor’s condition and refinish as needed to maintain its appearance and protect the wood.
Some Useful Links:
Conclusion
Floor sanding is a transformative process that can breathe new life into your wooden floors. By addressing common questions surrounding the process, you can make informed decisions and ensure a successful project outcome. Whether you choose to tackle the job yourself or hire a professional, understanding the basics of floor sanding, the required equipment, and proper maintenance practises will help you achieve stunning, long-lasting results. With the right approach and attention to detail, your newly sanded floor will be a beautiful and functional addition to your home for years to come.
More from our Blog:
Why floor sanding can make any wooden floor look fantastic?
The Easy Process of Sanding a Floor: A Comprehensive
GuideWood Floor Sanding & Maintenance Tips for the DIY lovers?